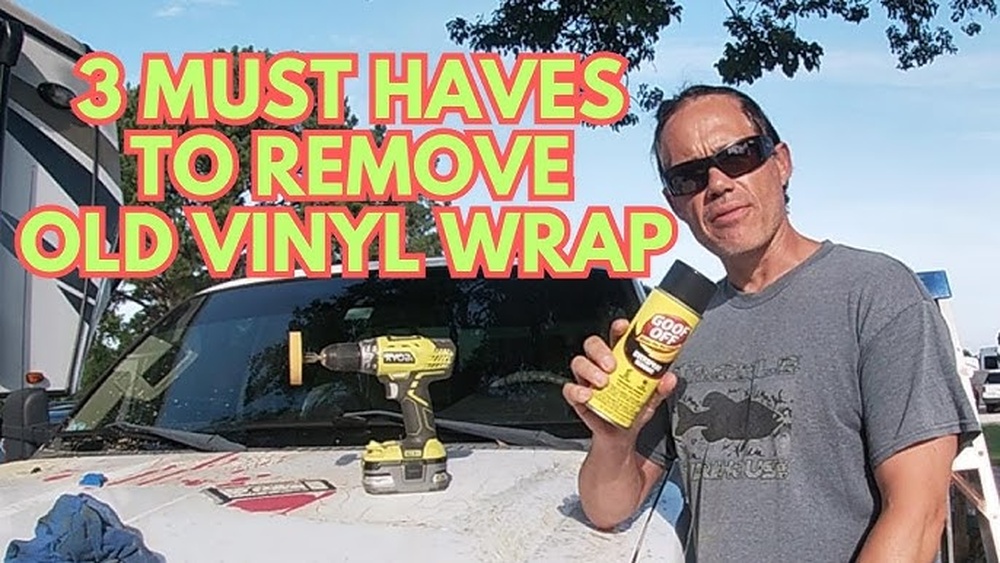
Have you ever faced the challenge of vinyl wrapping a surface with holes? It can be tricky, but you don’t have to give up on your project.
Learning how to vinyl wrap holes properly will save you time and frustration. In this guide, you’ll discover simple, effective techniques to cover holes smoothly and make your wrap look flawless. Keep reading, and you’ll gain the confidence to handle even the toughest spots with ease.
Your vinyl wrap will look professional and last longer—let’s get started!
Preparing The Surface
Preparing the surface is the first step in vinyl wrapping holes. A clean and smooth area helps the vinyl stick better. It also prevents bubbles and wrinkles. Take time to prepare carefully for the best results.
Cleaning Around The Hole
Start by cleaning the area around the hole. Use a mild soap and water solution. Gently scrub to remove dirt and grease. Avoid harsh chemicals that can damage the surface. Dry the area with a soft cloth. Dirt or oils can stop the vinyl from sticking well.
Smoothing Edges And Surroundings
Check the edges of the hole. Rough or sharp edges can cause the vinyl to tear. Use fine sandpaper to smooth them gently. Also, smooth the area around the hole. This helps the vinyl lay flat and look neat. Take care to avoid damaging the surface further.

Credit: www.reddit.com
Choosing The Right Vinyl
Choosing the right vinyl is the first step to a clean, lasting wrap. Picking vinyl that fits your project needs makes the job easier and the results better. Pay close attention to the quality and style of the vinyl before starting.
Selecting Durable Materials
Choose vinyl made to last. Strong vinyl resists tearing and fading. It stands up well to weather and sun. Durable vinyl keeps its color and shape over time. This means fewer repairs and touch-ups later.
Matching Colors And Textures
Pick a vinyl color that matches the surface perfectly. Smooth surfaces need smooth vinyl. Textured surfaces need vinyl with similar texture. A good color and texture match hides the hole better. This gives a neat, professional look.
Cutting And Aligning The Vinyl
Applying vinyl around holes requires care and precision. These areas can be tricky because the vinyl must stretch without tearing. Proper handling ensures a smooth, clean finish. This part of the wrapping process protects the surface and keeps the vinyl looking neat.
Stretching And Positioning Techniques
Start by cutting the vinyl slightly larger than the hole. Hold the vinyl gently near the hole and stretch it evenly. Pull the material slowly to avoid tearing. Position the vinyl so it covers the edges of the hole completely. Use a heat gun to warm the vinyl. Warm vinyl becomes softer and easier to stretch. Move the vinyl carefully around the hole’s shape. This method helps the vinyl fit snugly and stay in place.
Avoiding Wrinkles And Bubbles
Press the vinyl down slowly from the center outwards. Use a squeegee or soft cloth for this step. Work gently to push out any trapped air. Wrinkles and bubbles form when the vinyl is pulled too fast. Keep the vinyl warm to improve flexibility. Small bubbles can be smoothed by warming and pressing again. For larger bubbles, lift the vinyl carefully and reapply. This process keeps the surface smooth and clean.

Credit: www.youtube.com
Applying Vinyl Around Holes
Sealing and finishing edges is a key step in vinyl wrapping holes. It helps keep the vinyl tight and clean around the hole. Proper sealing prevents lifting and damage over time. Finishing edges also gives a neat, professional look. This step takes care and patience.
Focus on making the vinyl stick well and look smooth. Use the right tools and techniques. Small details make a big difference in the final result.
Using Heat To Secure Vinyl
Heat helps vinyl wrap stretch and hold firmly. Use a heat gun or hairdryer on low heat. Warm the vinyl edges gently. Do not overheat. Too much heat can melt the vinyl.
Heat softens the vinyl. Press it down around the hole. This makes the vinyl stick to the surface better. Heat also removes small wrinkles and bubbles.
Trimming Excess Material
Trim extra vinyl near the hole carefully. Use a sharp utility knife or scissors. Cut close but avoid cutting the surface below. Clean cuts prevent peeling later.
Take your time trimming. Smooth edges look better and last longer. Remove any small bits that stick out. Proper trimming finishes the job cleanly.
Sealing And Finishing Edges
Repairing imperfections in vinyl wrap is important for a smooth, clean finish. Small holes or tears can happen during application or use. Fixing these flaws keeps the wrap looking fresh and protects the surface underneath. This section covers easy ways to repair and maintain your vinyl wrap.
Spot Fixes For Small Flaws
Small holes or scratches can be fixed quickly. Clean the area around the flaw with rubbing alcohol. Cut a tiny piece of matching vinyl wrap slightly larger than the hole. Place the patch carefully over the flaw. Use a heat gun to warm the patch so it sticks well. Press down firmly to remove air bubbles. This quick fix blends the flaw with the rest of the wrap.
Reapplying Sections When Needed
Sometimes, larger sections peel or tear and need reapplying. Carefully lift the damaged area without stretching it. Clean the surface underneath to remove dirt or glue. Warm the vinyl with a heat gun to make it flexible. Smooth the vinyl back down using a squeegee, pushing out air bubbles. Trim excess vinyl for a clean edge. This method restores the wrap’s appearance and protects the surface.

Credit: twiistedmedia.com
Repairing Imperfections
Maintaining vinyl wraps around holes is key to keeping them looking fresh. Proper care helps the wrap last longer. It also keeps the edges smooth and prevents peeling. Small efforts in maintenance save time and money later.
Cleaning Wrapped Areas Safely
Use a soft cloth or sponge to clean wrapped areas. Avoid rough brushes that can scratch the vinyl. Use mild soap mixed with water to remove dirt gently. Never use harsh chemicals or solvents. Rinse with clean water and dry with a soft towel. Clean regularly to prevent buildup and stains.
Preventing Damage Around Holes
Check the wrap edges near holes often. Look for signs of lifting or peeling. Avoid sharp tools near wrapped holes during repairs or adjustments. Use protective covers if possible when working nearby. Keep the area dry to prevent moisture damage. Handle the wrap with care to keep it tight and secure.
Frequently Asked Questions
How Do You Prepare Holes Before Vinyl Wrapping?
Clean the surface around holes thoroughly. Use a primer or adhesive promoter to ensure vinyl sticks well. Smooth edges help avoid tears during application.
Can Vinyl Wrap Cover Holes Completely?
Vinyl wrap can cover small holes but not large ones. For bigger holes, patch or fill them before wrapping. This ensures a smooth and professional finish.
What Tools Help Vinyl Wrap Holes Effectively?
Use a heat gun, squeegee, and sharp knife for precise wrapping. These tools help stretch vinyl around holes and trim excess material cleanly.
Will Vinyl Wrap Peel Near Holes?
If applied correctly, vinyl wrap won’t peel near holes. Proper surface preparation and careful stretching prevent lifting. Avoid sharp edges to maintain adhesion.
Conclusion
Vinyl wrapping holes can seem tricky at first. Take your time and work carefully. Clean the surface well before you start. Use small pieces of vinyl to cover gaps. Smooth out bubbles gently for a neat look. Practice makes the process easier and better.
With patience, your wrap will look smooth and strong. Keep these tips in mind for a clean finish every time. You can improve your skills step by step. Enjoy the process and the new look you create.