If you want your brakes to work smoothly and last longer, knowing how to clean your brake pads and rotors is a must. Dirty or worn parts can make your car noisy, reduce stopping power, and even cause costly damage.
But don’t worry—cleaning them isn’t as hard as you might think. In this guide, you’ll learn simple, step-by-step tips to get your brakes back in top shape. Keep reading, and you’ll save money, improve safety, and feel confident behind the wheel.

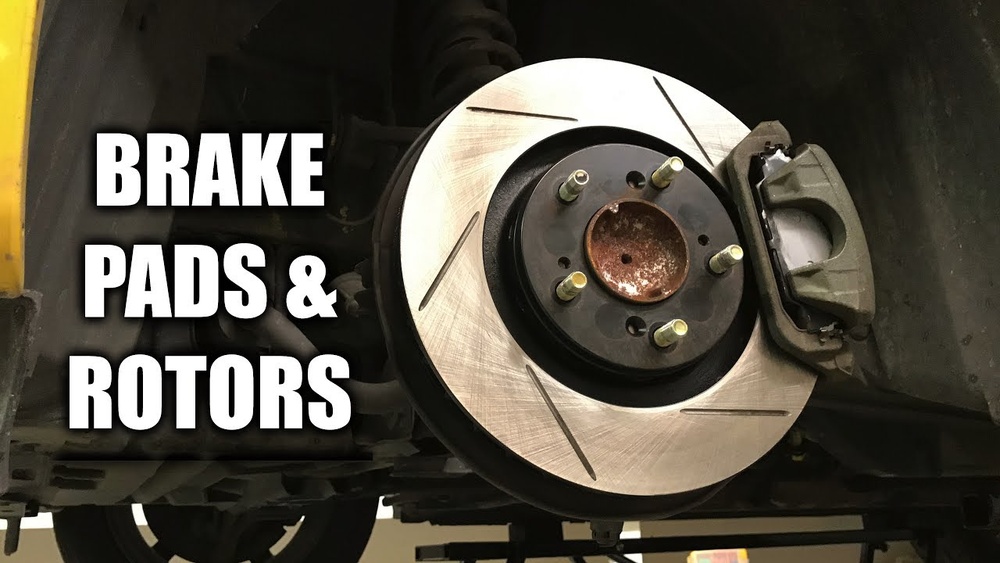
Credit: www.youtube.com
Signs Of Dirty Brake Pads And Rotors
Dirty brake pads and rotors can cause serious problems for your vehicle’s safety. They do not work as well and can wear out faster. Knowing the signs helps you act quickly. This keeps your brakes reliable and your drives safe.
Squeaking And Grinding Noises
Squeaking sounds often mean dirt or dust on the brake pads. The noise happens when the pads rub against the rotors. Grinding noises are worse. They show the pads are very worn or damaged. Both sounds need attention fast.
Reduced Braking Power
If your car takes longer to stop, the brakes might be dirty. Dirt and grime reduce the pads’ grip on the rotors. This lowers braking power and increases stopping distance. It puts you and others at risk on the road.
Vibrations During Braking
Vibrations or shaking when you brake can mean dirty or uneven rotors. Dirt build-up can cause the brake surface to become rough. This makes the brake pads hit unevenly. The result is a shaky feeling in the brake pedal or steering wheel.
Credit: www.buybrakes.com
Tools And Materials Needed
Cleaning brake pads and rotors needs the right tools and materials. These help you remove dirt and brake dust safely. Using proper supplies makes the job easier and keeps your brakes working well. Prepare all items before starting to avoid interruptions.
Basic Cleaning Supplies
Start with simple cleaning items. A soft brush removes loose dust and dirt. Microfiber cloths work well for wiping surfaces without scratching. Use a bucket of warm water mixed with mild soap. Avoid harsh chemicals that can harm brake parts. A small plastic scraper helps remove tough grime.
Safety Gear
Wear gloves to protect your hands from chemicals and dirt. Safety glasses keep dust and cleaner spray out of your eyes. Use a dust mask to avoid breathing brake dust. Dress in old clothes to protect your skin. Safety is important while cleaning brake parts.
Specialized Brake Cleaner
Use a brake cleaner spray made for brake parts. It dissolves grease, oil, and brake dust quickly. This cleaner evaporates fast and leaves no residue. Avoid other cleaners that may damage brake pads or rotors. Follow the instructions on the brake cleaner label carefully.
Preparing Your Vehicle
Preparing your vehicle is the first step to clean brake pads and rotors safely. This stage helps you work with ease and avoids accidents. Take your time and follow each step carefully.
Securing The Car
Park your car on a flat surface. Engage the parking brake firmly. Place wheel chocks behind the wheels still on the ground. This stops the car from moving during the work.
Removing Wheels
Loosen the lug nuts before lifting the car. Use a jack to raise the car slowly. Place jack stands under the car for support. Remove the lug nuts fully and take off the wheels carefully.
Inspecting Brake Components
Look at the brake pads for wear and tear. Check the rotors for grooves or rust. Clean any dirt or dust with a brake cleaner. This inspection helps find problems early.
Cleaning Brake Pads
Cleaning brake pads is important for safe driving and longer pad life. Dirt and dust build up on pads and reduce their grip. This can cause noise and poor braking. Regular cleaning keeps brake pads working well and helps avoid costly repairs.
Brake pads need gentle cleaning to keep their surface smooth. Using the right method protects the pads and improves brake performance. Below are simple ways to clean brake pads safely and effectively.
Dry Cleaning Techniques
Dry cleaning removes dust and dirt without using liquids. Use a soft brush or cloth to wipe the pad surface. A small, stiff brush works well to get into crevices. Avoid hard scrubbing to prevent pad damage. Dry cleaning is quick and prevents moisture buildup.
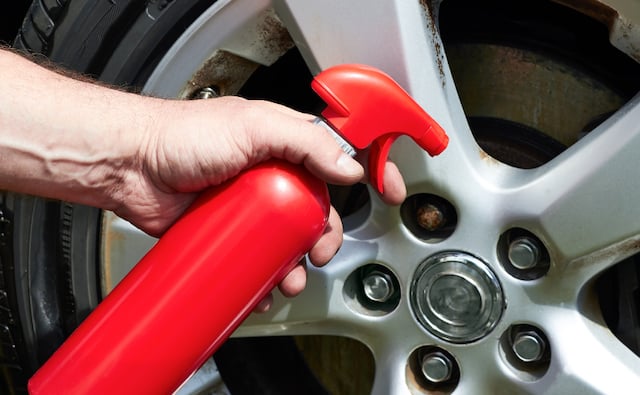
Using Brake Cleaner Spray
Brake cleaner spray dissolves grease and stubborn dirt. Spray a small amount on the pads and let it sit for a few minutes. Use a clean cloth to wipe away the grime. Use the spray in a well-ventilated area to avoid fumes. Do not soak the pads; a light spray is enough.
Avoiding Damage To Pads
Never use harsh tools like metal scrapers on brake pads. Avoid water or soap, which can harm pad material. Do not spray brake cleaner on rubber parts nearby. Let pads dry completely before reinstalling. Careful cleaning keeps pads safe and effective.
Cleaning Rotors
Cleaning rotors is important for safe and smooth braking. Dirt, rust, and brake dust can reduce rotor performance. Regular cleaning keeps rotors working well and lasts longer. Follow simple steps to clean rotors properly.
Removing Surface Rust
Rust often forms on rotors during storage or wet weather. Use a wire brush to scrub the rust gently. Avoid heavy pressure to prevent damage. Light rust can also be removed by driving and braking carefully. This helps clear the rust with brake pads.
Cleaning With Brake Cleaner
Spray brake cleaner on the rotor surface to remove dirt and grease. Let it sit for a few minutes to dissolve grime. Wipe with a clean cloth until the rotor looks shiny. Avoid touching the rotor with oily hands after cleaning. Brake cleaner evaporates quickly and leaves no residue.
Sanding And Polishing Tips
Use fine-grit sandpaper to smooth rough spots on the rotor. Sand evenly in a circular motion to avoid uneven surfaces. After sanding, wipe the rotor clean with brake cleaner. Polishing improves rotor contact with brake pads. Do not sand too much to keep rotor thickness safe.
Reassembling And Testing
After cleaning brake pads and rotors, reassembling and testing are vital. This step ensures your brakes work safely and correctly. Proper reassembly protects your vehicle and keeps you safe on the road. Follow simple steps to reinstall wheels, check brakes, and test drive confidently.
Reinstalling Wheels Safely
Place the wheel back on the hub carefully. Align the holes with the bolts. Hand-tighten the lug nuts in a star pattern. Use a torque wrench to tighten nuts to the car’s specs. This prevents uneven pressure and wheel damage. Lower the car slowly after tightening.
Checking Brake Function
Before driving, press the brake pedal several times. It should feel firm, not soft or spongy. Check for any unusual noises or vibrations. Look for brake fluid leaks near the wheel. Confirm the brake warning light is off on your dashboard. These checks ensure brakes respond well.
Test Drive Tips
Start with a slow drive in a safe area. Apply brakes gently and listen for sounds. Test brakes at different speeds for smooth stopping. Avoid hard braking until brakes feel normal. Pay attention to pedal feel and stopping distance. Stop immediately if brakes feel weak or strange.
Maintenance Tips For Longevity
Proper maintenance extends the life of brake pads and rotors. Small, regular actions keep your braking system safe and effective. Clean parts work better and wear slower. Follow these tips to maintain your brakes longer.
Regular Cleaning Schedule
Set a cleaning routine every few months. Remove dust and dirt from pads and rotors. Use a soft brush or cloth to wipe surfaces. Avoid harsh chemicals that can damage parts. A clean brake system prevents noise and uneven wear.
Avoiding Contaminants
Keep grease, oil, and brake fluid away from pads and rotors. These substances reduce braking power and cause slipping. Wear gloves when handling brake parts. Store brake components in a clean, dry place. Dirt and moisture also harm brake performance.
When To Replace Pads And Rotors
Check pads for thickness regularly. Replace if less than 3 millimeters thick. Inspect rotors for grooves, cracks, or warping. Replace rotors if they look damaged or cause vibration. Timely replacement prevents damage to other brake parts.

Credit: www.reddit.com
Frequently Asked Questions
How Often Should Brake Pads And Rotors Be Cleaned?
Brake pads and rotors should be cleaned every 12,000 to 15,000 miles. Regular cleaning prevents dirt buildup and ensures optimal braking performance. It also extends the lifespan of both components and improves safety during driving.
What Materials Are Best For Cleaning Brake Pads And Rotors?
Use isopropyl alcohol or brake cleaner spray for cleaning. Avoid harsh chemicals that can damage brake components. Soft brushes and lint-free cloths work best to remove dirt and brake dust safely without scratching the surfaces.
Can I Clean Brake Pads And Rotors Myself Safely?
Yes, you can clean brake pads and rotors safely at home. Always wear gloves and a mask to avoid inhaling dust. Make sure the vehicle is secure and cool before starting the cleaning process for best results.
Why Is It Important To Clean Brake Pads And Rotors?
Cleaning brake pads and rotors removes brake dust and debris that cause noise and reduce braking efficiency. It also prevents corrosion and uneven wear, ensuring smoother and safer braking performance over time.
Conclusion
Cleaning brake pads and rotors keeps your car safe and working well. Dirt and dust can cause noise and reduce braking power. Use simple tools and gentle cleaners for best results. Regular cleaning helps your brakes last longer and perform better.
Take your time and follow steps carefully. Good brake care saves money on repairs. Stay safe by keeping brakes clean and checked often. Small effort now means better driving later.