
If you want to keep your engine running smoothly, installing an inline fuel filter is a smart move. It helps protect your fuel system from dirt and debris, saving you from costly repairs down the road.
But if you’re not sure how to install one, don’t worry—you’re in the right place. This guide will walk you through each step clearly and simply, so you can do it yourself with confidence. Ready to take control of your vehicle’s performance?
Let’s get started.
Tools And Materials Needed
Installing an inline fuel filter requires some basic tools and materials. Having the right items makes the job easier and safer. This section lists what you need before starting the installation process.
Inline Fuel Filter
Choose the correct fuel filter for your vehicle model. The filter must match the fuel system size and type. A good filter prevents dirt and rust from entering the engine.
Wrenches Or Pliers
Use wrenches or pliers to loosen and tighten hose clamps. The size depends on the clamp type and fuel line diameter. These tools help secure the filter firmly in place.
Fuel Hose Clamps
Clamps keep the fuel lines connected to the filter. Use new clamps for a tight seal. Old clamps may leak and cause fuel spills.
Replacement Fuel Line (optional)
Sometimes, the fuel line needs replacement during filter installation. Have a matching fuel hose ready if needed. This avoids leaks and ensures durability.
Safety Gloves And Eye Protection
Fuel is flammable and harmful to skin. Wear gloves and eye protection to stay safe. Protect your hands and eyes from fuel splashes.
Container For Fuel Drainage
Fuel may spill during filter replacement. Use a container to catch any leaking fuel. This prevents mess and environmental damage.
Rags Or Paper Towels
Keep rags or paper towels nearby to clean up spills. They help maintain a clean work area. Wipe hands and tools after handling fuel.

Credit: www.pistonheads.com
Choosing The Right Fuel Filter
Choosing the right fuel filter is key to keeping your engine clean and running well. The fuel filter stops dirt, rust, and other particles from reaching the engine. Picking the correct filter ensures good fuel flow and protects the fuel system parts. A wrong filter can cause poor engine performance or damage. Knowing the types of filters and matching them to your vehicle helps you make the best choice.
Types Of Inline Fuel Filters
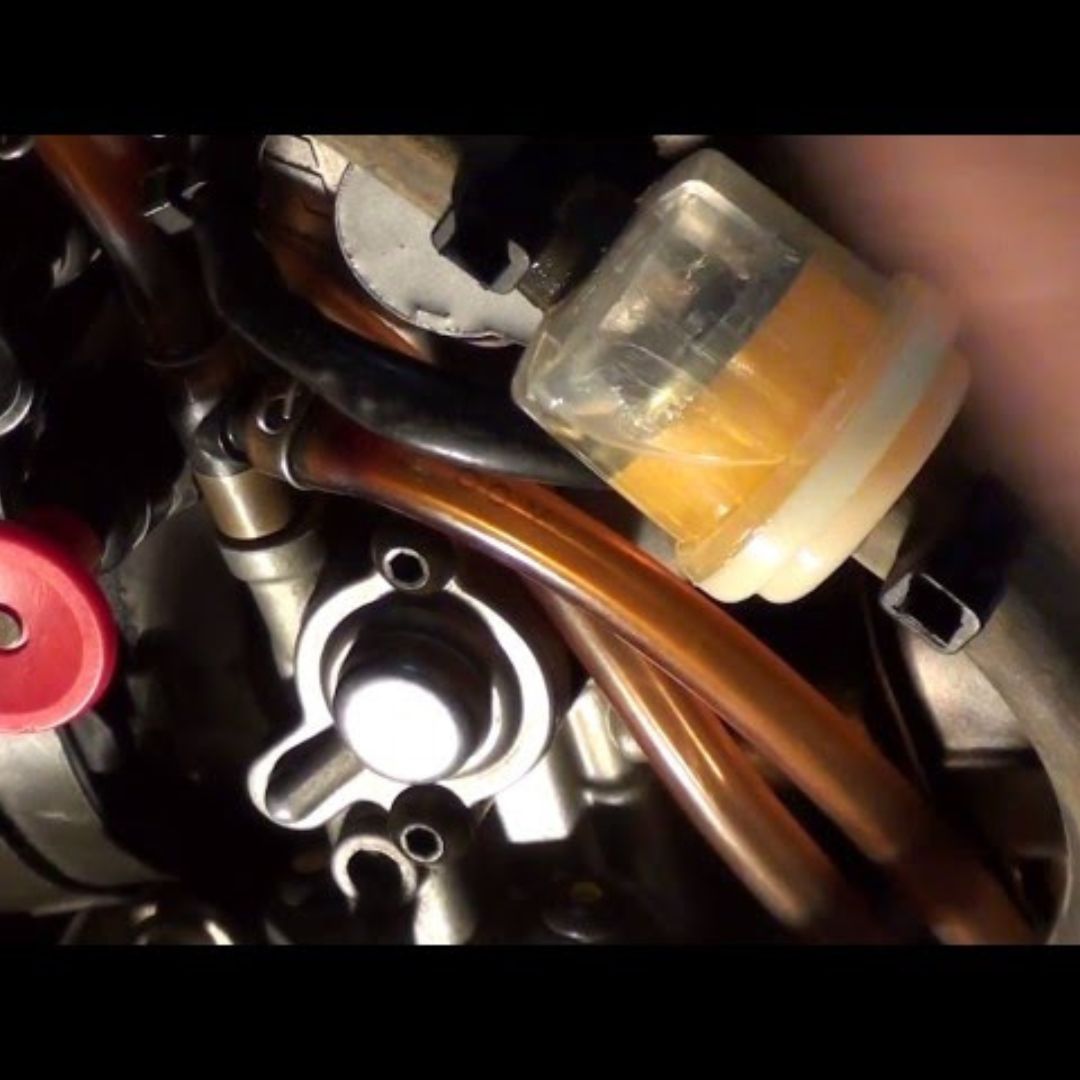
Inline fuel filters come in different styles and materials. Some use paper elements to trap dirt. Others use mesh screens or foam. Plastic filters are common and lightweight. Metal filters are tougher and last longer. Some filters have a clear casing to see dirt build-up. Each type has its own benefits and suits different needs. Choose one that fits your vehicle’s fuel system and driving habits.
Matching Filter To Vehicle
Every vehicle needs a specific fuel filter size and flow rate. Check your vehicle’s manual for the right filter model. Using the wrong filter can block fuel flow or leak. Make sure the filter fits the fuel line diameter. Also, check the filter’s pressure rating matches your fuel system. A perfect fit keeps fuel clean and engine safe. Buy filters from trusted brands to ensure quality and reliability.
Preparing Your Workspace
Preparing your workspace is the first step to install an inline fuel filter safely and effectively. A clean and organized area helps avoid mistakes and accidents. Taking time to get ready makes the whole process smoother and faster.
Safety Precautions
Fuel is highly flammable. Work in a well-ventilated space to avoid fumes. Keep a fire extinguisher nearby for emergencies. Wear gloves and safety glasses to protect your skin and eyes. Avoid smoking or using sparks near the fuel line. Disconnect the vehicle’s battery to reduce the risk of electrical sparks.
Locating The Fuel Line
Find the fuel line before starting the installation. Check your vehicle manual for exact locations. Usually, the fuel line runs from the fuel tank to the engine. Look for a flexible hose or metal pipe. Clean the area around the fuel line to see it clearly. Mark the spot where you will install the filter. This step helps avoid confusion during installation.
Credit: riiroo.com
Removing The Old Fuel Filter
Removing the old fuel filter is the first step to install a new inline fuel filter. This step is important to keep the fuel system clean. A clean fuel system helps the engine run smoothly. Follow the right process to avoid fuel leaks and damage.
Relieving Fuel System Pressure
Start by relieving the fuel system pressure. This prevents fuel spray when disconnecting the filter. Find the fuel pump fuse or relay in the fuse box. Remove it to stop the fuel pump. Next, try starting the engine. It will stall, showing pressure is gone. Press the gas pedal a few times to clear fuel from the lines.
Disconnecting Fuel Lines
Wear safety glasses and gloves for protection. Locate the old fuel filter under the vehicle or near the engine. Use a wrench or special tool to loosen the fuel line fittings. Slowly disconnect the fuel lines from the filter. Have a rag ready to catch any fuel spills. Keep the filter upright to avoid leaking. Dispose of the old filter properly after removal.
Installing The New Fuel Filter
Installing the new fuel filter is a key step in maintaining your vehicle’s fuel system. A clean filter helps the engine run smoothly and prevents damage. Follow these steps carefully to ensure proper installation and avoid fuel leaks or engine problems.
Correct Orientation
Check the fuel filter for an arrow or label. This arrow shows the fuel flow direction. The arrow must point from the fuel tank toward the engine. Installing the filter backward can block fuel flow and cause engine issues. Take your time to align it correctly before securing it.
Securing The Filter
Place the filter in its holder or bracket. Use clamps or clips to hold it firmly in place. Tighten the clamps enough to prevent movement but avoid crushing the filter. Make sure the fuel lines connect tightly to the filter ends. Double-check for any loose connections to stop leaks.
Testing The Installation
After installing the inline fuel filter, testing the installation is crucial. This step ensures the fuel system works properly and safely. Checking for leaks and starting the engine are key parts of this process. These checks confirm the filter fits well and fuel flows correctly.
Checking For Leaks
First, inspect all connections around the fuel filter. Look closely at the clamps and hoses. Tighten any loose fittings to stop fuel leaks. Use a clean cloth to wipe around the filter. Watch for any wet spots or fuel drips. Never ignore even small leaks. Fuel leaks can cause fire hazards and engine issues.
Starting The Engine
Next, start the engine and let it run for a few minutes. Listen for any unusual sounds. Watch the fuel filter area again for leaks. The engine should run smoothly without stalling. If the engine hesitates, check the filter installation again. Proper fuel flow means your filter is working well. This step confirms the entire fuel system is ready for use.
Maintenance Tips
Proper maintenance is key to keeping your inline fuel filter working well. Regular checks help avoid engine problems and improve fuel flow. Clean fuel keeps your vehicle running smoothly and saves you money on repairs.
Knowing when to replace your fuel filter and spotting signs of clogging can protect your engine. Small steps in maintenance lead to big benefits for your vehicle’s performance.
When To Replace Your Fuel Filter
Replace your fuel filter every 20,000 to 30,000 miles. Check your vehicle’s manual for exact timing. Some cars need changes sooner if they use low-quality fuel. Always replace the filter if you notice performance issues. Regular replacement stops dirt from reaching the engine.
Signs Of A Clogged Filter
A clogged fuel filter reduces fuel flow to the engine. Your car may struggle to start or run rough. You might hear sputtering or notice a loss of power. Poor acceleration or engine misfires can also appear. Watch for unusual engine sounds or stalling during driving.

Credit: www.reddit.com
Frequently Asked Questions
What Tools Do I Need To Install An Inline Fuel Filter?
You need a wrench, screwdrivers, pliers, and safety gloves. Having a fuel line disconnect tool helps. Prepare a container to catch fuel spills. Always work in a well-ventilated area to avoid inhaling fumes.
How Do I Locate The Inline Fuel Filter?
Check your vehicle’s manual for the exact location. Common spots are near the fuel tank or engine bay. Look along the fuel line between the fuel tank and engine. The filter is usually a small cylindrical component.
How Often Should I Replace An Inline Fuel Filter?
Replace the fuel filter every 20,000 to 30,000 miles. Check your vehicle’s manual for specific intervals. Replace sooner if you notice engine performance issues or fuel flow problems. Regular replacement ensures cleaner fuel and better engine health.
Can I Install An Inline Fuel Filter Myself?
Yes, with basic mechanical skills and proper tools, you can. Follow safety precautions and vehicle-specific instructions carefully. If unsure, consult a professional mechanic to avoid damage or injury.
Conclusion
Installing an inline fuel filter helps keep your engine clean and running well. Follow each step carefully for best results. Check for leaks after installation to ensure safety. Regular filter changes prevent dirt from damaging your fuel system. Taking time now saves money and trouble later.
Clean fuel means better performance and longer engine life. Simple tools and clear steps make the job easy. Keep your vehicle in good shape with this small task.


