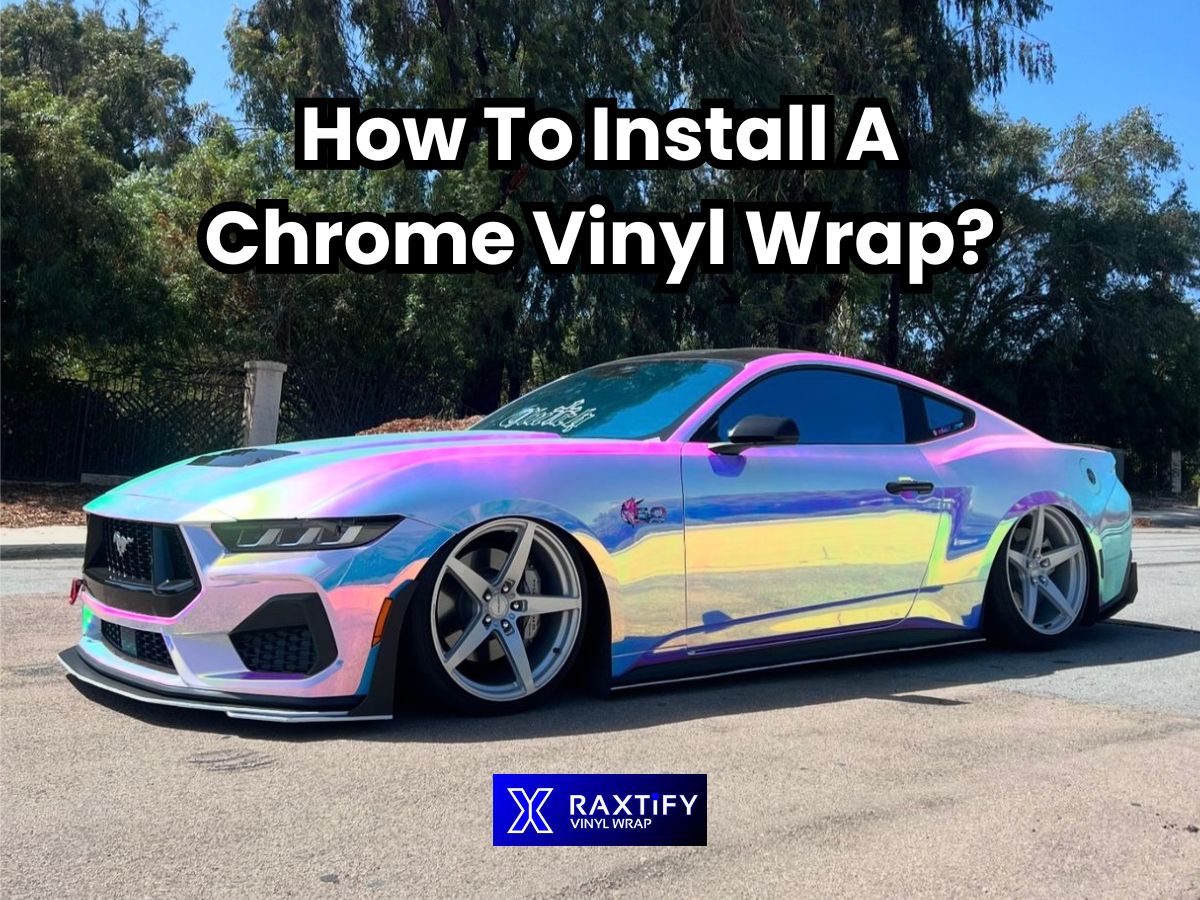
Are you ready to give your car, laptop, or any smooth surface a stunning new look? Installing a chrome vinyl wrap can transform the way your belongings shine and stand out.
But if you’ve never tried it before, the idea might seem tricky or overwhelming. Don’t worry—this guide will walk you through every step, making the process simple and even fun. By the end, you’ll have the skills to create a sleek, professional finish that turns heads everywhere you go.
Keep reading, and discover how easy it is to make your items sparkle with chrome vinyl wrap!
Choosing The Right Chrome Vinyl
Choosing the right chrome vinyl is key to a great wrap job. The right choice affects how the wrap looks and lasts. It also makes the installation easier and the finish smoother. Learn about the types of chrome vinyl, how to measure your surface, and picking quality materials.
Types Of Chrome Vinyl Wraps
Chrome vinyl wraps come in various finishes. Glossy chrome gives a bright, mirror-like shine. Matte chrome offers a soft, muted reflection. Satin chrome sits between glossy and matte, with a slight shine.
Some vinyls have a textured feel, such as brushed or hammered chrome. These add a unique look but may be harder to install. Choose the type based on your style and skill level.
Measuring For Accurate Coverage
Measure the area carefully to buy enough vinyl. Use a tape measure and note the length and width. Add extra inches for curves, edges, and mistakes. A common rule is to add 10% more than the measured size.
Double-check your measurements before purchasing. Accurate sizing prevents running out of material mid-project. It also avoids wasting vinyl and money.
Selecting Quality Materials
High-quality vinyl lasts longer and looks better. Look for vinyl with strong adhesive that holds well but removes cleanly. Choose vinyl designed for automotive use for durability and weather resistance.
Check reviews and ask for samples if possible. Avoid cheap vinyl that peels, bubbles, or fades quickly. Good materials make installation smooth and ensure your wrap stays perfect.
Preparing The Surface
Preparing the surface is the first step to a perfect chrome vinyl wrap. A clean, smooth base helps the vinyl stick better and last longer. It also avoids bubbles and wrinkles during installation. Take your time with this step for the best results.
Cleaning And Degreasing
Start by washing the area with soap and water. Remove dirt, dust, and grease fully. Use a clean cloth and a gentle cleaner. Avoid harsh chemicals that can damage the surface. After washing, dry the area completely.
Next, use a degreaser to remove any oily residue. This helps the vinyl stick properly. Apply the degreaser with a clean cloth. Wipe the surface well and let it dry before moving on.
Removing Old Wraps Or Paint
Old vinyl or peeling paint can cause bumps under the new wrap. Carefully peel off any old wrap using your hands or a plastic scraper. Do not use metal tools that can scratch the surface.
If the paint is damaged, sand the area lightly with fine sandpaper. Remove loose or flaking paint to create a smooth base. Clean the area again after sanding to remove dust.
Ensuring A Smooth Base
Check the surface for dents, scratches, or rough spots. Use body filler or putty to fix small dents. Sand the filler smooth once it dries.
Wipe the area with a tack cloth to remove dust. A smooth surface helps the vinyl wrap lay flat and look great. Take your time with this step for a flawless finish.
Gathering Essential Tools
Before starting the chrome vinyl wrap installation, gather all essential tools. Having the right tools makes the job easier and helps get a smooth finish. Prepare your workspace and tools to avoid interruptions.
List Of Required Tools
- Chrome vinyl wrap roll
- Heat gun or hairdryer
- Squeegee with felt edge
- Sharp utility knife or blade
- Measuring tape
- Cleaning solution and microfiber cloth
- Gloves to avoid fingerprints
- Masking tape
Tips For Safe Handling
Handle the vinyl wrap with clean hands or gloves to prevent dirt and oils.
Use the utility knife carefully to avoid cuts and damage to surfaces.
Keep the heat gun moving to prevent burning the vinyl or the surface.
Work in a well-lit area to see edges and bubbles clearly.
Store unused vinyl flat and away from direct sunlight to maintain quality.

Credit: wrapguys.com
Cutting And Positioning The Wrap
Cutting and positioning the chrome vinyl wrap is a crucial step in the installation process. It helps avoid wrinkles and bubbles later on. Taking your time here ensures a smooth, professional finish. Careful measurement and precise alignment make the wrap look clean and sharp.
Measuring And Trimming
Start by measuring the surface you want to cover. Use a tape measure for accuracy. Add a few extra inches to your measurements. This extra space allows room for adjustment during installation. Place the vinyl wrap on a flat surface. Use a sharp utility knife or scissors to cut the vinyl. Trim slowly and carefully along your marked lines. Avoid cutting too close to the edge. It is better to trim more later than to cut too small now.
Aligning The Vinyl On Surface
Peel back a small section of the vinyl backing. Position the vinyl carefully on the surface. Check that the edges line up evenly. Use your hand to smooth the vinyl from the center outwards. This pushes out air bubbles and creases. Use a squeegee or soft cloth for better results. Work slowly to keep the vinyl flat and tight. Reposition if needed before sticking it fully. Proper alignment prevents wrinkles and gives a clean look.
Applying The Vinyl Wrap
Applying the vinyl wrap is the most crucial step in the installation process. It requires patience and careful attention to detail. The vinyl needs to fit perfectly on the surface. Any mistakes here will affect the final look. Follow these simple steps to apply your chrome vinyl wrap smoothly and cleanly.
Using Heat For Flexibility
Heat makes the vinyl more flexible. Use a heat gun or hair dryer on low heat. Warm the vinyl evenly without overheating. This helps the vinyl stretch around curves and edges. Keep moving the heat source to avoid burns. Warm vinyl sticks better and forms a smooth finish.
Removing Air Bubbles
Air bubbles spoil the smooth look. Use a squeegee or a soft cloth to push bubbles out. Start from the center and move outward. Work slowly and gently to avoid tearing the vinyl. Small bubbles can be popped with a pin. Press the area again to flatten the vinyl.
Smoothing Edges And Corners
Edges and corners need extra care. Heat these areas slightly to soften the vinyl. Press firmly with a squeegee to seal the edges. Tuck the vinyl neatly around corners for a clean look. Cut any excess vinyl carefully with a sharp blade. Well-smoothed edges prevent peeling later.
Finishing Touches
After applying the chrome vinyl wrap, the final steps shape the overall look. Finishing touches ensure the wrap stays smooth and lasts longer. These steps make the wrap appear clean and professional.
Trimming Excess Material
Carefully cut away extra vinyl around edges and corners. Use a sharp blade for clean cuts. Take your time to avoid damaging the surface beneath. Trim close but leave a tiny margin for sealing.
Sealing Edges For Durability
Press down edges firmly to secure them well. Use a heat gun or hairdryer on low heat to soften the vinyl. This helps it stick better to curves and edges. Proper sealing stops water and dirt from getting under the wrap.
Curing Time And Care Tips
Let the wrap set for at least 24 hours before washing. Avoid car washes with strong brushes during this time. Clean gently with mild soap and water. Keep the wrap dry after washing to help it cure fully.
Common Mistakes To Avoid
Installing a chrome vinyl wrap is exciting but tricky. Many make simple mistakes that affect the final look. Avoiding these errors helps achieve a smooth, shiny finish. Here are common mistakes to watch out for.
Handling Wrinkles And Bubbles
Wrinkles and bubbles spoil the smooth surface of a vinyl wrap. Do not rush the application. Use a squeegee to push air out gently. Work from the center to the edges. If bubbles appear, lift the vinyl slightly and smooth again. Avoid pressing too hard; it can stretch the vinyl.
Preventing Stretch And Tear
Stretching vinyl too much causes tears and weak spots. Pull the wrap gently and evenly. Avoid sharp bends or sudden tugs. Use heat carefully to soften the vinyl for curves. Overheating can damage the film. Small tears are hard to fix and ruin the look.
Avoiding Improper Surface Prep
Clean the surface thoroughly before applying the wrap. Dirt, dust, or oil stops vinyl from sticking well. Use soap and water, then wipe with alcohol. Dry completely to prevent bubbles. Skipping this step causes peeling and bubbles later. A clean surface is key for lasting results.

Credit: www.tintingchicago.com
Credit: raxtify.com
Frequently Asked Questions
What Tools Are Needed To Install Chrome Vinyl Wrap?
You need a squeegee, heat gun, utility knife, cleaning solution, and microfiber cloth. These tools ensure smooth application and clean surfaces.
How Do You Prepare A Surface For Vinyl Wrap?
Clean the surface thoroughly with soap and water, then use isopropyl alcohol. Remove all dirt, grease, and wax for better adhesion.
Can I Install Chrome Vinyl Wrap Myself?
Yes, with patience and proper tools, DIY installation is possible. Follow instructions carefully to avoid bubbles and wrinkles.
How Long Does Chrome Vinyl Wrap Installation Take?
Typically, it takes 2 to 4 hours, depending on the surface area and complexity. Larger or detailed areas may take longer.
Conclusion
Installing chrome vinyl wrap can transform your vehicle’s look quickly. Take your time and follow each step carefully. Clean the surface well to avoid bubbles or wrinkles. Use a heat gun gently to shape the wrap around curves. Patience pays off with a smooth, shiny finish.
With practice, your skills will improve and results will look better. Enjoy the new style and protect your vehicle’s paint at the same time. Keep these tips in mind for a successful and satisfying wrap job.