
Are you struggling with a brake rotor that just won’t budge? Removing a stuck brake rotor can be frustrating and time-consuming, especially if you don’t know the right tricks.
But don’t worry—you’re not alone, and you can fix this. You’ll discover simple, effective steps to get that stubborn rotor off quickly and safely. Keep reading, and you’ll save time, avoid damage, and get your brakes back in perfect shape.
Let’s get started!

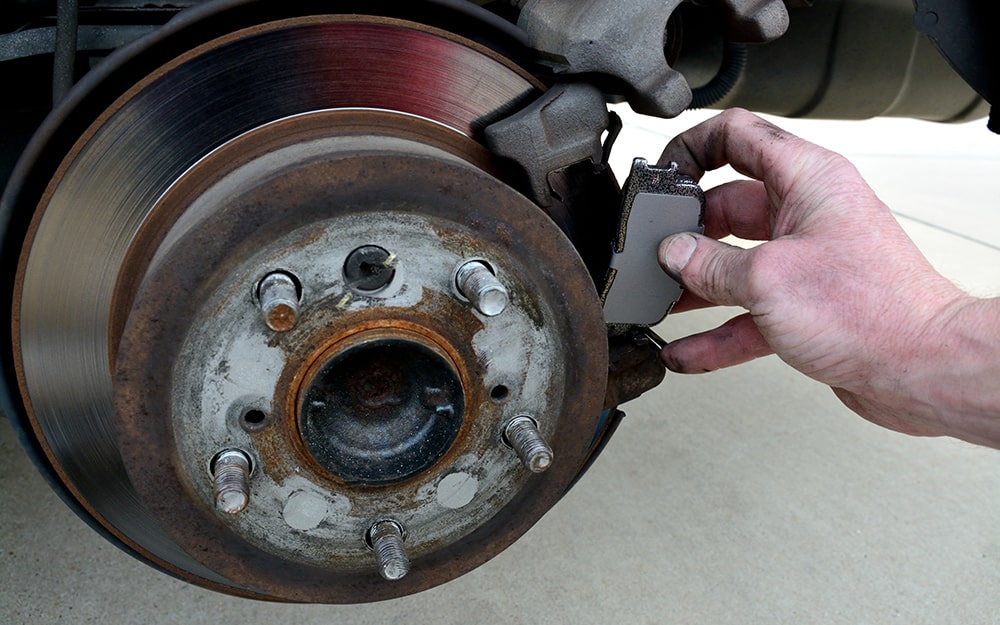
Credit: www.reddit.com
Causes Of A Stuck Brake Rotor
A stuck brake rotor can cause many problems with your vehicle’s braking system. Understanding why the rotor gets stuck helps solve the issue faster. Several common causes can make the rotor hard to remove or move. Knowing these causes helps you take the right steps to fix the problem safely.
Rust And Corrosion Build-up
Rust forms when moisture stays on the brake rotor for a long time. This rust can glue the rotor to the hub tightly. Corrosion also eats away at metal, making parts stick together. Rust and corrosion make the rotor hard to spin or remove. Regular cleaning can reduce rust but some build-up may need extra effort to break.
Tightened Lug Nuts
Lug nuts hold the wheel and rotor assembly firmly. If lug nuts are too tight, they press the rotor hard against the hub. This pressure can trap the rotor in place. Over-tightened lug nuts make rotor removal difficult. Always loosen lug nuts carefully before trying to remove the rotor.
Warped Or Damaged Rotor
Heat and wear can warp the brake rotor over time. A warped rotor does not fit properly on the hub. This causes uneven contact and can lock the rotor in place. Damage like cracks or dents also makes removal tough. Inspect the rotor for warping or damage before attempting removal.
Essential Tools For Removal
Removing a stuck brake rotor needs the right tools. Without proper tools, the job becomes harder and takes more time. Using the correct tools helps you work safely and quickly. Here are the essential tools you need for this task.
Impact Wrench And Breaker Bar
An impact wrench delivers strong, sudden force to loosen stuck bolts. It saves effort and speeds up the process. A breaker bar is a long, sturdy handle. It gives extra leverage to turn tight bolts. Both tools help break loose rusted or tight fasteners.
Hammer And Mallet
A hammer can tap the rotor gently to loosen it from the hub. Use a rubber mallet to avoid damage to parts. These tools help break the rust bond holding the rotor. Strike around the rotor carefully to avoid bending it.
Penetrating Oil And Lubricants
Penetrating oil seeps into tight spaces and rusted joints. It helps dissolve rust and corrosion. Spray it on the stuck parts and let it sit for a while. Lubricants can also prevent the rotor from sticking again in the future.
Step-by-step Removal Process
Removing a stuck brake rotor can feel hard without clear steps. Follow this simple guide to get the rotor off safely. Each step helps loosen the rotor without damage. Take your time and work carefully.
Loosen Lug Nuts Safely
Start by loosening the lug nuts on the wheel. Do not remove them yet. Use a wrench or tire iron for this. Loosen each nut a little at a time. This prevents the wheel from spinning when you lift the car.
Apply Penetrating Oil
Spray penetrating oil on the rotor’s center hub area. This helps break rust and dirt that hold the rotor tight. Let the oil sit for about 10 to 15 minutes. Reapply if the rotor still feels stuck after the wait.
Use Hammer To Loosen Rotor
Tap the rotor gently with a hammer. Hit around the edge and center hub. Use moderate force to avoid damage. The hammer taps help break rust and loosen the rotor from the hub.
Remove Rotor Carefully
Once loose, pull the rotor straight off the hub. Avoid twisting or forcing it. Use a flat tool to pry gently if needed. Keep your hands clear of sharp edges. Place the rotor on a safe surface after removal.
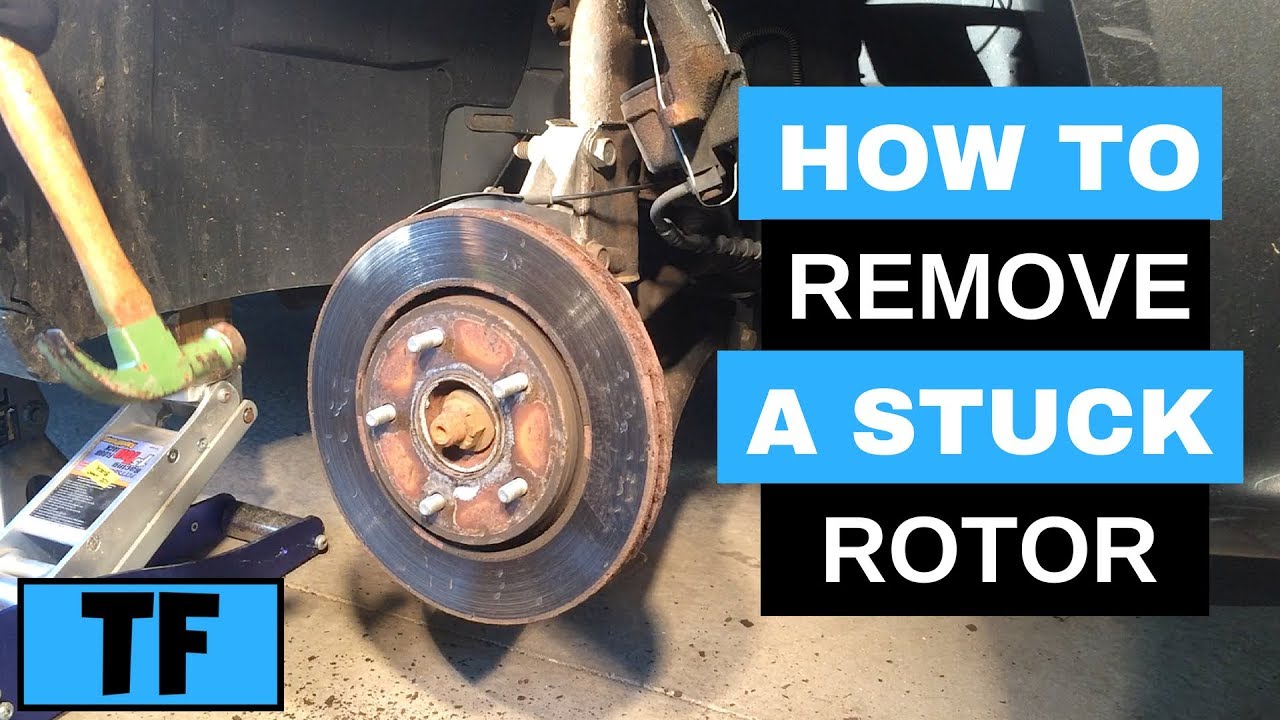
Credit: carfromjapan.com
Alternative Techniques
Removing a stuck brake rotor can be tough. Some rotors do not come off easily with basic tools. Alternative techniques help solve this problem. These methods use heat, special tools, and tapping to free the rotor safely and quickly.
Heat Application
Heat expands metal and breaks rust bonds. Use a propane torch or heat gun on the rotor hub. Heat the center, not the brake disc. Heat for a few minutes to loosen the stuck parts. Cool down slowly to avoid warping the rotor.
Using Puller Tools
Puller tools apply even pressure to remove the rotor. Attach the puller to the rotor’s holes. Tighten the center bolt to push the rotor off the hub. Pullers reduce damage risk to the rotor and hub. Choose a puller size that fits your rotor.
Tapping Patterns For Stubborn Rotors
Gentle tapping can break rust and dirt seals. Use a rubber mallet or hammer with a wooden block. Tap around the rotor edge in a circular pattern. Tap lightly and increase force slowly. Avoid direct hits to the rotor face to prevent damage.
Safety Tips During Removal
Removing a stuck brake rotor can be tough and risky without the right safety steps. Taking precautions helps prevent injuries and protects your vehicle. Follow these safety tips to work safely and efficiently.
Protective Gear Essentials
Always wear safety glasses to shield your eyes from debris. Use gloves to protect your hands from sharp edges and dirt. Wear long sleeves and closed shoes for extra protection. Safety gear reduces the chance of cuts and bruises.
Avoiding Vehicle Damage
Use a jack stand to keep the vehicle stable and secure. Avoid hitting the rotor with too much force to prevent damage. Place wood or rubber blocks between tools and parts to protect surfaces. Handling parts gently saves money on repairs.
Proper Tool Handling
Use the correct tools for the job to avoid slipping or breaking. Hold tools firmly and apply steady pressure during removal. Keep tools clean and in good condition for safe use. Proper handling prevents accidents and makes the task easier.
Preventing Future Rotor Seizure
Preventing rotor seizure keeps your brakes working smoothly and safely. Rotors that stick cause noise, vibration, and costly repairs. Simple steps can stop this problem before it starts. Focus on care, protection, and proper fitting to keep rotors free.
Regular Maintenance Practices
Check rotors and brake parts often. Clean rust and dirt from the rotor surface. Tighten lug nuts to the right torque. Replace worn brake pads in time. These steps stop corrosion and ensure smooth brake function.
Applying Anti-seize Compounds
Use anti-seize grease on the rotor hub before installation. This prevents metal parts from sticking together. Apply a thin, even layer to avoid buildup. Anti-seize helps parts come apart easily during future repairs.
Proper Installation Techniques
Align the rotor correctly on the hub. Tighten bolts in a star pattern to spread pressure. Do not overtighten, or you risk warping the rotor. Follow the vehicle’s manual for exact torque specs. Proper fitting stops uneven wear and seizing.
Credit: www.youtube.com
Frequently Asked Questions
How Do I Safely Remove A Stuck Brake Rotor?
First, loosen the wheel and brake caliper. Use penetrating oil on the rotor hub. Tap the rotor gently with a hammer to break rust. Avoid excessive force to prevent damage.
What Tools Are Needed To Remove A Stuck Rotor?
You need a lug wrench, penetrating oil, a rubber mallet or hammer, and possibly a screwdriver. Safety gloves and eye protection are also recommended during the process.
Why Does A Brake Rotor Get Stuck?
Rotors get stuck due to rust and corrosion between the rotor and hub. Moisture and road salt accelerate this process, causing the rotor to bind tightly.
Can Heat Help Remove A Stuck Brake Rotor?
Yes, applying heat with a heat gun or torch can expand the metal, loosening rust bonds. Use caution to avoid overheating brake components or damaging seals.
Conclusion
Removing a stuck brake rotor can feel tough but is doable. Apply gentle heat and use the right tools carefully. Avoid rushing to prevent damage to your vehicle. Take your time and stay safe during the process. With patience, the rotor will come loose.
Now, you can replace or repair the brakes easily. Keep these tips in mind for future brake work. Your car will thank you for proper care.


