
Are you struggling to remove those stubborn Aero wheel covers from your car? You’re not alone.
Many drivers find it tricky to take them off without causing damage. But don’t worry—this guide will walk you through simple, step-by-step methods to get the job done quickly and safely. Whether you want to clean, replace, or upgrade your wheel covers, knowing how to remove them properly saves you time and money.
Keep reading, and you’ll master the process with ease.
Credit: service.tesla.com
Tools Needed
Removing Aero wheel covers requires a few simple tools. Having the right tools makes the job easier and faster. You don’t need expensive or complex equipment. Just basic tools that most people have at home.
Here is a list of tools needed for removing Aero wheel covers safely and without damage.
Flathead Screwdriver
A flathead screwdriver helps to pry off the wheel covers. Choose one with a sturdy handle and a flat tip. Use it carefully to avoid scratching the wheel or cover.
Rubber Mallet
A rubber mallet helps to gently tap the wheel cover loose. It prevents damage that a metal hammer might cause. Use light taps around the edges to loosen the cover.
Gloves
Wearing gloves protects your hands from sharp edges. Gloves also improve your grip on the wheel cover. Choose gloves that fit well and provide good protection.
Wheel Wrench
A wheel wrench may be needed to remove the lug nuts if the cover is attached to them. Use the correct size wrench for your car’s lug nuts. This tool helps you access the wheel cover easily.
Safety Precautions
Removing aero wheel covers requires care. Safety comes first to avoid injuries and damage. Follow simple safety steps to protect yourself and your vehicle.
Wear Protective Gloves
Gloves protect your hands from sharp edges and dirt. Use sturdy gloves that fit well. This helps you grip the wheel cover firmly.
Use Safety Glasses
Small parts can fly off during removal. Safety glasses shield your eyes from dust and debris. Never skip this step for your eye safety.
Park On A Flat Surface
Always park your car on a level area. This prevents the car from rolling. Engage the parking brake before starting the work.
Use Proper Tools
Use the correct tools to remove the wheel covers. Avoid using sharp or broken tools. Proper tools make the job easier and safer.
Check Tire And Wheel Condition
Inspect the tire and wheel before removing the cover. Look for damage or wear that could cause problems. Address any issues before proceeding.
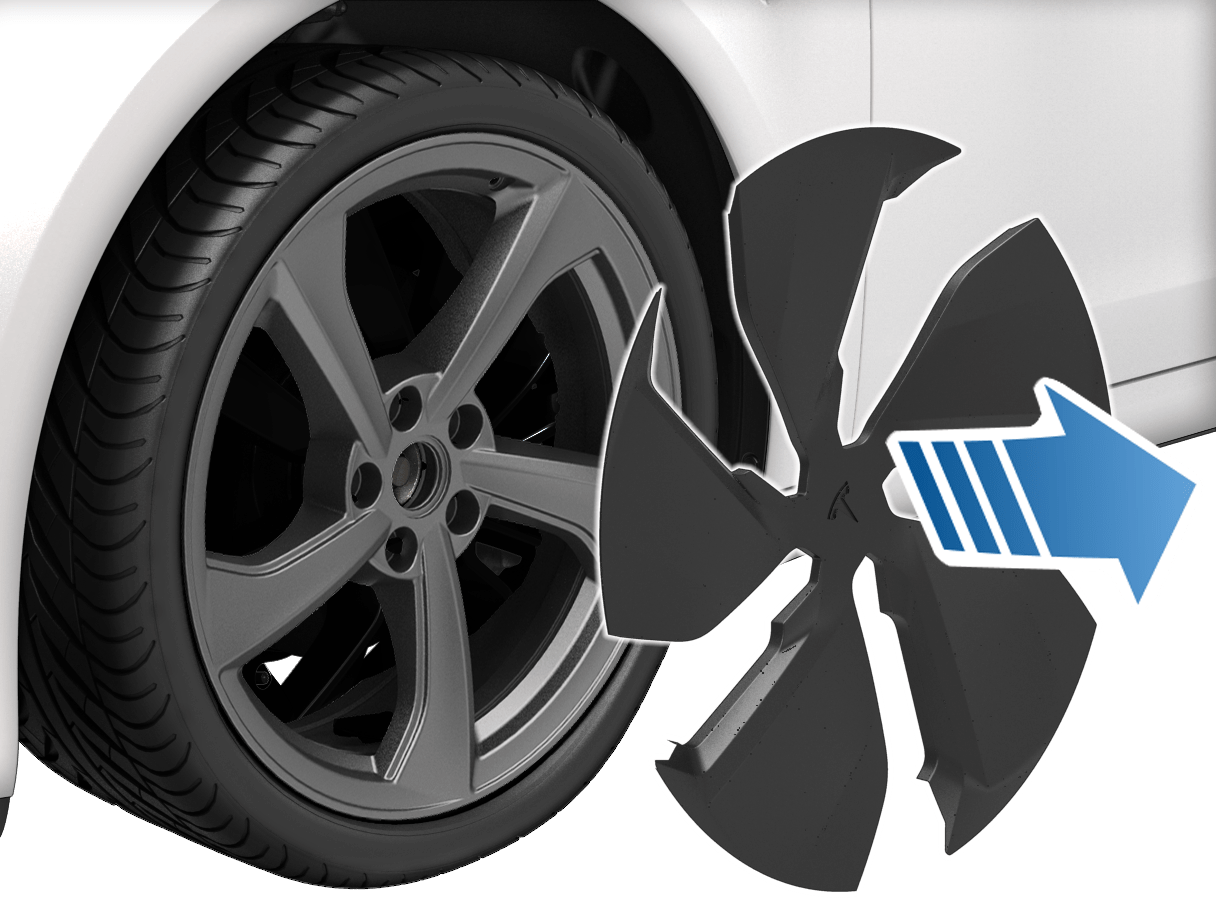
Locate The Retaining Clips
Locating the retaining clips is the first key step to remove Aero wheel covers. These clips hold the cover firmly on the wheel. Knowing where they are helps you remove the cover without damage.
Retaining clips are small metal or plastic parts. They snap into place and grip the wheel rim tightly. Finding the clips lets you release the cover safely.
Understanding The Role Of Retaining Clips
Retaining clips keep the wheel cover fixed to the wheel. They stop it from falling off during driving. Each clip fits into a slot on the wheel rim. Pressing or lifting these clips releases the cover.
Common Locations Of Retaining Clips On Aero Wheel Covers
Clips usually sit behind the edge of the wheel cover. You can see small gaps or indentations where clips hold. Some covers have clips near the valve stem area. Others have clips spaced evenly around the rim.
Tools To Help Find Retaining Clips
A flathead screwdriver or plastic pry tool works well. Insert the tool gently between the cover and the wheel rim. Feel around for the clips by slight movement. Avoid sharp tools that may scratch the wheel cover.

Credit: www.youtube.com
Loosen The Wheel Covers
Loosening the wheel covers is the first step to remove Aero wheel covers safely. It helps to avoid damage to the covers and wheels. The process requires patience and the right tools. Use careful techniques to make the removal smooth and easy.
Use A Flathead Screwdriver
Find a flathead screwdriver with a thin blade. Insert the blade gently between the wheel cover and the rim. Move the screwdriver slowly to create a small gap. Do not force it. The goal is to loosen the cover without breaking the clips.
Apply Gentle Pressure
Once the screwdriver is in place, press gently. Twist the screwdriver slightly to lift the edge of the cover. Work around the cover, loosening clips one by one. Avoid pushing too hard. Gentle pressure prevents damage and helps the cover come off easily.
Remove The Wheel Covers
Removing aero wheel covers is simple with the right steps. It helps to protect your wheels and prepare for maintenance or cleaning. Follow a careful process to avoid damage to the covers or wheels.
Start by focusing on the edges of the wheel cover. Use gentle force to lift it off the wheel. This method keeps the cover intact and prevents scratches.
Lift From The Edges
Place your fingers at the edge of the wheel cover. Slowly pull outward and upward. Avoid pulling too hard to prevent cracking the cover. Work your way around the wheel, lifting bit by bit. This approach loosens the cover evenly.
Check For Damage
After removal, inspect the wheel cover carefully. Look for cracks, dents, or scratches. Small damages can worsen if ignored. Check the clips or fasteners too. Replace any broken parts before reattaching the cover.
Clean The Wheel Surface
Cleaning the wheel surface is a key step before removing Aero wheel covers. Dirt and grime can stick the cover to the wheel. This makes removal harder and can cause damage.
Washing the wheel surface helps the cover come off smoothly. It also protects the wheel from scratches. A clean surface makes the whole process safer and easier.
Prepare Cleaning Materials
Gather a bucket, water, mild soap, and a soft cloth. Avoid harsh cleaners or rough brushes. These can scratch the wheel surface.
Wash The Wheel Thoroughly
Dip the cloth in soapy water. Wipe the entire wheel surface carefully. Remove all dirt, grease, and brake dust. Rinse with clean water afterward.
Dry The Wheel Properly
Use a dry, soft cloth to wipe the wheel. Make sure no water or soap remains. A dry surface helps the wheel cover release easily.
Store Or Replace Wheel Covers
After removing your Aero wheel covers, decide whether to store or replace them. Keeping them safe preserves their look and function. Choosing new covers can refresh your car’s style.
Proper Storage Tips
Clean the wheel covers before storing. Use mild soap and water, then dry completely. Avoid leaving dirt or moisture on them.
Store covers in a cool, dry place away from direct sunlight. Use a soft cloth or bubble wrap to prevent scratches. Stack covers carefully to avoid bending or damage.
Choosing New Covers
Pick covers that fit your wheel size exactly. Check the material for durability and weather resistance. Plastic covers are light, but metal ones last longer.
Match the cover design with your car’s look. Simple styles often suit all cars. Bright or flashy covers can attract attention but may not suit every vehicle.

Credit: www.reddit.com
Frequently Asked Questions
How Do I Safely Remove Aero Wheel Covers?
Use a flathead screwdriver or a pry tool to gently lift the edge. Work slowly around the cover to avoid damaging the clips or the wheel. Always wear gloves for protection and ensure the vehicle is stationary during removal.
What Tools Are Needed To Remove Aero Wheel Covers?
Typically, a flathead screwdriver or a specialized pry tool is enough. These tools help to carefully pop off the covers without causing damage. Avoid using excessive force to protect the wheel and cover integrity.
Can I Remove Aero Wheel Covers Without Damaging Them?
Yes, by gently prying the edges and working evenly around the cover. Avoid sharp tools or excessive force. Handle clips carefully to keep the cover reusable and intact after removal.
How Long Does It Take To Remove Aero Wheel Covers?
Removing one cover usually takes about 5 minutes with proper tools. Time varies based on experience and wheel design. Taking your time reduces risk of damage to the cover or wheel.
Conclusion
Removing Aero wheel covers is simple with the right steps. Use gentle force and proper tools to avoid damage. Take your time to loosen clips carefully. Clean the wheel area once covers are off. Regular practice makes the process easier.
This guide helps keep your wheels in good shape. Follow these tips for safe and smooth removal every time.


