
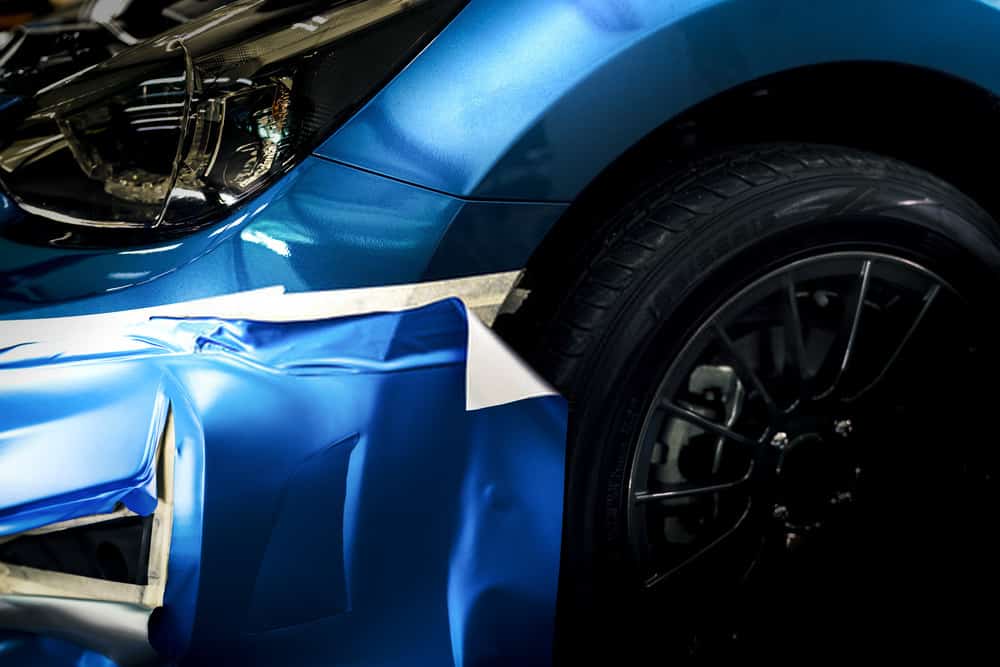
Is your vinyl wrap looking old, cracked, and worn out? Removing it might seem like a tough job, but it doesn’t have to be.
If you want a clean surface ready for a fresh new look, knowing how to remove old cracked vinyl wrap the right way is key. In this guide, you’ll discover simple, effective steps to get rid of that stubborn wrap without damaging your vehicle or surface.
Keep reading, and you’ll be surprised at how easy it can be to bring back that smooth, fresh finish you want.
Credit: precisionsigntulsa.com
Tools And Materials Needed
Removing old cracked vinyl wrap requires the right tools and materials. Having them ready helps the process go smoothly. Each item plays a key role in making the job easier and cleaner.
Gathering these tools before you start saves time and frustration. Here is a list of what you need to remove vinyl wrap safely and effectively.
Heat Gun Or Hair Dryer
A heat gun or hair dryer softens the vinyl wrap. Heat loosens the adhesive under the vinyl. This makes peeling easier and prevents damage to the surface below.
Plastic Scraper Or Squeegee
Use a plastic scraper or squeegee to lift the vinyl edges. These tools help remove wrap without scratching the surface. Avoid metal tools as they can cause damage.
Adhesive Remover
An adhesive remover cleans sticky residue left behind. Choose a remover safe for your vehicle’s paint. Apply it gently to avoid harming the surface.
Microfiber Cloths
Microfiber cloths wipe away residue and dirt. They are soft and prevent scratching. Use them with adhesive remover for a clean finish.
Gloves
Wear gloves to protect your hands. Adhesive remover and heat can irritate skin. Gloves keep your hands safe and clean during removal.
Preparing The Surface
Preparing the surface is a key step before removing old cracked vinyl wrap. It helps avoid damage and makes the removal easier. Take your time to get this right. A clean and protected area will save you from extra work later.
Start by cleaning the area well. Dirt and dust can cause scratches during removal. Next, protect parts around the wrap. This stops accidental damage and keeps tools from slipping. Both steps help you work safely and smoothly.
Cleaning The Area
Use a mild soap and water mix to clean the surface. Apply with a soft cloth or sponge. Avoid harsh cleaners that can damage paint. Remove all dirt, grease, and grime. Dry the area completely before moving on. A clean surface helps the vinyl peel off better.
Protecting Surrounding Parts
Cover edges near the wrap with painter’s tape. Shield trim, glass, and lights with plastic sheets or cloth. This prevents scratches and glue residue on these parts. Take care around curves and corners. Proper protection keeps your vehicle safe during removal.
Heating The Vinyl Wrap
Heating the vinyl wrap makes the removal process easier and safer. Heat softens the adhesive under the wrap. This helps the vinyl peel off without tearing or leaving residue behind. Applying the right heat is key to protect the surface below. Too much heat can damage paint or plastic parts. Too little heat makes peeling difficult and slow. Follow these steps to heat the vinyl wrap correctly.
Choosing The Right Heat Source
Select a heat source that is easy to control. A heat gun is the best tool for this job. It provides steady heat and adjustable temperature settings. Avoid using a blow dryer; it often does not get hot enough. Propane torches are too hot and unsafe for vinyl removal. Make sure the heat source reaches 200-250°F (93-121°C) for best results.
Applying Heat Evenly
Move the heat source continuously over the vinyl surface. Keep it about 6 inches away to avoid burning. Heat small sections at a time, around 6 to 8 inches wide. Pause briefly to let the heat soak in. Even heating softens the adhesive evenly. This prevents the vinyl from ripping or stretching. Work patiently to keep the wrap intact during removal.

Credit: www.youtube.com
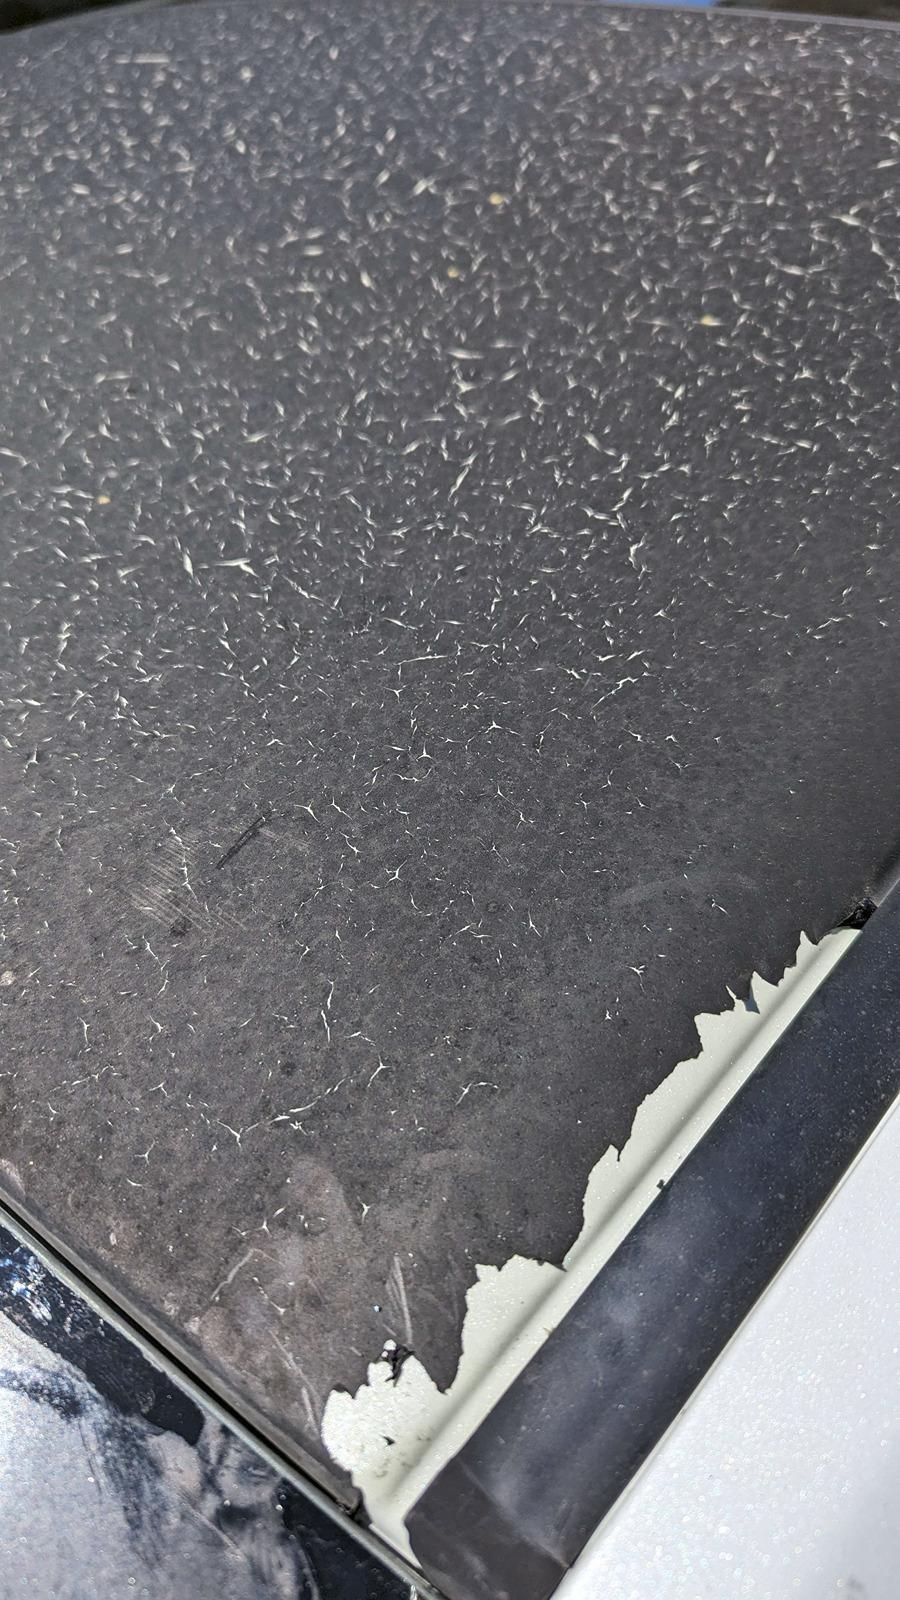
Peeling Off The Old Wrap
Peeling off old cracked vinyl wrap can be a tricky task. It requires patience and the right tools. Removing the wrap carefully prevents damage to the surface underneath. This section explains simple steps to peel off the old wrap safely.
Starting From The Edges
Begin peeling at the edges of the vinyl wrap. Edges are easier to lift and pull away. Use your fingernail or a small tool to lift a corner. Pull gently to avoid tearing the wrap. Work slowly along the edges to loosen the wrap. This step helps create a starting point for removal.
Using A Plastic Scraper
Use a plastic scraper to help lift the vinyl wrap. Avoid metal tools that can scratch the surface. Slide the scraper under the wrap carefully. Lift the wrap slowly with the scraper’s help. Keep the scraper flat to prevent damage. Repeat this process until the wrap comes off completely.
Removing Adhesive Residue
Removing adhesive residue is a key step after peeling off old vinyl wrap. Sticky glue left behind can attract dirt and damage surfaces. Cleaning this residue ensures a smooth, clean surface for new wrap or paint. The process requires the right tools and careful techniques. Patience helps avoid scratches and stains.
Applying Adhesive Remover
Choose an adhesive remover made for vinyl or automotive use. Apply a small amount directly on the sticky areas. Let it sit for a few minutes to soften the glue. Avoid using harsh chemicals that can damage paint or plastic. Test the remover on a small hidden spot first. Use a soft cloth or sponge to spread the remover evenly.
Wiping And Scrubbing Techniques
Use a microfiber cloth to wipe away the softened adhesive. For tougher spots, gently scrub with a soft-bristle brush. Do not use metal scrapers or rough pads that can scratch surfaces. Wipe in circular motions to lift the residue. Repeat applying remover and scrubbing until all glue is gone. Finish with a clean, damp cloth to remove leftover remover.
Credit: www.civicx.com
Preparing For New Vinyl Installation
Preparing for new vinyl installation starts after removing the old wrap. The surface must be smooth and clean. This step helps the new vinyl stick properly. It also prevents bubbles and wrinkles. Taking time here ensures a better finish and longer-lasting results.
Surface Smoothing
Check the surface for any bumps or glue residue. Use a plastic scraper to gently remove leftover adhesive. Sand any rough spots lightly with fine-grit sandpaper. Avoid harsh sanding that can damage the surface. Smooth surfaces help vinyl wrap lay flat and look neat.
Final Cleaning Tips
Clean the surface with a mild soap and water solution. Rinse well to remove all dirt and dust. Dry the area with a clean, lint-free cloth. Use a surface cleaner or rubbing alcohol to remove oils. A clean, dry surface improves vinyl adhesion and prevents peeling.
Frequently Asked Questions
How Do I Remove Old Cracked Vinyl Wrap Safely?
To remove old cracked vinyl wrap safely, start by heating the vinyl with a heat gun. Gently peel it off using a plastic scraper. Avoid sharp tools to prevent surface damage. Clean residue with adhesive remover for a smooth finish.
What Tools Are Needed To Remove Vinyl Wrap?
Essential tools include a heat gun, plastic scraper, adhesive remover, microfiber cloth, and gloves. These help soften the vinyl, lift it safely, and clean leftover adhesive. Using proper tools prevents damage to the underlying surface.
Can I Reuse Vinyl Wrap After Removing It?
No, old vinyl wrap usually cannot be reused. Cracks and adhesive loss reduce its effectiveness. It’s best to replace it with new wrap for a fresh, durable finish.
How Long Does Vinyl Wrap Removal Take?
Vinyl wrap removal time varies with size and condition. Small areas may take 30 minutes, while larger, cracked wraps can take several hours. Patience and proper tools ensure efficient, damage-free removal.
Conclusion
Removing old cracked vinyl wrap takes patience and the right tools. Start by heating the wrap to soften the adhesive. Peel it slowly to avoid damage to the surface beneath. Use a cleaner to remove any leftover glue or residue.
Taking your time ensures a smooth, clean finish. This process can refresh your vehicle or item without costly repairs. Keep safety in mind by working in a well-ventilated area. With these simple steps, you can handle vinyl wrap removal confidently and effectively.


