
Are you ready to give your car a fresh, stylish look without the high cost of a new paint job? Applying Vvivid vinyl wrap is a smart and affordable way to transform your vehicle’s appearance quickly.
But how do you get a smooth, bubble-free finish that lasts? In this guide, you’ll discover simple, step-by-step tips to make the wrapping process easy—even if it’s your first time. Keep reading, and you’ll learn how to achieve professional results that will turn heads wherever you go.
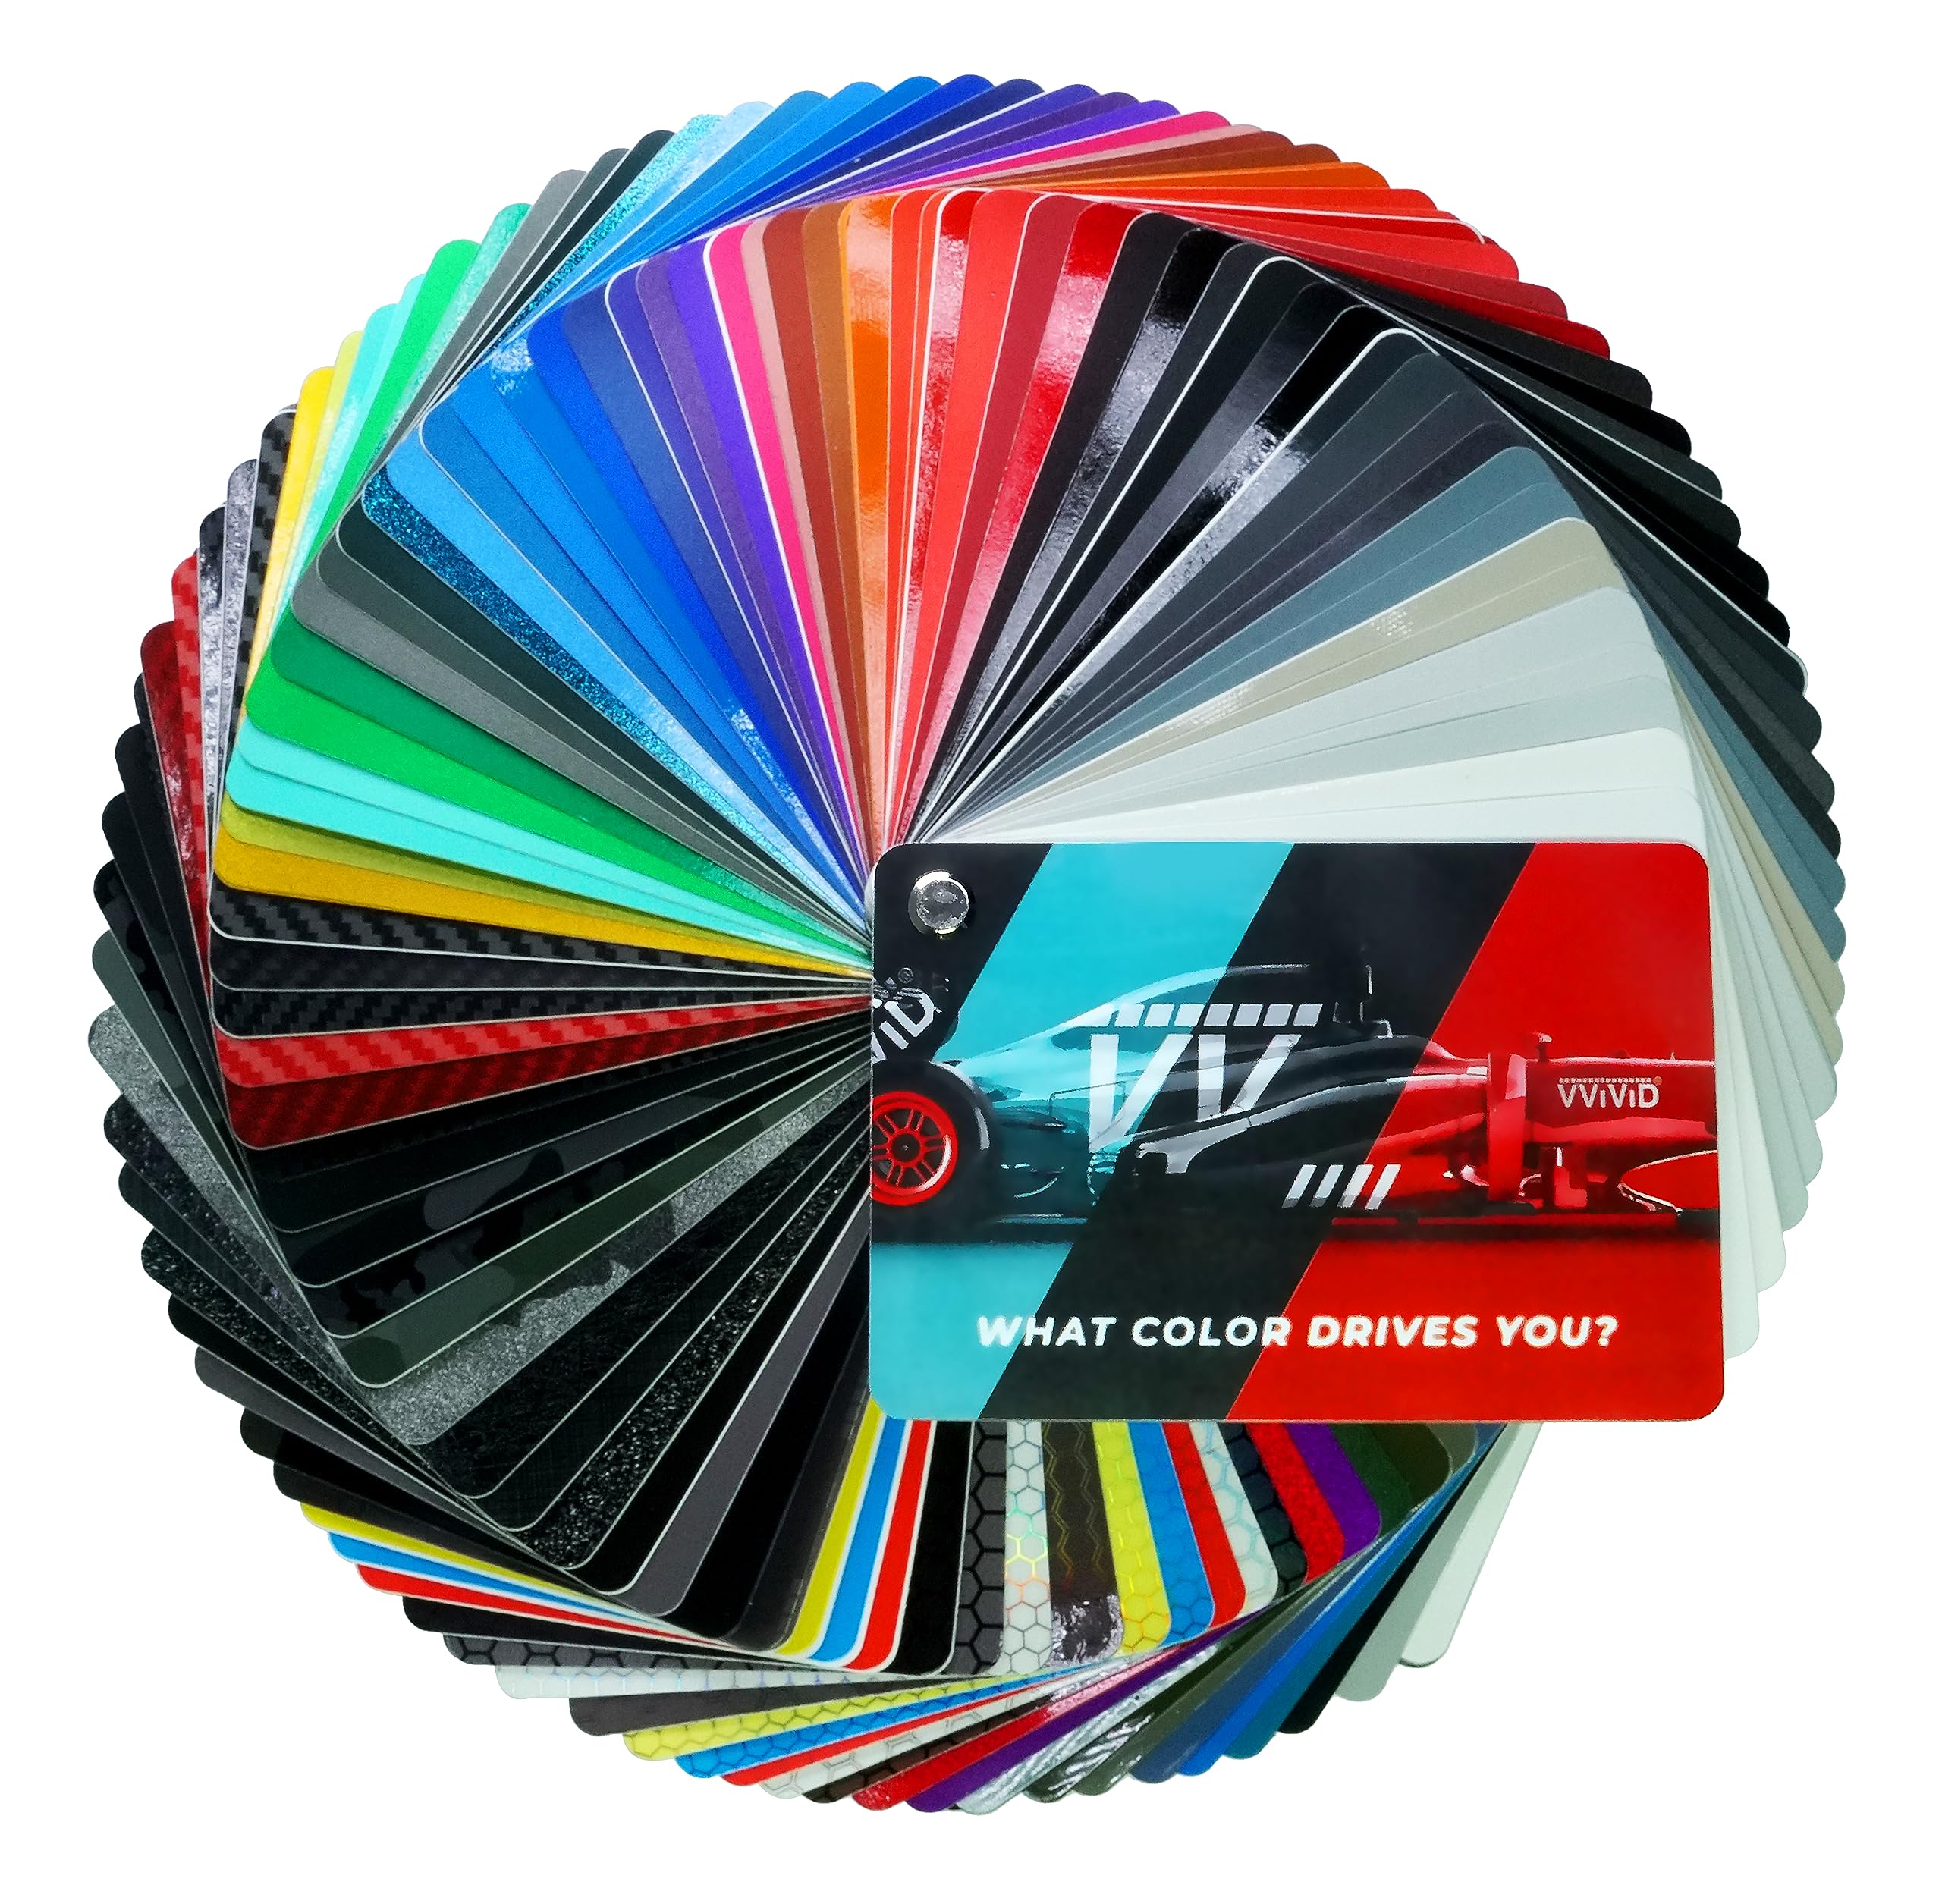
Credit: vvividshop.com
Choosing The Right Vvivid Vinyl
Choosing the right Vvivid vinyl is a key step for a smooth wrap job. The right vinyl helps the wrap last longer and look better. It also makes the application easier, saving time and effort. This section guides you through picking the best Vvivid vinyl for your project.
Types Of Vvivid Vinyl Wraps
Vvivid offers many vinyl types. Glossy vinyl gives a shiny, fresh look. Matte vinyl creates a smooth, non-reflective surface. Satin vinyl sits between glossy and matte with a soft shine. Textured vinyl adds patterns like carbon fiber or brushed metal. Choose a type that fits your style and vehicle shape.
Selecting Colors And Finishes
Vvivid vinyl comes in many colors. Bright colors catch attention easily. Dark colors give a sleek, subtle style. Metallic and chrome finishes add shine and depth. Think about your vehicle’s color and your personal taste. Match colors that blend well or stand out boldly.
Assessing Vinyl Quality
High-quality vinyl is easier to apply and lasts longer. Check the vinyl thickness; thicker sheets resist tears better. Look for vinyl with air-release technology to prevent bubbles. Quality vinyl should stretch well for curves and edges. Properly made vinyl helps avoid peeling or fading over time.
Preparing Your Surface
Preparing your surface is the first step to a smooth Vvivid vinyl wrap application. A clean and even surface helps the vinyl stick better. It also prevents bubbles and peeling later. Take time to prepare well. This saves effort and gives great results.
Cleaning And Degreasing
Start by washing the surface with soap and water. Remove all dirt, dust, and grime. Use a clean cloth or sponge for this. Next, apply a degreaser to remove oils and grease. This step is key for strong adhesion. Wipe the surface dry with a lint-free cloth.
Removing Old Wraps And Decals
Check for old vinyl wraps or stickers. Peel them off carefully to avoid damage. Use a heat gun or hair dryer to soften the adhesive. Remove any leftover adhesive with a remover or rubbing alcohol. Clean the surface again to remove residues.
Smoothing Surface Imperfections
Inspect the surface for scratches, dents, or bumps. Sand rough spots gently with fine-grit sandpaper. Fill dents with body filler and smooth with sandpaper. Make sure the surface is flat and even. A smooth surface prevents visible imperfections under the vinyl.
Gathering Essential Tools
Before starting your Vvivid vinyl wrap project, gather all the essential tools. Having the right tools makes the process easier and gives better results. Each tool plays a specific role in wrapping your vehicle smoothly and neatly.
Heat Guns And Squeegees
A heat gun helps soften the vinyl for easy stretching and shaping. Use it carefully to avoid damage. Squeegees remove air bubbles and smooth out the vinyl. Choose a squeegee with a soft edge to prevent scratches.
Cutting Tools And Tape
Sharp cutting tools like a utility knife or precision blade are necessary. They help trim the vinyl accurately around edges and curves. Masking tape holds the vinyl in place during application. It also marks cutting lines to keep your work clean.
Gloves And Cleaning Supplies
Wear gloves to avoid fingerprints and dirt on the vinyl surface. Clean the vehicle’s surface with mild soap and water. Use rubbing alcohol to remove grease or wax. A clean surface ensures better vinyl adhesion and a smooth finish.
Credit: www.youtube.com
Applying The Vinyl Wrap
Applying a Vvivid vinyl wrap takes patience and care. This step shapes the final look of your project. Proper application ensures the wrap fits smoothly and lasts longer. Follow these steps to apply the vinyl wrap effectively.
Measuring And Cutting The Vinyl
Start by measuring the surface carefully. Add a few extra inches to your measurements. This extra space helps during positioning. Use a sharp blade to cut the vinyl. Cut slowly and steadily to avoid mistakes.
Positioning The Wrap
Place the vinyl wrap gently on the surface. Check that it aligns with edges and corners. Peel back a small section of the backing paper. Stick that part down before smoothing the rest. Work slowly to prevent wrinkles and bubbles.
Smoothing And Stretching Techniques
Use a squeegee to smooth the vinyl outward. Apply firm, even pressure to push out air pockets. Stretch the vinyl lightly to fit curves. Avoid pulling too hard to prevent tears. Take breaks to adjust and reposition if needed.
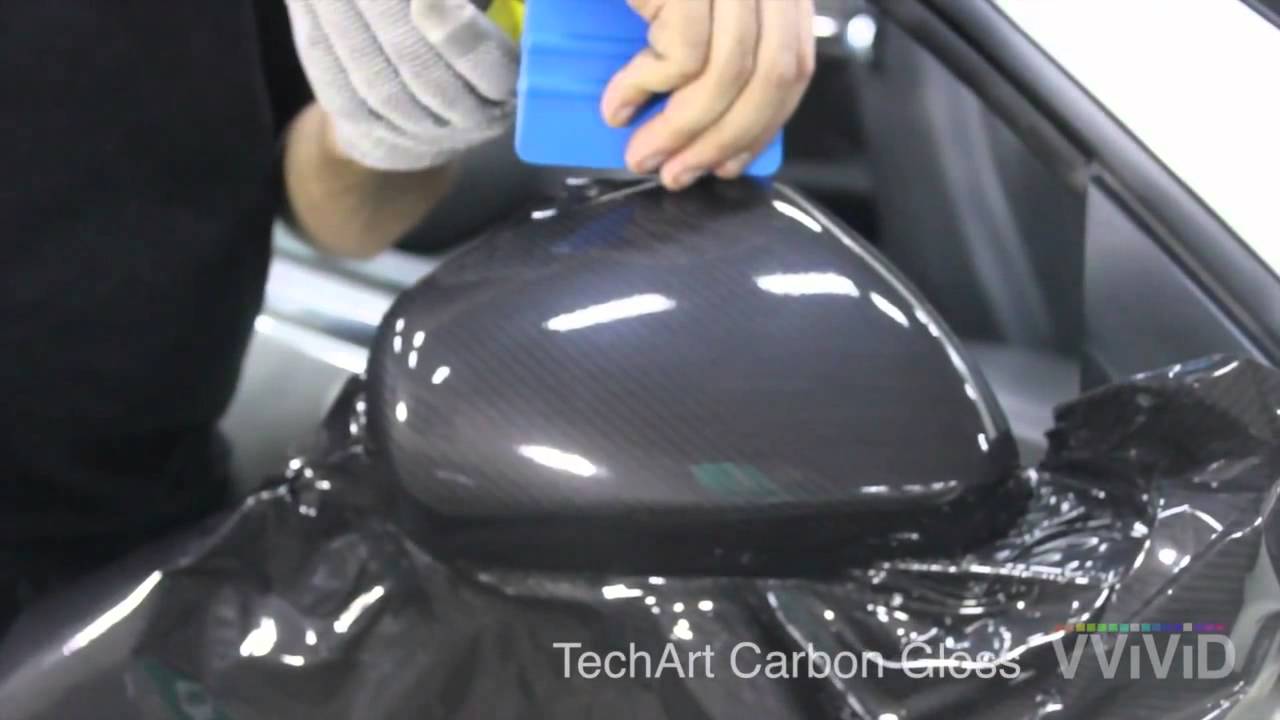
Handling Curves And Edges
Heat helps make the vinyl flexible around curves. Use a heat gun or hairdryer carefully. Stretch and press the vinyl into tight corners. Trim excess vinyl near edges for a clean finish. Pat down edges to ensure strong adhesion.
Finishing Touches
Finishing touches are key to a smooth and lasting Vvivid vinyl wrap. These final steps make sure the wrap fits perfectly and stays strong over time. Careful work here prevents peeling and keeps your vehicle looking sharp.
Trimming Excess Vinyl
Use a sharp blade to cut off extra vinyl around edges. Cut close but avoid cutting the surface underneath. Take your time for clean, straight lines. This step helps the wrap look neat and professional.
Using Heat For Better Adhesion
Heat softens the vinyl, making it stick better to curves and corners. Use a heat gun or a hairdryer on low heat. Gently warm the vinyl, then press it down firmly. Heat also helps remove small wrinkles.
Inspecting For Bubbles And Wrinkles
Look closely for air bubbles or folds on the wrap. Use a squeegee to push bubbles toward the edges. For stubborn bubbles, gently lift the vinyl and reapply with heat. Smooth, bubble-free surfaces protect the wrap and improve its look.

Credit: www.youtube.com
Maintenance Tips
Proper care keeps your Vvivid vinyl wrap looking fresh and new. Simple steps help maintain its color and shine. Regular attention prevents damage and peeling. Follow these easy tips to extend your wrap’s life.
Cleaning Wrapped Surfaces
Clean your vinyl wrap gently using mild soap and water. Avoid harsh chemicals that can damage the vinyl. Use a soft cloth or sponge for washing. Rinse well with clean water to remove soap. Dry with a microfiber towel to avoid scratches.
Avoiding Damage And Peeling
Keep your wrapped surfaces away from sharp objects. Avoid parking near trees to prevent sap and bird droppings. Do not use abrasive brushes or scrubbers on the wrap. Avoid high-pressure water jets close to edges. Handle edges carefully to prevent lifting or peeling.
Extending Vinyl Lifespan
Park your vehicle in shaded areas to reduce sun damage. Apply a vinyl protectant designed for wraps every few months. Remove dirt and debris regularly to prevent buildup. Inspect your wrap often for any signs of wear. Quick repairs stop small issues from getting worse.
Troubleshooting Common Issues
Applying Vvivid vinyl wrap can be smooth, but some common issues might appear. These problems are normal and fixable. Knowing how to handle them saves time and keeps your wrap looking great. Here are some easy steps to solve the most frequent issues.
Fixing Air Bubbles
Air bubbles often form under the vinyl during application. Use a small pin to prick the bubble gently. Press the air out with a squeegee or your finger. Work from the center of the bubble towards the edges. This helps the vinyl lay flat and smooth.
Repairing Tears And Scratches
Tears can happen if the vinyl stretches too much or catches on a sharp edge. Small tears may be fixed by pressing the edges back down carefully. For bigger tears, cut a small patch from leftover vinyl. Place it under the tear and press firmly to seal. Scratches can sometimes be hidden by heating the vinyl lightly and smoothing it out.
Dealing With Wrinkles
Wrinkles usually appear if the vinyl is not stretched properly. Warm the vinyl gently with a heat gun or hairdryer. This softens the material and makes it easier to stretch. Use a squeegee to push the wrinkles out towards the edges. Avoid overheating to prevent damage to the vinyl.
Frequently Asked Questions
What Tools Are Needed To Apply Vvivid Vinyl Wrap?
You need a squeegee, heat gun, utility knife, microfiber cloth, and gloves. These tools ensure smooth application and prevent bubbles or wrinkles during the wrap process.
How Do I Prepare My Car For Vvivid Vinyl Wrap?
Clean the surface thoroughly with soap and water. Remove wax, grease, and dirt. Dry completely before applying the wrap for better adhesion and durability.
Can I Apply Vvivid Vinyl Wrap On Textured Surfaces?
Vvivid vinyl wraps best on smooth, clean surfaces. Textured or rough surfaces may cause poor adhesion and bubbles. For best results, apply on flat, smooth areas.
How Long Does Vvivid Vinyl Wrap Last On A Vehicle?
Vvivid vinyl wraps typically last 5 to 7 years with proper care. Avoid harsh chemicals and excessive sun exposure to extend the wrap’s lifespan.
Conclusion
Applying Vvivid vinyl wrap takes patience and care. Clean the surface well before starting. Work slowly to avoid bubbles and wrinkles. Use a heat gun for better adhesion and smooth edges. Trim excess wrap carefully for a neat finish. Practice makes the process easier and faster.
Enjoy the fresh look your wrap gives to any surface. Try different colors to change style anytime. Your project will look great with these simple steps. Keep tools ready and stay focused. Success comes with small, steady efforts.


