
Have you ever noticed those small covers hiding the wheel axle on your bike or car? They might seem insignificant, but knowing how to remove wheel axle covers can save you time and money when it’s time for maintenance or repairs.
If you’re unsure where to start or worried about damaging your vehicle, this guide is made just for you. By the end, you’ll feel confident handling this simple task like a pro. Ready to get your hands dirty and take control of your ride?
Let’s dive in.
Tools Needed
Removing wheel axle covers requires the right tools. Having the proper tools makes the task easier and faster. Some tools are essential, while others help with tough covers. Prepare your tools before you start to avoid delays.
Basic Tool Kit
A flathead screwdriver is a must. It helps pry the cover gently. A rubber mallet can tap covers loose without damage. Needle-nose pliers assist in gripping small parts. Gloves protect your hands from sharp edges. Clean cloths help wipe dirt and grease away.
Optional Tools For Stubborn Covers
A plastic trim removal tool reduces risk of scratches. A small pry bar offers extra leverage. WD-40 or similar lubricant loosens stuck covers. A heat gun softens hardened plastic covers carefully. These tools help when covers resist normal removal methods.
Preparing The Vehicle
Preparing your vehicle before removing wheel axle covers is important. It helps make the process safe and easy. Taking the right steps protects you and your car. This section explains how to get your vehicle ready.
Safety Precautions
Start by parking on a flat surface. This stops the car from moving. Use the parking brake to lock the wheels. Wear gloves to protect your hands. Safety glasses are good to avoid dust or debris. Keep tools nearby but away from children or pets. Never rush. Take your time to avoid accidents.
Positioning The Vehicle
Turn the steering wheel so the wheel with the cover faces straight. This gives better access to the axle cover. Place wheel chocks behind the opposite wheels. This keeps the car from rolling back. Make sure the car is stable before you begin. Proper positioning makes the job easier and safer.
Locating The Axle Covers
Finding the wheel axle covers is the first step in removing them properly. These covers protect the axle and keep dirt and debris out. Knowing where to look saves time and prevents damage to your vehicle.
Axle covers can look different depending on the type of vehicle and wheel design. Some are easy to spot, while others blend in with the wheel itself. Understanding their location helps you plan the removal process.
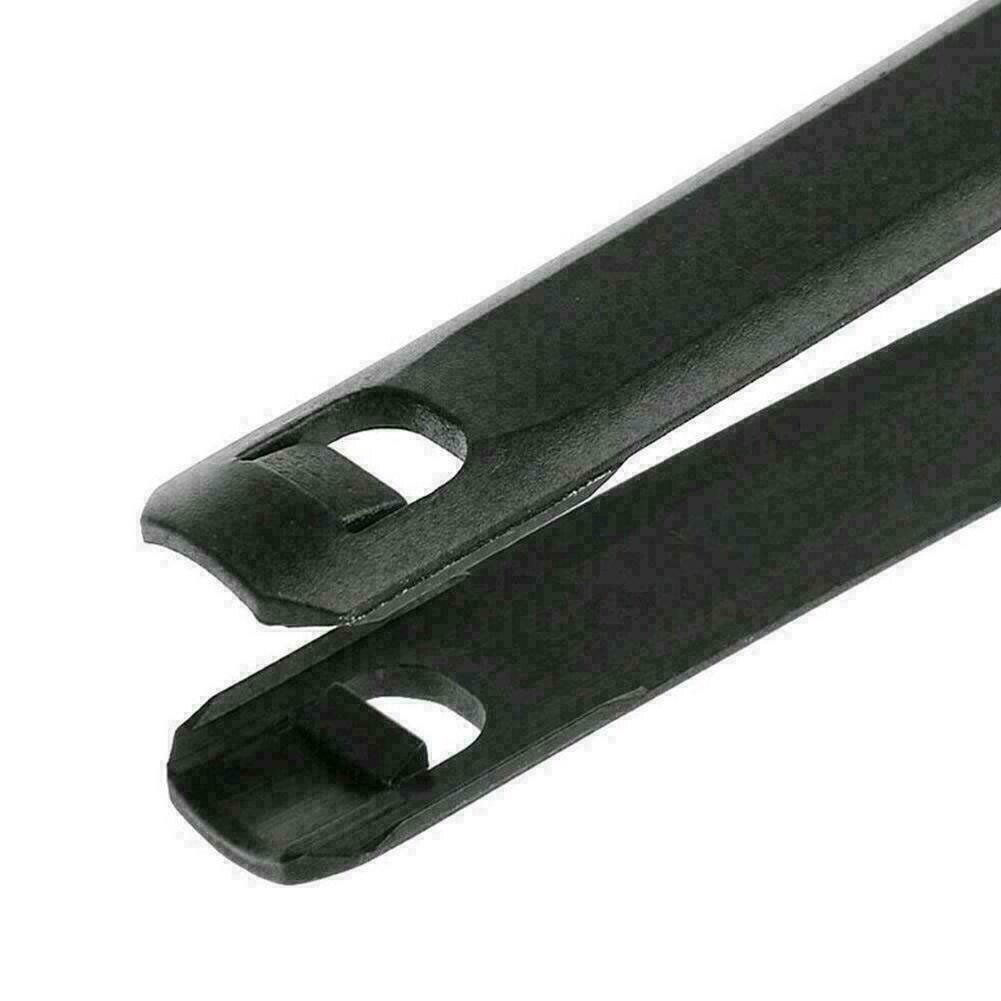
Types Of Axle Covers
Axle covers come in several styles. Some are simple caps that snap onto the axle hub. Others are larger, metal covers that bolt on. Plastic covers are common on smaller vehicles. Metal covers are often found on trucks and heavy-duty wheels. Each type needs different tools for removal.
Identifying Cover Attachments
Check how the axle cover is attached before trying to remove it. Some covers snap on with clips. Others use screws or bolts. A few may have a locking mechanism. Look closely around the cover edge. Spotting the attachment type guides you on which tool to use. Avoid forcing the cover off to prevent damage.

Credit: www.4statetrucks.com
Removing Standard Axle Covers
Removing standard axle covers is a simple task with the right tools and steps. These covers protect the wheel axle from dirt and damage. Over time, they may need removal for maintenance or replacement. A careful approach avoids damage to the cover or axle. Follow these steps for safe removal.
Using A Pry Tool
Start by choosing a flat pry tool. Insert it gently between the axle cover and wheel hub. Apply light pressure to lift the cover slowly. Move the tool around the edge to loosen it evenly. Avoid using too much force to prevent bending or breaking. Work patiently until the cover pops off.
Applying Lubricant
Stubborn axle covers may stick due to dirt or rust. Apply a small amount of lubricant around the cover edge. Let it sit for a few minutes to loosen the grip. Use a cloth to wipe away excess lubricant. Repeat prying with the tool carefully. Lubricant reduces friction and eases removal.
Handling Stubborn Covers
Wheel axle covers can get stuck due to rust or dirt buildup. Handling these stubborn covers requires patience and the right methods. Using simple tools and techniques can make the removal easier and safer. Avoid rushing to prevent damage to the wheel or axle.
Try gentle methods first. If the cover does not budge, use controlled techniques to loosen it. Safety should always come first to protect yourself and your vehicle.
Heating Techniques
Heat helps expand metal and loosen tight covers. Use a heat gun or a hairdryer to warm the cover. Apply heat evenly around the cover for a few minutes. Avoid using open flames to prevent damage or fire risks. After heating, try to remove the cover with a gentle twist or pull. Repeat heating if needed but do not overheat.
Using Impact Tools Safely
Impact tools add force to loosen stuck covers. Use a rubber mallet or a small hammer with care. Tap gently around the cover edges to avoid dents. Strike with controlled, light hits rather than hard blows. Use a pry tool designed for wheel covers if needed. Always wear safety glasses to protect your eyes. Stop if the cover shows signs of cracking or bending.
Inspecting Axle Components
Inspecting axle components is a key step after removing wheel axle covers. It helps to find any damage or dirt that could affect wheel performance. Careful inspection keeps your vehicle safe and running well.
Checking For Damage
Look closely at the axle for cracks or bends. Small cracks can grow larger over time. Check for rust spots that might weaken the metal. Make sure the axle spins smoothly without noise. Any rough spots or wobbling need attention.
Cleaning The Area
Remove dirt, grease, and old grease from the axle area. Use a clean cloth and mild cleaner for best results. Clean surfaces help you see damage clearly. Clean axles also work better with new grease and parts. Let everything dry before reassembling the wheel.
Tips For Reinstallation
Reinstalling wheel axle covers requires care to ensure a secure fit and lasting protection. Proper reinstallation keeps your wheels safe from dust and damage. Follow these tips to make the process easy and effective.
Choosing Replacement Covers
Select covers that match your wheel size precisely. Check the material to ensure durability and resistance to weather. Plastic covers are lightweight but less durable. Metal covers offer stronger protection but can rust. Choose based on your climate and use. Always buy from trusted brands for quality assurance.
Proper Attachment Methods
Clean the wheel surface before attaching covers. Dirt can prevent a tight fit. Use the correct tools to avoid damage. Snap-on covers should click firmly into place. Screw-on covers need tight, but not over-tightened, screws. Test the cover by gently pulling it to check security. Replace any worn clips or screws during installation.

Credit: community.goodsam.com
Credit: yourpghlawyer.com
Frequently Asked Questions
How Do I Safely Remove Wheel Axle Covers?
Use a flathead screwdriver or plastic pry tool to gently lift the cover. Apply slow, even pressure to avoid damage. If stuck, use a lubricant spray and wait a few minutes before trying again.
What Tools Are Needed To Remove Axle Covers?
Common tools include a flathead screwdriver, plastic pry tool, and lubricant spray. These help loosen and safely pry off the covers without scratching the wheel or axle.
Can I Remove Axle Covers Without Damaging Them?
Yes, use gentle prying with plastic tools and avoid metal tools. Applying lubricant helps loosen the cover, reducing the risk of damage during removal.
Why Remove Wheel Axle Covers?
Removing covers allows cleaning, maintenance, and inspection of wheel bearings. It also helps replace damaged covers or upgrade to a different style for aesthetics or performance.
Conclusion
Removing wheel axle covers is easier than it seems. Use the right tools and work carefully. Take your time to avoid damage. Clean the area once the cover is off. This helps keep your wheels in good shape. Practice a few times to gain confidence.
Soon, the process will feel natural and quick. Keep safety in mind at all times. Now, you are ready to handle axle covers yourself. Simple steps, clear results.


