
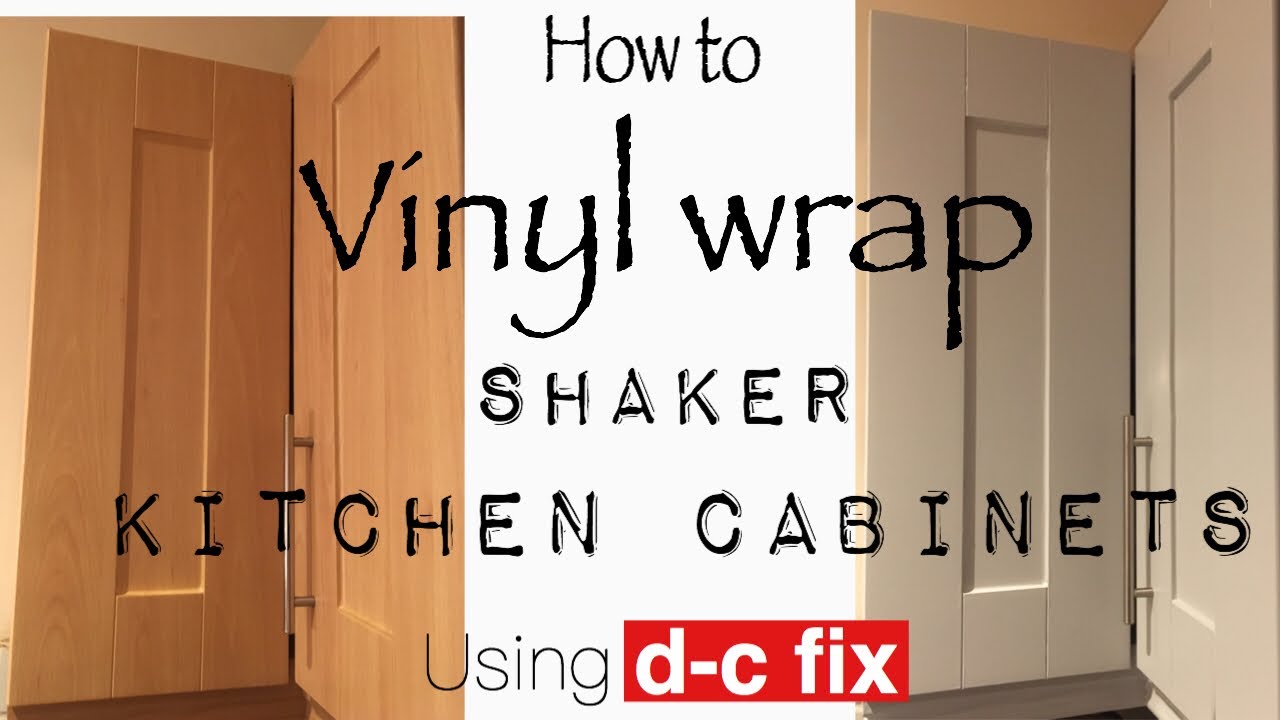
Are your vinyl wrap kitchen cupboards looking worn, peeling, or damaged? You don’t have to replace them or spend a fortune on professional repairs.
With a few simple steps, you can fix the damage yourself and make your cupboards look fresh and new again. Imagine the satisfaction of restoring your kitchen’s style without breaking the bank. Keep reading, and you’ll discover easy, practical tips that will save you time and money while transforming your space.
Your kitchen deserves this quick makeover—let’s get started!
Tools And Materials Needed
Repairing vinyl wrap kitchen cupboards requires the right tools and materials. Having these ready makes the process smoother. It helps you fix damages quickly and neatly. Gather everything before you start for better results.
Essential Repair Tools
Start with a sharp utility knife to cut damaged vinyl cleanly. Use a plastic scraper or putty knife to smooth the vinyl. A heat gun or hairdryer softens the vinyl for easier handling. Small scissors help trim edges precisely. A ruler or measuring tape ensures accurate cuts. Keep a clean cloth to wipe surfaces during repair.
Recommended Adhesives
Choose vinyl adhesive or contact cement for strong bonds. These adhesives stick well to cupboard surfaces. Avoid regular glue as it may not hold vinyl properly. Spray adhesive works well for large areas. Use glue sparingly to prevent bubbles or wrinkles. Always follow the adhesive instructions for best results.
Cleaning Supplies
Clean cupboards before repair to remove dirt and oils. Use mild soap and warm water on a soft cloth. Avoid harsh chemicals that can damage the vinyl. Rubbing alcohol helps remove grease and residue. Ensure surfaces are dry before applying adhesive or vinyl. Clean surfaces improve adhesion and repair quality.

Credit: www.adelaidekitchenresurfacing.com.au
Identifying Common Damage
Vinyl wrap kitchen cupboards give your kitchen a fresh look. Over time, they can get damaged. Identifying the damage early helps you fix it easily. Common problems include peeling edges, bubbles, wrinkles, scratches, and tears. Spotting these issues lets you repair your cupboards and keep them looking new.
Peeling Edges
Peeling edges happen when the vinyl starts to lift from the cupboard surface. This can occur due to moisture or poor adhesion. Look closely at the corners and edges for any loose or curling vinyl. Peeling edges make cupboards look old and can worsen if not fixed quickly.
Bubbles And Wrinkles
Bubbles form when air gets trapped under the vinyl wrap. Wrinkles appear if the vinyl was not applied smoothly. Both can be caused by heat or poor installation. Check for any raised areas or uneven surfaces on your cupboards. These defects affect the smooth look of your kitchen.
Scratches And Tears
Scratches and tears happen from daily use or accidents. Scratches are shallow marks on the vinyl surface. Tears are cuts or breaks that expose the cupboard underneath. Inspect your cupboards carefully for any damage spots. Small scratches can be fixed, but tears may need patching or replacement.
Preparing The Surface
Preparing the surface is the first step in repairing vinyl wrap kitchen cupboards. A clean, smooth surface helps the new vinyl stick well. It also prevents bubbles and wrinkles. Take your time to get the cupboards ready. This step makes the repair last longer and look better.
Cleaning The Cupboards
Start by wiping down the cupboards with a mild soap and water mix. Use a soft cloth to remove dirt, grease, and dust. Avoid harsh chemicals that can damage the vinyl or wood beneath. Dry the surface completely with a clean towel. Clean cupboards help the adhesive bond properly.
Smoothing The Surface
Check the cupboards for bumps, scratches, or rough patches. Use fine-grit sandpaper to gently smooth these areas. Sand in small, circular motions to avoid damage. Wipe away dust with a damp cloth and let it dry. A smooth surface prevents the vinyl from peeling or bubbling.
Removing Old Adhesive
Peel off any loose or old vinyl pieces carefully. Use an adhesive remover or rubbing alcohol to get rid of sticky residue. Apply it with a cloth and rub gently. Avoid soaking the wood or surface. Removing old glue helps new vinyl stick evenly and firmly.
Credit: www.youtube.com
Fixing Peeling Vinyl Wrap
Peeling vinyl wrap on kitchen cupboards looks messy and can get worse over time. Fixing the peel quickly keeps cupboards neat and extends their life. The repair process is simple and needs only a few tools. Follow these steps to restore your vinyl wrap smoothly.
Applying Adhesive
Start by lifting the peeling vinyl carefully. Use a strong adhesive made for vinyl materials. Apply a thin, even layer of glue under the lifted area. Avoid using too much glue to prevent bumps or lumps. Let the adhesive sit for a few minutes until it becomes tacky. This helps the vinyl stick better.
Pressing And Smoothing
Press the vinyl down gently but firmly. Use a soft cloth or a plastic scraper. Smooth the vinyl from the center outwards to remove air bubbles. Work slowly to avoid wrinkles and creases. Repeat this process until the vinyl lies flat and tight against the cupboard surface.
Sealing The Edges
Edges are the most likely to peel again. Seal the edges with a clear vinyl edge sealer or extra adhesive. Use a small brush to apply the sealer evenly along the edges. Let it dry completely to secure the vinyl wrap. This step protects the wrap from moisture and future peeling.
Removing Air Bubbles
Removing air bubbles is a key step in fixing vinyl wrap on kitchen cupboards. Air bubbles make the surface look uneven and old. Fixing these bubbles helps the wrap stick well and look smooth. There are simple ways to get rid of air bubbles without damaging the wrap.
Puncturing Bubbles
Small bubbles can be fixed by carefully puncturing them. Use a sharp pin or needle to make a tiny hole. This lets the trapped air escape. Press down gently on the bubble after puncturing. The vinyl will lay flat and smooth.
Using Heat To Smooth
Heat softens the vinyl, making it easier to smooth out bubbles. Use a hairdryer on a low heat setting. Move the heat evenly over the bubbled area. The vinyl will become flexible. Then press the bubble out from the center to the edges.
Reapplying Pressure
Firm pressure helps the vinyl stick well after removing bubbles. Use a plastic squeegee or a soft cloth. Press from the center of the bubble outward. This pushes out air and secures the wrap. Repeat pressure until the surface feels flat and tight.
Repairing Scratches And Tears
Vinyl wrap kitchen cupboards can get scratches and tears over time. Fixing these damages can bring back their fresh look. This section explains easy steps to repair scratches and tears on your vinyl wrap cupboards.
Using Vinyl Repair Kits
Vinyl repair kits are affordable and easy to use. They include materials like glue, filler, and texture pads. Start by cleaning the damaged area. Apply the glue or filler carefully on the scratch or tear. Use the texture pad to match the vinyl surface. Let it dry completely before touching it.
Color Matching Techniques
Matching the color is key for a good repair. Test small amounts of paint on a hidden spot first. Mix colors slowly to get the right shade. Use thin layers of paint for better control. Allow each layer to dry before adding another. This helps create a smooth, natural look.
Blending Repairs Seamlessly
Blending the repair makes it less visible. Use fine sandpaper to smooth edges after drying. Gently feather the paint into the surrounding area. Avoid harsh lines that draw attention. Finish by cleaning the area with a soft cloth. The repair will look like part of the original wrap.
Preventing Future Damage
Preventing future damage to vinyl wrap kitchen cupboards is key to keeping them looking fresh and new. Small care steps can stop peeling, cracking, and fading. Protecting your cupboards saves time and money on repairs later.
Proper Cleaning Methods
Clean vinyl wrap cupboards with a soft cloth or sponge. Use mild soap mixed with warm water. Avoid harsh chemicals or abrasive scrubbers that can scratch the surface. Wipe gently and dry with a soft towel. Regular gentle cleaning keeps the wrap smooth and bright.
Avoiding Excess Moisture
Keep cupboards dry to stop damage. Wipe away spills quickly, especially around sinks. Avoid letting water sit on the surface. Use exhaust fans while cooking to reduce steam. Moisture weakens the adhesive and causes peeling. Dry cupboards stay tight and strong.
Regular Maintenance Tips
Check cupboards often for small tears or bubbles. Press loose edges down carefully or use vinyl adhesive to fix. Keep sharp objects away to prevent cuts. Use cupboard liners to protect the wrap inside. Small fixes prevent bigger problems later.
Credit: www.reddit.com
Frequently Asked Questions
How Do I Fix Peeling Vinyl Wrap On Kitchen Cupboards?
To fix peeling vinyl wrap, gently lift the loose edge and apply heat with a hairdryer. Press it down firmly and smooth out bubbles using a plastic squeegee or cloth for a seamless finish.
Can I Repair Scratches On Vinyl Wrapped Cupboards?
Yes, minor scratches can be repaired using a vinyl repair kit or colored marker. For deeper scratches, carefully apply a small patch of matching vinyl wrap to blend with the surface.
What Tools Are Needed To Repair Vinyl Wrap Cupboards?
Essential tools include a hairdryer, plastic squeegee, utility knife, cleaning cloth, and vinyl repair kit. These help with smoothing, trimming, and fixing damages on vinyl-wrapped cupboards efficiently.
How To Prevent Future Damage To Vinyl Wrapped Kitchen Cupboards?
Avoid using harsh cleaners or abrasive scrubbing pads. Clean gently with mild soap and a soft cloth. Keep sharp objects away to prevent scratches and peeling.
Conclusion
Repairing vinyl wrap kitchen cupboards can save money and effort. Small tears or bubbles need quick attention to avoid bigger problems. Use simple tools and follow clear steps for best results. Regular care keeps cupboards looking fresh and new longer.
Try fixing minor issues yourself before calling a professional. A little patience goes a long way in home improvement. Keep your kitchen neat and stylish with easy vinyl wrap repairs.


