
Are your wheel nut covers looking worn out or missing? Replacing them might seem tricky, but it’s easier than you think.
Your car’s appearance and protection depend on these small parts more than you realize. In this guide, you’ll learn simple steps to replace your wheel nut covers quickly and confidently. Keep reading, and you’ll save time and money while making your wheels look brand new again.
Tools Needed
Essential tools include a flathead screwdriver and a clean cloth. These help remove old covers and install new ones easily. A pair of gloves can protect your hands during the process.
Basic Tools
Start with simple tools. A flathead screwdriver works well to pry off old wheel nut covers. Use it gently to avoid scratching the wheel. A pair of gloves protects your hands from sharp edges.
Replacement Wheel Nut Covers
New wheel nut covers must fit your vehicle’s make and model. Check the size before buying. Having the right covers ready makes the job easier and faster.
Cleaning Supplies
Clean the wheel nut area before installing new covers. Use a cloth and mild cleaner. Removing dirt helps the covers fit better and last longer.
Optional Tools
A plastic pry tool can protect your wheel’s finish. A small flashlight helps you see clearly in low light. These tools are helpful but not always necessary.
Credit: www.visualsp.com
Choosing The Right Nut Covers
Choosing the right wheel nut covers is important for both protection and style. The right covers keep your wheel nuts safe from dirt and rust. They also improve your vehicle’s look. Picking the best nut covers depends on three key factors: material, size, and design. Each factor affects how well the covers fit and perform.
Material Options
Wheel nut covers come in different materials. Plastic covers are light and cheap. They resist rust but can break easily. Metal covers are stronger and last longer. They protect nuts better against weather damage. Chrome covers add shine and look stylish. Choose a material that matches your needs and budget.
Size And Fit
Nut covers must fit snugly on the wheel nuts. Covers that are too big or small will fall off or not protect well. Measure the diameter of your wheel nuts first. Check the product details for size compatibility. Proper fit ensures the covers stay in place during driving.
Design Styles
Design affects the look of your wheels. Simple covers offer a clean and classic look. Some covers have logos or patterns for added style. Colored covers can match or contrast your vehicle color. Pick a design that fits your car’s style and your personal taste.
Preparing Your Vehicle
Preparing your vehicle is an important first step before replacing wheel nut covers. It helps ensure your safety and makes the job easier. Taking time to prepare saves effort later.
Start by making sure your car is stable and clean. This creates a safe and smooth working area for you.
Safety Precautions
Park your vehicle on a flat surface. Avoid slopes or soft ground. Use the parking brake to stop any movement. Wear gloves to protect your hands from sharp edges. Keep tools nearby but out of the way. Check that the engine is off before starting work.
Cleaning The Wheel Nuts
Remove dirt and grime from the wheel nuts using a brush or cloth. Clean nuts help the new covers fit well and last longer. Use a mild cleaner if needed, but avoid harsh chemicals. Dry the nuts completely to prevent rust. Clean nuts also make it easier to check for damage.
Removing Old Nut Covers
Removing old wheel nut covers is the first step in replacing them. It helps prepare the wheel for new covers. Old covers may stick due to dirt or wear. Removing them carefully avoids damage to the wheel or nuts.
Manual Removal Techniques
Start by using your fingers to pull the nut covers. Wiggle them gently to loosen dirt. Some covers come off easily with hand pressure. Use a cloth for better grip if needed. Avoid using sharp tools that can scratch the wheel.
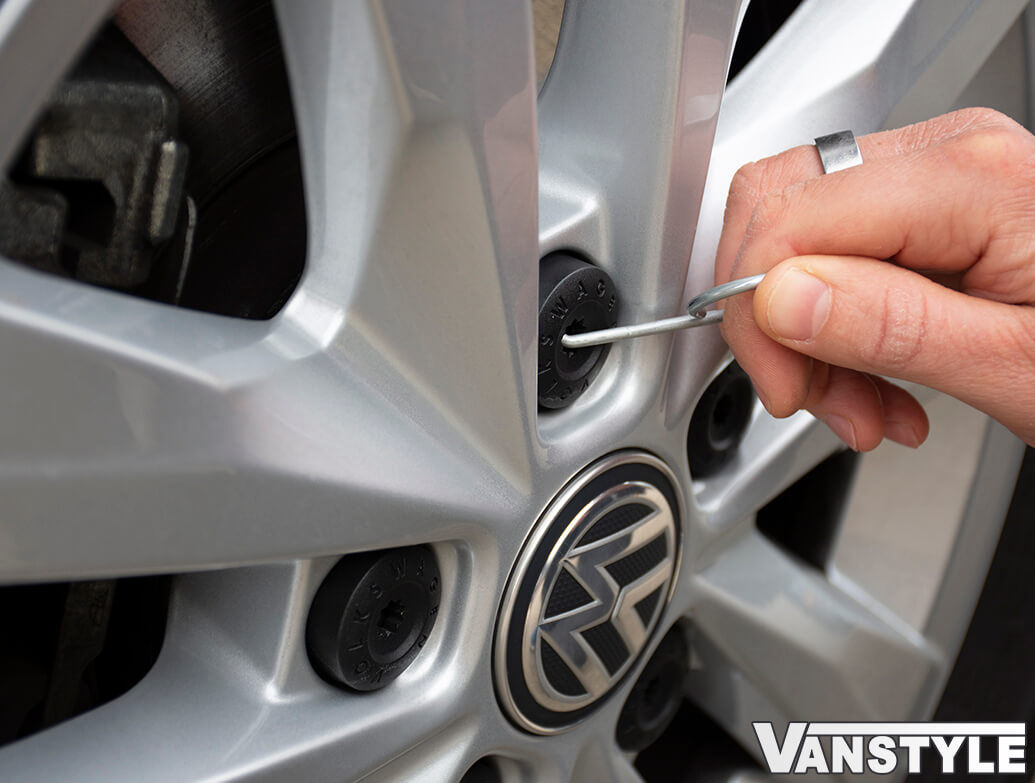
Using Removal Tools
Use a flathead screwdriver or a plastic pry tool for stuck covers. Place the tool under the edge of the cover. Twist or lift slowly to pop the cover off. Protect the wheel by placing a cloth under the tool. Work around the cover evenly to prevent cracks.
Installing New Nut Covers
Installing new wheel nut covers is a simple task that improves your car’s look. It also protects the nuts from dirt and rust. This process requires care to ensure covers fit well and stay secure.
Aligning The Covers
First, check the size of each nut cover. Match it with the wheel nuts to avoid loose fitting. Hold the cover close to the nut. Make sure the cover’s shape fits the nut’s shape. Proper alignment helps the cover sit flat and look even.
Place the cover gently over the nut. Avoid forcing it. Adjust the position until it fits snugly. Good alignment prevents the cover from falling off during driving.
Securing Properly
Press the cover firmly to snap it in place. You should feel or hear a slight click. This click means the cover is locked onto the nut. Check each cover by lightly pulling it. Covers that do not come off easily are secure.
For extra hold, use a small amount of adhesive if needed. Use only car-safe glue to avoid damage. Let the glue dry before driving. Properly secured nut covers protect your wheels and enhance safety.

Credit: www.youtube.com
Final Checks
Final checks are important to ensure your wheel nut covers stay secure and look good. This step confirms the covers fit well and are free from damage. Taking time here saves you trouble on the road.
Ensuring A Tight Fit
Press each wheel nut cover firmly into place. It should snap on without wobbling. Test by gently pulling on the cover. A tight fit means it won’t fall off while driving. Loose covers need adjusting or replacement.
Inspecting For Damage
Look closely for cracks or dents on each cover. Damaged covers can break easily and look bad. Replace any covers with visible damage. Check the wheel nuts underneath for rust or wear. Healthy nuts keep your wheels safe and secure.
Maintenance Tips
Maintaining your wheel nut covers helps keep them looking good and lasting longer. Simple care steps protect them from damage and dirt. Follow these tips to keep your covers in top shape.
Regular Cleaning
Clean wheel nut covers often to remove dirt and grime. Use a soft brush or cloth with mild soap and water. Avoid harsh chemicals that can damage the cover’s finish. Rinse well and dry completely to stop rust or corrosion.
Avoiding Common Issues
Check covers regularly for cracks or loose fittings. Tighten any loose covers to prevent loss while driving. Avoid hitting curbs or rough surfaces that can chip or break the covers. Store spare covers safely for easy replacement when needed.

Credit: yourpghlawyer.com
Frequently Asked Questions
How Do I Remove Old Wheel Nut Covers Safely?
To remove old wheel nut covers safely, use a flat tool or pry bar. Gently lift the cover without damaging the wheel or nuts. Work slowly around the edges to avoid scratches or bending the cover.
What Tools Are Needed To Replace Wheel Nut Covers?
You typically need a flathead screwdriver or a plastic pry tool. Gloves can protect your hands, and a clean cloth helps wipe the area before installing new covers.
Can I Reuse Old Wheel Nut Covers After Removal?
Yes, you can reuse old covers if they are undamaged and clean. Inspect for cracks or bends, and clean them before reinstalling to ensure a secure fit.
How Do I Choose The Right Wheel Nut Covers?
Select covers that match your wheel size and style. Check the vehicle manual or measure the nut diameter. Opt for durable materials like plastic or metal for longevity.
Conclusion
Replacing wheel nut covers is simple with the right steps. Start by removing the old covers carefully. Match new covers to your wheel size. Press them firmly in place. This keeps your wheels looking neat and protected. Regular checks help spot any loose covers early.
Taking time saves money on repairs later. Keep your car safe and stylish. Try these steps next time you need a quick fix. Easy, fast, and effective.


