
Is your vinyl wrap looking dull, scratched, or faded? You might think it’s time for a full replacement, but what if you could bring it back to life instead?
Restoring your vinyl wrap is easier than you imagine, and it can save you time and money. In this guide, you’ll discover simple, effective steps to revive your wrap’s shine and protect it from future damage. Keep reading to learn how to make your vinyl wrap look fresh and new again—your car will thank you.

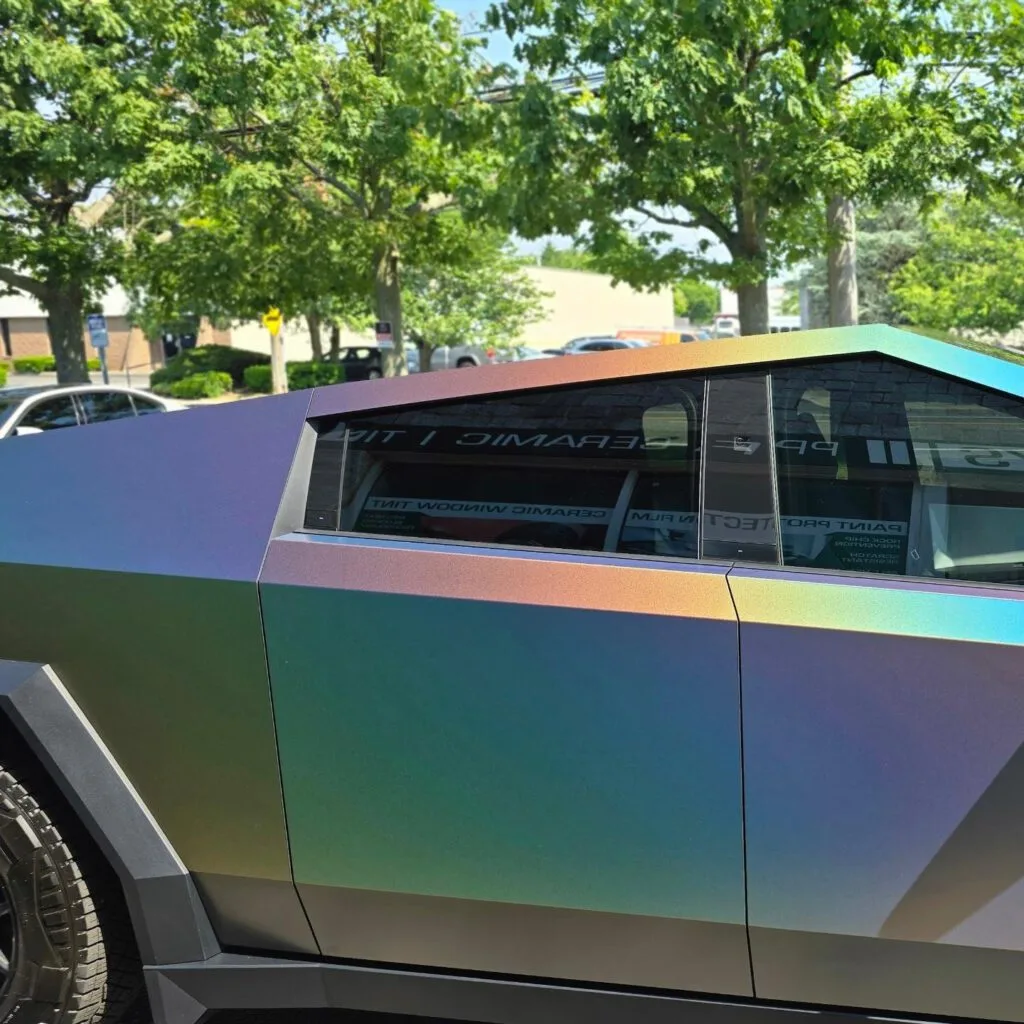
Credit: www.youtube.com
Assessing Vinyl Wrap Damage
Assessing vinyl wrap damage is the first step in restoring its appearance. This process helps you understand what problems exist and how serious they are. Careful inspection lets you plan the right repairs. Knowing the type and size of damage saves time and effort.
Identifying Common Issues
Vinyl wraps often face scratches, bubbles, and tears. Fading and discoloration happen due to sun exposure. Dirt and stains can also stick to the surface. Watch for peeling edges or lifting corners. Each issue needs a different approach to fix.
Evaluating Extent Of Damage
Check how deep the scratches go. Small scratches may polish out, but deep ones might need patching. Bubbles under the wrap reduce its look and protection. Large tears often require replacing the section. Measure the damage size to decide if a full or partial repair works best.

Credit: www.youtube.com
Gathering Essential Tools
Restoring a vinyl wrap requires the right tools. Without them, the process can become frustrating and less effective. Preparing your workspace with essential supplies ensures smooth and successful restoration.
Gathering these tools before starting saves time. It also helps you avoid interruptions during the job. Here are the must-have tools to restore vinyl wrap efficiently.
Cleaning Supplies
Clean vinyl wrap holds repairs better. Use a mild soap or specialized vinyl cleaner. Avoid harsh chemicals that can damage the wrap.
Soft microfiber cloths work best for cleaning. They remove dirt without scratching the surface. A gentle brush can help remove stubborn grime.
Rubbing alcohol wipes help remove grease or oils. Make sure to test on a small area first. Proper cleaning prepares the vinyl for repair and improves adhesion.
Repair Kits And Heat Guns
Repair kits include patches and adhesives made for vinyl. They fix tears, scratches, and peeling edges. Choose kits designed specifically for vinyl wrap.
A heat gun softens the vinyl for better stretching and molding. Use it carefully to avoid overheating or burning the wrap. Heat guns help smooth out wrinkles and bubbles.
Always keep the heat gun moving and use low heat settings. This keeps the vinyl flexible and prevents damage during restoration.
Preparing The Surface
Preparing the surface is the first step to restore vinyl wrap effectively. A clean and smooth surface helps the wrap look fresh and last longer. Dirt, grease, and dust can stop the wrap from sticking well. Taking time to prepare the surface saves effort later.
Cleaning Techniques
Start with a gentle cleaning solution made for vinyl or mild soap and water. Use a soft cloth or sponge to avoid scratching the wrap. Clean in small sections to make sure you cover every area. Avoid harsh chemicals that can damage the vinyl.
Removing Dirt And Debris
Check for stubborn dirt or sticky spots. Use a soft brush or microfiber cloth to lift away debris. Rinse the surface with clean water to remove soap residue. Dry the vinyl with a lint-free towel to prevent water spots. A clean surface helps the wrap look smooth and new.
Fixing Small Tears And Scratches
Fixing small tears and scratches on vinyl wrap keeps your vehicle or item looking fresh. Minor damage can worsen without quick care. Small fixes save money and extend the wrap’s life. Simple steps restore smoothness and color.
Using Adhesive Patches
Adhesive patches cover small tears neatly. Clean the area with mild soap and water. Dry completely before applying the patch. Cut the patch slightly larger than the tear. Peel the backing and place it over the damage. Press firmly to remove air bubbles. The patch sticks well and stops the tear from growing. Choose patches that match your wrap’s color for a better look.
Applying Heat For Seam Repair
Heat softens the vinyl, making it easier to fix seams. Use a heat gun or hair dryer on low heat. Warm the area around the tear gently. Avoid overheating to prevent melting. Press the edges of the tear together with a soft cloth. Hold until the vinyl cools and bonds. This method helps blend the tear with the rest of the wrap. It also smooths out small scratches effectively.
Dealing With Wrinkles And Bubbles
Wrinkles and bubbles can spoil the smooth look of a vinyl wrap. These small flaws catch the eye and reduce the wrap’s quality. Fixing them is important for a clean, fresh finish. The right steps can make the surface smooth again. Careful handling and simple tools help remove these imperfections effectively.
Techniques To Smooth Out Imperfections
Start by gently pressing the wrap from the center outward. Use a soft cloth or a plastic squeegee to avoid damage. Small bubbles near edges may pop with a pin. Work slowly to prevent tearing the vinyl. Lift the wrap slightly if wrinkles are deep, then reapply carefully. Patience is key to a flawless finish.
Proper Use Of Heat And Pressure
Heat softens the vinyl, making it easier to reshape. Use a heat gun or hairdryer on low heat. Keep the heat source moving to avoid burns. Apply gentle pressure with a squeegee while warming the area. This combination helps the vinyl settle smoothly. Avoid overheating, which can cause more wrinkles or damage.
Reapplying Or Replacing Sections
Reapplying or replacing sections of a vinyl wrap can refresh your vehicle’s look. Small damaged parts often need attention to keep the wrap smooth and clean. This process saves money compared to a full wrap replacement. Focus on removing damaged parts carefully and fitting new pieces precisely. Follow simple steps to restore the wrap’s appearance and durability.
Removing Damaged Vinyl
Start by heating the damaged vinyl with a heat gun or hairdryer. Warm vinyl peels off easier without damaging the surface. Slowly lift the edges using a plastic scraper or your fingers. Pull the vinyl back gently to avoid tearing it. Remove all sticky residue with an adhesive remover. Clean the area well before adding new vinyl.
Installing New Wrap Pieces
Cut new vinyl pieces slightly larger than the damaged area. Peel the backing off and align the vinyl carefully. Use a squeegee to press the vinyl onto the surface. Work from the center outward to remove air bubbles. Heat the edges gently to help the vinyl stick firmly. Trim excess vinyl with a sharp blade for a clean finish.
Finishing Touches For Longevity
After restoring your vinyl wrap, the final steps help keep it looking fresh. These finishing touches protect the wrap from damage. They also make the wrap last longer. A few simple actions can keep your vinyl wrap in great shape for years.
Protective Coatings
Applying a protective coating helps shield the vinyl wrap. It guards against dirt, UV rays, and scratches. Use a spray or liquid designed for vinyl surfaces. These coatings create a thin, clear layer over the wrap. This layer makes cleaning easier and reduces fading. Always test the product on a small area first. Follow the instructions on the label for best results.
Regular Maintenance Tips
Clean the wrap gently to avoid damage. Use mild soap and water with a soft cloth. Avoid harsh chemicals or abrasive tools. Wash the wrap regularly to prevent dirt buildup. Dry the surface with a microfiber towel to stop water spots. Check the wrap often for peeling or cracks. Fix small issues quickly to prevent bigger problems. Park in the shade when possible to reduce sun damage.
Credit: limobilecarguy.com
Frequently Asked Questions
How Do You Clean Vinyl Wrap Before Restoring?
Clean vinyl wrap using mild soap and water. Avoid harsh chemicals that can damage the wrap. Use a soft cloth to gently remove dirt and debris before any restoration process.
Can Damaged Vinyl Wrap Be Repaired Or Restored?
Yes, minor scratches and scuffs on vinyl wrap can be repaired. Use specialized vinyl repair kits or heat guns carefully to restore the wrap’s appearance without replacement.
What Products Are Best For Restoring Vinyl Wrap Shine?
Use vinyl wrap-specific cleaners and protectants for best results. Avoid abrasive products. Apply a gloss enhancer designed for vinyl to restore the wrap’s original shine and protect it.
How Often Should Vinyl Wrap Be Maintained For Longevity?
Maintain vinyl wrap every 1-2 months for optimal longevity. Regular cleaning and applying protective coatings extend the wrap’s life and keep it looking fresh and vibrant.
Conclusion
Restoring vinyl wrap takes patience and the right steps. Clean the surface gently and use proper tools. Small scratches and dirt can often be fixed at home. Avoid harsh chemicals to keep the wrap safe. Regular care helps the wrap look fresh longer.
Try these tips to bring back its shine. A little effort goes a long way. Keep your vehicle looking neat and well-maintained every day. Simple actions make a big difference in vinyl wrap care.


