
Are you noticing a vibration or noise when you brake? Your brake rotors might be out of true, affecting your car’s safety and performance.
Learning how to true a brake rotor can save you money and keep your vehicle running smoothly. In this guide, you’ll discover simple, step-by-step tips to fix your rotors like a pro. By the end, you’ll feel confident handling this essential brake repair yourself.
Ready to get started and improve your driving experience? Let’s dive in.
Credit: www.theproscloset.com
Signs Of A Warped Rotor
Warped brake rotors cause problems in your car’s braking system. They affect safety and driving comfort. Knowing the signs helps you act fast and avoid bigger issues.
Detecting a warped rotor early can save money on repairs. It also keeps your brakes working smoothly and reliably.
Common Symptoms
Your steering wheel may shake or vibrate during braking. This is a common sign of rotor warping. You might hear unusual noises, like squealing or grinding. Brakes may feel less responsive or soft when pressed. Sometimes, the brake pedal pulses or feels uneven. These symptoms often mean the rotor surface is uneven.
Impact On Brake Performance
Warped rotors reduce braking efficiency and increase stopping distance. This can make driving dangerous, especially in emergencies. Uneven rotors cause brake pads to wear out faster. This leads to more frequent brake repairs and higher costs. A warped rotor also creates inconsistent brake pressure. This makes it hard to control the vehicle smoothly. Maintaining true rotors is key for safe and reliable braking.
Tools Needed For Rotor Truing
Trueing a brake rotor requires the right tools to ensure safety and precision. Using proper tools helps you fix rotor issues like warping or uneven surfaces. Some tools are basic and easy to find. Others are made specifically for rotor truing.
Gathering all necessary tools before starting saves time and effort. It also improves the quality of your work. Here is a breakdown of the essential tools for rotor truing.
Basic Hand Tools
Start with simple hand tools that many already own. A lug wrench helps remove the wheel safely. A jack and jack stands lift and support the car securely.
A socket set is useful for loosening bolts on the rotor. Clean rags help wipe dust and dirt from the rotor surface. A wire brush can remove rust and debris before truing.
Use a flat file or sandpaper to smooth small rough spots on the rotor. These tools help prepare the rotor for more precise work.
Specialized Equipment
Specialized tools improve accuracy during rotor truing. A dial indicator measures rotor runout. It shows how much the rotor surface moves side to side.
A rotor truing tool or rotor lathe machine allows precise correction of warped rotors. These tools remove thin layers of metal to level the surface.
Brake cleaner spray removes grease and contaminants after truing. Using these specialized tools ensures a smooth and balanced rotor surface.
Preparing The Vehicle
Preparing the vehicle is the first step to true a brake rotor correctly. This step helps ensure safety and makes the process easier. It involves checking the vehicle, lifting it, and taking off the wheel and rotor.
Taking time to prepare the vehicle properly can save effort later. It also helps avoid damage to parts or injury. Follow each step carefully before starting to true the rotor.
Safety Precautions
Start by parking the vehicle on a flat, stable surface. Apply the parking brake to stop the car from moving. Wear gloves to protect your hands from dirt and sharp parts. Use safety glasses to guard your eyes from dust and debris.
Make sure the engine is off and the keys are out of the ignition. Avoid loose clothing or jewelry that can catch on tools or parts. Keep a fire extinguisher nearby just in case of emergencies.
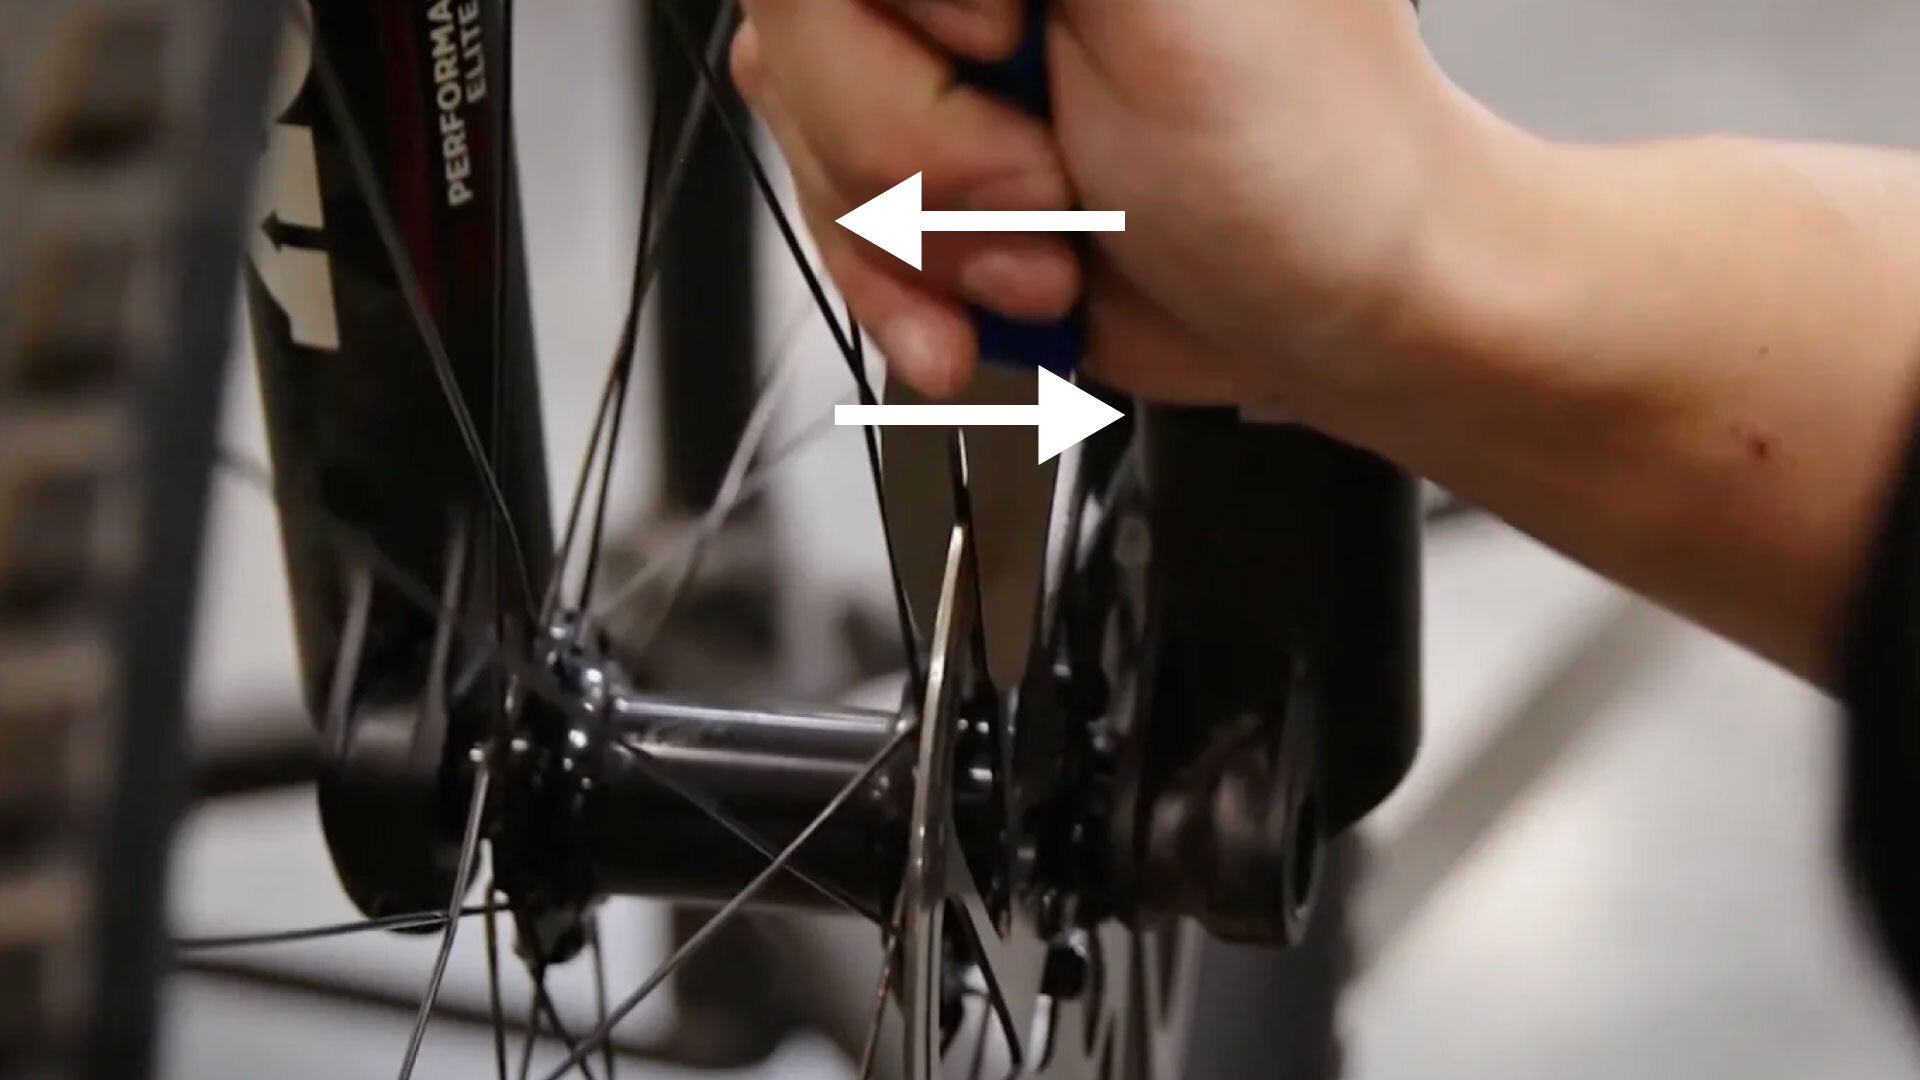
Removing The Wheel And Rotor
Loosen the lug nuts on the wheel slightly before lifting the car. Use a jack to raise the vehicle high enough to remove the wheel. Place jack stands under the car to hold it securely.
Remove the lug nuts completely and take off the wheel. Locate the brake caliper and remove its bolts carefully. Hang the caliper with a wire to avoid stress on the brake hose.
Take out the rotor by pulling it straight off the hub. If the rotor is stuck, tap it gently with a rubber mallet. Clean the hub surface to remove rust and dirt before installing the rotor again.
Credit: www.parktool.com
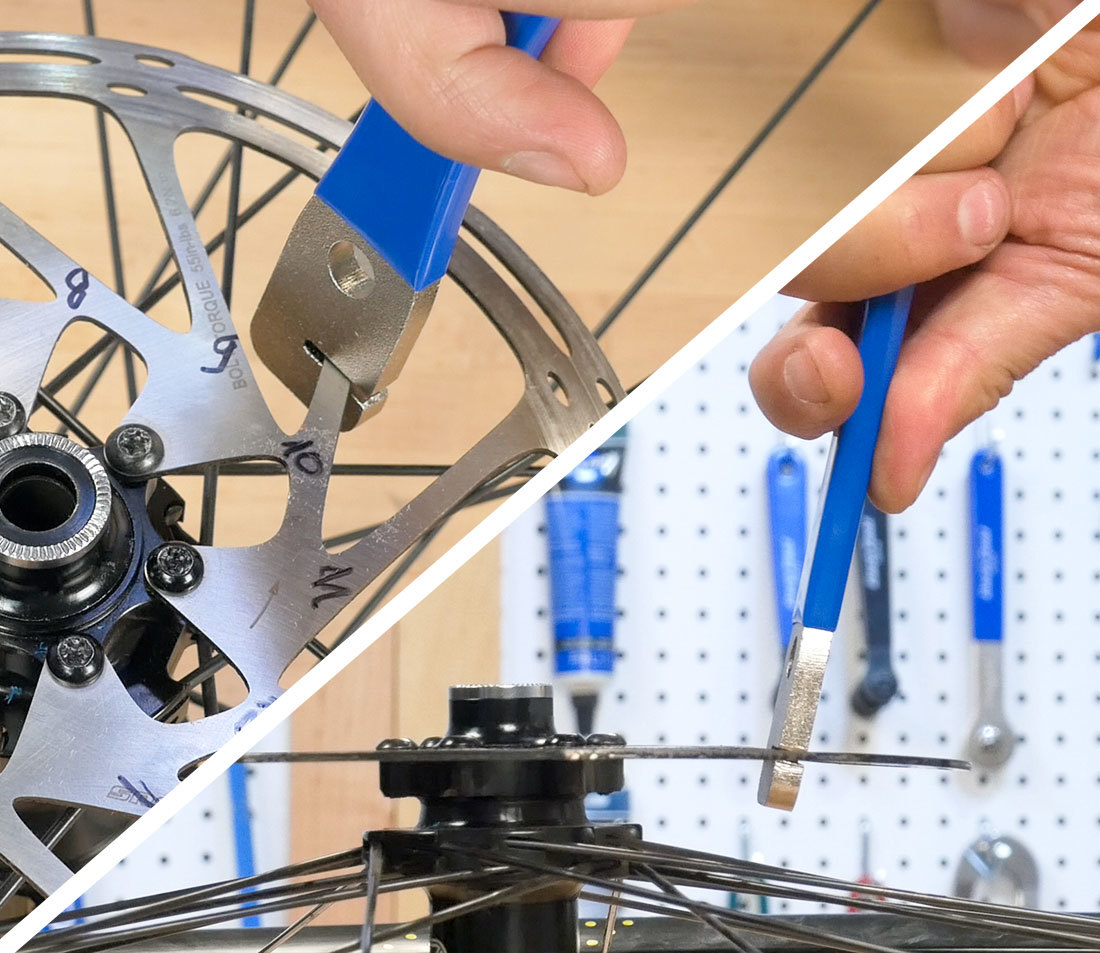
Inspecting The Rotor Surface
Inspecting the rotor surface is a key step in truing brake rotors. This process helps you find any damage or uneven areas. Proper inspection ensures smooth braking and extends rotor life.
Identifying High And Low Spots
Check the rotor surface closely for bumps or dips. High spots feel raised and can cause vibrations. Low spots are worn areas that may lead to noise or poor braking. Use a straight edge or dial indicator to spot these uneven areas. Mark any high or low spots for repair.
Measuring Rotor Thickness
Use a micrometer to measure the rotor thickness at several points. Compare these measurements to the manufacturer’s minimum thickness. Thin rotors can overheat and fail. Even thickness is important for safe braking. Replace the rotor if it is below the minimum thickness.
True Rotor By Hand Method
The True Rotor by Hand Method helps fix brake rotors without special machines. This method is simple and works well for small rotor issues. It lets you check and adjust the rotor to stop vibrations or noise while braking.
You will need basic tools and patience. The process involves measuring rotor runout and then making small corrections by hand. This method saves money and time for many car owners.
Using A Dial Indicator
A dial indicator measures rotor runout precisely. Attach the indicator to a stable point near the rotor. The tip touches the rotor surface as you slowly turn the wheel.
Watch the dial carefully. It shows high and low spots on the rotor. Mark the spots with a pencil or chalk. This step helps know where to fix the rotor.
Manual Adjustment Techniques
Use light taps with a rubber mallet on the rotor’s high spots. Tap gently to avoid damage. Check the dial indicator often during this process.
Another way is to loosen the rotor bolts slightly. Rotate the rotor to different positions and retighten the bolts. This can reduce runout without removing the rotor.
Repeat the measuring and tapping steps until the runout is within acceptable limits. This careful hand method improves braking smoothness and safety.
Using A Brake Lathe For Precision
Using a brake lathe ensures the rotor surface is smooth and even. It removes small amounts of metal for precision. This process helps reduce brake noise and vibration. It also extends the life of brake pads. Proper use of a brake lathe can improve overall brake performance.
Setting Up The Lathe
Start by securing the rotor on the lathe. Make sure the rotor is clean and free of debris. Attach the rotor firmly to avoid movement. Adjust the lathe to the correct speed for the rotor type. Check all safety guards before turning the machine on. Proper setup prevents damage and ensures accurate cutting.
Machining The Rotor
Turn on the lathe and slowly bring the cutting tool to the rotor. Move the tool evenly across the rotor surface. Remove just enough metal to eliminate warping or grooves. Keep the cutting tool sharp for a smooth finish. Measure the rotor thickness frequently to avoid over-cutting. Stop machining once the surface is flat and clean.
Reassembling And Testing
Reassembling and testing the brake system is the final step after truing the rotor. It ensures the rotor sits correctly and the brakes work safely. Careful assembly prevents issues like vibrations or noise during driving.
Follow each step carefully to secure the rotor and check brake performance. This process helps confirm the rotor spins evenly and the brakes respond well.
Installing The Rotor And Wheel
Place the rotor back onto the hub with clean hands. Align the rotor holes with the hub studs. Secure the rotor using the correct bolts and tighten them evenly. Use a torque wrench for exact tightness. Next, mount the wheel onto the hub. Push the wheel fully onto the studs. Screw the lug nuts by hand first to avoid cross-threading. Tighten the lug nuts in a star pattern with a wrench. Lower the vehicle carefully and finish tightening the lug nuts to the proper torque.
Brake Performance Test
Start the engine and press the brake pedal several times. This action helps the brake pads settle against the rotor. Drive the vehicle slowly in a safe area. Listen for unusual noises or vibrations. Test the brakes by applying moderate pressure. The brake pedal should feel firm and responsive. If the brakes pull to one side or feel soft, stop and recheck the assembly. Proper brake function is critical for safety and comfort.

Credit: www.youtube.com
Maintenance Tips For Rotors
Maintaining brake rotors keeps your vehicle safe and smooth. Rotors wear down from heat and friction. Simple care can extend their life and performance. Follow these tips to keep rotors true and effective.
Regular Inspection
Check rotors often for damage or wear. Look for cracks, grooves, or rust on the surface. Use a dial indicator to measure rotor runout. This tool shows if rotors are warped. Early detection prevents costly repairs and unsafe driving.
Preventing Rotor Warping
Avoid sudden hard braking to reduce heat build-up. Heat causes rotors to warp and become uneven. Allow brakes to cool on long downhill drives. Use proper brake pads made for your vehicle. Proper pad choice helps maintain rotor surface and prevent damage.
Frequently Asked Questions
What Tools Are Needed To True A Brake Rotor?
To true a brake rotor, you need a dial indicator, a rotor truing tool, and basic hand tools. These help measure rotor runout and make precise adjustments. Using the right tools ensures an even surface and prevents brake vibration or noise.
How Do You Check Brake Rotor Runout?
Use a dial indicator mounted on a fixed bracket to measure rotor runout. Rotate the wheel slowly and observe the dial for any deviation. Runout over 0. 002 inches usually requires truing or replacement to avoid brake pulsation.
Can I True Brake Rotors At Home Safely?
Yes, you can true brake rotors at home with the proper tools and safety precautions. Make sure the vehicle is securely lifted and the rotor is clean. Follow manufacturer guidelines and measure carefully to prevent damaging the rotors or braking system.
When Should You Replace Instead Of True A Rotor?
Replace rotors if they are too thin, deeply scored, or warped beyond correction. If runout exceeds safe limits or truing won’t restore smooth braking, replacement is necessary. Always check manufacturer specifications for minimum rotor thickness before deciding.
Conclusion
Trueing brake rotors keeps your vehicle safe and smooth. Check rotors often for warping or damage. Use the right tools to fix uneven surfaces. Take your time and work carefully for best results. Regular rotor care helps avoid costly repairs later.
Stay safe by maintaining your brakes properly. Remember, simple steps can extend rotor life and improve braking. Keep practicing these tips to feel confident in your skills. Safe driving starts with well-maintained brakes.


