

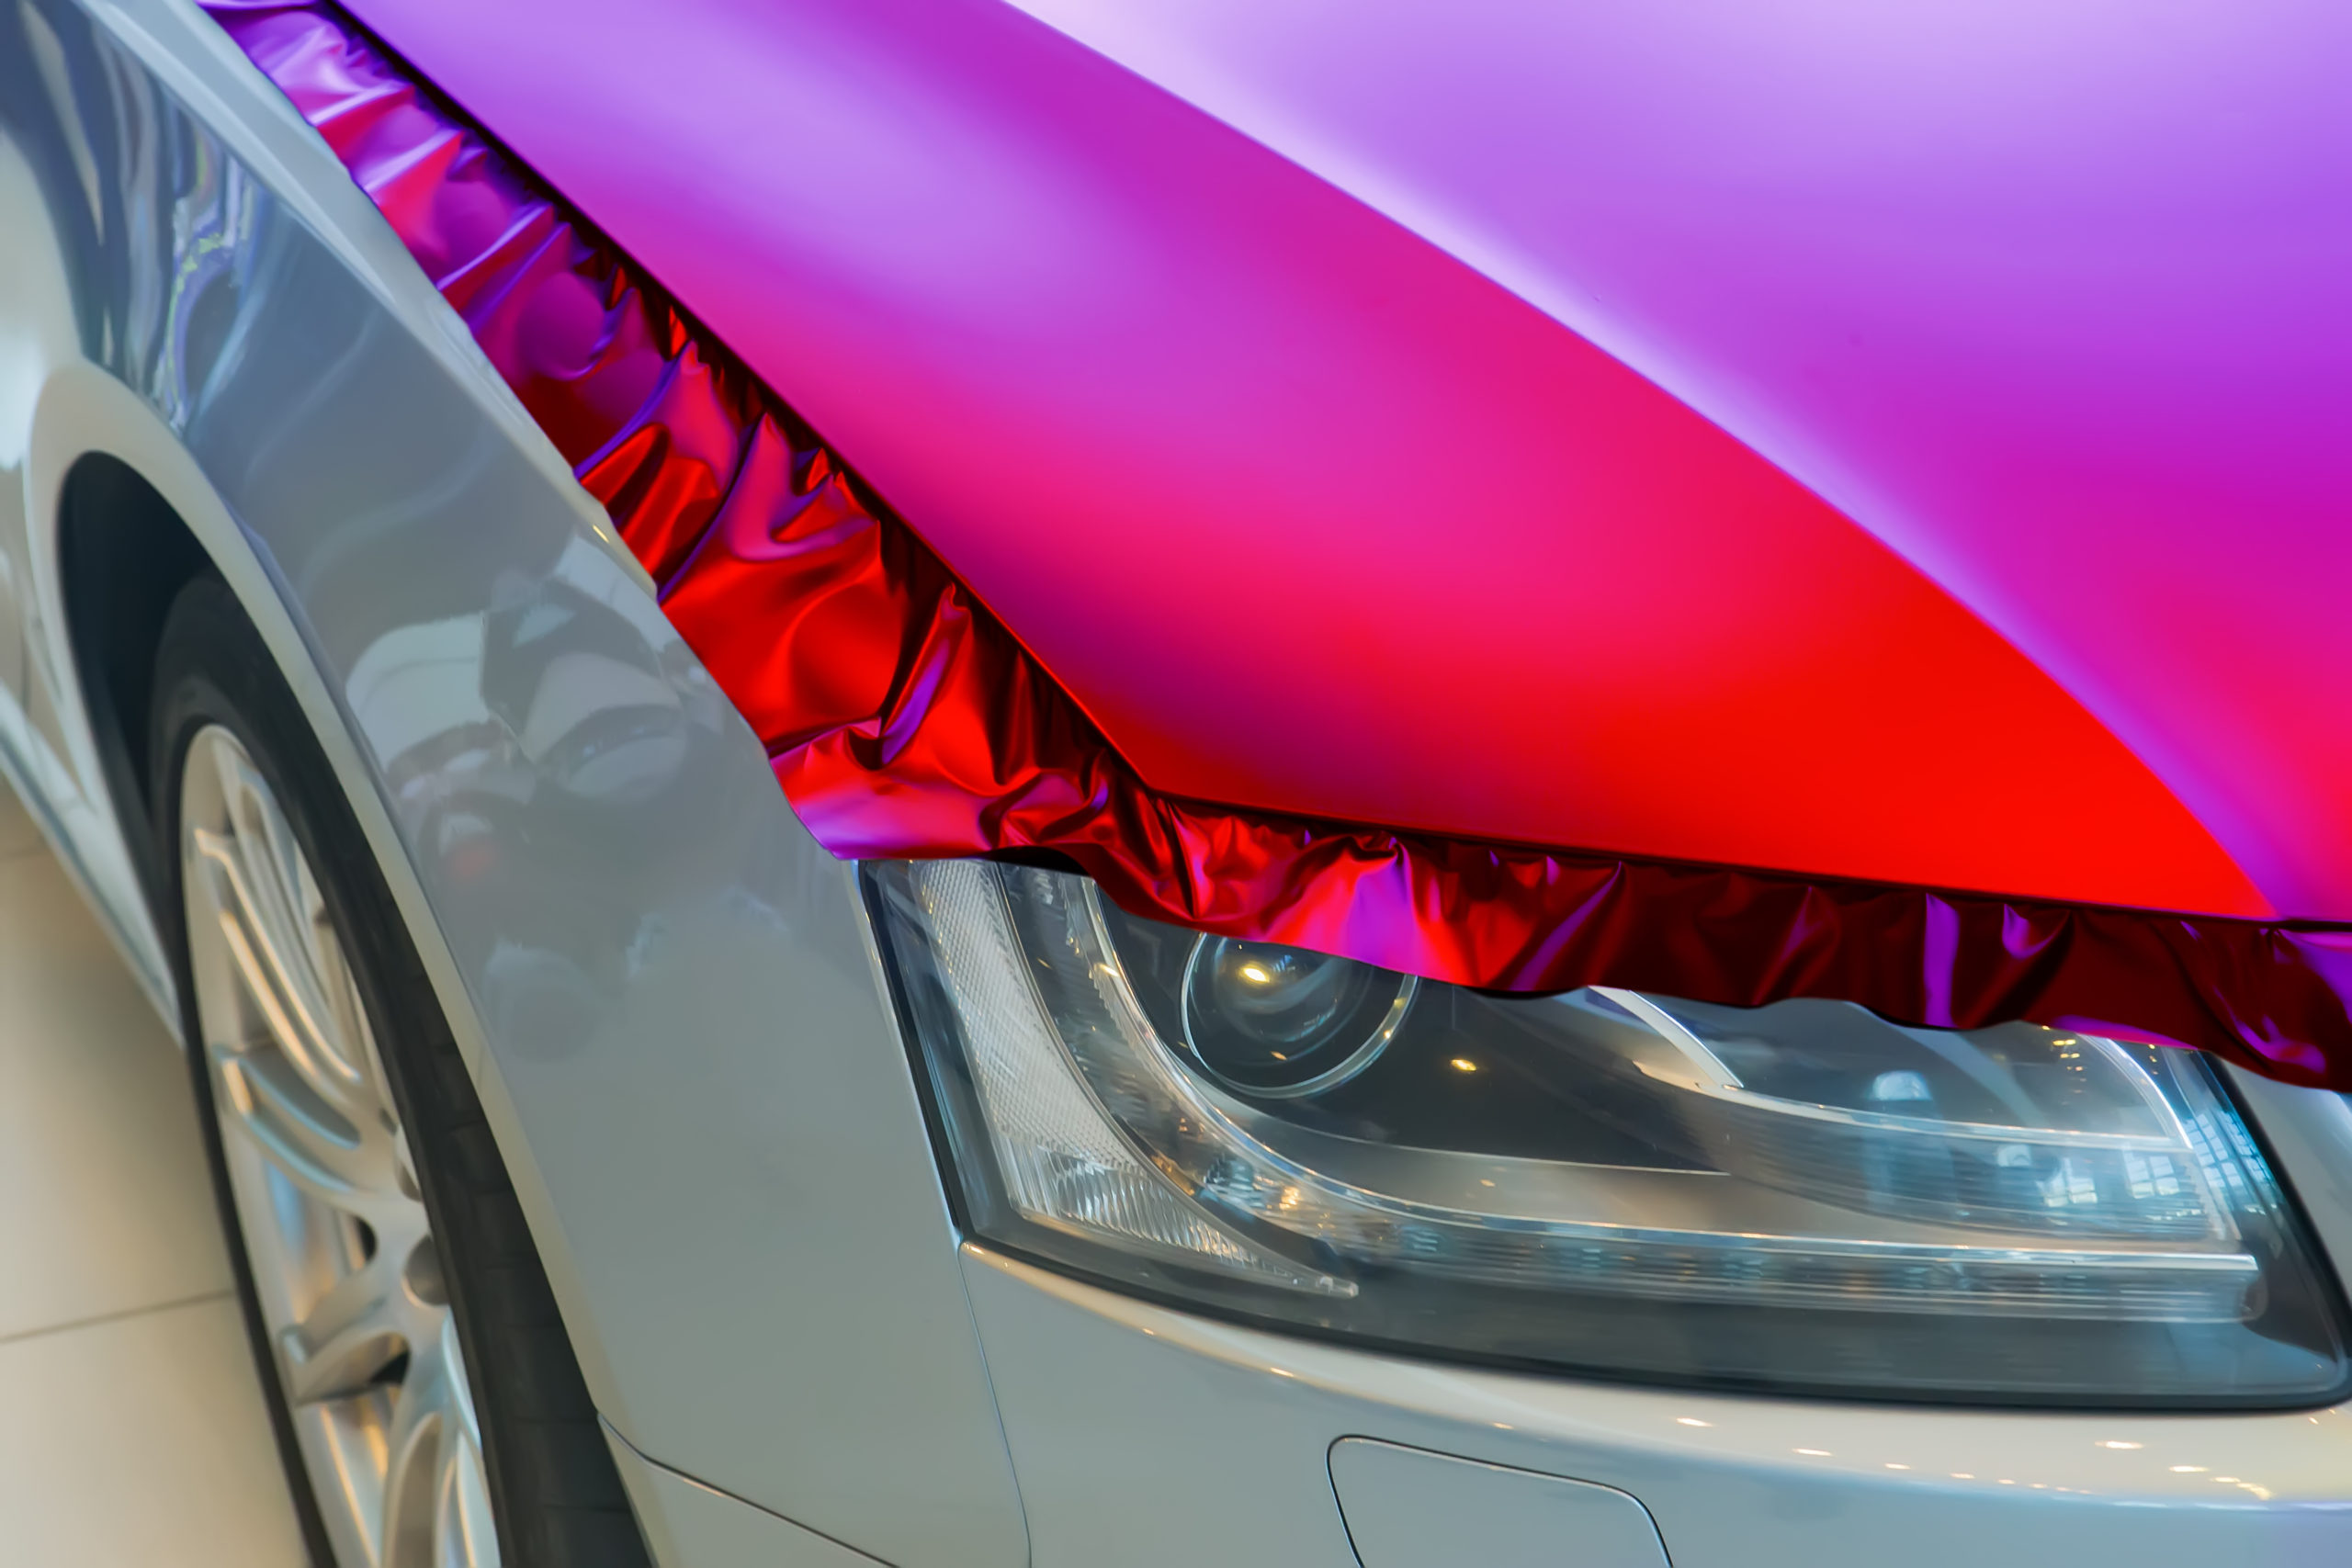
Are you looking to give your car a fresh, eye-catching look without spending a fortune? Vinyl wrapping your car hood is a smart and affordable way to transform your vehicle’s appearance instantly.
But how do you get a smooth, professional finish that turns heads? In this guide, you’ll discover simple, step-by-step tips to help you wrap your car hood like a pro—even if it’s your first time. Keep reading, and you’ll learn how to save money, avoid common mistakes, and enjoy the satisfaction of a job well done.
Your car deserves a makeover, and you’re about to make it happen!
Credit: gforce-films.com
Preparation Tips
Preparing your car hood before vinyl wrapping is key for a smooth finish. Clean surface and no obstacles help the vinyl stick well. Spend time on these steps. It makes the wrapping easier and lasts longer.
Gathering Materials
Start by collecting all needed tools and supplies. You need vinyl wrap, a squeegee, heat gun, utility knife, and cleaning products. Have a microfiber cloth and gloves ready. Organize materials in one place to avoid interruptions.
Cleaning The Hood
Clean the hood deeply to remove dirt and oil. Use soap and water first. Dry it fully with a soft cloth. Wipe with isopropyl alcohol to remove grease. A clean surface helps the vinyl stick better.
Removing Obstacles
Remove parts like windshield wipers and emblems. These can block the vinyl and cause bubbles. Use the right tools to avoid damage. Clear edges make wrapping easier and neater.

Credit: www.youtube.com
Measuring And Cutting
Measuring and cutting are key steps in vinyl wrapping a car hood. These steps ensure the vinyl fits perfectly and looks smooth. Careful work here saves time and prevents mistakes later. Follow these simple tips to get the best results.
Taking Accurate Measurements
Start by cleaning the car hood. Dirt can affect your measurements. Use a flexible tape measure for accuracy. Measure the length and width of the hood. Add a few extra inches to each side for overlap. Mark these numbers clearly on paper. Double-check the measurements before moving on. Precise measurements prevent vinyl from being too small or too large.
Cutting The Vinyl Sheet
Lay the vinyl sheet flat on a clean surface. Use the measurements as a guide for cutting. Mark the vinyl with a pencil or marker. Cut slowly and carefully using a sharp utility knife or scissors. Avoid jagged edges by cutting in smooth lines. Keep extra vinyl for adjustments. Proper cutting helps the vinyl wrap stick well and look neat on the hood.
Applying The Vinyl
Applying vinyl to a car hood is a careful process. It needs patience and steady hands. Proper application ensures a smooth, long-lasting finish. This section guides you through key steps to apply vinyl correctly.
Positioning The Vinyl
Start by laying the vinyl over the hood. Align it carefully to cover the entire surface. Use magnets or tape to hold it in place temporarily. Check edges and corners for proper fit. Make small adjustments before sticking it down.
Using Heat For Flexibility
Heat softens the vinyl, making it easier to stretch and shape. Use a heat gun or hairdryer on low heat. Warm the vinyl evenly but avoid overheating. Heat helps the vinyl wrap around curves and edges smoothly.
Smoothing Out Bubbles
Trapped air causes bubbles under the vinyl. Use a squeegee to push bubbles toward the edges. Work slowly from the center outwards. For stubborn bubbles, gently lift and reapply the vinyl. Heat can help soften vinyl for easier smoothing.
Trimming And Finishing
Trimming and finishing are crucial steps to complete your car hood vinyl wrap. This phase ensures the vinyl fits perfectly and looks professional. Careful trimming prevents loose edges and bubbles. Proper finishing protects the wrap and extends its life.
Cutting Excess Vinyl
Start by gently lifting the vinyl edges. Use a sharp blade for clean cuts. Trim the extra vinyl close to the hood edges. Avoid cutting too deep to protect the car paint. Move slowly and steadily for better control. Keep the blade angle low to avoid scratching.
Sealing Edges
Heat the edges with a heat gun or hair dryer. Softened vinyl sticks better and seals tightly. Press the edges down firmly using a squeegee or cloth. Sealing stops water and dirt from getting underneath. Check corners carefully; they need extra attention.
Final Inspection
Look over the entire hood for bubbles or wrinkles. Smooth out any small air pockets with your fingers or squeegee. Make sure all edges are firmly attached. Fix any loose spots by reheating and pressing. A neat finish shows quality work and care.
Common Challenges
Vinyl wrapping a car hood is a rewarding task, but it comes with challenges. Many beginners face issues that can affect the final look. Understanding these common problems helps avoid mistakes. It also makes the process smoother and more enjoyable.
Avoiding Wrinkles
Wrinkles often appear when the vinyl is stretched too much. Stretch slowly and evenly across the hood. Use a heat gun to soften the vinyl. This makes it easier to lay flat without creases. Work from the center out to the edges. Press gently with a squeegee to smooth wrinkles away.
Fixing Air Bubbles
Air bubbles trap air under the vinyl, causing bumps. Use a pin to prick small bubbles. Press the air out carefully with a squeegee. For bigger bubbles, lift the vinyl gently and reapply. Work the vinyl down slowly to avoid trapping more air. This keeps the surface smooth and clean.
Dealing With Curves
Car hoods have curves that make wrapping tricky. Heat the vinyl to increase flexibility. Stretch the vinyl slightly to fit the shape. Use a squeegee to press the vinyl into curves. Avoid too much stretching to prevent damage. Take your time and adjust as needed for a tight fit.
Credit: www.tintingchicago.com
Maintenance Tips
Maintaining a vinyl wrap on your car hood is key to keeping it fresh and vibrant. Good care helps avoid damage and keeps the vinyl looking like new for a long time. Follow simple steps to protect your investment and enjoy the new look every day.
Cleaning Wrapped Surfaces
Use a soft cloth or sponge for cleaning. Avoid rough brushes or abrasive materials. Clean with mild soap and water only. Harsh chemicals can harm the vinyl finish. Rinse well to remove all soap residues. Dry with a soft towel to prevent water spots.
Protecting The Vinyl
Park in shaded areas to reduce sun damage. Avoid parking under trees to prevent sap and bird droppings. Use a car cover if possible. Wax and polish are not needed and can damage the wrap. Handle the surface gently to avoid scratches.
Longevity Advice
Check the wrap regularly for lifting edges or bubbles. Small problems are easier to fix early on. Avoid high-pressure washing close to edges. Keep the car in good condition overall. Proper care helps the vinyl last for years.
Frequently Asked Questions
How Long Does Vinyl Wrap Last On A Car Hood?
Vinyl wraps typically last 5 to 7 years with proper care. Durability depends on quality and exposure to elements. Regular cleaning and avoiding harsh chemicals extend the lifespan. Proper installation also ensures the wrap stays intact and looks fresh over time.
Can I Vinyl Wrap A Car Hood Myself?
Yes, you can vinyl wrap your car hood yourself with patience and the right tools. Follow step-by-step instructions carefully. Ensure the hood is clean and dry before application. Practice on small areas first for better results. Professional help is recommended for complex designs.
What Tools Are Needed To Vinyl Wrap A Car Hood?
You need a squeegee, heat gun, utility knife, and microfiber cloth. A surface cleaner and gloves also help. These tools ensure smooth application and prevent air bubbles. Investing in quality tools improves the finish and durability of the wrap.
How To Prepare A Car Hood Before Vinyl Wrapping?
Clean the hood thoroughly using soap and water, then dry it completely. Remove dirt, grease, and wax with a surface cleaner. Smooth out any dents or imperfections. Proper preparation ensures the vinyl adheres well and prevents bubbles or peeling.
Conclusion
Vinyl wrapping a car hood can change its look quickly. Careful work brings the best results and a smooth finish. Take time to clean, measure, and apply the vinyl with care. Small bubbles and wrinkles can spoil the effect. Use heat and pressure to make the vinyl stick well.
With practice, this skill becomes easier and more fun. A wrapped hood protects your car and adds style. Try it yourself and see the difference it makes!


