

Thinking about giving your car a fresh, new look without the high cost of a paint job? Vinyl wrapping is the perfect solution for you.
It not only transforms your car’s appearance but also protects its original paint. If you’ve ever wondered how to vinyl wrap a car yourself, this guide will walk you through every step clearly and simply. By the end, you’ll have the confidence and know-how to tackle this project and make your car stand out on the road.
Ready to learn how to turn heads with your ride? Let’s dive in!
Credit: www.tintingchicago.com
Materials And Tools Needed
Before starting a vinyl wrap project, gather all materials and tools. Having the right supplies makes the process smooth and easy. Missing tools can cause frustration and poor results. Prepare your workspace and check everything beforehand.
Types Of Vinyl Wraps
Vinyl wraps come in many types. Glossy vinyl offers a shiny finish. Matte vinyl gives a flat look without shine. Satin vinyl is between glossy and matte. There are also textured wraps like carbon fiber and brushed metal. Choose the type based on your style and car’s surface.
Essential Tools
Basic tools include a squeegee for smooth application. Use a heat gun to soften the vinyl and remove wrinkles. A sharp utility knife helps trim the edges precisely. Microfiber cloths clean the surface before applying wrap. Gloves prevent fingerprints on the vinyl. Tape measure and masking tape help with alignment.
Work Area Preparation
Clean and dry your workspace. A dust-free environment prevents dirt under the vinyl. Work in a shaded place to avoid direct sunlight. This keeps the vinyl from drying too fast. Make sure the car surface is washed and wax-free. Good lighting helps spot bubbles or creases during application.
Preparing The Car Surface
Preparing the car surface is the first step to a smooth and lasting vinyl wrap. The surface must be clean and free of dirt. Any obstacles on the car can cause bubbles or wrinkles in the wrap. Small damages can affect the final look. Taking time to prepare well saves effort later.
Cleaning And Degreasing
Start by washing the car thoroughly with soap and water. Use a sponge to remove dirt and dust. Next, use a degreaser to remove oils and grease. These substances prevent the vinyl from sticking properly. Clean in small sections to avoid streaks. Dry the surface with a microfiber cloth to prevent scratches.
Removing Obstacles
Remove parts like mirrors, antennas, and badges. These obstacles make wrapping difficult. Take off door handles if possible. Use a screwdriver for careful removal. Keep screws and parts safe for reassembly. Clearing the surface helps the vinyl lay flat. It also reduces the risk of damage during wrapping.
Surface Inspection And Repair
Check the car’s surface for scratches, dents, or rust. Small dents can show under the vinyl. Repair dents with filler and sand smooth. Sand rough areas lightly to ensure even texture. Rust spots need treatment to stop spreading. A smooth, clean surface helps the vinyl stick well. It also gives a better final appearance.
Measuring And Cutting The Vinyl
Measuring and cutting the vinyl is a key step in car wrapping. It ensures the vinyl fits the car’s shape perfectly. Taking exact measurements helps avoid mistakes. Cutting the vinyl correctly saves time and material. This step sets the base for a smooth wrap.
Taking Accurate Measurements
Use a flexible measuring tape for curves and edges. Measure each car part separately. Write down all measurements clearly. Add extra length to cover edges and corners. Double-check measurements to prevent errors. Accuracy here makes the wrap easier later.
Cutting Techniques
Use a sharp utility knife or vinyl cutter. Cut on a flat surface to avoid wrinkles. Follow the measurements but leave about two inches extra. Cut slowly and steadily for clean edges. Replace dull blades often to get smooth cuts. Proper cutting reduces waste and improves fit.
Handling Different Car Parts
Flat surfaces like doors are easier to measure and cut. Curved parts need more care and extra vinyl. For bumpers, add more material for stretching. Use smaller vinyl pieces for mirrors and handles. Label each piece to avoid confusion. Tailor cutting to each part’s shape and size.
Applying The Vinyl Wrap
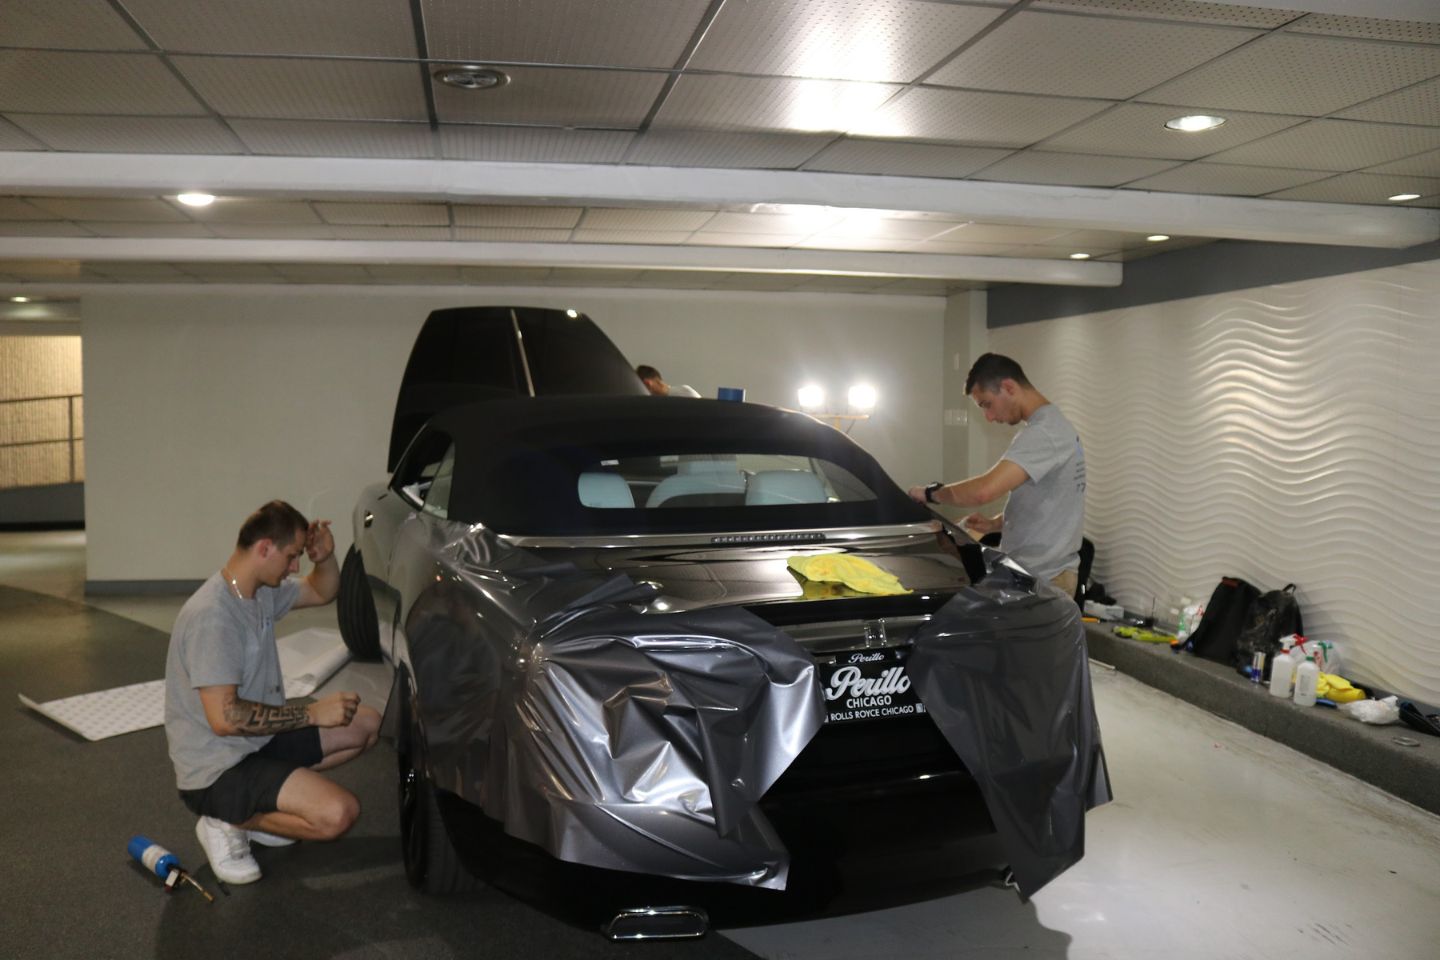
Applying the vinyl wrap is a key step in changing your car’s look. This process needs care and patience. A smooth application gives a professional and clean finish. Follow simple methods to get the best results. Take your time and keep the surface clean.
Positioning The Vinyl
Start by placing the vinyl on the car panel. Align it carefully to cover the area fully. Use magnets or tape to hold it in place. Make sure it matches the edges and curves. Check for any folds before moving on.
Using Heat For Flexibility
Heat the vinyl gently with a heat gun or hair dryer. Warm vinyl becomes soft and easier to stretch. This helps it fit around curves and corners. Avoid overheating to prevent damage. Heat small sections at a time for better control.
Smoothing Out Bubbles And Wrinkles
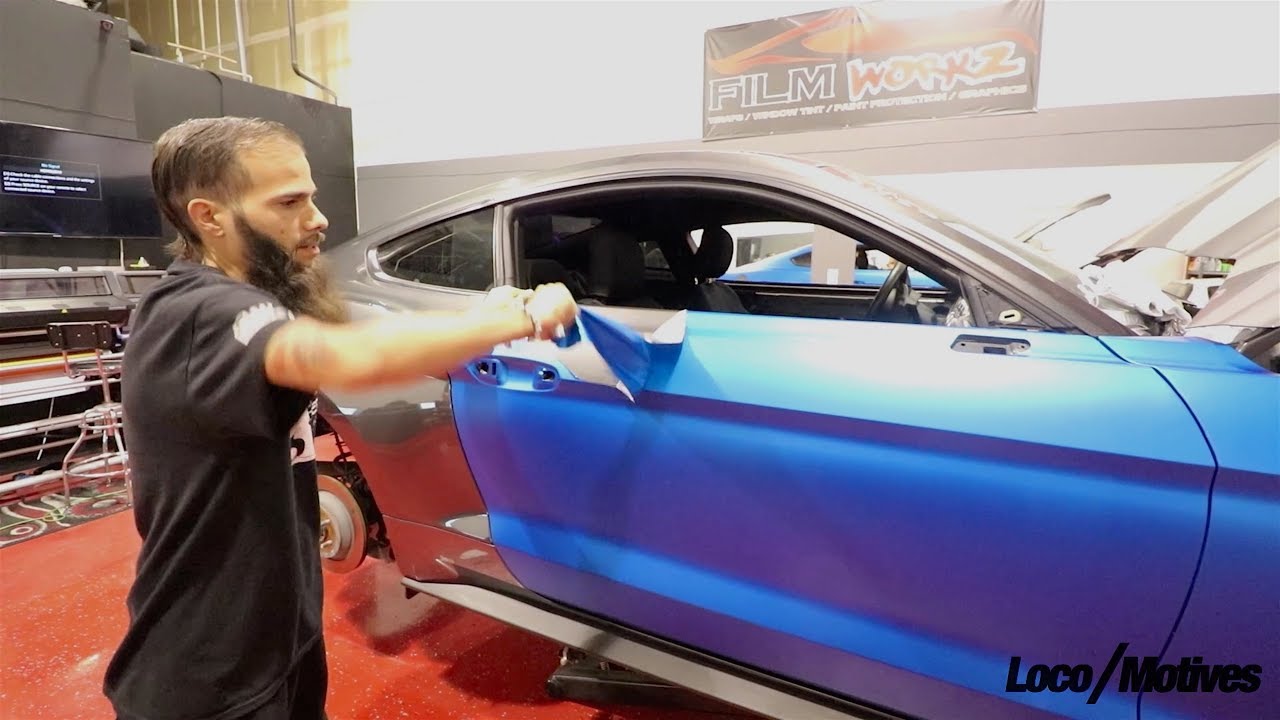
Use a squeegee to press the vinyl down. Move from the center outward to push air out. Work slowly to remove bubbles and wrinkles. If needed, lift the vinyl slightly to fix problem spots. Repeat heating and smoothing until the surface is flat.
Trimming And Finishing Touches
Trimming and finishing touches are key steps in a vinyl car wrap project. This stage shapes the wrap to fit the car perfectly. It also secures the wrap to last longer. Careful work here ensures a smooth, clean look. Follow each step with care to avoid mistakes.
Precise Trimming Methods
Use a sharp blade for clean cuts. Trim slowly along the edges of panels. Avoid cutting too deep to protect the car’s paint. Hold the blade at a low angle. Cut excess vinyl close to the edge but leave a small margin. This margin helps with securing the edges later.
Securing Edges
Press edges firmly using a squeegee or your fingers. Heat the edges slightly with a heat gun to help vinyl stick better. Fold the excess vinyl under the edges if possible. This keeps the wrap tight and prevents peeling. Take time to smooth out any bubbles near edges.
Final Inspection
Check every part of the wrap for bubbles or wrinkles. Use a pin to gently pop small bubbles and press them flat. Look for any loose edges and secure them again. Clean the car surface with a soft cloth to remove fingerprints and dust. A careful final check makes the wrap look professional and last longer.

Credit: www.turtlewax.com
Maintaining Your Vinyl Wrap
Maintaining your vinyl wrap keeps it looking fresh and new for years. Proper care prevents damage and extends the life of the wrap. Follow simple steps to protect your car’s new look.
Cleaning Tips
Use a soft cloth or sponge to clean the wrap. Avoid rough brushes that can scratch the surface. Wash with mild soap and water only. Rinse thoroughly to remove all soap. Dry the wrap with a clean microfiber towel. Do not use harsh chemicals or solvents. Clean your car regularly to avoid dirt buildup.
Avoiding Damage
Keep your car away from sharp objects and rough surfaces. Avoid parking under trees that drop sap or bird droppings. Remove contaminants quickly to prevent staining. Do not use high-pressure washers too close to the wrap. Avoid automatic car washes with harsh brushes. Be gentle when opening doors and handling the wrap area.
Longevity And Care
Park in shaded areas to reduce sun damage. Waxing is not recommended on vinyl wraps. Use a vinyl protectant to keep the surface smooth. Check the wrap edges regularly for lifting or peeling. Address small tears immediately to prevent bigger damage. Proper care helps maintain the wrap’s color and shine. Enjoy your car’s new style longer with simple care.
Common Mistakes To Avoid
Vinyl wrapping a car can change its look completely. Many make simple mistakes that ruin the final result. Avoiding these errors saves time and money. Focus on key areas to get the best outcome.
Surface Preparation Errors
Cleaning the car surface is critical. Dirt, grease, or old wax stops vinyl from sticking well. Skip this step, and bubbles or peeling will appear. Also, never wrap over damaged paint or rust. Fix these problems first. Dry the surface completely before wrapping. A clean, smooth surface helps the vinyl last longer.
Application Pitfalls
Applying vinyl too fast causes wrinkles and air bubbles. Stretch the vinyl carefully and slowly. Use a squeegee to push out air from the center outward. Avoid touching the sticky side with your fingers much. This can leave oils that reduce adhesion. Heat the vinyl gently to make it flexible. Overheating can melt or stretch it too thin.
Handling And Storage Issues
Store vinyl rolls in a cool, dry place away from sunlight. Heat and moisture damage the material before use. Unroll vinyl carefully to avoid creases. Once folded or bent sharply, vinyl can crease permanently. Handle with clean hands or gloves to prevent dirt marks. Keep the vinyl flat and rolled until ready to apply.
Cost And Time Considerations
Understanding the cost and time involved is key before starting a vinyl car wrap project. Proper planning helps avoid surprises and keeps the process smooth. Both budget and time affect the quality of the final result.
Budgeting For Materials
Vinyl wrap costs vary by quality and brand. Basic vinyl rolls are cheaper but may last less time. Premium vinyl offers better durability and finish but costs more. You also need tools like a squeegee, heat gun, and cleaning supplies. Factor in extra vinyl for mistakes or complex car shapes. Plan your budget to cover all materials needed for a full wrap.
Time Required For Each Step
Cleaning the car takes about 1 to 2 hours. Removing old decals or dirt is important for smooth adhesion. Cutting and positioning the vinyl can take 3 to 6 hours, depending on car size. Heating and stretching the vinyl for curves requires patience and skill. Wrapping small parts like mirrors or handles may add more time. Expect the entire process to take a full day or weekend.
When To Seek Professional Help
Complex car shapes or large vehicles need expert skills. Professionals have the right tools and experience. They work faster and reduce the risk of bubbles or wrinkles. If time is limited or the budget allows, hiring a pro is wise. They ensure a clean, lasting finish that looks great for years.
Credit: www.youtube.com
Frequently Asked Questions
What Tools Do I Need To Vinyl Wrap A Car?
You need a squeegee, heat gun, utility knife, gloves, and cleaning supplies. These tools help apply and smooth the vinyl wrap effectively without bubbles or creases.
How Long Does A Vinyl Car Wrap Last?
A vinyl wrap typically lasts 5 to 7 years. Proper care and avoiding harsh conditions can extend its lifespan.
Can I Vinyl Wrap A Car Myself?
Yes, with patience and the right tools, you can DIY. However, professional skill ensures a flawless, bubble-free finish.
How Do I Prepare My Car For Vinyl Wrapping?
Clean your car thoroughly, removing dirt, wax, and grease. Dry it completely to ensure the vinyl adheres properly.
Conclusion
Vinyl wrapping a car can change its look quickly and affordably. Take your time and work carefully on each section. Clean the surface well before you start applying the vinyl. Use the right tools to avoid bubbles and wrinkles. Practice makes perfect, so don’t rush the process.
Enjoy the fresh, new style of your car once done. This skill saves money compared to a full paint job. Try different colors or finishes to suit your taste. Keep your wrap clean to make it last longer.

