
If you want to give your grill a fresh, stylish look without spending a lot of money, vinyl wrapping is the way to go. Imagine transforming your old, dull grill into something that stands out in your backyard—all by yourself.
You might think it’s complicated, but with the right steps, you can do it easily and get professional results. In this guide, you’ll discover exactly how to vinyl wrap a grill, saving time and avoiding common mistakes. Ready to make your grill the envy of your neighborhood?
Let’s dive in and get started!
Materials Needed
Preparing to vinyl wrap a grill requires gathering the right materials. The correct supplies make the process smooth and the finish clean. This section covers what you need to start your project confidently.
Choosing The Right Vinyl Wrap
Select vinyl designed for outdoor use. It should resist heat, water, and UV rays. Choose a wrap with strong adhesive for long-lasting hold. Look for a matte or gloss finish depending on your style. Measure your grill to buy enough vinyl without waste.
Essential Tools
Gather a squeegee to smooth out air bubbles. A heat gun helps stretch and shape the vinyl around curves. Use a sharp utility knife to trim excess vinyl neatly. Prepare a cleaning cloth and mild detergent to clean the grill surface before wrapping. Gloves protect your hands and keep the vinyl clean.
Credit: www.myg37.com
Preparing The Grill
Preparing the grill is the first important step before applying a vinyl wrap. A clean and smooth surface helps the vinyl stick well. It also makes the wrap look neat and last longer.
Taking time to prepare the grill carefully will save effort later. Removing certain parts and cleaning thoroughly are key tasks. These steps create the best base for the wrap.
Cleaning The Surface
Start by washing the grill with soap and water. Use a soft cloth or sponge to avoid scratches. Dirt and grease can stop the vinyl from sticking properly.
After washing, dry the surface completely with a clean towel. Any moisture can cause bubbles under the vinyl. Use rubbing alcohol on a cloth to remove leftover oils.
Removing Grill Components
Take off removable parts like knobs, grills, and covers. This makes wrapping easier and avoids damage to parts. Use a screwdriver or the right tools for each piece.
Keep all screws and small parts safe in a container. Wrapping the main body without obstacles ensures smooth application. Reassemble the grill only after the wrap is fully applied and set.
Measuring And Cutting
Measuring and cutting are key steps in vinyl wrapping a grill. These steps help ensure the vinyl fits perfectly. Precise measurements prevent mistakes and wasted material. Cutting the vinyl to size makes the application smooth and neat.
Taking Accurate Measurements
Start by cleaning the grill surface. Use a tape measure to get the height and width. Measure each section of the grill carefully. Note down all dimensions clearly. Double-check measurements to avoid errors. Include extra space for edges and curves. Use a flexible tape for curved areas. Accurate measurements help the vinyl lay flat.
Cutting The Vinyl To Size
Place the vinyl on a clean, flat surface. Use a sharp utility knife or scissors. Cut slightly larger than the measurements. This extra material helps with wrapping edges. Cut slowly to keep straight lines. Avoid jagged or rough edges. Trim excess vinyl after application if needed. Smooth cuts make the wrap look professional.

Credit: www.youtube.com
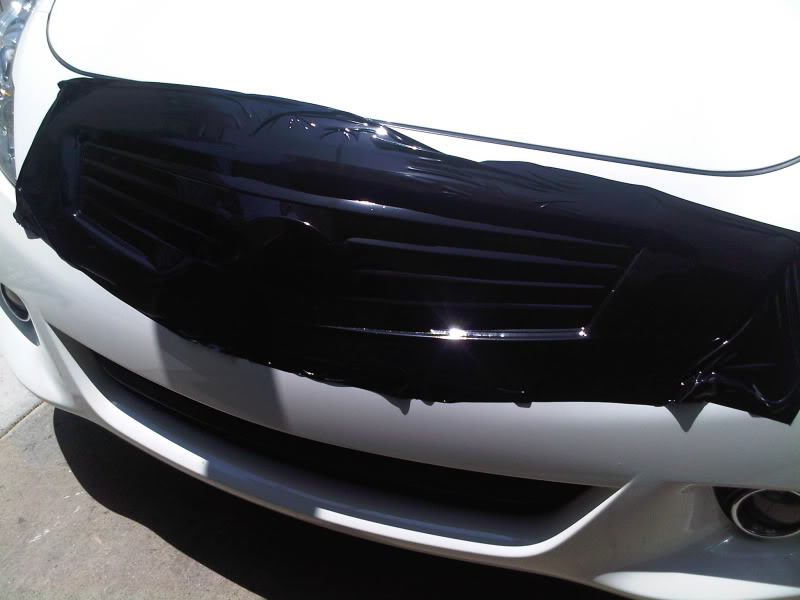
Applying The Vinyl Wrap
Applying the vinyl wrap on your grill is a careful process that needs attention. This step ensures your wrap looks smooth and fits perfectly. Take your time and work patiently for the best results.
Positioning The Vinyl
Start by placing the vinyl wrap over the grill. Align it carefully to cover the entire surface. Hold the vinyl at one edge and slowly lay it down. Avoid stretching the vinyl too much. Make small adjustments to keep it straight and even.
Smoothing Out Bubbles
Use a soft squeegee or cloth to press the vinyl. Push from the center toward the edges. This action removes air bubbles trapped under the vinyl. Work gently to avoid tearing or wrinkling. Check for small bubbles and smooth them out carefully.
Using Heat For Better Adhesion
Apply gentle heat with a heat gun or hair dryer. Warm the vinyl to make it more flexible. Heat helps the vinyl stick better to the grill’s curves. Keep the heat moving to avoid damage. Press the vinyl firmly as you heat it for a tight fit.
Finishing Touches
After applying the vinyl wrap to your grill, the final steps are very important. These finishing touches make sure your wrap looks clean and stays in place. Taking your time here helps keep the wrap smooth and strong. This section guides you through trimming the excess vinyl and reassembling your grill perfectly.
Trimming Excess Vinyl
Use a sharp knife or blade for trimming. Cut carefully along the edges of the grill. Remove all extra vinyl to avoid wrinkles or bubbles. Keep the blade steady and take small, slow cuts. Make sure not to cut into the grill itself. Clean cuts help the wrap look neat and professional.
Reassembling The Grill
Put all parts of the grill back in order. Tighten screws and fix any removed pieces. Check that the vinyl does not get caught or folded. Ensure the wrap stays smooth and flat during reassembly. Test the grill to confirm everything works well. Your grill is now ready with a fresh, new look.

Credit: www.youtube.com
Maintenance Tips
Taking care of your vinyl wrapped grill keeps it looking fresh and new. Proper maintenance extends the life of the wrap. Simple habits protect the vinyl from wear and tear.
Cleaning Wrapped Surfaces
Use a soft cloth or sponge to clean the wrap gently. Avoid rough materials that can scratch the surface. Mild soap mixed with water works best for cleaning. Rinse with clean water to remove soap residue. Dry the surface with a soft towel to avoid water spots. Avoid pressure washers as they can damage the vinyl. Regular cleaning prevents dirt buildup and keeps colors bright.
Avoiding Damage
Keep sharp objects away from the wrapped grill. Avoid dragging heavy items across the vinyl wrap. Do not use harsh chemicals or solvents on the surface. Park the grill in shaded areas to reduce sun damage. Cover the grill when not in use to protect it from dust and rain. Handle the wrapped surface with care to prevent peeling or bubbles.
Frequently Asked Questions
What Materials Do I Need To Vinyl Wrap A Grill?
You need vinyl wrap film, a squeegee, a heat gun, a utility knife, and cleaning supplies. Clean the grill surface thoroughly before wrapping to ensure adhesion.
How Long Does Vinyl Wrapping A Grill Take?
Vinyl wrapping a grill typically takes 1 to 3 hours. Time depends on grill size, complexity, and your experience level.
Can Vinyl Wrap Withstand Grill Heat And Weather?
High-quality vinyl wrap is heat-resistant and weatherproof. However, avoid direct contact with extreme heat to prevent damage or peeling.
How Do I Prepare The Grill Surface For Wrapping?
Clean the surface with soap and water, then use isopropyl alcohol. Remove all dirt, grease, and rust for best adhesion.
Conclusion
Vinyl wrapping a grill can refresh its look quickly and affordably. Take your time to clean and prepare the surface well. Apply the vinyl wrap smoothly to avoid bubbles and wrinkles. Use a heat gun carefully to shape the wrap around curves.
Patience and attention to detail make a big difference. Enjoy the new appearance and protect your grill from damage. Try this project to give your grill a fresh style easily. You can do it with simple tools and clear steps.


