
Are you ready to give your guitar a fresh, eye-catching look without spending a fortune? Vinyl wrapping your guitar is a simple and fun way to transform its appearance while protecting the surface underneath.
Whether you want a bold new color, a sleek design, or something totally unique, this guide will walk you through every step. By the end, you’ll have the skills to make your guitar stand out on stage or in your collection.
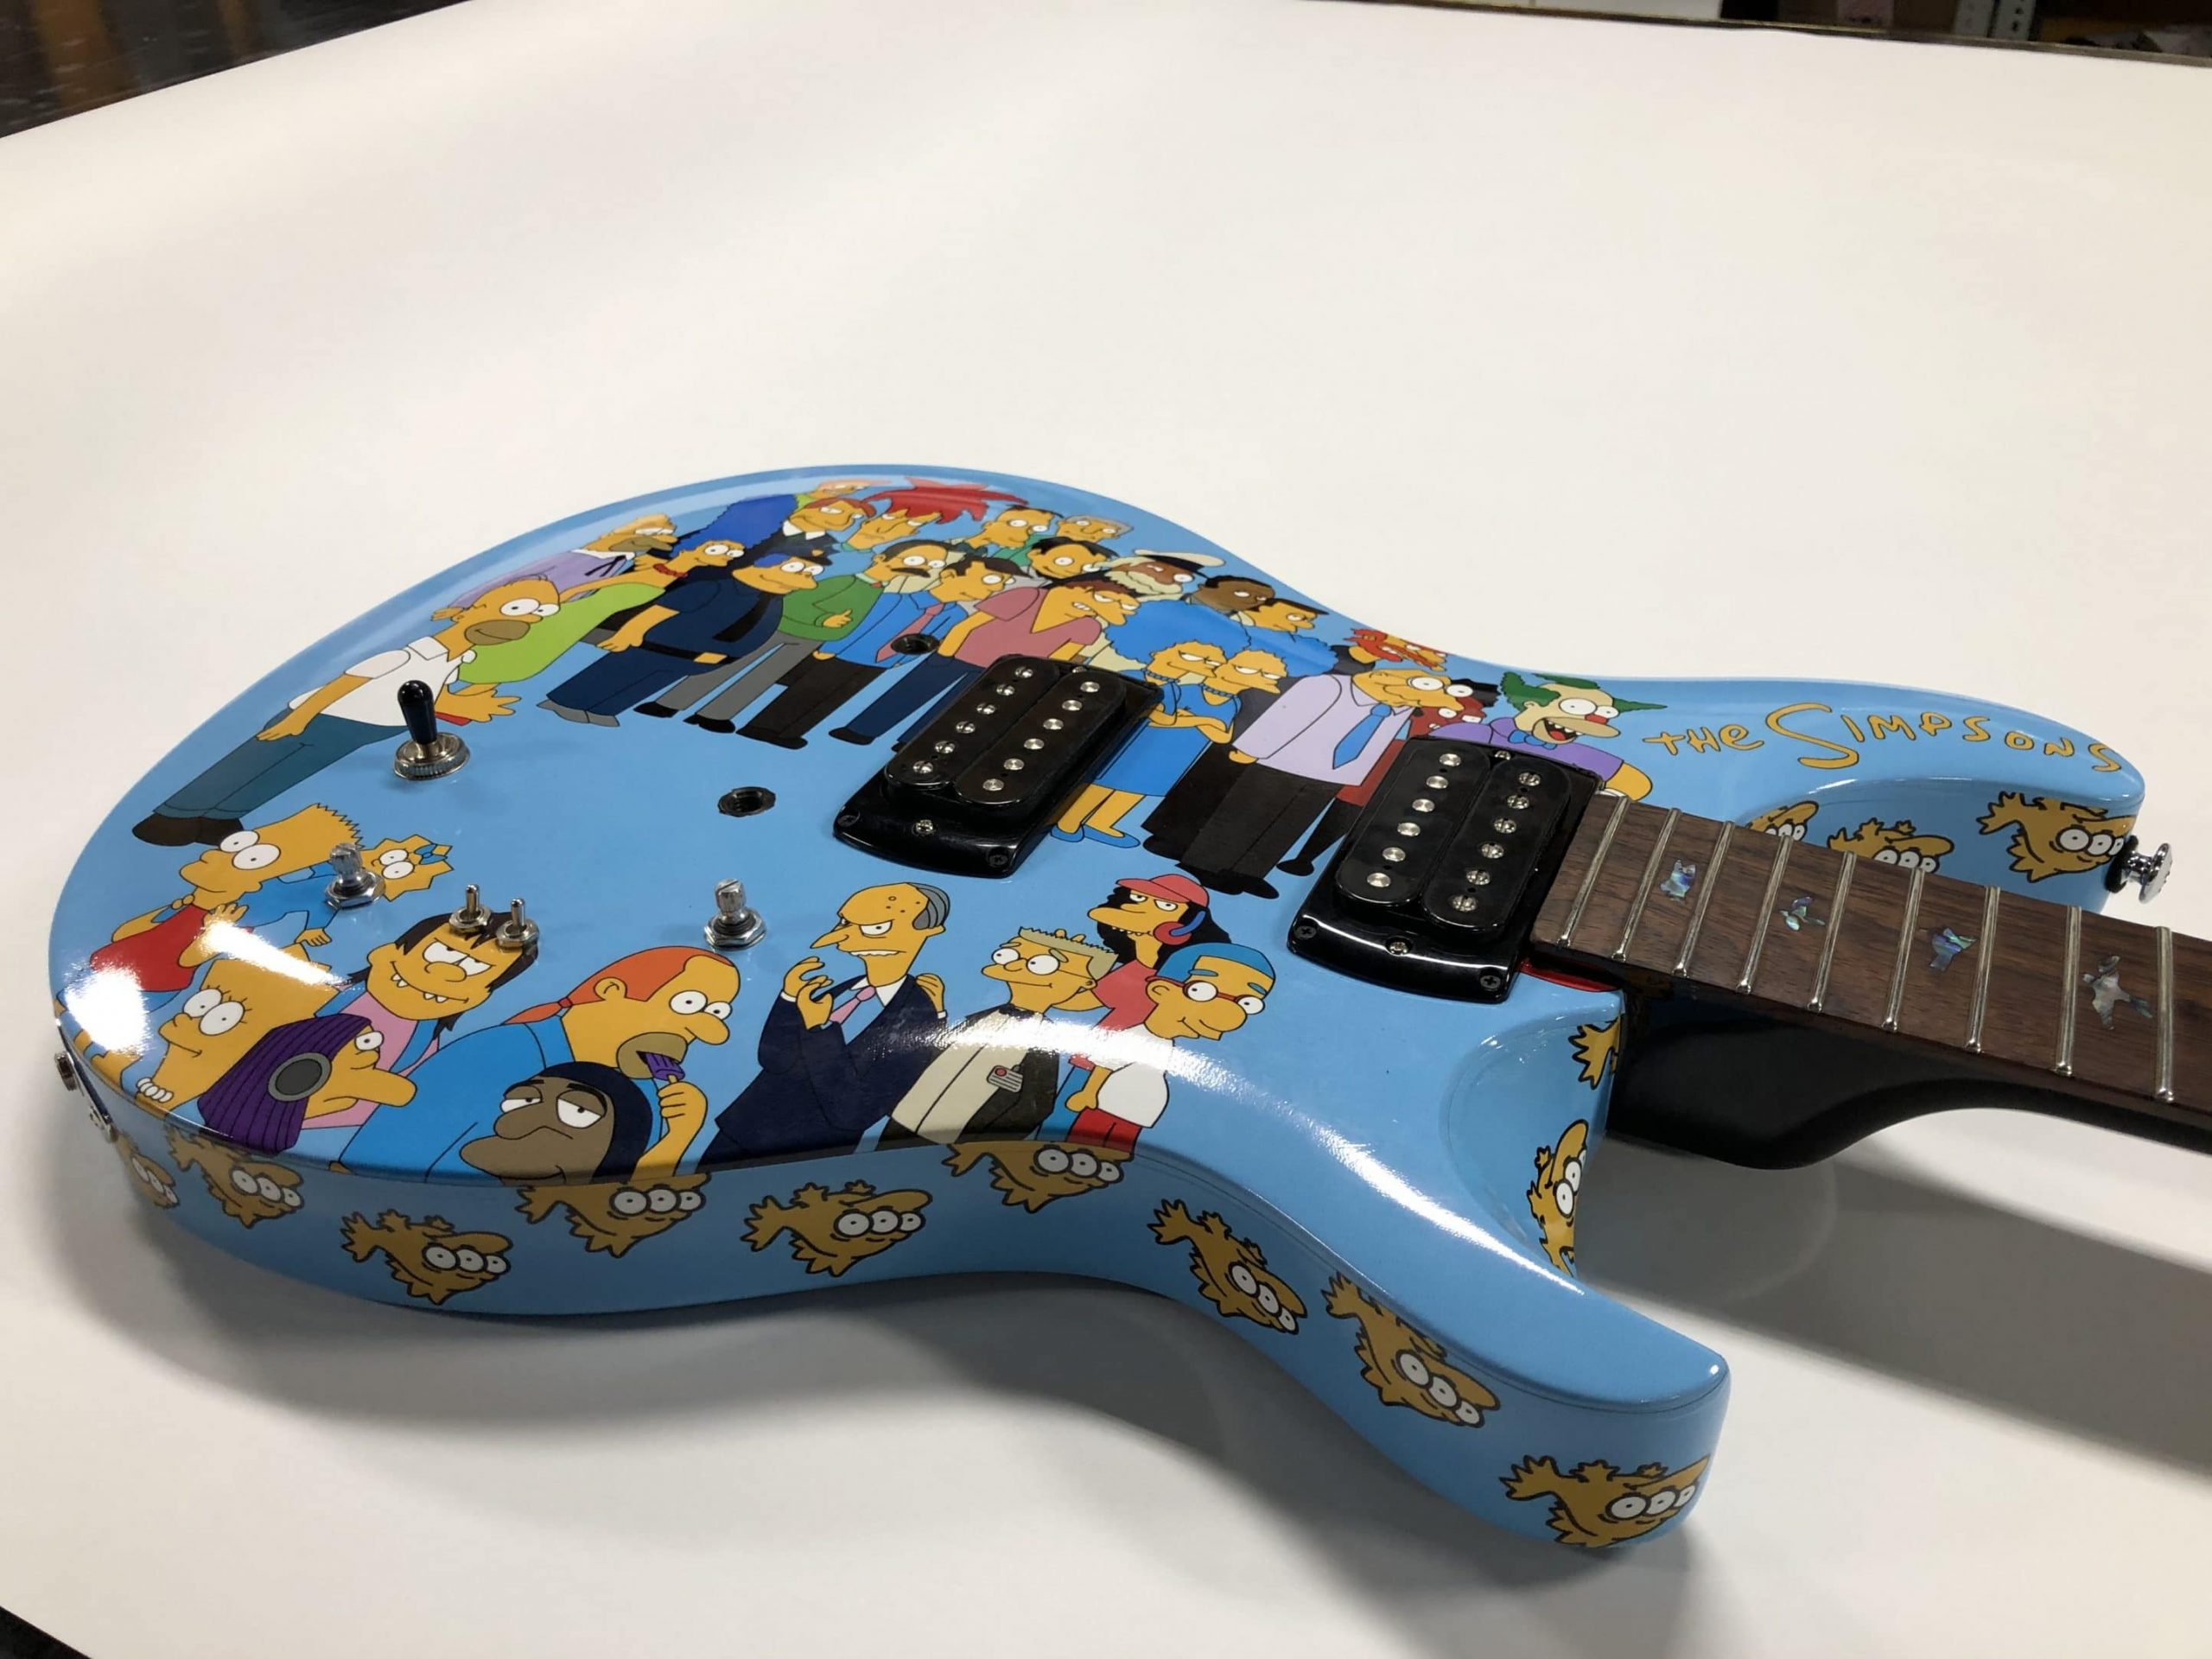
Let’s dive in and discover how easy it is to vinyl wrap your guitar yourself!

Credit: www.reddit.com
Preparing The Guitar
Preparing the guitar is the first step before applying vinyl wrap. This step ensures the wrap sticks well and looks smooth. Proper preparation helps avoid bubbles and wrinkles on the vinyl. Take your time to make the guitar surface clean and ready.
Removing Hardware And Strings
Start by removing all hardware parts. Take off the strings carefully. Remove pickups, knobs, and the bridge if possible. This prevents damage and gives full access to the guitar body. A clean surface without hardware makes wrapping easier.
Cleaning The Surface
Use a soft cloth and mild cleaner to wipe the guitar body. Remove dirt, grease, and dust completely. Any leftover dirt can cause bumps under the vinyl. Make sure the surface is dry before moving to the next step. A clean guitar helps the wrap stick better.
Sanding And Smoothing
Lightly sand the guitar body with fine-grit sandpaper. This step removes any rough spots or old paint flakes. Sanding creates a smooth, even surface for the vinyl wrap. Wipe the guitar again to remove sanding dust. Smooth surfaces help the vinyl look flawless.

Credit: www.youtube.com
Choosing The Vinyl Wrap
Choosing the right vinyl wrap for your guitar is an important step. It affects how your guitar looks and how easy it is to apply the wrap. Picking the right type, color, and tools helps you get the best result. Let’s explore what you need to know before starting.
Types Of Vinyl Films
There are different types of vinyl films for wrapping a guitar. Glossy vinyl gives a shiny, smooth finish. Matte vinyl offers a flat, non-reflective look. Satin vinyl is between glossy and matte, giving a soft shine. Some vinyls have textures like carbon fiber or leather look. Choose a type that fits your style and the guitar’s shape.
Selecting Colors And Patterns
Color choice changes your guitar’s mood. Bright colors stand out on stage. Dark colors give a classic feel. Patterns add personality. Stripes, flames, or camouflage can make your guitar unique. Think about what suits your music and style. Simple colors work well for beginners. Complex patterns may need more skill to apply.
Tools And Materials Needed
Gather the right tools before wrapping. You need a squeegee to smooth out air bubbles. A sharp craft knife helps cut vinyl precisely. Use a heat gun or hair dryer to soften vinyl for curves. Cleaning supplies keep the guitar surface dust-free. Have measuring tape and masking tape for accurate placement. Good tools make wrapping easier and neater.
Cutting And Measuring Vinyl
Cutting and measuring vinyl is a key step in wrapping a guitar. It helps the vinyl fit perfectly on the guitar’s surface. Careful measurement and cutting reduce mistakes and waste. Taking your time here makes the whole project easier and cleaner.
Measuring The Guitar Body
Start by measuring the main parts of the guitar body. Use a flexible tape measure for curves. Note the length and width of each section. Don’t forget the edges and the back. Write down each measurement clearly to avoid confusion.
Cutting The Vinyl To Size
Place the vinyl on a flat surface. Use a sharp craft knife or scissors for cutting. Cut slightly larger than your measurements. This extra margin allows for adjustments later. Cut slowly and follow straight lines for neat edges.
Marking Key Areas
Mark areas like pickups, knobs, and the neck pocket on the vinyl. Use a pencil or a light marker. These marks guide you during installation. They help avoid covering important parts. Mark gently to prevent damage to the vinyl.
Applying The Vinyl Wrap
Applying the vinyl wrap on your guitar is a careful process. It needs patience and steady hands. This step shapes the look of your instrument. Proper application makes the wrap last longer and look smooth. Follow these steps to get the best results.
Positioning The Vinyl
Lay the vinyl on a clean, flat surface first. Peel a small part of the backing paper. Place the sticky side gently on the guitar body. Adjust the vinyl so it covers all areas. Avoid stretching the vinyl too much. Make sure edges line up well. Hold the vinyl in place before pressing down.
Using Heat For Flexibility
Use a heat gun or hair dryer carefully. Warm the vinyl evenly but not too hot. Heat makes the vinyl soft and easier to shape. Move the heat source in slow circles. Do not overheat one spot. Flex the vinyl around curves and edges. Heat helps avoid wrinkles and bubbles later.
Smoothing Out Bubbles And Wrinkles
Start smoothing from the center toward the edges. Use a soft squeegee or cloth. Push out air bubbles gently but firmly. Check for wrinkles and stretch vinyl lightly. Apply heat again if needed. Be patient and work slowly. Smooth vinyl means a clean, professional look.
Trimming And Finishing
Trimming and finishing are key steps in vinyl wrapping a guitar. This stage gives your guitar a neat, professional look. It also protects the edges from peeling. Proper trimming and sealing keep the vinyl tight and smooth. Handle these steps with care to avoid damage to your wrap or guitar.
Cutting Excess Vinyl
Use a sharp blade to cut away extra vinyl. Cut slowly and follow the guitar’s curves closely. Leave a small margin to fold over edges. Avoid cutting too close to the guitar surface. This prevents accidental damage to paint or wood. Work in good light to see clearly.
Sealing The Edges
Press down the edges firmly to seal them. Use a heat gun at low temperature for better grip. Heat makes the vinyl stretch and stick well. Smooth out any bubbles or wrinkles. Sealed edges stop dirt and moisture from entering. This step extends the life of your wrap.
Reattaching Hardware
Remove any protective film from the hardware parts. Reattach pickups, knobs, and strings carefully. Tighten screws without overdoing it to avoid damage. Check that all parts fit well and move freely. This restores the guitar’s full functionality and style.
Credit: vinylwraptoronto.com
Maintenance Tips
Keeping your vinyl-wrapped guitar in great shape takes some care. Regular maintenance helps the wrap stay smooth and bright. Follow these simple tips to protect your guitar’s look and feel over time.
Cleaning The Wrapped Surface
Use a soft, damp cloth to wipe the vinyl gently. Avoid harsh chemicals or abrasive cleaners. Mild soap with water works well for tough dirt. Dry the surface with a clean, soft towel. Clean your guitar regularly to stop dirt build-up.
Avoiding Damage
Keep sharp objects away from the guitar’s surface. Avoid placing it on rough or dirty areas. Do not use stickers or tape on the vinyl. Store the guitar in a padded case when not in use. Protect the wrap from direct sunlight to stop fading.
Long-term Care
Check the edges of the wrap for lifting or peeling. Press down any loose parts carefully with your fingers. Use a vinyl-specific conditioner once in a while to keep the wrap flexible. Keep the guitar in a dry place to avoid moisture damage. Regular care keeps your wrap fresh for years.
Frequently Asked Questions
What Materials Do I Need To Vinyl Wrap A Guitar?
You need vinyl wrap sheets, a heat gun, a squeegee, a utility knife, and cleaning supplies. These tools ensure a smooth, bubble-free application on your guitar.
How Long Does It Take To Vinyl Wrap A Guitar?
Wrapping a guitar typically takes 2 to 4 hours. This depends on your skill level and guitar complexity. Proper preparation and patience improve the final result.
Can Vinyl Wrap Damage My Guitar’s Finish?
No, vinyl wrap does not damage the guitar’s finish if applied correctly. It acts as a protective layer and can be safely removed without residue.
How Do I Remove Bubbles From Vinyl Wrap On A Guitar?
Use a squeegee and heat gun to smooth out bubbles. Heat softens the vinyl, allowing air to escape and ensuring a flawless finish.
Conclusion
Vinyl wrapping a guitar can change its look quickly and easily. Take your time to clean and prepare the surface well. Cut the vinyl carefully and apply it smoothly to avoid bubbles. Use heat gently to shape the wrap around curves.
Practice makes the process easier and more fun. You can create a unique design that shows your style. This simple project saves money and lets you customize your guitar. Try it yourself and enjoy a fresh, new guitar look.

