

Are you ready to give your motorcycle a fresh, eye-catching look without spending a fortune? Vinyl wrapping is the perfect solution to transform your bike quickly and protect its original paint.
But how do you get that smooth, professional finish that turns heads everywhere you ride? In this guide, you’ll discover simple, step-by-step instructions to vinyl wrap your motorcycle like a pro. Whether you want a bold color change or a sleek design, this article will help you avoid common mistakes and achieve amazing results.
Keep reading, and let’s make your motorcycle stand out on the road!

Credit: thegirlonabike.com
Tools And Materials Needed
Before starting to vinyl wrap a motorcycle, gather all the right tools and materials. Having the correct supplies makes the process easier and gives better results. Prepare everything to avoid interruptions and mistakes.
Vinyl Wrap Types
Choose the right vinyl wrap type for your motorcycle. Cast vinyl is flexible and lasts longer on curved surfaces. It fits well on motorcycle parts. Calendered vinyl is cheaper but less flexible. Pick a vinyl with UV protection to keep colors bright.
Essential Tools
You need a few key tools to wrap your motorcycle. A heat gun helps stretch and shape the vinyl. A squeegee removes air bubbles and smooths the vinyl. Use a sharp utility knife to trim excess vinyl carefully. A microfiber cloth cleans the surface before wrapping. A spray bottle with soapy water helps adjust the vinyl during application.
Safety Gear
Protect yourself while working on the wrap. Wear gloves to avoid cuts from sharp tools and vinyl edges. Safety glasses keep dust and debris out of your eyes. Work in a well-ventilated area to avoid inhaling fumes from the vinyl or adhesive. Keep a first aid kit nearby for small accidents.
Credit: www.vikingbags.com
Preparing The Motorcycle
Preparing the motorcycle is the first important step before applying a vinyl wrap. It makes sure the wrap sticks well and looks smooth. Taking time to prepare will help avoid bubbles and wrinkles later.
This step includes cleaning, removing parts, and sanding. Each task helps create the best surface for the vinyl wrap. Let’s break down these tasks.
Cleaning The Surface
Start by washing the motorcycle with soap and water. Remove all dirt, dust, and grease. Use a microfiber cloth to dry the surface. Then, clean with rubbing alcohol to remove oil or wax. A clean surface helps the wrap stick better and last longer.
Removing Parts
Take off parts like mirrors, decals, and badges. Removing these parts makes wrapping easier and neater. It also prevents damage to the vinyl or the parts. Use the right tools to avoid scratching the paint. Keep the screws and small parts safe for reassembly.
Sanding And Priming
Lightly sand rough or glossy areas with fine sandpaper. This creates a slightly rough surface for better adhesion. Avoid sanding too hard to protect the paint. After sanding, apply a primer if needed. Primer helps the vinyl stick on tricky surfaces. Let the primer dry fully before wrapping.
Measuring And Cutting Vinyl
Measuring and cutting vinyl are key steps in wrapping a motorcycle. Precise measurements ensure the vinyl fits perfectly on the bike’s surfaces. Cutting the vinyl correctly prevents waste and helps avoid wrinkles or bubbles. Careful handling of curves and edges gives the wrap a smooth, professional look. This section explains how to measure and cut vinyl for the best results.
Taking Accurate Measurements
Use a flexible measuring tape for curves and tight spots. Measure each part of the motorcycle separately. Write down the length and width clearly. Add an extra inch to each measurement. This extra space allows for trimming and adjusting. Double-check every measurement before cutting. Accurate measuring is the foundation for a neat wrap.
Cutting Techniques
Use a sharp utility knife or vinyl cutter for clean edges. Cut on a flat surface to avoid mistakes. Place the vinyl on a cutting mat to protect your work area. Cut slowly to keep straight lines. Avoid cutting too close to the measurements at first. Leave some margin for fitting and stretching. Clean, precise cuts make the application easier and faster.
Handling Curves And Edges
Curves and edges need special attention. Score the vinyl lightly along bends to help it stretch. Use a heat gun to warm the vinyl for better flexibility. Stretch the vinyl gently over edges without tearing. Trim excess vinyl after the wrap fits well. Smooth out air bubbles with a squeegee. Careful handling of curves and edges creates a flawless finish.
Credit: www.vikingbags.com
Applying The Vinyl Wrap
Applying the vinyl wrap on a motorcycle requires care and patience. This step shapes the look and protects the bike’s surface. Proper application avoids wrinkles and bubbles. Follow each step carefully for a smooth finish.
Positioning The Vinyl
Start by placing the vinyl on the motorcycle panel. Align it so it covers the area fully. Leave extra material around the edges for adjustments. Do not remove the backing paper yet. Check angles and curves. Adjust until the vinyl sits evenly.
Using Heat For Flexibility
Use a heat gun to warm the vinyl slightly. Heat makes the vinyl soft and stretchable. Move the heat gun evenly over the surface. Avoid overheating to prevent damage. Heating helps the vinyl wrap around curves smoothly. Work quickly but carefully.
Smoothing Out Bubbles
Use a squeegee or soft cloth to press the vinyl down. Start from the center and push air bubbles outward. Small bubbles can be popped with a pin. Keep smoothing until the surface feels flat. Check edges for lifting and press them firmly.
Finishing Touches
Finishing touches make your motorcycle vinyl wrap look clean and last longer. These final steps help avoid peeling and give a polished look. Take your time and check every edge carefully. Small details matter for the best result.
Trimming Excess Vinyl
Use a sharp blade to cut away extra vinyl. Cut close to the edges but avoid cutting the paint. Take small cuts. This keeps the wrap neat without damage. Keep your hand steady to prevent mistakes.
Sealing Edges
Seal the edges with heat from a heat gun. Warm edges stick better and resist lifting. Run the heat gun slowly over the edges. Press the vinyl down firmly as it warms. This step helps the wrap stay tight and smooth.
Reassembling Motorcycle Parts
Put all removed parts back on the bike. Check screws and bolts to tighten them properly. Avoid rushing this step. Proper assembly protects the wrap and keeps your bike safe. Your motorcycle looks complete and ready to ride.
Maintenance Tips
Proper care keeps your motorcycle’s vinyl wrap looking fresh and new. Maintenance helps protect the wrap from damage and fading. Follow simple steps to clean and preserve your wrap’s beauty for years.
Cleaning Wrapped Surfaces
Use a soft cloth or sponge to clean the wrap. Wash with mild soap and water only. Avoid harsh chemicals or abrasive cleaners that can damage the vinyl. Rinse well and dry with a soft towel. Clean regularly to prevent dirt buildup.
Avoiding Damage
Park your motorcycle in shaded or covered areas. Sunlight can fade the wrap over time. Avoid sharp objects or rough surfaces that can scratch or tear the wrap. Be careful when using tools near the vinyl. Do not use high-pressure washers directly on the wrap.
Longevity Of Vinyl Wrap
Proper care extends the life of your vinyl wrap. Keep it clean and avoid harsh conditions. Regular inspections help spot small issues early. Repair minor damages quickly to prevent bigger problems. With good maintenance, your wrap can last several years.
Common Mistakes To Avoid
Vinyl wrapping a motorcycle can transform its look. Avoid common mistakes to get the best results. Small errors can cause bubbles, peeling, or uneven surfaces. Knowing what to avoid saves time and money.
Poor Surface Prep
Clean the motorcycle surface well before wrapping. Dirt and grease prevent vinyl from sticking properly. Use soap and water, then dry completely. Any leftover dust or oil causes bubbles and peeling. Smooth surfaces ensure the vinyl stays longer.
Incorrect Application
Applying vinyl too fast leads to wrinkles and air pockets. Take your time to stretch the vinyl gently. Use a squeegee to press out air bubbles. Avoid pulling the vinyl too hard, which can tear it. Work in small sections for better control.
Ignoring Temperature Conditions
Vinyl wraps need the right temperature to stick well. Cold weather makes the vinyl stiff and hard to apply. Hot weather can make the vinyl stretch too much. Aim for a temperature between 60°F and 80°F. This helps the vinyl stick smoothly and last longer.
Frequently Asked Questions
What Tools Are Needed To Vinyl Wrap A Motorcycle?
You need a heat gun, squeegee, utility knife, cleaning solution, gloves, and vinyl wrap film. These tools ensure smooth application and proper adhesion.
How Long Does A Motorcycle Vinyl Wrap Last?
A vinyl wrap on a motorcycle typically lasts 5 to 7 years. Proper cleaning and maintenance can extend its lifespan.
Can I Vinyl Wrap A Motorcycle Myself?
Yes, with patience and practice, you can vinyl wrap your motorcycle. Follow step-by-step guides and take your time for best results.
Is Vinyl Wrap Better Than Paint For Motorcycles?
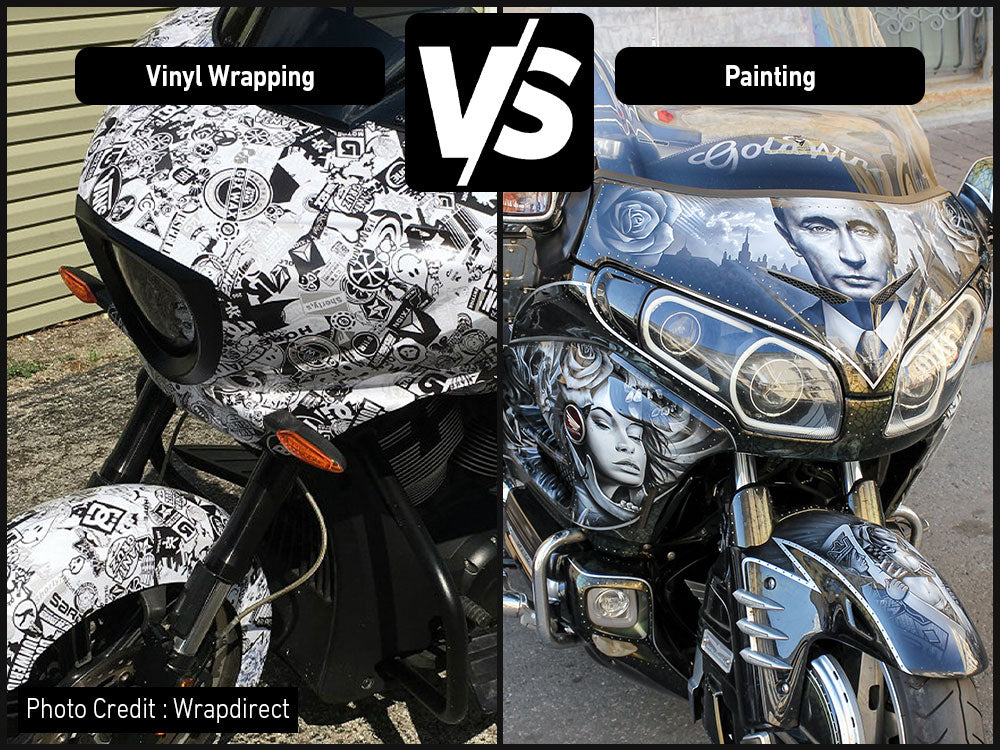
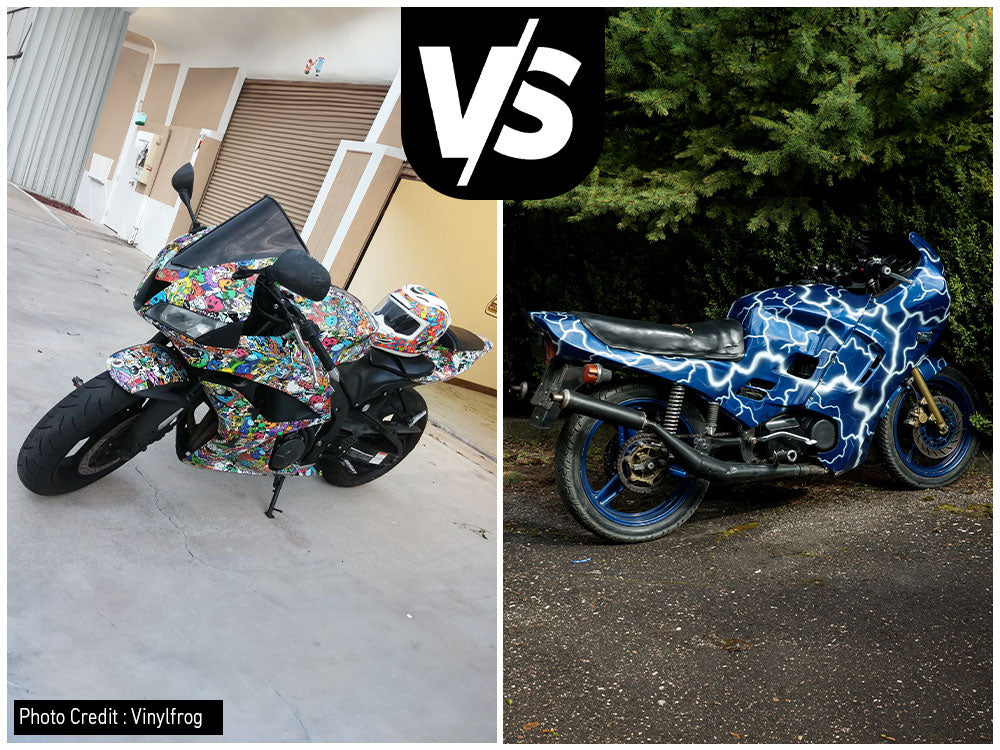
Vinyl wrap is cost-effective, customizable, and removable without damage. Paint offers durability but is less flexible and harder to change.
Conclusion
Vinyl wrapping your motorcycle can change its look quickly. Take your time and work carefully for best results. Clean the surface well before starting the wrap. Use a heat gun to help the vinyl stick and shape. Small bubbles can be smoothed out with a squeegee.
Practice on small parts if you are new to wrapping. This project saves money compared to painting. Enjoy your bike’s fresh new style safely and proudly. Keep the wrap clean to make it last longer. Vinyl wrap lets you express your style easily.


