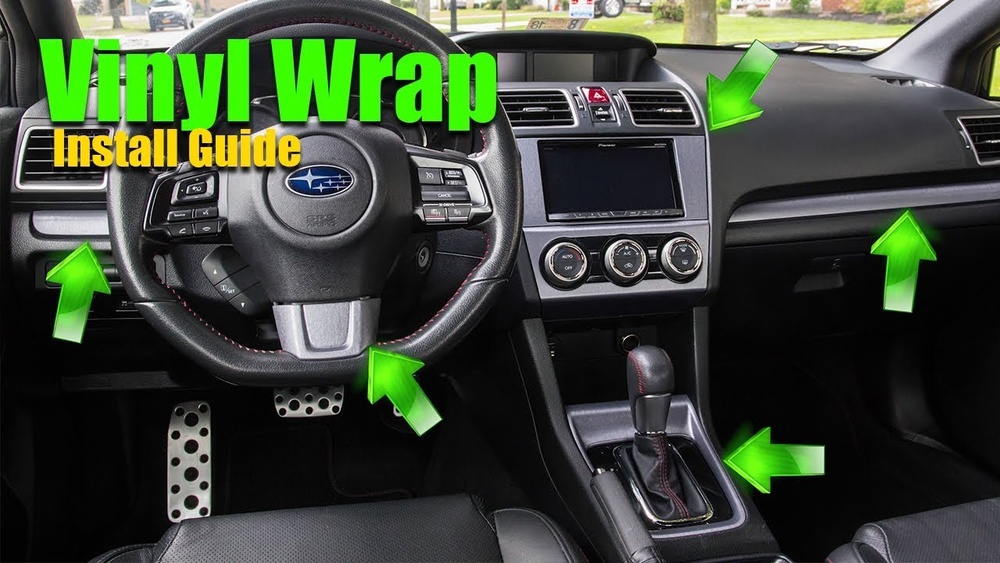
Are you looking to give your car a fresh, unique look without spending a fortune? Vinyl wrapping your car parts could be the perfect solution.
It’s affordable, customizable, and can completely transform your vehicle’s appearance. But where do you start? How do you get a smooth, professional finish without bubbles or wrinkles? In this guide, you’ll discover simple, step-by-step tips that make vinyl wrapping easy—even if you’ve never tried it before.
Keep reading, and you’ll soon know exactly how to wrap your car parts like a pro.
Choosing The Right Vinyl
Choosing the right vinyl is key to a successful car wrap. The vinyl must fit the part’s shape and use. Picking the right type ensures the wrap looks good and lasts long. Below are important points to consider.
Types Of Vinyl Films
Cast vinyl is thin and flexible. It molds well on curves and edges. Perfect for complex car parts.
Calendered vinyl is thicker and less flexible. Best for flat surfaces and simple shapes. It costs less but may not last as long.
Each type suits different parts and budgets. Choose based on the part’s shape and how long you want the wrap to last.
Color And Finish Options
Vinyl comes in many colors. From bright reds to matte blacks. Pick a color that matches your style.
Finishes include glossy, matte, satin, and textured. Glossy shows shine, matte offers a flat look. Satin sits between the two. Textured wraps mimic carbon fiber or brushed metal.
Think about the look you want before buying vinyl. The finish changes the car’s overall style.
Durability And Adhesion Factors
Good vinyl must stick firmly to the surface. Adhesion depends on the vinyl quality and surface prep.
Durability matters. Some vinyl resists sun, rain, and scratches better. Cast vinyl often lasts longer than calendered.
Check the vinyl’s warranty and reviews. Strong adhesion and durability prevent peeling and bubbling.
Preparing Car Parts
Preparing car parts is the first step in a successful vinyl wrap project. Clean and smooth surfaces help the vinyl stick better. This process avoids bubbles and wrinkles. Proper preparation makes the wrap last longer and look great.
Cleaning And Degreasing
Start by washing the car parts with soap and water. Remove dirt and dust carefully. Use a degreaser to clear oils and grease. These substances stop vinyl from sticking well. Wipe parts with a clean cloth after degreasing. Make sure surfaces are dry before moving on.
Removing Old Wraps And Debris
Peel off any old vinyl or stickers gently. Use a heat gun to soften stubborn wraps. Avoid damaging the surface underneath. Scrape off leftover adhesive with a plastic scraper. Clean the area again to remove tiny debris. This step ensures a smooth base for new vinyl.
Sanding And Surface Smoothing
Lightly sand the surface with fine-grit sandpaper. This removes small imperfections and rough spots. Sanding creates a better grip for the vinyl. Wipe away sanding dust using a damp cloth. Let the part dry completely before wrapping. Smooth surfaces give a professional finish.
Tools And Materials Needed
Wrapping car parts with vinyl needs the right tools and materials. Using proper tools makes the job easier and gives better results. You will need items that help cut, heat, and smooth the vinyl perfectly.
Below are the main tools and materials needed for a successful vinyl wrap project.
Essential Wrapping Tools
Start with high-quality vinyl wrap film. Choose the color and finish that suit your style. Clean the car parts well before applying vinyl. Use a spray bottle with water and soap to remove dirt.
Microfiber cloths help wipe the surface without scratching. Gloves keep fingerprints off the vinyl. A measuring tape ensures you cut the vinyl to the right size. Patience is also important for a neat job.
Heat Guns And Squeegees
A heat gun softens the vinyl to stretch and fit curves. Use it carefully to avoid burning the film. Squeegees push out air bubbles and smooth the vinyl. Choose one with a soft edge to prevent scratches.
Work slowly with the squeegee from the center outwards. Heat guns and squeegees are key for a clean, tight wrap finish.
Cutting Tools And Tape
A sharp utility knife or precision blade cuts vinyl cleanly. Change blades often to keep cuts smooth. Masking tape or painter’s tape holds vinyl in place before final sticking.
Tape also helps mark edges for accurate cutting. Use cutting mats to protect surfaces and avoid dulling blades. Good cutting tools and tape make trimming easier and more precise.
Measuring And Cutting Vinyl
Measuring and cutting vinyl are key steps in wrapping car parts. These steps ensure the vinyl fits perfectly and looks smooth. Mistakes here can cause bubbles or wrinkles. Careful work saves time and frustration later. Follow simple methods to get clean cuts and correct sizes.
Accurate Measurement Techniques
Use a soft tape measure for curves and edges. Measure twice for each part to avoid errors. Note the longest and widest points carefully. Write down all measurements clearly. Keep the tape straight and tight to get exact numbers.
Cutting Patterns And Templates
Create paper patterns before cutting vinyl. Trace the car part onto paper using your measurements. Cut the paper to test the fit on the part. Adjust the pattern if it does not fit well. Use the final paper pattern as a guide to cut the vinyl.
Allowing For Overlaps And Stretch
Add extra vinyl around edges to allow for overlapping. This helps cover curves and tight spots. Vinyl stretches slightly when applied. Leave a small margin to avoid gaps or tears. Trim excess vinyl carefully after wrapping.
Applying The Vinyl Wrap
Applying the vinyl wrap to car parts is a key step to get a smooth and clean finish. It needs patience and care to avoid bubbles or wrinkles. This section explains how to place the wrap and shape it around curves and edges.
Positioning The Vinyl
Start by cleaning the car part thoroughly. Dirt or dust can ruin the wrap’s look. Peel back a small part of the vinyl backing. Align the vinyl with the edge of the car part. Gently press it down to hold the position. Use a squeegee to smooth the vinyl from the center outwards. This removes air pockets and keeps the wrap flat.
Handling Curves And Edges
Car parts have many curves and sharp edges. Slowly stretch the vinyl over these areas. Use your fingers to press the vinyl into tight spaces. Avoid pulling too hard to prevent tears. Cut small slits in the vinyl for sharper corners. This allows the wrap to lay flat without bunching.
Using Heat For Flexibility
Heat makes vinyl soft and easier to shape. Use a heat gun or hair dryer on low heat. Warm the vinyl evenly while applying it. This helps the wrap stretch over curves without wrinkles. Be careful not to overheat or melt the vinyl. Let the wrap cool to set it firmly in place.
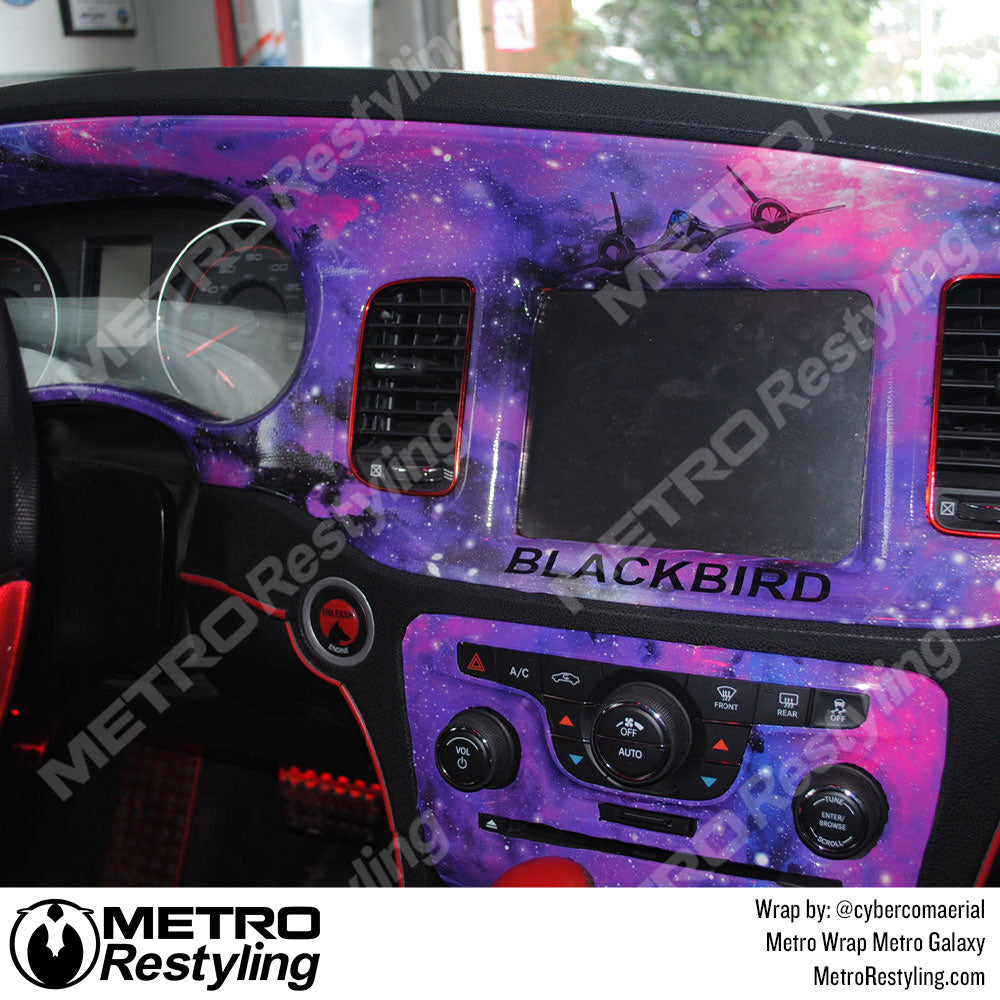
Credit: metrorestyling.com
Removing Air Bubbles And Wrinkles
Removing air bubbles and wrinkles is a key step in vinyl wrapping car parts. These flaws can ruin the smooth, professional look. Careful attention and proper techniques help achieve a flawless finish. Patience and steady hands work best to fix these common issues.
Techniques To Smooth The Surface
Start by using a soft squeegee or cloth. Gently press from the center outward. This pushes air and moisture away from the vinyl. Work slowly to avoid tearing the wrap. Small bubbles often disappear with gentle pressure. Stretch the vinyl lightly to fit curves. Keep the surface clean to reduce wrinkles.
Heat Application For Bubble Removal
Use a heat gun or hairdryer on low heat. Warm vinyl becomes more flexible and easier to smooth. Hold the heat source a few inches away. Move it evenly across the bubble area. Heat helps release trapped air under the vinyl. After warming, press the bubble flat with a squeegee. Avoid overheating to prevent damage.
Dealing With Stubborn Imperfections
For tough bubbles, lift the vinyl gently. Use a pin or needle to prick the bubble. Slowly press the air out through the tiny hole. Apply heat again and smooth the spot. Wrinkles may need slight stretching or repositioning. Patience is important to avoid creasing. Repeat the process until the surface is flawless.
Trimming And Finishing Touches
Trimming and finishing touches are key steps in vinyl wrapping car parts. They ensure a clean, professional look. Careful attention here prevents peeling and extends the wrap’s life.
Focus on neat cuts and sealed edges. Small efforts now save big problems later. Let’s explore how to finish your wrap properly.
Precise Cutting Around Details
Use a sharp blade for accurate cutting. Trim close to edges and curves without rushing. Cut slowly to avoid mistakes or damage.
Work around details like badges, vents, and handles with care. Cut small slits to fit the wrap tightly. Keep the blade angled away from the car surface.
Sealing Edges For Longevity
Seal all edges to stop water and dirt from entering. Use heat gently to soften the vinyl and press edges firmly.
Apply edge sealer or clear tape on exposed edges. This prevents lifting and keeps the wrap smooth over time.
Cleaning And Maintenance Tips
Clean the wrapped parts regularly with mild soap and water. Avoid harsh chemicals that can damage the vinyl.
Dry the surface with a soft cloth. Check for loose edges and fix them quickly to avoid further damage.
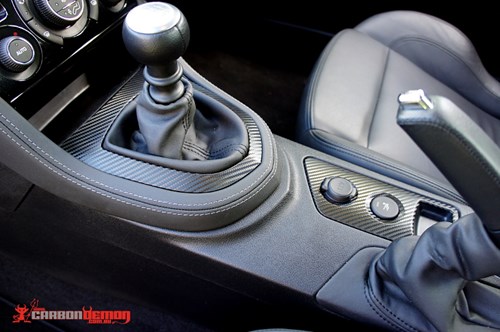
Credit: www.3domwraps.com
Common Mistakes To Avoid
Vinyl wrapping car parts can transform your vehicle’s look. Avoiding common mistakes ensures a smooth, lasting finish. Many beginners face issues that could be prevented with care. Learn about key errors to skip for better results.
Poor Surface Preparation
Clean the surface thoroughly before applying vinyl. Dirt and grease stop the vinyl from sticking well. Use soap and water, then dry completely. Sand down rough spots for a smooth base. Skipping this step causes bubbles and peeling later.
Overstretching The Vinyl
Stretching vinyl too much weakens it. The vinyl may tear or lose color. Pull gently and slowly while wrapping curves. Use heat to help shape the vinyl without stress. Overstretching leads to wrinkles and uneven edges.
Ignoring Temperature Conditions
Temperature affects vinyl’s stickiness and flexibility. Apply vinyl in a warm place, around 60-80°F (15-27°C). Cold weather makes vinyl hard to stretch and stick. Heat guns help in cooler spots but avoid overheating. Hot weather can make vinyl too soft and tricky to handle.
Repairing And Removing Vinyl Wraps
Repairing and removing vinyl wraps are important skills for car owners. Small problems can spoil the look of your wrap. Fixing these issues quickly keeps your car looking fresh. Removing old or damaged wraps safely protects your car’s paint. Proper removal also prepares the surface for new wraps. Learning these steps helps maintain your car’s style and value.
Fixing Small Tears And Bubbles
Small tears can spread if not fixed. Use a heat gun to warm the area gently. This softens the vinyl for easy handling. Push bubbles out using a squeegee or a soft cloth. Cut tiny tears carefully with a sharp blade. Apply a patch from the same vinyl if needed. Press the patch firmly to blend it well.
Safe Vinyl Removal Methods
Remove vinyl wraps slowly to avoid damage. Heat the wrap with a heat gun or hair dryer. Warm vinyl peels off easier and cleaner. Pull the wrap at a low angle to reduce stress. Use adhesive remover to clean sticky residue left behind. Avoid strong chemicals that can harm the paint. Always work in a shaded, cool place for best results.
Reapplying Wraps Correctly
Clean the car surface thoroughly before reapplying. Use soap and water to remove dirt and oils. Dry the area completely to ensure strong adhesion. Align the vinyl carefully before sticking it down. Use a squeegee to press out air bubbles. Heat the vinyl to stretch and fit curves. Trim excess vinyl for a neat finish. Take your time for a smooth, professional look.

Credit: www.youtube.com
Frequently Asked Questions
What Tools Are Needed To Vinyl Wrap Car Parts?
You need vinyl wrap film, a squeegee, a heat gun, a utility knife, and cleaning supplies. These tools help ensure smooth, bubble-free application and clean edges for a professional finish on car parts.
How Long Does Vinyl Wrap Last On Car Parts?
Vinyl wraps typically last 5 to 7 years with proper care. Longevity depends on exposure to sunlight, weather, and maintenance. Regular cleaning and avoiding harsh chemicals extend the wrap’s lifespan.
Can I Vinyl Wrap Curved Or Textured Car Parts?
Yes, vinyl wrap can conform to curved and some textured surfaces. Using a heat gun softens the vinyl, allowing it to stretch and adhere smoothly to complex shapes.
Is Professional Installation Necessary For Vinyl Wrapping?
Professional installation is recommended for best results, especially on complex parts. However, with patience and proper tools, DIY wrapping is possible for beginners on simpler surfaces.
Conclusion
Vinyl wrapping car parts can change your car’s look fast. You only need some tools, patience, and careful work. Take your time to clean and measure the parts well. Stretch the vinyl slowly to avoid bubbles or wrinkles. Small details matter for a smooth finish.
Practice on small pieces before big ones. With effort, your car will look fresh and unique. Try this method to protect and style your car easily. Enjoy the process and show off your new design!


