Are you looking to give your old furniture a fresh, stylish look without spending a fortune? Vinyl wrapping is a simple and affordable way to transform your pieces quickly.
Imagine turning that worn-out table or dresser into something that looks brand new—just by yourself. In this guide, you’ll discover easy steps and smart tips to wrap your furniture like a pro. Ready to see your space change before your eyes?
Keep reading, and let’s get started!
Choosing The Right Vinyl Wrap
Choosing the right vinyl wrap is key to a successful furniture makeover. The right choice ensures a smooth finish and long-lasting results. Consider the type, color, and texture before starting. Accurate measurements also help avoid waste and errors. This guide breaks down the main points to help you pick the best vinyl wrap.
Types Of Vinyl Films
There are several types of vinyl films for furniture. Cast vinyl is thin, flexible, and fits curved surfaces well. Calendared vinyl is thicker and best for flat surfaces. Glossy vinyl gives a shiny look, while matte vinyl offers a dull finish. Pick the type that fits your furniture shape and style.
Color And Texture Options
Vinyl wraps come in many colors and textures. Bright colors can brighten a room. Neutral shades blend well with most decor. Textures include wood grain, leather, and metal finishes. Choose colors and textures that match your space and personal taste. This adds a unique touch to your furniture.
Measuring Furniture Accurately
Measure your furniture before buying vinyl wrap. Use a tape measure for length, width, and height. Add extra inches for curves and edges. Write down all measurements clearly. Accurate measuring helps buy the right amount of vinyl. It prevents running out or having too much leftover.

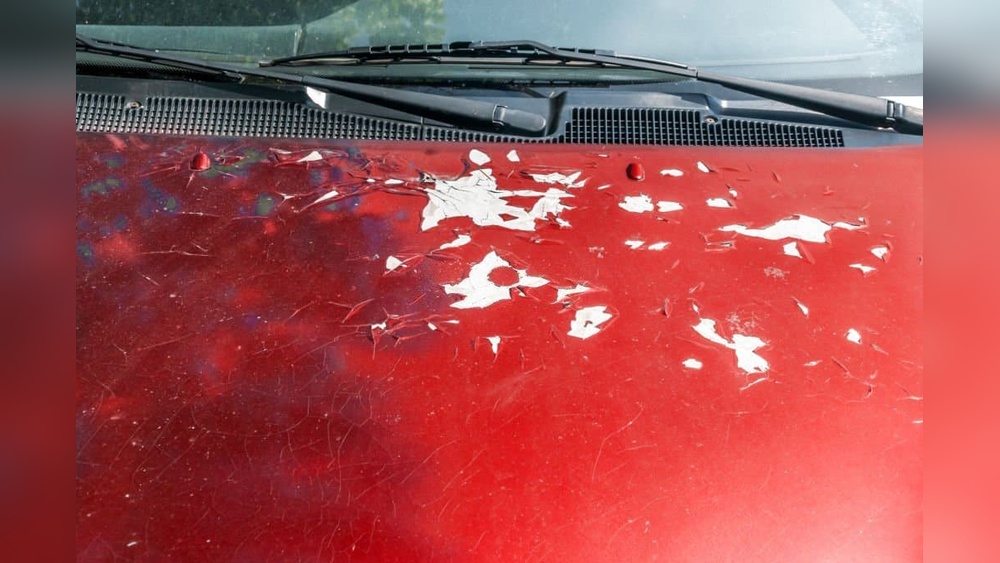
Credit: www.decorwrap.co.uk
Preparing Furniture For Wrapping
Preparing furniture for vinyl wrapping is the first step to a smooth and lasting finish. Proper preparation helps the vinyl stick better and look neat. It also prevents bubbles and wrinkles during wrapping. Follow simple steps to get your furniture ready.
Cleaning And Sanding Surfaces
Start by cleaning the furniture well. Use a mild soap and water to remove dirt and dust. Dry it completely before moving on. Next, lightly sand the surface with fine-grit sandpaper. This roughens the surface and helps the vinyl stick better. Wipe away sanding dust with a clean cloth.
Removing Hardware
Take off any knobs, handles, or other hardware. Removing these parts makes wrapping easier. It also prevents damage to the vinyl around edges. Keep all screws and parts safe for reassembly later. If hardware cannot be removed, wrap carefully around it.
Repairing Imperfections
Look for scratches, dents, or cracks on the furniture. Fill small holes or cracks with wood filler or putty. Let it dry fully, then sand smooth. Fixing imperfections creates an even surface. This step avoids bumps showing through the vinyl wrap.
Tools And Materials Needed
Before starting your vinyl wrap project, gather all the tools and materials you need. Having the right supplies helps the process go smoothly. It also makes your finished piece look professional and neat. Take time to prepare well. This saves effort and frustration later.
Essential Tools List
- Vinyl wrap sheets or rolls
- Heat gun or hair dryer
- Plastic squeegee or application tool
- Utility knife or sharp blade
- Measuring tape or ruler
- Cleaning cloth and mild detergent
- Spray bottle with water or soapy water
- Gloves to protect your hands
Optional Accessories
- Surface primer for better adhesion
- Edge sealing tape
- Masking tape for positioning vinyl
- Microfiber cloth for final cleaning
- Cutting mat for safe blade use
- Roller for smoothing large surfaces
Safety Precautions
- Work in a well-ventilated area
- Avoid direct contact with the heat gun
- Keep blades sharp and handle carefully
- Wear gloves to avoid cuts and burns
- Keep children and pets away during work
- Take breaks to avoid fatigue
Step-by-step Wrapping Process
Wrapping furniture with vinyl transforms old pieces into fresh, stylish ones. The process is simple but needs care. Follow each step closely for the best results. Prepare your tools and workspace before you start. Patience helps avoid mistakes and makes the finish smooth.
Cutting The Vinyl To Size
Measure the furniture surface carefully. Add a few extra inches for folding over edges. Use a sharp utility knife or scissors. Cut the vinyl slowly to keep edges straight. Make sure the vinyl piece covers the entire area.
Applying Vinyl Smoothly
Peel a small section of the backing paper. Stick the vinyl to the furniture gently. Use a squeegee or flat tool to press it down. Move from the center outwards to avoid wrinkles. Peel the backing slowly as you apply the vinyl.
Handling Curves And Edges
Heat softens the vinyl for easier shaping. Use a heat gun or hairdryer carefully. Stretch the vinyl slightly over curves. Press it into corners with a soft cloth. Take your time to prevent tears or bubbles.
Removing Air Bubbles
Use a pin or needle to pop trapped bubbles. Press the air out gently towards the edge. Smooth the vinyl again with a squeegee. Small bubbles may disappear after a day. Avoid stretching the vinyl too much.
Trimming Excess Vinyl
Trim extra vinyl with a sharp blade. Cut close to the furniture edges. Be careful not to cut the furniture surface. Use a ruler for straight cuts if needed. This step gives a clean, professional look.
Finishing Touches
Finishing touches give your vinyl-wrapped furniture a polished look. These steps protect your work and make the piece last longer. Take care in this stage to keep the wrap smooth and neat.
Reattaching Hardware
Remove all hardware before wrapping. Now, carefully screw handles, knobs, or hinges back. Tighten them gently to avoid damaging the vinyl. Check if screws fit well without pulling the wrap.
Sealing Edges
Use a heat gun or hairdryer to warm edges slightly. Press edges down firmly to seal them well. This prevents peeling and keeps dirt out. For extra strength, apply clear tape or edge sealant on corners.
Cleaning And Maintenance Tips
Clean your vinyl wrap with a soft cloth and mild soap. Avoid harsh chemicals or abrasive scrubbing. Wipe spills quickly to stop stains. Regular cleaning keeps the vinyl shiny and fresh for years.

Credit: www.youtube.com
Common Challenges And Solutions
Vinyl wrapping furniture can be tricky. Common problems appear during the process. Knowing how to fix these issues saves time and improves results. Below are common challenges and simple solutions.
Dealing With Wrinkles
Wrinkles often form when vinyl is stretched too much. Heat helps soften the vinyl. Use a heat gun or hairdryer carefully. Smooth wrinkles out with a plastic squeegee or your hand. Work from the center outwards. Take your time for a flat finish.
Fixing Tears And Bubbles
Tears happen if you pull vinyl too hard. Small tears can be patched from behind with clear tape. Bubbles form from trapped air or dust. Pierce bubbles gently with a pin. Press the air out using a squeegee. Clean the surface well before wrapping to avoid bubbles.
Replacing Damaged Sections
If vinyl gets damaged, replace just that part. Cut out the damaged area carefully. Measure and cut a new piece of vinyl. Use double-sided tape or adhesive spray to attach it. Blend edges by heating and pressing gently. This keeps your furniture looking fresh and neat.
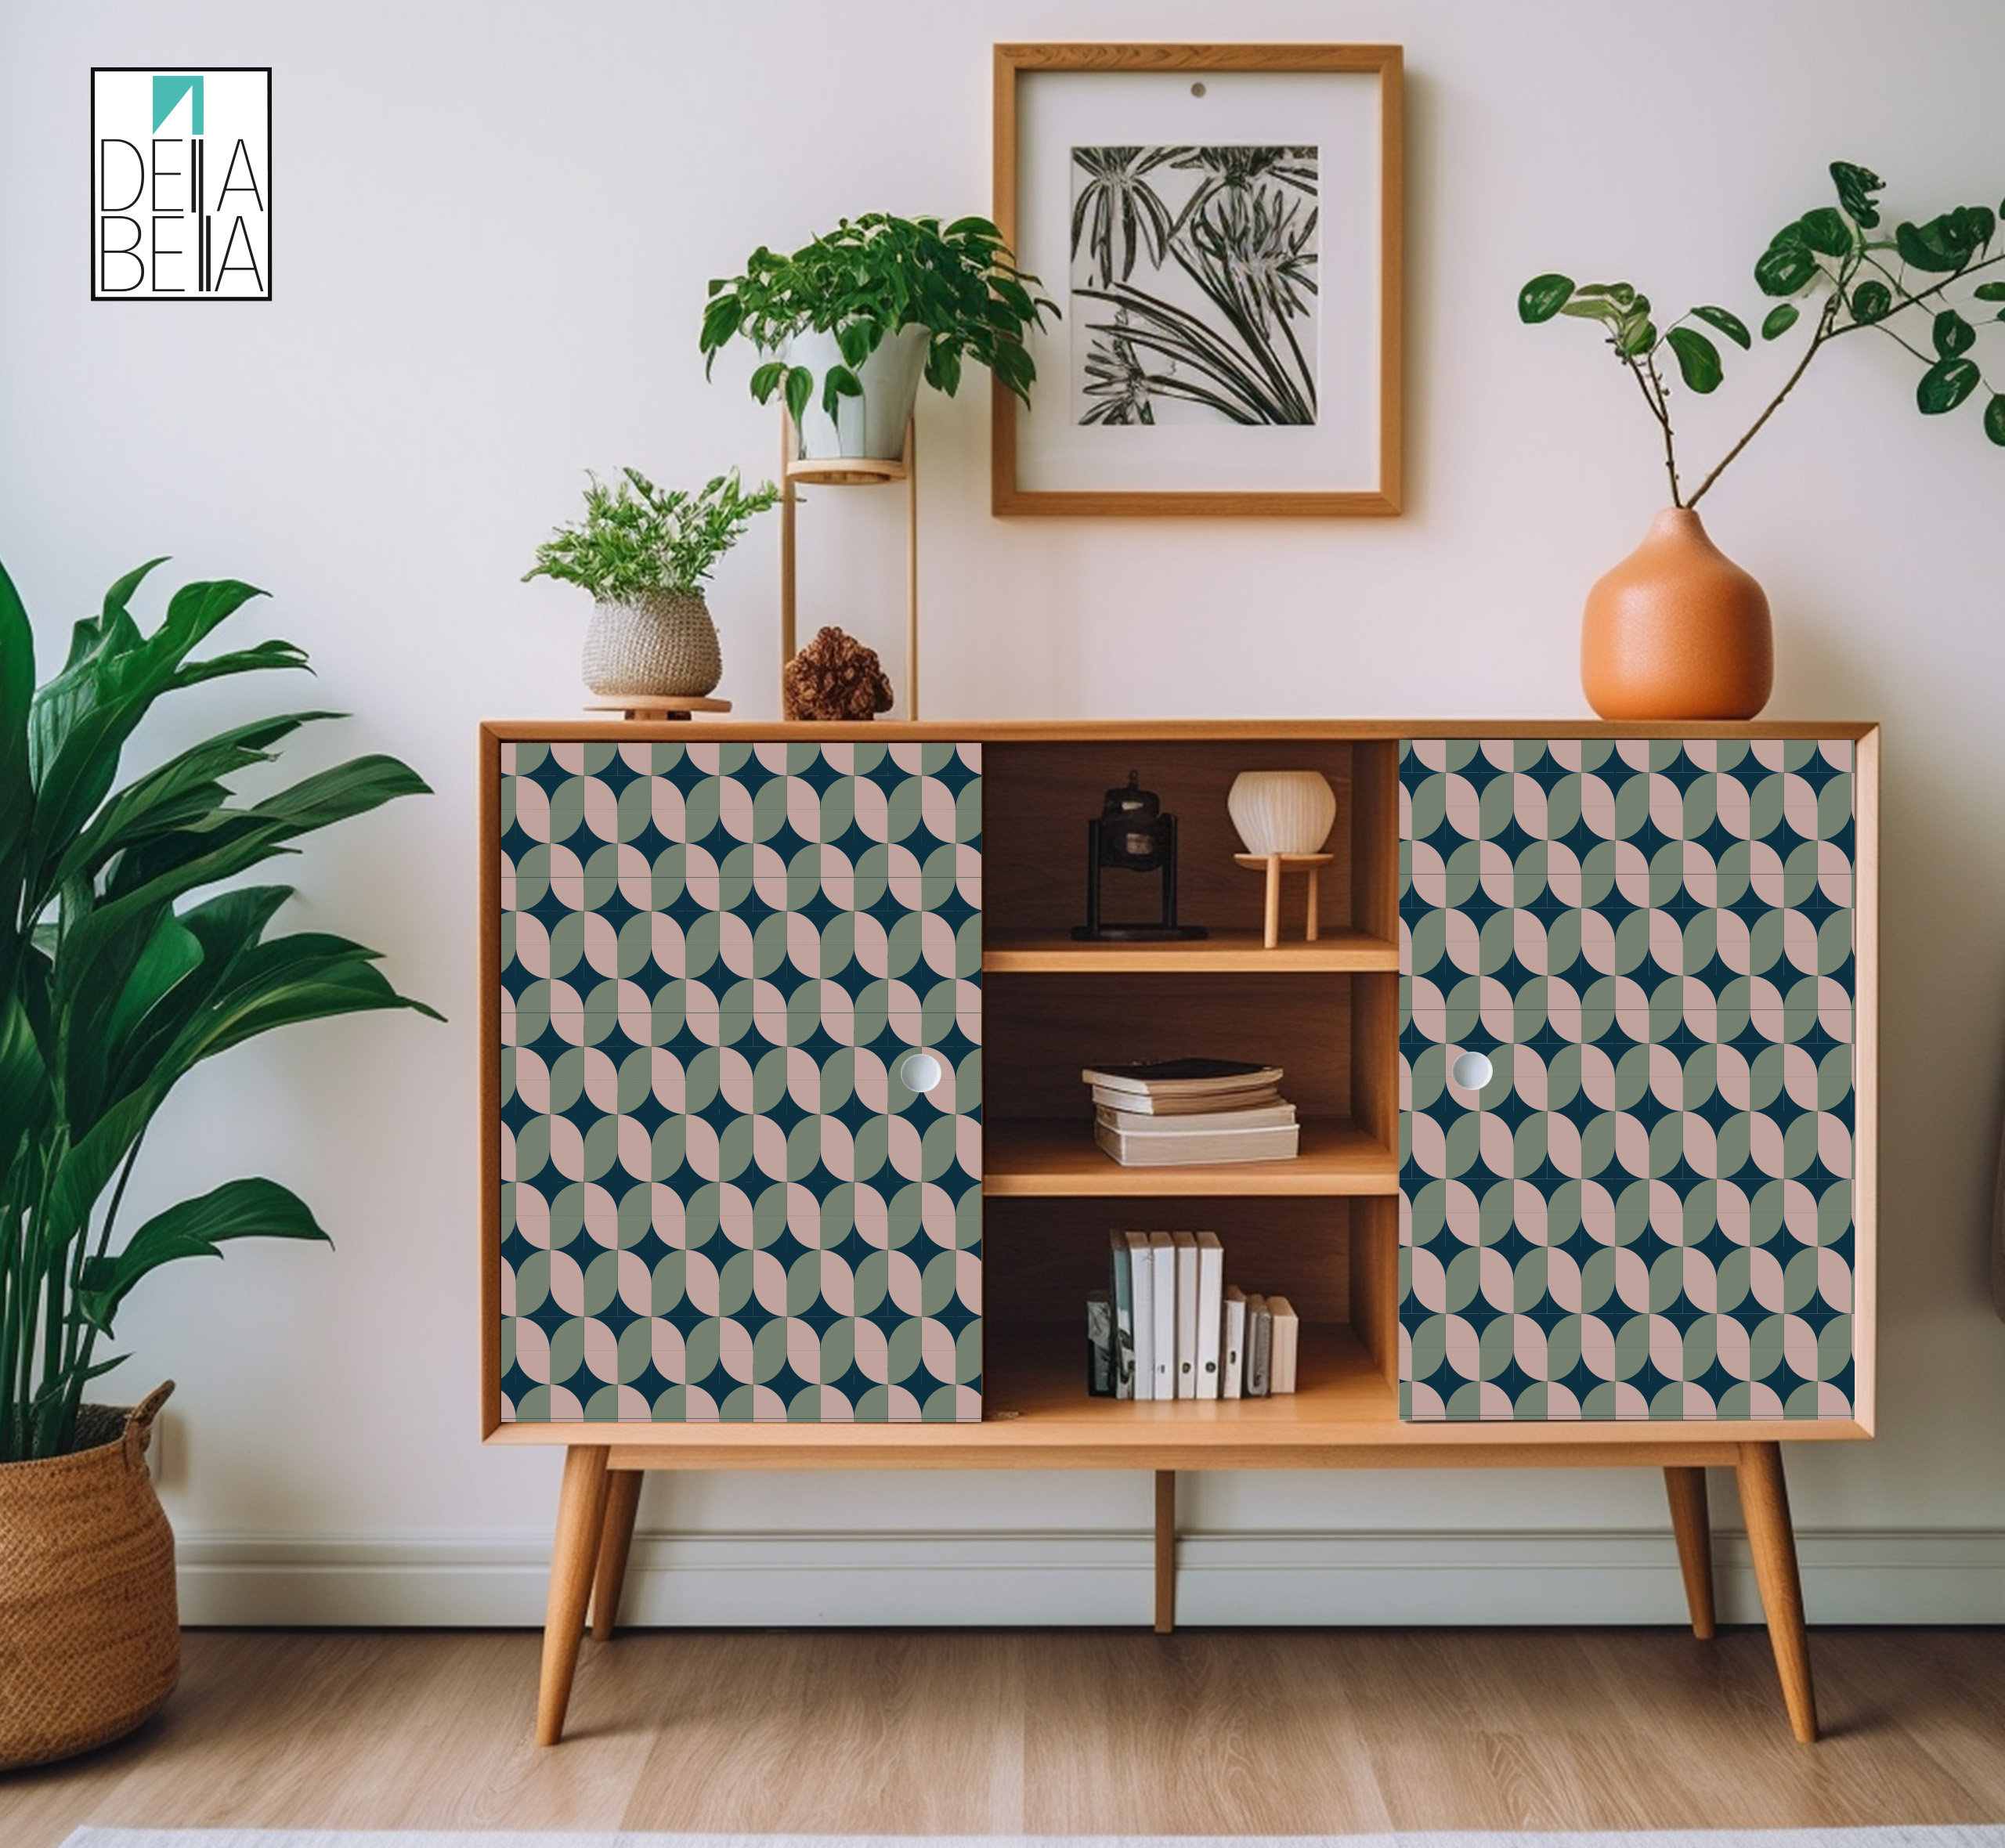
Creative Ideas For Vinyl Wrapped Furniture
Vinyl wrapping furniture offers a fun way to refresh old pieces. It lets you try new looks without buying new items. Creative ideas can make your furniture stand out and fit your style. Here are some ideas to inspire your next vinyl wrap project.
Mixing Patterns And Colors
Use different patterns on the same piece for a bold look. Combine stripes with florals or geometric shapes. Choose colors that contrast to make each pattern pop. This mix adds energy and personality to your furniture. Try wrapping drawers in one pattern and the frame in another.
Using Metallic And Glossy Finishes
Metallic vinyl adds a shiny, modern touch to your furniture. Gold, silver, or copper finishes catch the light and create a sleek look. Glossy wraps give a smooth, polished surface that feels new. Use these finishes on small areas for subtle elegance or on entire pieces for a dramatic effect.
Combining Wraps With Paint
Pair vinyl wraps with paint for unique designs. Paint the main body of your furniture and wrap the edges or details. This contrast highlights features and adds depth. Use paint for large, flat areas and vinyl for accents. The blend of materials creates a custom, stylish look.
Credit: www.etsy.com
Frequently Asked Questions
What Materials Are Needed For Vinyl Wrapping Furniture?
You need vinyl wrap sheets, a heat gun, a squeegee, scissors, and cleaning supplies. These tools ensure smooth application and durability.
How Long Does Vinyl Wrap Last On Furniture?
Vinyl wrap typically lasts 5 to 7 years with proper care. Avoid harsh chemicals and excessive moisture to maintain its appearance.
Can Vinyl Wrap Be Removed Without Damaging Furniture?
Yes, vinyl wrap can be removed safely using heat and gentle peeling. It leaves no residue if done correctly.
Is Vinyl Wrapping Furniture Cost-effective?
Vinyl wrapping is affordable compared to buying new furniture. It offers a budget-friendly way to refresh and customize your pieces.
Conclusion
Vinyl wrapping furniture can give old pieces a fresh look. It saves money compared to buying new items. The process is simple with the right tools and patience. Take your time to measure and cut carefully. Smooth out bubbles for a neat finish.
Enjoy the new style you create yourself. This DIY project adds personality to your space. Try different colors or patterns to fit your taste. Keep practicing to improve your skills. Vinyl wrap lets you change furniture anytime you want. It’s a fun way to refresh your home without hassle.