
Are you looking to give your windows a fresh, stylish look without spending a fortune? Vinyl wrapping your window trim is a smart and affordable way to transform your space quickly.
But if you’re unsure where to start or worried about making mistakes, don’t worry—you’re in the right place. In this guide, you’ll discover simple, step-by-step tips that make the process easy, even if you’ve never tried it before. By the end, you’ll have the confidence and know-how to wrap your window trim like a pro, adding instant curb appeal to your home.
Ready to see how simple it can be? Let’s dive in.
Materials Needed
Gathering the right materials is key to a smooth vinyl wrap project. Having everything ready saves time and avoids frustration. Each item plays a role in achieving a clean, professional look for your window trim.
Below are the essential materials needed for vinyl wrapping window trim. These tools and supplies help with measuring, cutting, and applying the vinyl properly.
Vinyl Wrap Film
Choose a high-quality vinyl wrap film designed for outdoor use. It should be flexible, durable, and resistant to weather. Pick a color or finish that matches your style.
Measuring Tape
A good measuring tape ensures accurate cuts. Measure the length and width of your window trim carefully. Precision prevents waste and helps the vinyl fit perfectly.
Utility Knife Or Precision Cutter
Use a sharp utility knife to cut the vinyl cleanly. A precision cutter helps with detailed edges and corners. Replace blades often to avoid tearing the wrap.
Heat Gun Or Hair Dryer
Heat softens the vinyl, making it easier to stretch around curves. A heat gun works best but a hair dryer can also do the job. Heat helps the vinyl stick firmly.
Squeegee Or Plastic Applicator
A squeegee removes air bubbles and smooths the vinyl. Use a plastic applicator to avoid scratching the film. Work from the center outward for best results.
Cleaning Supplies
Clean the trim surface before applying vinyl. Use soap, water, and rubbing alcohol. A clean surface ensures the vinyl sticks well and lasts longer.
Masking Tape
Masking tape holds the vinyl in place temporarily. It also helps mark cutting lines. Use it to guide your work and keep edges neat.
Preparing The Window Trim
Preparing the window trim is the first step in a successful vinyl wrap project. A clean and smooth surface helps the vinyl stick better and last longer. This stage requires patience and attention to detail.
Start by making sure the trim is free from dirt and grime. Any leftover materials can cause bumps and bubbles under the vinyl. Next, remove any old trim or adhesive to avoid uneven areas. Finally, sanding the trim helps create a smooth base for the vinyl. These steps improve the final look and durability.
Cleaning The Surface
Use a mild detergent and water to clean the trim. Scrub gently with a soft cloth or sponge. Remove all dust, grease, and dirt. Rinse well and let the surface dry completely. A clean trim ensures better vinyl adhesion and prevents peeling.
Removing Old Trim Or Adhesives
Check for any old trim pieces or sticky residue. Peel off loose trim carefully to avoid damage. Use adhesive remover or rubbing alcohol on sticky spots. Wipe the area clean and dry. Removing old materials creates a smooth area for the new vinyl.
Sanding And Smoothing
Lightly sand the trim using fine-grit sandpaper. Sanding removes rough patches and old paint flakes. Wipe away sanding dust with a clean cloth. Smooth surfaces help the vinyl wrap lay flat. This step ensures a neat and professional finish.
Measuring And Cutting Vinyl
Measuring and cutting vinyl correctly is key to a smooth window trim wrap. Accurate measurements prevent waste and ensure a neat finish. Cutting the vinyl to the right size helps the wrap fit perfectly around edges and corners.
Taking Accurate Measurements
Start by cleaning the window trim surface. Use a tape measure to get the length and width of each trim piece. Measure twice to avoid mistakes. Write down all measurements clearly. For corners, measure the outer edges carefully. Use a level if needed to keep lines straight. Accurate numbers save time and materials.
Cutting The Vinyl To Size
Place the vinyl sheet on a flat surface. Use a ruler or straight edge to guide your cuts. Cut slowly with a sharp utility knife or scissors. Leave a small extra margin for wrapping around edges. Cutting too small can cause gaps. Trim extra vinyl after wrapping if needed. Clean cuts make the vinyl easier to work with and look professional.
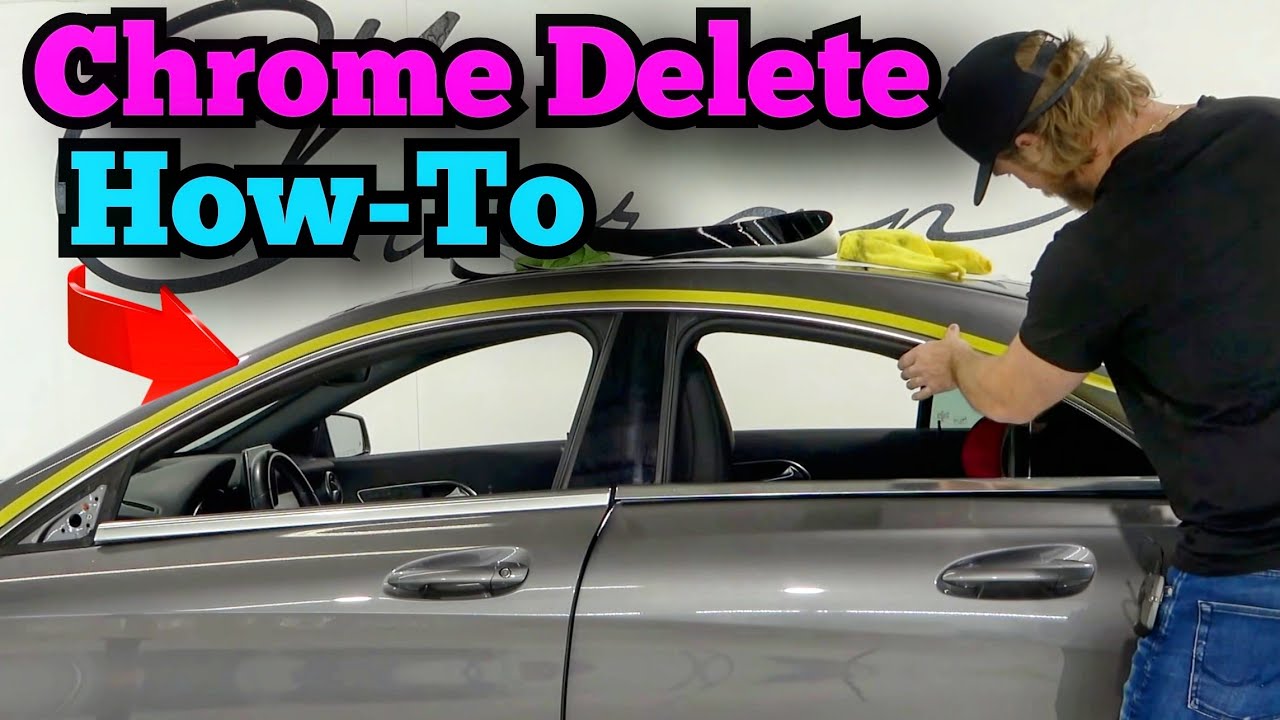
Credit: www.youtube.com
Applying The Vinyl Wrap
Applying the vinyl wrap to window trim requires care and patience. Proper technique ensures the wrap sticks well and looks smooth. Follow clear steps to avoid bubbles and wrinkles. This section guides you through the main steps of applying vinyl wrap.
Positioning The Vinyl
Start by placing the vinyl wrap over the window trim. Align it carefully so it covers the edges. Make sure the vinyl is centered and straight. Leave a little extra vinyl on all sides for trimming. Avoid stretching the vinyl at this point. Good positioning makes the next steps easier.
Using A Squeegee For Smooth Application
Use a squeegee to press the vinyl onto the trim. Start from the center and push outwards. This action removes air bubbles under the vinyl. Work slowly and apply even pressure. Check for wrinkles and smooth them out. The squeegee helps the vinyl stick well and look flat.
Heating And Stretching The Vinyl
Use a heat gun or hair dryer to warm the vinyl. Heat softens the material, making it easier to stretch. Gently pull the vinyl over curves and corners. Stretch carefully to avoid tearing or thinning. Keep the vinyl warm while shaping it. This step ensures a tight fit and clean finish.
Trimming Excess Vinyl
Trimming excess vinyl is a key step in wrapping window trim. It shapes the wrap for a neat, professional look. Proper trimming stops peeling and keeps the vinyl tight against the trim.
Careful cutting protects the vinyl and the surface underneath. Take your time and use the right tools for the best results.
Using A Sharp Blade
Use a fresh, sharp blade to cut the vinyl. Dull blades tear or stretch the film. Change blades often to keep cuts clean and precise. Cut slowly along the edge of the trim. Avoid pressing too hard to prevent damage.
Creating Clean Edges
Hold the vinyl taut while trimming for smooth edges. Follow the trim’s shape closely for an exact fit. Remove small pieces gently to avoid lifting the wrap. Smooth edges improve the wrap’s look and durability.

Credit: www.amazon.com
Finishing Touches
Finishing touches give your vinyl wrap a clean, professional look. They help protect the wrap and make it last longer. Careful attention at this stage can prevent peeling and damage. Let’s explore how to seal the edges and check your work.
Sealing The Edges
Sealing edges stops dirt and moisture from getting under the wrap. Use a heat gun to warm the vinyl near the edges. Press the edges firmly with a squeegee or your fingers. Make sure the vinyl sticks well to the trim surface. Use edge sealer tape if needed for extra protection.
Final Inspection And Adjustments
Check the entire trim for bubbles, wrinkles, or loose spots. Use a pin to gently pop any small bubbles. Smooth out wrinkles by reheating the vinyl and pressing down. Look closely at corners and curves to ensure tight fitting. Fix any issues before the vinyl cools and sets.
Tips For A Professional Look
Getting a smooth, professional look on vinyl wrapped window trim takes care and the right steps. Small details make a big difference in the final appearance. Follow these tips to ensure your wrap looks neat and lasts longer.
Patience is key. Take your time and work carefully. This helps avoid bubbles, wrinkles, and uneven edges. A clean workspace and good lighting also help a lot.
Clean The Surface Thoroughly
Remove all dirt, dust, and grease from the trim. Use a mild cleaner and a soft cloth. A clean surface helps the vinyl stick better and prevents bumps.
Measure And Cut Precisely
Measure the trim accurately before cutting the vinyl. Cut a little extra to allow for errors. Neat cuts reduce the chance of peeling and gaps.
Use A Squeegee For Smooth Application
Apply the vinyl slowly and use a squeegee to press it down. This pushes out air bubbles and smooths wrinkles. Work from the center outwards for best results.
Heat The Vinyl Gently
Use a heat gun or hairdryer to soften the vinyl. This makes it easier to stretch around curves and corners. Heat also helps the vinyl stick firmly.
Trim Excess Carefully
After applying, trim any extra vinyl with a sharp blade. Cut close to the edges for a clean look. Be careful not to cut the window or trim itself.
Allow Time To Set
Let the vinyl rest for a few hours before touching. This helps the adhesive bond fully. Avoid washing or rubbing the trim for at least 24 hours.

Credit: episas.at
Common Mistakes To Avoid
Vinyl wrapping window trim can change the look of your home. It is simple but needs care. Avoiding common mistakes saves time and money. These errors can cause wrinkles, bubbles, or peeling. Focus on each step for a smooth finish.
Not Cleaning The Surface Properly
Dirt and dust stop vinyl from sticking well. Clean the trim with soap and water. Dry it fully before applying the wrap. Skipping cleaning causes bubbles and peeling later.
Using Cold Vinyl Wrap
Vinyl wrap is hard to stretch when cold. Warm the vinyl with a heat gun or hair dryer. Warm vinyl fits curves and edges better. Cold vinyl might tear or wrinkle easily.
Applying Too Much Stretch
Stretching the vinyl too much makes it thin and weak. It can tear or lift over time. Stretch just enough to fit the trim shape. Keep the vinyl smooth and even.
Ignoring Edges And Corners
Edges and corners need extra care. Press vinyl firmly on these areas. Use a heat gun to soften vinyl near corners. Poor edge work causes lifting and peeling later.
Skipping The Use Of A Squeegee
A squeegee helps remove air bubbles. Push from the center outward for best results. Skipping this tool leaves bubbles under the vinyl. Bubbles spoil the look and reduce adhesion.
Frequently Asked Questions
What Materials Do I Need To Vinyl Wrap Window Trim?
You need vinyl wrap film, a squeegee, a heat gun, a utility knife, and cleaning supplies. Make sure the trim is clean and dry before starting. Quality materials ensure a smooth and lasting finish.
How Long Does Vinyl Wrapping Window Trim Take?
Vinyl wrapping window trim typically takes 1 to 2 hours. Time varies depending on trim size and experience. Proper preparation and careful application speed up the process and improve results.
Can Vinyl Wrap Be Removed From Window Trim Easily?
Yes, vinyl wrap can be removed without damaging the trim. Use heat from a heat gun to soften the adhesive. Peel slowly and clean any residue with adhesive remover for best results.
Is Vinyl Wrapping Window Trim Cost-effective?
Vinyl wrapping is cost-effective compared to painting or replacing trim. It saves labor and material costs. Additionally, it offers a quick and versatile way to update your window trim’s appearance.
Conclusion
Vinyl wrapping window trim adds style and protection easily. Take your time to clean and measure carefully. Use a heat gun for smooth application and avoid bubbles. Trim edges neatly for a clean look. With patience, your window trim can look brand new.
This simple project saves money and refreshes your space. Try vinyl wrap to give your windows a fresh touch.


