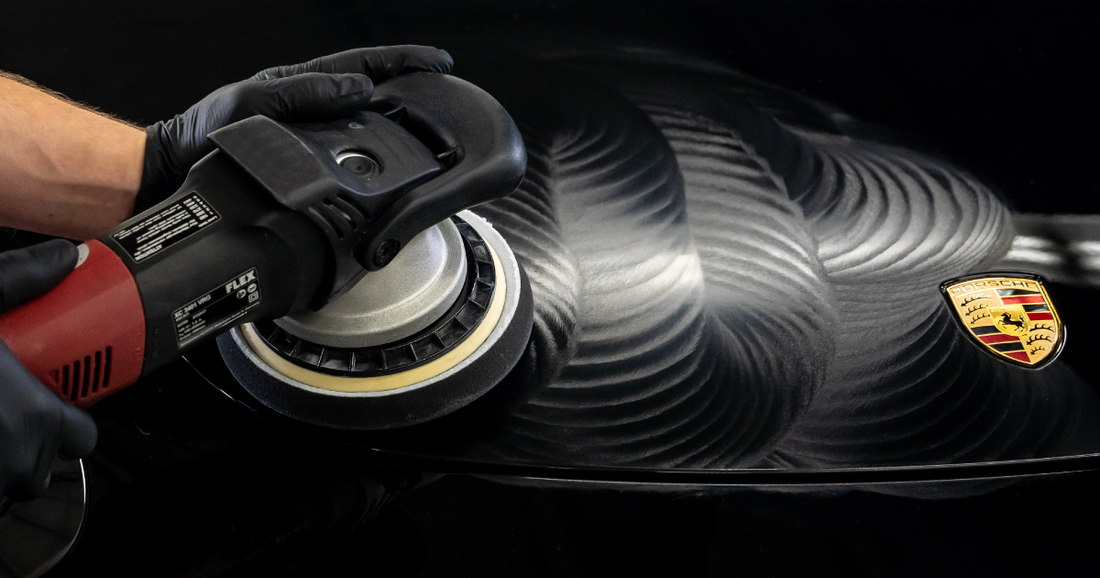
Want your car to shine like new without spending hours working by hand? Waxing your car with an orbital buffer is the secret to a smooth, glossy finish that turns heads.
If you’ve ever felt unsure about using power tools on your car’s paint, this guide is made just for you. You’ll learn simple steps to get professional results, protect your paint, and enjoy the satisfaction of a showroom shine. Keep reading, and you’ll discover how easy and rewarding waxing your car with an orbital buffer can be.
Credit: malcoautomotive.com
Choosing The Right Orbital Buffer
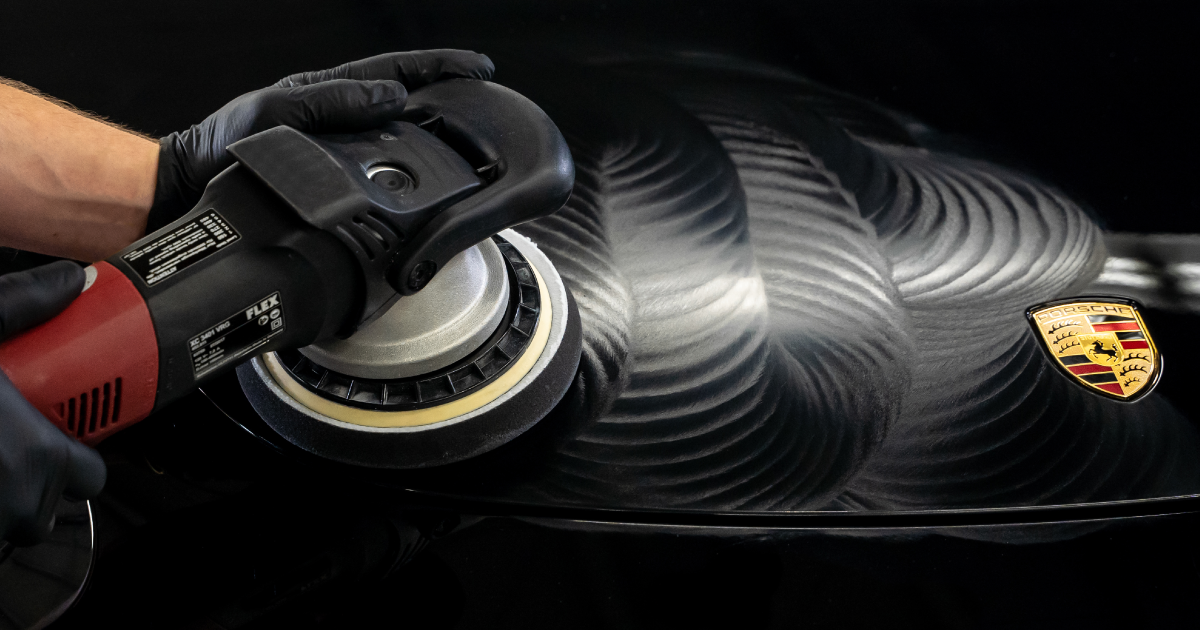
Choosing the right orbital buffer is important for waxing your car. It affects the quality of the finish and how easy the job feels. The right tool makes your work faster and safer for your car’s paint. Different buffers have different features and power levels. Understanding these helps you pick the best one.
Types Of Orbital Buffers
There are mainly two types of orbital buffers: random orbital and dual action. Random orbital buffers move in a random pattern, reducing swirl marks. Dual action buffers spin and move in an elliptical pattern. Both types work well for waxing, but random orbital buffers are gentler on paint. Choose a type based on your comfort and the condition of your car’s surface.
Key Features To Look For
Look for a buffer with adjustable speed settings. This lets you control how fast the pad spins. A comfortable handle helps reduce hand fatigue during use. The size of the pad matters too; 5 to 6 inches is good for most cars. A buffer with a good power rating works well on tougher wax jobs. Also, check if it comes with easy-to-change pads.
Recommended Buffers For Beginners
Beginners should pick buffers that are simple and lightweight. Models with variable speed control help avoid damage. Buffers with safety features like auto shut-off are useful. Brands like Porter-Cable and Meguiar’s offer reliable, beginner-friendly options. These buffers deliver smooth, even wax application without much effort.
Credit: malcoautomotive.com
Preparing Your Car For Waxing
Preparing your car for waxing is a key step to get the best shine. A clean surface helps the wax stick well. Dirt and grime block the wax from protecting the paint. Take time to prepare your car carefully. This makes waxing easier and more effective.
Washing And Drying
Start by washing your car with a gentle car soap. Use a soft sponge or mitt to avoid scratches. Rinse thoroughly to remove all soap. Dry the car with a clean microfiber towel. Make sure no water spots remain. A dry surface helps the wax spread evenly.
Removing Surface Contaminants
Check for bugs, tar, and tree sap on the paint. These can stop the wax from bonding well. Use a clay bar or a special cleaner to remove them. Rub gently to avoid damaging the paint. Clean surfaces allow the wax to protect better and last longer.
Selecting The Best Wax Type
Choose wax based on your car’s paint and your needs. Paste wax lasts longer but needs more effort. Liquid wax is easier to apply and good for quick jobs. Synthetic waxes offer strong protection and shine. Pick a wax that fits your skill and car condition.
Setting Up The Orbital Buffer
Setting up the orbital buffer correctly is key for a smooth waxing process. This step ensures even wax application and avoids damage to your car’s paint. Each part of the setup matters, from the pad choice to speed settings.
Take your time to prepare the buffer well. This preparation helps you get a shiny, protected finish without hassle.
Attaching The Correct Pad
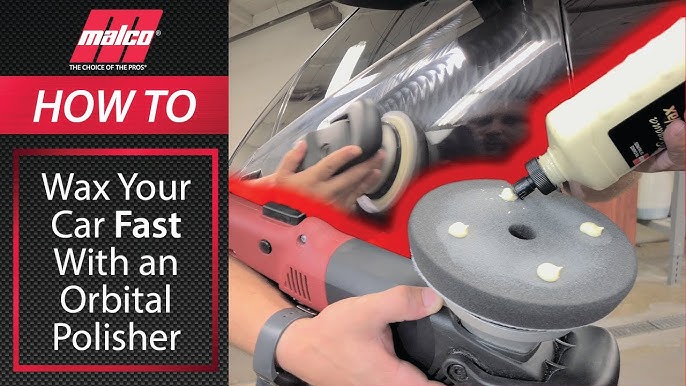
Choose a soft foam or wool pad for waxing. Hard pads can scratch the paint. Attach the pad firmly to the buffer’s backing plate. Make sure it is centered to avoid wobbling during use. A well-attached pad offers better control and results.
Adjusting Speed Settings
Set the buffer speed to low or medium for waxing. High speeds can cause uneven wax spread or damage. Start slow and increase speed if needed. The right speed helps the wax melt and spread evenly on the car surface.
Safety Precautions
Wear safety glasses to protect your eyes from splashes. Use gloves to keep your hands clean. Work in a well-ventilated area to avoid breathing in fumes. Keep the power cord away from water and moving parts. Safety first ensures a worry-free waxing experience.
Waxing Techniques With Orbital Buffer
Using an orbital buffer makes waxing your car easier and faster. It helps spread wax smoothly and evenly on the paint. This tool also reduces the risk of swirl marks and scratches.
To get the best results, follow the right techniques. These tips will guide you through applying wax with an orbital buffer properly.
Applying Wax Evenly
Start by putting a small amount of wax on the buffer pad. Spread the wax on the car’s surface in a circular motion. Work on one small section at a time. This helps cover every spot evenly.
Do not press too hard. Let the buffer do the work. Keep the pad flat against the paint to avoid uneven layers.
Maintaining Consistent Pressure
Keep steady pressure while moving the buffer. Too much pressure can damage the paint. Too little pressure will not spread the wax well. Find a balance to protect the car’s surface and get good coverage.
Move the buffer slowly and steadily. Avoid stopping in one place for too long. This prevents burning the paint or creating spots.
Avoiding Common Mistakes
Never apply wax to a dirty or wet car. Dirt can scratch the paint during buffing. Always wash and dry your car first.
Do not use an old or dirty pad. Change or clean the pad regularly for best results. Avoid overlapping wet and dry areas too much. This causes uneven shine and streaks.
Finishing Touches
After waxing your car with an orbital buffer, the finishing touches make a big difference. This stage ensures your car shines evenly and looks its best. Taking time here prevents streaks and missed areas. Follow these steps to complete the job perfectly.
Buffing Off Residue
Start by gently wiping off any wax residue left on the surface. Use a clean, soft microfiber cloth. Move in small, circular motions for best results. Avoid pressing too hard to prevent scratches. This step reveals the true shine beneath the wax.
Inspecting For Missed Spots
Look closely at your car’s surface under good lighting. Check for dull patches or wax buildup. Use your hand to feel for rough or sticky areas. These spots need another light buff with the cloth. This careful check keeps the finish smooth and consistent.
Final Polishing Tips
Use a fresh, dry microfiber cloth for the last polish. Buff the entire car with gentle, even pressure. This removes any haze and enhances the gloss. Keep your movements steady and slow. This final step gives your car a flawless, showroom shine.
Credit: www.youtube.com
Maintaining Your Wax Job
Maintaining your wax job is key to keeping your car shiny and protected. Regular care extends the life of the wax and preserves the paint underneath. It also helps avoid dirt buildup and water spots. Proper maintenance keeps your car looking fresh and new longer.
Best Practices For Longevity
Park your car in the shade to reduce sun damage. Wash it often with gentle soap to remove dirt. Avoid harsh chemicals that strip wax. Use a microfiber cloth for drying to prevent scratches. These steps help keep the wax strong and effective.
When To Reapply Wax
Check the car’s surface every few months for dullness. Water no longer beads on the paint. These signs mean the wax layer is thin or gone. Reapply wax every three to four months to keep protection. More often if you wash your car frequently or drive in harsh weather.
Cleaning And Caring For Your Buffer
Unplug the orbital buffer before cleaning. Remove excess wax from the pad after each use. Wash pads with warm water and mild soap. Let them air dry completely before storing. Clean the buffer housing with a dry cloth. Proper care keeps your tool working well and safe.
Frequently Asked Questions
How Do I Prepare My Car Before Waxing With An Orbital Buffer?
Wash and dry your car thoroughly before waxing. Remove dirt and debris to avoid scratches. Inspect for paint damage and fix if needed. This ensures the wax adheres properly and delivers a smooth, glossy finish.
What Type Of Wax Works Best With An Orbital Buffer?
Use a high-quality liquid or paste wax designed for orbital buffers. These waxes spread evenly and buff well. Avoid thick or hard waxes that can clog the buffer pad. Choose a wax suitable for your car’s paint type.
How Long Should I Wait After Waxing Before Driving?
Wait at least 30 minutes after waxing before driving. This allows the wax to cure and bond to the paint. Avoid rain or heavy dust during this time for the best protection and shine.
Can I Use Any Orbital Buffer For Car Waxing?
Not all orbital buffers are ideal for waxing. Choose one with adjustable speed and a soft foam pad. This prevents paint damage and ensures even wax application. Avoid rotary buffers unless you have experience.
Conclusion
Waxing your car with an orbital buffer makes the job easier and faster. It helps spread wax evenly and protects your paint well. Remember to work in small sections and use light pressure. Clean your car first and keep the buffer moving.
Regular waxing keeps your car shiny and safe from dirt. Try this method to keep your car looking great all year. Simple steps, good results. You will enjoy the smooth finish every time.