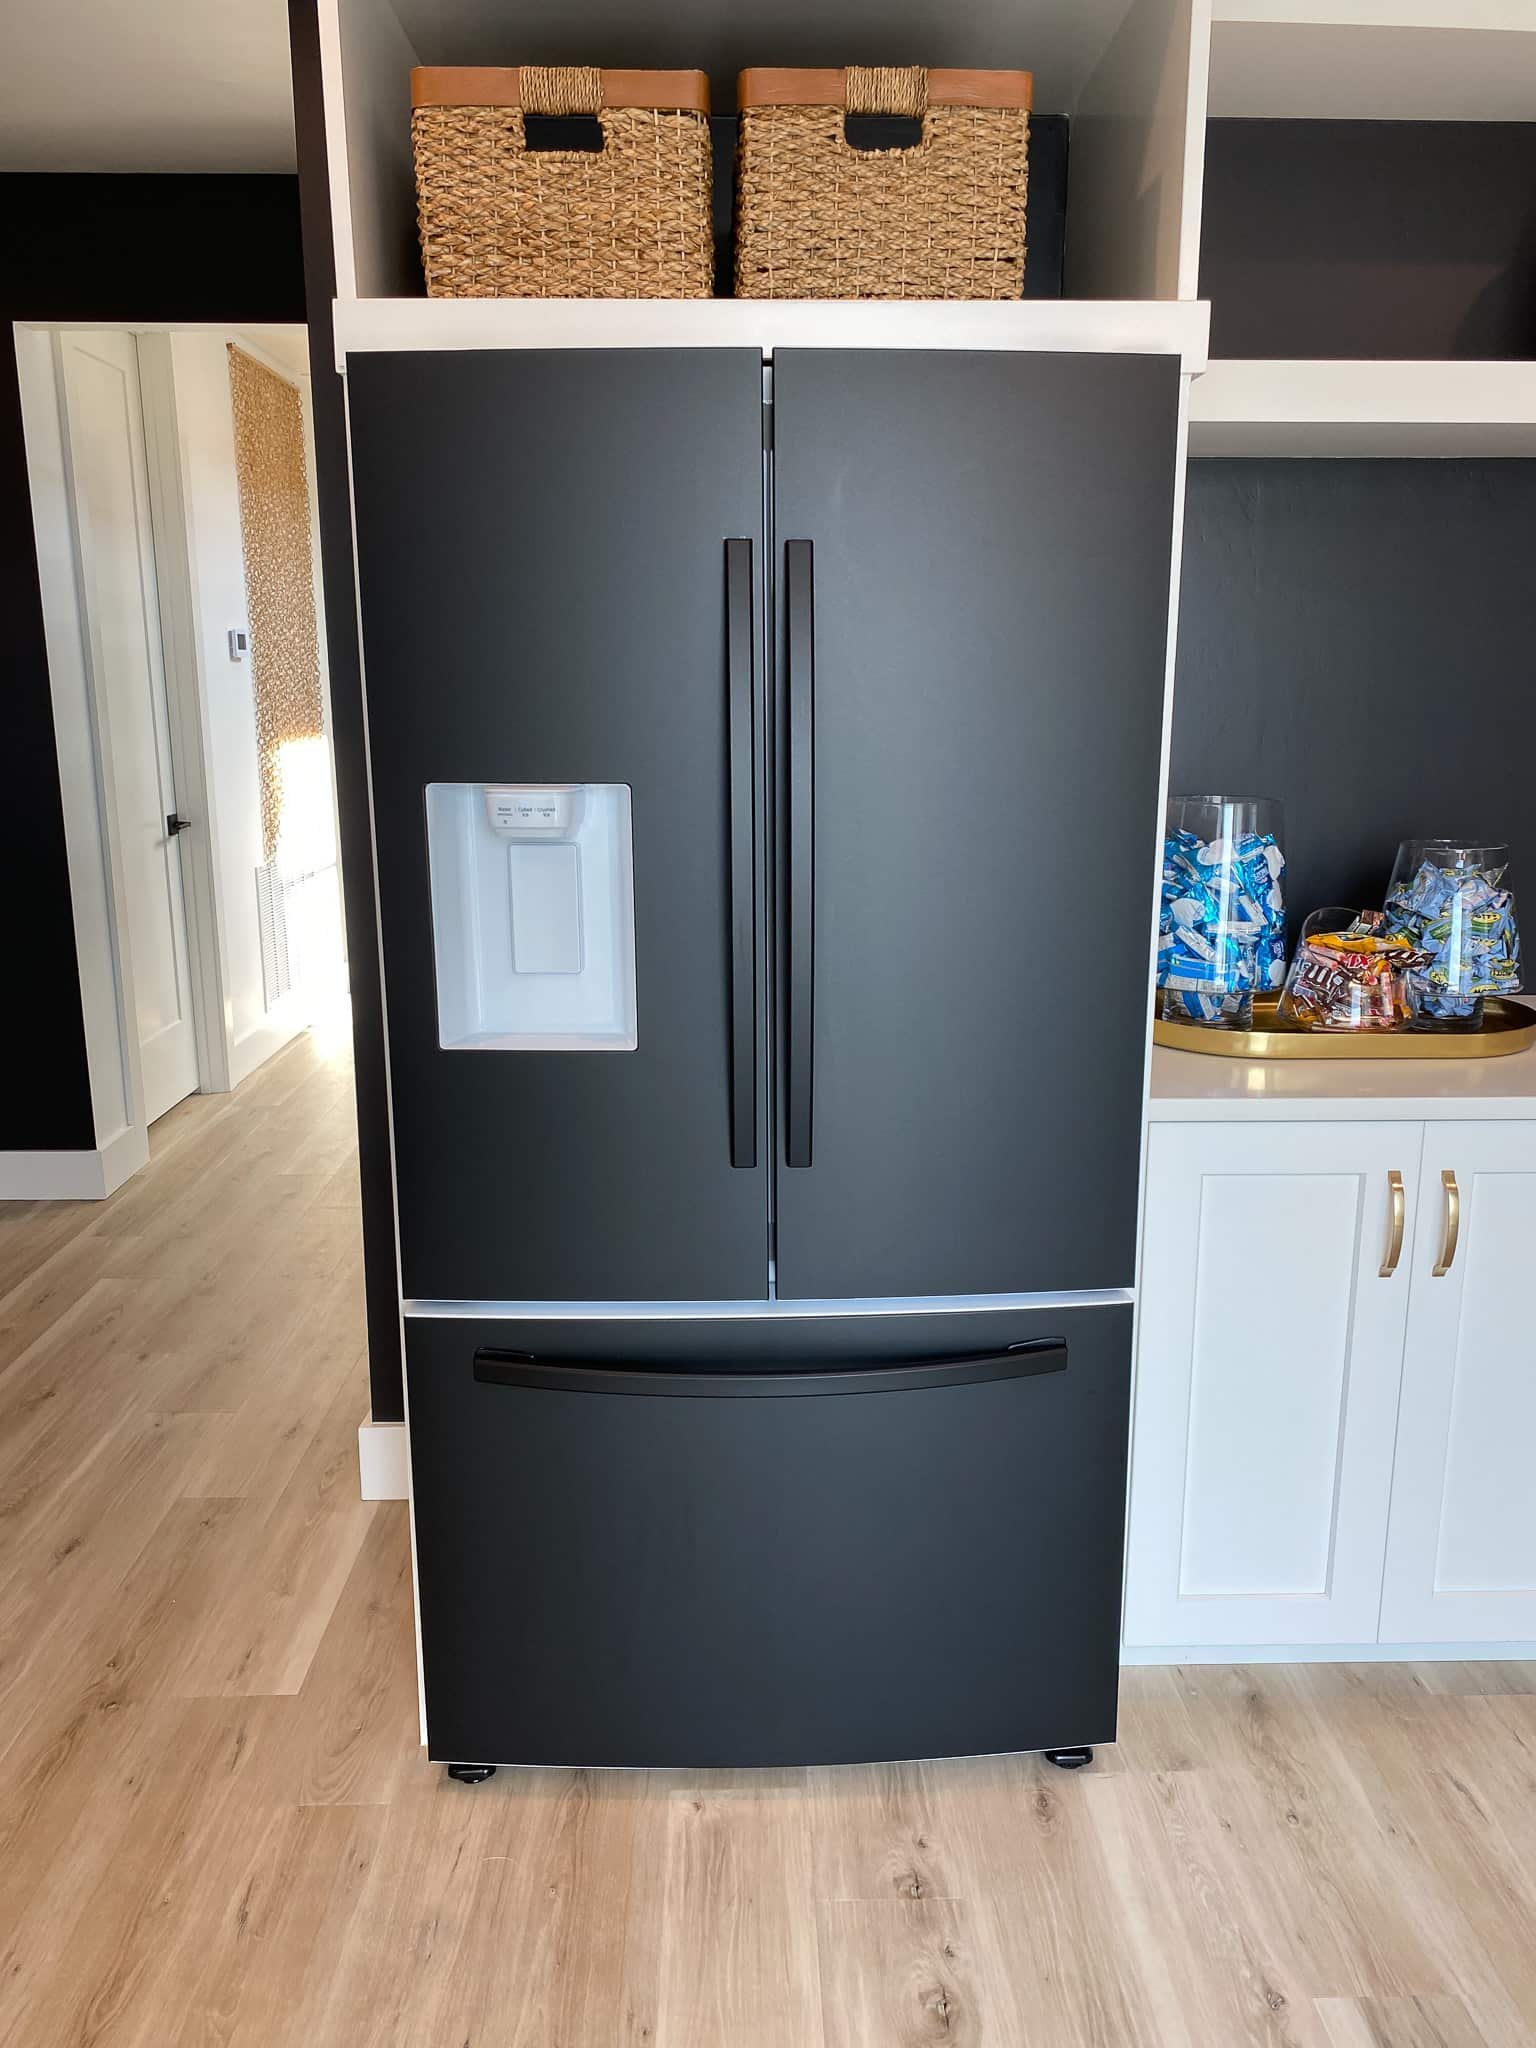
Are you tired of your plain, boring fridge? Imagine giving it a fresh, stylish look without spending a fortune on a new one.
Wrapping your fridge in vinyl is an easy, affordable way to transform your kitchen instantly. In this guide, you’ll learn step-by-step how to wrap your fridge like a pro, even if you’ve never tried it before. By the end, you’ll have the confidence and know-how to create a sleek, personalized appliance that stands out.
Ready to see your fridge in a whole new light? Let’s get started!
Credit: www.rmwraps.com
Preparing The Fridge
Preparing your fridge is the first key step before wrapping it in vinyl. This stage sets the base for a smooth, clean, and lasting application. Taking time here helps the vinyl stick well and look great.
Clean The Surface
Start by cleaning the fridge surface carefully. Use a mild soap and warm water mix. Wipe the entire fridge with a soft cloth. Remove all dirt, grease, and dust. Dry the surface fully with a clean towel. A clean surface helps the vinyl stick firmly.
Remove Handles And Accessories
Take off fridge handles and any accessories. Use a screwdriver to unscrew handles gently. Removing these parts stops wrinkles and bubbles on the vinyl. It also makes wrapping easier and cleaner.
Measure The Fridge Dimensions
Measure the height, width, and depth of your fridge. Write down each number. Add a few extra inches to each measurement. This extra vinyl covers edges and corners fully. Accurate measuring saves vinyl and avoids mistakes.

Credit: www.youtube.com
Choosing The Right Vinyl
Choosing the right vinyl is the first step to successfully wrap your fridge. The right vinyl makes the process easier and the results better. It also helps the wrap last longer and look great. Consider the type of vinyl, color, finish, and tools before starting.
Types Of Vinyl Wraps
There are several types of vinyl wraps to pick from. Cast vinyl is thin and flexible, perfect for curved surfaces. Calendered vinyl is thicker and cheaper but less flexible. Choose cast vinyl for a fridge to avoid bubbles and wrinkles. Look for vinyl made for appliances or outdoor use for durability.
Color And Finish Options
Vinyl comes in many colors and finishes. Matte finishes hide fingerprints and look modern. Glossy finishes shine and brighten the kitchen. Textured vinyl adds depth, like wood grain or metal. Pick a color and finish that match your style and kitchen decor. Light colors show dirt more but feel fresh.
Tools And Materials Needed
Good tools help apply vinyl without damage. You need a squeegee to smooth out bubbles. A heat gun or hair dryer helps stretch vinyl on curves. Use a sharp craft knife for trimming edges. Clean the fridge surface with rubbing alcohol before applying. Keep a soft cloth handy for cleaning during the wrap.
Cutting The Vinyl
Cutting the vinyl correctly is a key step in wrapping your fridge. It ensures the vinyl fits well and looks neat. This part needs care and attention to detail. A good cut helps avoid wrinkles and bubbles later. Follow the steps below to cut the vinyl with precision and ease.
Marking Measurements
Start by measuring the fridge’s height and width. Use a tape measure for accuracy. Write down the numbers clearly on paper. Add a little extra length to cover edges and corners. Use a pencil to mark these measurements on the back of the vinyl. Make sure the marks are straight and easy to see. This guide will help you cut the vinyl to the right size.
Creating Precise Cuts
Place the vinyl on a flat surface. Use a sharp utility knife or scissors for cutting. Cut slowly along the marked lines to avoid mistakes. Keep your hand steady and follow the lines carefully. Clean, straight cuts make the wrap look professional. If needed, use a ruler or straight edge to guide your knife. Avoid cutting too quickly or unevenly.
Handling Corners And Edges
Vinyl can be tricky around corners and edges. Score gently on the vinyl near corners to help it bend. Make small cuts or snips where the vinyl folds. This prevents bunching or tears. Use your fingers to smooth the vinyl around edges. Stretch slightly but avoid overstretching to keep the vinyl intact. Take your time to shape the vinyl neatly around all corners.
Applying The Vinyl
Applying the vinyl wrap to your fridge is a key step. It changes the look and protects the surface. This process needs care and patience. The vinyl must be placed right and smooth. Small mistakes can cause bubbles or wrinkles. Follow these steps for a neat finish.
Positioning The Vinyl
Start by aligning the vinyl with the fridge surface. Hold the vinyl slightly above the fridge. Check that edges match the fridge corners. Make small adjustments before pressing it down. Avoid stretching the vinyl at this stage. Proper positioning saves time and effort later.
Using A Squeegee For Smooth Application
Use a soft squeegee to press the vinyl. Start from the center and move outward. This pushes air out and smooths the vinyl. Apply firm, even pressure on the squeegee. Work slowly to avoid wrinkles or folds. A smooth surface gives a professional look.
Removing Air Bubbles
Air bubbles can spoil the smooth finish. Use the squeegee to push bubbles toward the edges. For stubborn bubbles, gently lift the vinyl. Then, reapply and press out the trapped air. A pin can help for very small bubbles. Take your time to get rid of all bubbles.
Finishing Touches
Finishing touches make your vinyl fridge wrap look clean and neat. This stage ensures the vinyl fits perfectly and stays secure. Small details here affect the overall look and durability. Follow these simple steps to complete your project.
Trimming Excess Vinyl
Use a sharp utility knife for clean cuts. Trim the extra vinyl around edges carefully. Cut slowly to avoid damaging the fridge or wrap. Leave no loose ends that can peel off later. A steady hand helps achieve smooth lines.
Reattaching Handles
Remove the handles before wrapping for easier application. After wrapping, screw the handles back in place. Check that the vinyl does not wrinkle or bunch near screws. Tighten the screws firmly but gently. This keeps the wrap intact and the handle secure.
Caring For Your Wrapped Fridge
Clean the vinyl with a soft cloth and mild soap. Avoid abrasive cleaners or scrubbers that scratch the surface. Wipe spills immediately to prevent stains. Do not use sharp objects near the wrap. Regular care keeps your fridge wrap looking fresh longer.

Credit: dreamdaikou.com
Troubleshooting Common Issues
Wrapping a fridge in vinyl can sometimes lead to small problems. These issues can affect the look and durability of your wrap. Fixing them quickly keeps your fridge looking great. Below are simple tips to help solve common problems.
Fixing Wrinkles And Bubbles
Wrinkles and bubbles appear if the vinyl is not applied smoothly. Use a heat gun or hair dryer to warm the vinyl. Gently press the vinyl with a squeegee from the center out. This pushes out air and smooths wrinkles. Small bubbles can be popped with a pin and then pressed flat.
Repairing Tears
Tears in vinyl happen if the material stretches too much. Stop pulling the vinyl too hard during application. For small tears, use clear vinyl tape on the back side. If the tear is large, cut a patch from leftover vinyl. Place it carefully over the tear and press firmly to stick.
Maintaining Vinyl Longevity
Keep your vinyl wrap lasting longer with simple care. Clean the fridge with a soft cloth and mild soap. Avoid harsh chemicals or abrasive tools that damage vinyl. Keep the fridge away from direct sunlight to prevent fading. Regular care helps the vinyl stay bright and smooth.
Frequently Asked Questions
How Do You Prepare A Fridge For Vinyl Wrapping?
Clean the fridge surface thoroughly using soap and water. Remove all dirt, grease, and dust. Dry the surface completely before applying vinyl. This ensures better adhesion and a smooth finish.
What Tools Are Needed To Wrap A Fridge In Vinyl?
You’ll need vinyl wrap sheets, a squeegee, a utility knife, and a heat gun. These tools help in applying and smoothing the vinyl for a professional look.
How Long Does It Take To Wrap A Fridge With Vinyl?
Wrapping a fridge typically takes 1 to 3 hours. Time varies based on fridge size and your experience level. Patience ensures a neat, bubble-free finish.
Can Vinyl Wrap Be Removed From A Fridge Easily?
Yes, vinyl wraps can be removed without damaging the fridge. Use heat to soften the adhesive, then peel off slowly. Residue can be cleaned with adhesive remover.
Conclusion
Wrapping a fridge in vinyl is simple and fun. You just need patience and care. Take your time to measure and cut the vinyl right. Smooth out bubbles for a clean look. This project can change your kitchen’s style quickly.
Enjoy the new look and feel of your fridge. Try it yourself and see the difference. Your fridge can stand out without much effort. Small changes make a big impact. Give your kitchen a fresh, neat touch today.