
Are you ready to give your car, bike, or any surface a sleek, modern look with carbon fiber vinyl? Wrapping with carbon fiber vinyl isn’t just for professionals—it’s something you can master with the right steps.
Imagine transforming your ride with that stunning textured finish that turns heads everywhere you go. In this guide, you’ll discover simple, clear techniques to wrap carbon fiber vinyl smoothly and like a pro. Stay with me, and you’ll learn how to avoid common mistakes, save money, and get that perfect finish you’ve been dreaming of.
Let’s dive in and make your project stand out!
Choosing The Right Carbon Fiber Vinyl
Choosing the right carbon fiber vinyl is the first step in a successful wrap. The quality and type of vinyl affect the final look and durability. Picking the best material helps avoid bubbles, wrinkles, and fading. It also makes the wrapping process easier and faster.
Types Of Carbon Fiber Vinyl
Carbon fiber vinyl comes in different styles and finishes. Matte, gloss, and satin are the most common. Matte has a flat, non-shiny surface. Gloss offers a shiny, reflective look. Satin sits between matte and gloss with a soft shine. Textured vinyl mimics real carbon fiber weave for a realistic effect.
Choose a type that matches your style and project needs. Each type changes how the wrap looks under light and from different angles.
Selecting Quality Materials
High-quality vinyl lasts longer and resists damage better. Look for vinyl with strong adhesive to hold firmly on surfaces. It should also be flexible to wrap curves and edges smoothly. Check for UV resistance to prevent color fading from sunlight. Thicker vinyl often hides surface imperfections well.
A cheap vinyl may peel or bubble quickly. Investing in good vinyl saves time and money over time.
Tools Needed For Wrapping
Proper tools make wrapping easier and neater. A squeegee helps remove air bubbles and smooth the vinyl. A heat gun softens the vinyl, allowing it to stretch and conform to curves. Use a sharp utility knife to trim excess vinyl cleanly. Gloves protect your hands and keep the vinyl clean.
Having the right tools ensures a clean, professional-looking wrap every time.
Preparing The Surface
Preparing the surface is a key step before wrapping carbon fiber vinyl. It helps the vinyl stick well and last longer. A clean, smooth surface prevents bubbles and wrinkles. Taking time here saves effort later.
Cleaning And Degreasing
Start by washing the surface with soap and water. Use a soft cloth to remove dirt and dust. Next, apply a degreaser to clear off oils and grease. These can stop the vinyl from sticking properly. Wipe the surface with a clean cloth until it feels dry and smooth.
Smoothing Out Imperfections
Check the surface for bumps, scratches, or dents. Sand rough spots lightly with fine sandpaper. Fill deep scratches or holes with a suitable filler. Let it dry fully and then sand again. A flat surface helps the vinyl wrap look perfect and last longer.
Temperature And Environment Tips
Work in a dry, dust-free place to avoid dirt under the vinyl. The ideal temperature is between 60°F and 80°F (15°C and 27°C). Cold vinyl can crack, while heat makes it too soft. Keep the vinyl and surface at room temperature before starting.
Cutting And Measuring Vinyl
Cutting and measuring carbon fiber vinyl is the first step to a clean, smooth wrap. Precise cuts prevent mistakes and save time. Taking your time to measure correctly makes the whole process easier. Use simple tools and follow clear steps for better results.
Accurate Measurements
Measure the surface carefully. Use a tape measure for long areas. Check twice before cutting. Small errors can cause big problems later. Write down the measurements. This helps avoid confusion and keeps your work organized.
Pre-cutting Techniques
Cut slightly larger pieces than needed. This extra vinyl allows room to adjust. Use sharp scissors or a vinyl cutter for clean edges. Avoid jagged cuts that can peel off easily. Keep your workspace clean and flat to prevent wrinkles.
Marking Guidelines
Use a soft pencil or masking tape to mark cuts. Avoid permanent markers that can stain the vinyl. Draw straight lines along the edges. These lines guide your cutting tools. Clear markings make the wrapping process faster and neater.
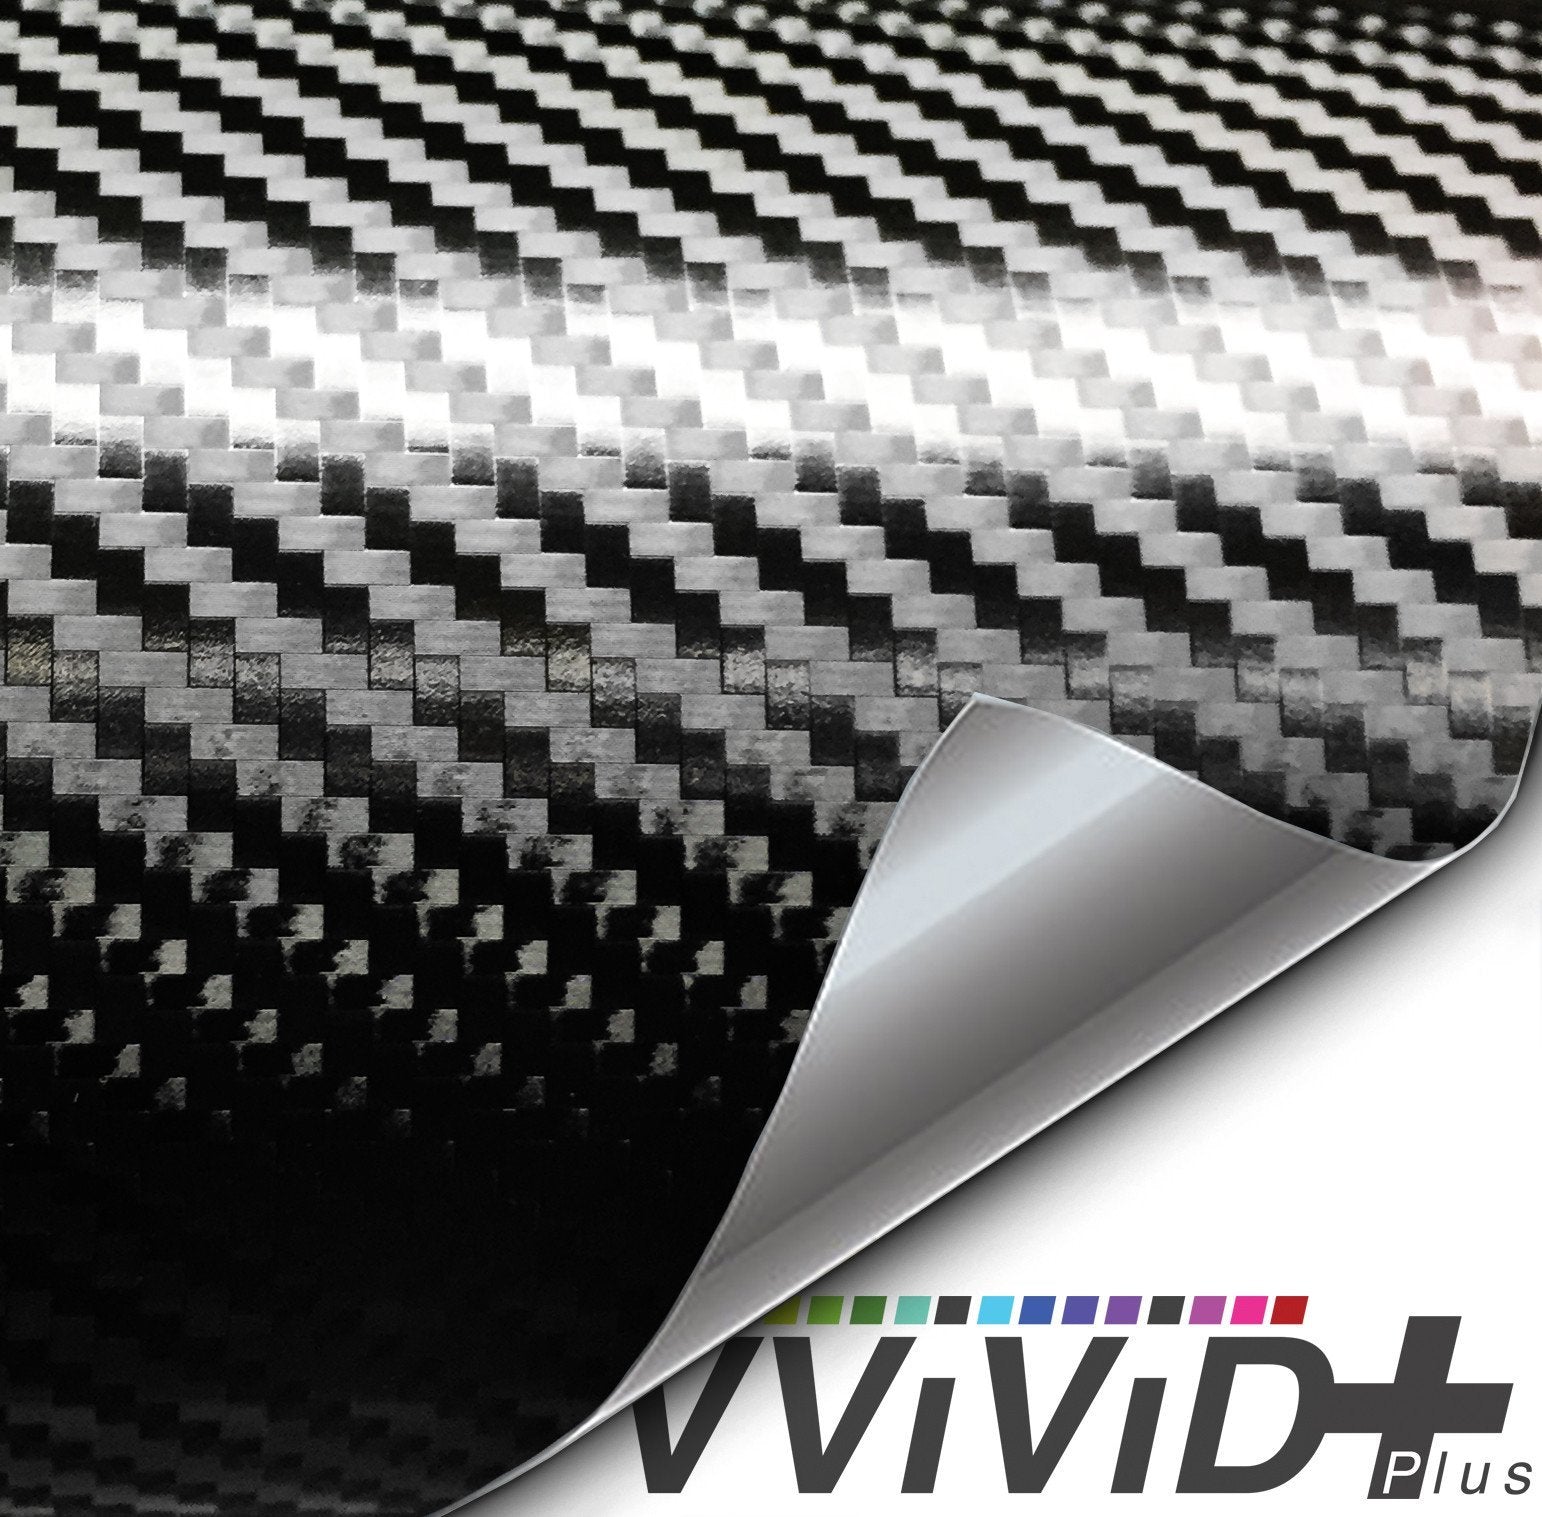
Credit: vvividshop.com
Applying The Vinyl Wrap
Applying carbon fiber vinyl wrap requires patience and care. This step shapes the final look and ensures the wrap stays on long. Proper application avoids wrinkles and bubbles. It makes the surface smooth and shiny. Follow simple steps to apply the vinyl correctly.
Positioning The Vinyl
Start by cleaning the surface well. Place the vinyl loosely over the area. Align it carefully to cover the entire part. Use light pressure to hold it in place. Check edges and corners for proper fit. Make small adjustments before sticking it down fully.
Using Heat For Flexibility
Heat softens the vinyl and makes it flexible. Use a heat gun or hairdryer on low heat. Warm the vinyl gently while stretching it over curves. Avoid overheating to prevent damage. Heat helps the vinyl stick better and fit tight areas well.
Squeegee Techniques For Air Bubbles
Use a squeegee to smooth out the vinyl. Push from the center toward edges. This action removes air bubbles and wrinkles. Work slowly and carefully for best results. If bubbles remain, gently lift and reapply the vinyl. Continue until the surface is flat and smooth.
Handling Edges And Curves
Handling edges and curves is a critical step when wrapping carbon fiber vinyl. These areas can be tricky because the vinyl needs to bend and stretch without tearing or wrinkling. Proper technique helps the wrap look smooth and professional. Patience and care make a big difference during this part of the process.
Stretching And Tucking Methods
Stretch the vinyl gently around curves. Use slow, even pulls to avoid overstretching. Tuck the vinyl into tight corners by folding small sections. Use a heat gun to soften the vinyl before stretching. This makes the material more flexible and easier to shape. Avoid pulling too hard to prevent tears.
Avoiding Wrinkles And Creases
Apply the vinyl smoothly to avoid wrinkles. Start from the center and work outward. Use a squeegee to press out air bubbles. Heat the vinyl slightly to increase flexibility. Smooth out creases carefully with your fingers or a tool. Take time; rushing causes flaws in the wrap.
Trimming Excess Vinyl
Trim excess vinyl close to edges after wrapping. Use a sharp blade for clean cuts. Cut slowly to follow curves precisely. Avoid cutting too deep to protect the surface underneath. Keep extra vinyl for future repairs or adjustments. Proper trimming helps the wrap look neat and finished.
Finishing Touches
After applying carbon fiber vinyl, the finishing touches make all the difference. They ensure the wrap lasts longer and looks smooth. These steps protect the edges, enhance adhesion, and keep the vinyl clean. Follow these simple tips for a professional finish and lasting style.
Sealing The Edges
Edges are the weakest spots on a vinyl wrap. Use edge sealer or clear silicone to protect them. Apply a thin layer along all edges. This prevents lifting and water damage. Press edges firmly to make the vinyl stick well. Good sealing keeps the wrap neat and secure.
Post-application Heating
Heat activates the vinyl’s adhesive for a stronger bond. Use a heat gun or hair dryer on low heat. Move the heat source evenly over the vinyl’s surface. Avoid staying too long in one spot to prevent damage. Warm the wrap gently to remove bubbles and wrinkles.
Cleaning And Maintenance Tips
Keep the carbon fiber vinyl clean to maintain its look. Use a soft cloth and mild soap with water. Avoid harsh chemicals or abrasive sponges that can scratch the surface. Wash the wrap regularly, especially after long trips. Dry with a microfiber towel to avoid streaks.
Common Mistakes To Avoid
Wrapping carbon fiber vinyl is a delicate task. Many beginners make mistakes that can ruin the finish. Avoiding these errors helps get a smooth, professional look. Focus on key steps to ensure success.
Skipping Surface Preparation
Cleaning the surface is essential. Dirt, dust, and grease stop the vinyl from sticking well. Always wash and dry the area thoroughly. Use rubbing alcohol to remove oils. A clean surface helps the vinyl bond better and last longer.
Overstretching The Vinyl
Stretching the vinyl too much causes it to lose shape. It can tear or wrinkle easily. Pull the vinyl gently and evenly. Let the material relax before applying heat. Overstretching can lead to bubbles and peeling later.
Ignoring Temperature Guidelines
Temperature affects how the vinyl behaves. Cold weather makes it stiff and hard to stretch. Heat softens the vinyl and makes it easier to apply. Use a heat gun or hairdryer as needed. Follow the manufacturer’s temperature advice for best results.

Credit: wrapdirect.com
Credit: www.tintingchicago.com
Frequently Asked Questions
What Tools Do I Need To Wrap Carbon Fiber Vinyl?
You need a squeegee, heat gun, utility knife, microfiber cloth, and gloves. These tools ensure a smooth, bubble-free application of the vinyl wrap.
How Do I Prepare The Surface For Carbon Fiber Vinyl?
Clean the surface thoroughly with soap and water, then use isopropyl alcohol. Ensure the surface is dry and free from dust or grease before wrapping.
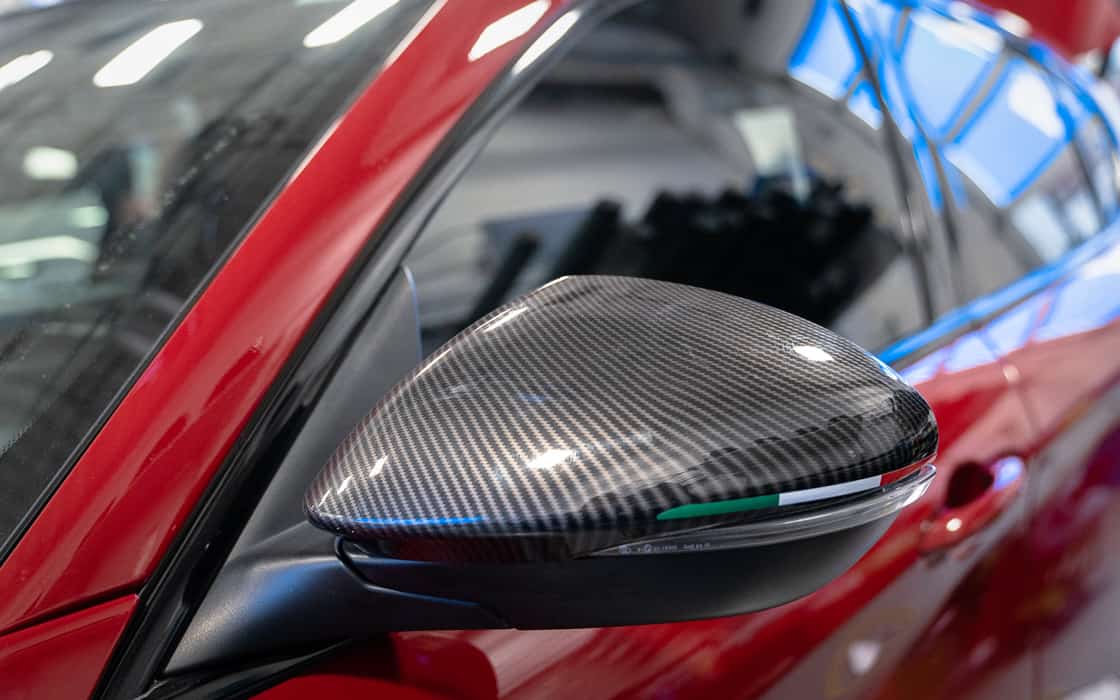
Can I Wrap Carbon Fiber Vinyl On Curved Surfaces?
Yes, carbon fiber vinyl is flexible and can wrap around curves. Use a heat gun to soften the vinyl for better conformity on complex shapes.
How Long Does Carbon Fiber Vinyl Wrapping Last?
Properly applied carbon fiber vinyl can last 5 to 7 years. Longevity depends on surface preparation, application quality, and exposure to elements.
Conclusion
Wrapping carbon fiber vinyl takes patience and care. Follow each step slowly for best results. Use the right tools to avoid bubbles and wrinkles. Heat helps the vinyl stick and bend smoothly. Take your time to trim edges neatly. The final look will be clean and sharp.
Practice improves your skill and confidence. Enjoy the process and the stylish finish. Your project will stand out with this wrap. Simple steps lead to great results every time.


