Are your RV’s chrome wheel covers looking worn out or ready for an upgrade? Removing them might seem tricky at first, but with the right steps, you can do it quickly and safely without damaging your wheels.
In this guide, you’ll discover simple, clear instructions that make the process easy—even if you’ve never done it before. Keep reading to learn how to remove your RV chrome wheel covers like a pro and get your wheels ready for a fresh new look.

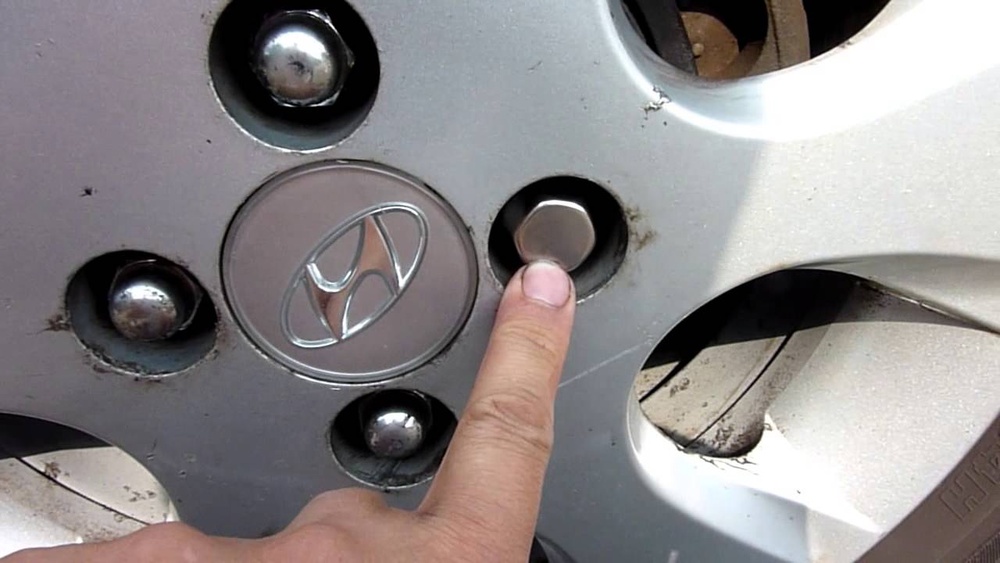
Credit: www.youtube.com
Tools Needed
Removing RV chrome wheel covers requires the right tools. Having the correct equipment makes the job easier and safer. Prepare all items before starting the removal process. This saves time and reduces frustration.
Essential Equipment
A flathead screwdriver helps pry off wheel covers carefully. A rubber mallet is useful to tap stubborn covers gently. Use a pair of gloves to get a firm grip on the covers. A lug wrench might be needed to remove lug nuts if covers are locked. Keep a clean cloth nearby to wipe dirt from the wheels.
Safety Gear
Wear safety gloves to protect your hands from sharp edges. Safety glasses shield your eyes from dust and debris. Closed-toe shoes protect your feet from accidental drops. Use a wheel chock to stop the RV from moving during work. Dress in comfortable clothes that allow easy movement.
Prepare The Rv
Preparing your RV is the first step before removing the chrome wheel covers. Taking the right safety measures ensures a smooth and secure process. Proper preparation helps avoid accidents and makes the job easier.
Follow these simple steps to get your RV ready.
Park On Level Ground
Choose a flat surface to park your RV. Level ground stops the vehicle from rolling or shifting. This makes removing the wheel covers safer and more stable. Avoid slopes or uneven terrain to reduce risk.
Engage Parking Brake
Set the parking brake firmly once parked. The brake locks the wheels in place. It prevents any movement while you work on the wheels. Double-check that the brake holds before starting the removal.
Locate Wheel Cover Clips
Locating the wheel cover clips is the first step in removing RV chrome wheel covers. These clips hold the cover tightly to the wheel. Finding their exact spots helps to remove the cover safely without damage.
Each RV wheel cover may have clips in different positions. Knowing where to check saves time and effort. It also helps protect the wheel and cover from scratches or breaks.
Identify Clip Positions
Look closely along the edge of the wheel cover. Clips are often near the rim or inside the cover. They may appear as small metal tabs or plastic hooks. Gently press around the cover to feel for these clips. Some covers have clips spaced evenly, while others group them near the valve stem. Mark these spots in your mind to avoid missing any.
Check For Damage
Before removing the wheel cover, check the clips for cracks or bends. Damaged clips may break when you pull the cover off. Use a flashlight to see clearly. If clips look weak, handle the cover with extra care. Consider using tools designed for clip removal to prevent harm. This step helps keep your wheel cover reusable and your wheel safe.

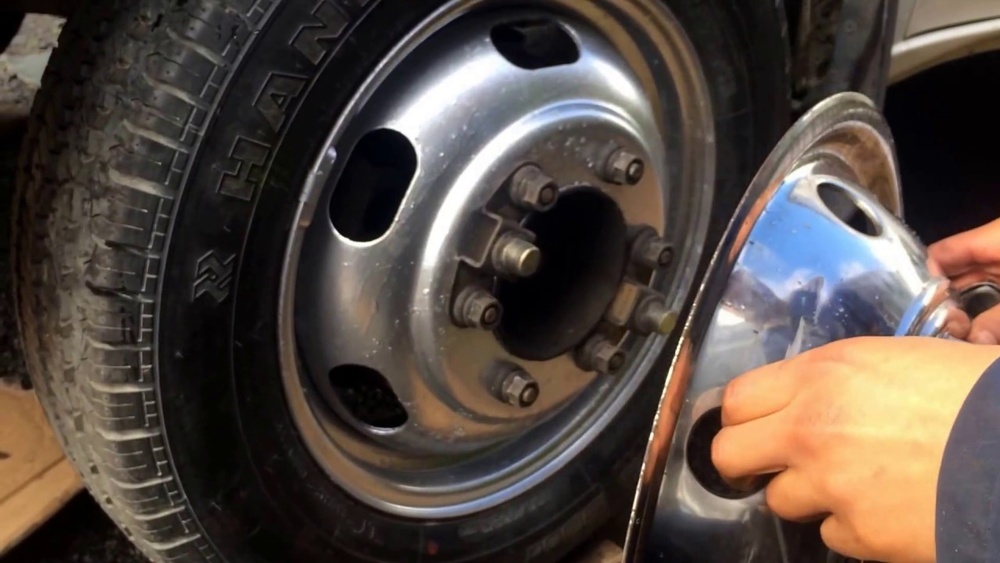
Credit: community.goodsam.com
Remove Wheel Covers
Removing RV chrome wheel covers needs care and patience. These covers protect wheels but can be tricky to take off. Doing it wrong can damage the cover or the wheel. Follow simple steps to remove covers safely without harm.
Use the right tools and gentle force. Work slowly around the wheel to loosen the cover. Protect the wheel’s finish by avoiding scratches. This will keep your RV looking good and safe.
Use Pry Tool Carefully
Choose a plastic pry tool or a flathead screwdriver. Wrap the tool’s tip with cloth to prevent marks. Insert the tool between the wheel cover and the rim. Gently pry the cover away from the wheel. Move slowly to avoid breaking clips or bending the cover.
Work Around The Rim
Do not pull from one spot only. Work the pry tool around the wheel rim. Lift a little at a time from different points. This helps release the cover evenly. The cover will come off without force or damage.
Avoid Scratches
Protect the wheel and cover surface during removal. Use soft cloth or tape on the tool edges. Keep tools away from painted parts. Handle the cover with care to avoid dents. Scratches lower the look and value of your RV wheels.
Clean Wheel And Covers
Cleaning your RV’s chrome wheel covers and wheels helps keep them shiny and protects them. Dirt and grime can damage the chrome finish over time. Regular cleaning also makes it easier to spot any damage early. A clean surface means your covers will last longer and look great on the road.
Remove Dirt And Debris
Start by rinsing the wheel covers with water. Use a soft brush or cloth to remove loose dirt and dust. Avoid harsh scrubbing that can scratch the chrome. Use mild soap mixed with water to clean stubborn spots. Rinse thoroughly to remove all soap residues. Dry the covers with a soft towel to prevent water spots.
Inspect For Wear
Check the wheel covers for any cracks or dents. Look for rust or peeling chrome areas. Inspect the wheel itself for damage or corrosion. Early spotting of wear can prevent bigger problems later. Replace any damaged covers to keep your RV safe and looking good.
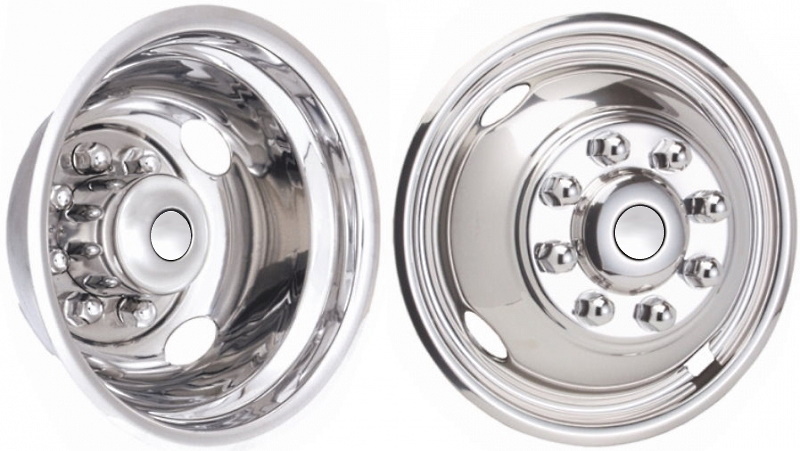
Credit: www.hubcaphaven.com
Reinstall Or Replace Covers
After removing your RV chrome wheel covers, reinstalling or replacing them is the next step. Proper reinstallation ensures a secure fit and protects your wheels from dirt and damage. Replacement may be necessary if the covers are cracked or worn out. Follow simple steps to position and attach the covers correctly for safe travel.
Align Covers Properly
Place the cover on the wheel carefully. Make sure it matches the wheel’s shape. Check for any logos or marks that need to face a certain direction. Aligning covers correctly prevents rattling and improves the look of your RV. Take your time to line up the edges evenly all around.
Secure Clips Firmly
Press the cover onto the wheel until the clips snap into place. Each clip must hold tight to avoid the cover falling off during driving. Test the cover by gently pulling on it after securing. If any clip feels loose, press it again firmly. Proper clip attachment keeps your covers safe on the road.
Tips For Maintenance
Maintaining your RV chrome wheel covers keeps them shining and secure. Proper care helps avoid damage and extends their life. Follow simple tips to keep them in top shape.
Regular Cleaning Schedule
Clean your chrome wheel covers often. Dirt and brake dust can harm the shine. Use mild soap and water for washing. Avoid harsh chemicals that can cause rust. Dry them well to stop water spots.
Set a cleaning routine, like once every two weeks. Regular cleaning prevents buildup and keeps covers looking new.
Check For Loose Covers
Inspect the wheel covers before every trip. Loose covers can fall off during driving. Tighten any clips or screws you find loose. Replace damaged parts quickly to stay safe.
Keeping covers snug protects your wheels and prevents costly repairs. A quick check saves problems later.
Frequently Asked Questions
How Do I Safely Remove Rv Chrome Wheel Covers?
Use a flat-head screwdriver or plastic pry tool to gently lift the edge. Work around the cover slowly to avoid damage. Avoid using excessive force to prevent bending or scratching the chrome surface.
What Tools Are Needed To Remove Rv Wheel Covers?
Typically, a flat-head screwdriver or a plastic trim removal tool works best. These tools help pry off the cover without damaging the wheel or cover. Avoid metal tools that can scratch chrome surfaces.
Can I Reuse Chrome Wheel Covers After Removal?
Yes, chrome wheel covers can be reused if removed carefully. Avoid bending or cracking the cover during removal. Clean and inspect them for damage before reinstalling on your RV wheels.
How Often Should I Remove Rv Chrome Wheel Covers?
Remove wheel covers when cleaning, inspecting, or replacing tires. Regular removal isn’t necessary but helps maintain the wheel’s appearance and condition. Inspect covers during seasonal maintenance or before long trips.
Conclusion
Removing RV chrome wheel covers is simple with the right steps. Use proper tools and work carefully to avoid damage. Take your time and follow the instructions clearly. Clean the wheels after removal for best results. Now you can replace or repair your wheel covers easily.
Keep these tips in mind for future maintenance. Safe travels and happy RV adventures!