
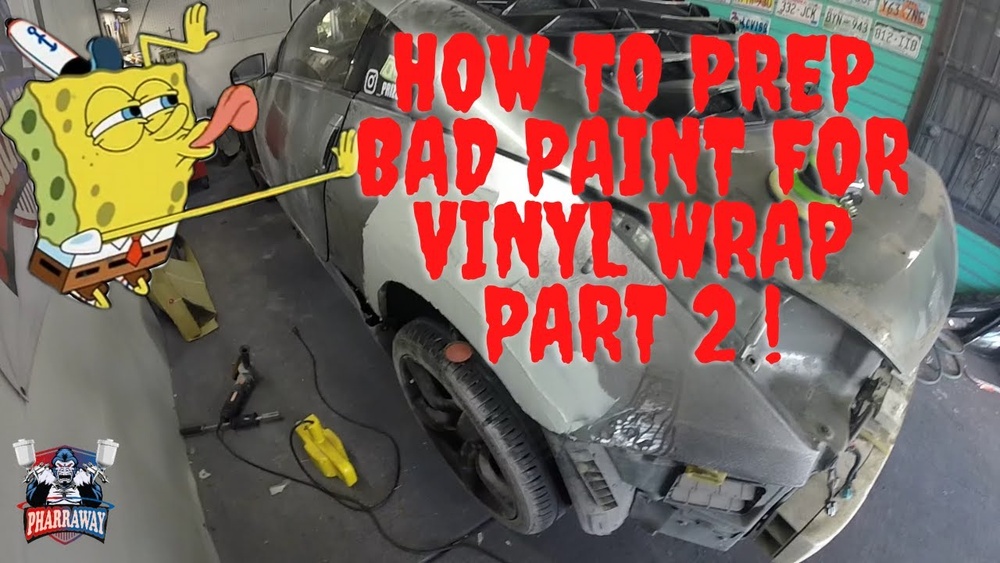
Are you ready to give your car a fresh new look with a vinyl wrap? Before you start peeling and sticking, there’s one crucial step you can’t afford to skip: prepping your paint.
How well you prepare your paint can make all the difference between a smooth, flawless finish and a wrap that peels or bubbles too soon. In this guide, you’ll discover simple, effective tips to get your paint surface perfectly ready, so your vinyl wrap sticks better and lasts longer.
Keep reading, and you’ll learn exactly what you need to do to achieve professional results—no stress, no guesswork.
Gather Necessary Tools
Gathering the right tools is the first step in prepping paint for a vinyl wrap. Proper tools ensure a smooth surface and better wrap adhesion. Without these, the wrap may peel or bubble. Keep everything ready before starting the job. This saves time and avoids mistakes.
Cleaning Supplies
Clean paint is essential for a vinyl wrap. Use a good car wash soap to remove dirt and grime. Rubbing alcohol or a surface cleaner helps remove wax and oils. Microfiber cloths work best for wiping the surface without scratching. Make sure the paint is dry before moving to the next step.
Sanding Materials
Sanding smooths the paint surface for better wrap grip. Use fine-grit sandpaper, around 600 to 800 grit. Sand lightly to avoid damaging the paint. A sanding block keeps pressure even across the surface. Clean off sanding dust completely before applying primers.
Primers And Adhesion Promoters
Primers improve the bond between paint and vinyl wrap. Choose a primer designed for automotive use and vinyl applications. Adhesion promoters boost wrap stickiness on tricky surfaces. Apply these products in thin, even layers. Let each layer dry fully to ensure best results.

Credit: www.raceramps.com
Clean The Surface Thoroughly
Cleaning the surface thoroughly is the first step to a smooth vinyl wrap. Dirt, grease, and wax create bumps and bubbles under the wrap. This can cause the vinyl to peel or look uneven. Preparing the paint surface well ensures the wrap sticks firmly and lasts longer.
Remove Dirt And Debris
Start by washing the area with water and soap. Use a soft cloth or sponge to remove loose dirt and dust. Rinse the surface well to clear all soap residue. Dry the area completely before moving to the next step.
Eliminate Wax And Grease
Wax and grease prevent the vinyl from sticking properly. Use a wax remover or a mild degreaser to clean the paint. Apply with a clean cloth and wipe gently. Make sure to cover every part where you want to place the wrap.
Use Isopropyl Alcohol For Final Wipe
Isopropyl alcohol removes any leftover oils and residues. Dampen a lint-free cloth with the alcohol. Wipe the surface carefully and evenly. Let the surface dry fully before applying the vinyl wrap.
Inspect For Paint Damage
Inspecting paint for damage is a key step before applying vinyl wrap. It ensures the wrap sticks well and looks smooth. Paint damage can cause bubbles or peeling under the wrap. Take time to check every part of the surface carefully. This helps spot issues early and fix them properly.
Check For Scratches And Chips
Look closely for scratches and chips on the paint. These small flaws can break the seal of the vinyl wrap. Use good lighting to see even tiny scratches. Run your hand over the surface to feel rough spots. Mark damaged areas to repair before wrapping.
Assess Faded Or Peeling Areas
Check for faded paint or peeling spots. These areas may have weak paint that won’t hold the wrap. Faded paint can also affect the wrap’s appearance. Peeling paint must be removed or fixed to avoid bubbles. Use a soft cloth to clean and inspect thoroughly.
Repair Or Touch Up Imperfections
Fix all scratches, chips, and peeling paint before wrapping. Use touch-up paint to cover small damaged spots. Sand rough areas gently to smooth the surface. Let repairs dry fully to ensure good wrap adhesion. Proper repair creates a clean, even base for the vinyl.
Smooth The Surface
Smoothing the surface is a key step before applying a vinyl wrap. A smooth surface helps the vinyl stick better and last longer. It also prevents bubbles and wrinkles. This part of the prep work requires care and attention.
Light Sanding Techniques
Start by sanding the paint lightly. Use gentle, even strokes to avoid damage. Sand in a circular motion or follow the shape of the panel. Keep the pressure low to create a slightly rough texture for better grip.
Choosing The Right Grit Sandpaper
Select sandpaper with a fine grit, between 400 and 600. Coarser grits may scratch or harm the paint. Fine grit sandpaper smooths the surface without removing too much paint. This ensures the wrap will lay flat and stick well.
Avoiding Over-sanding
Do not sand too much. Over-sanding can thin the paint and cause damage. Stop sanding once the surface feels smooth and even. Check often to avoid removing too much paint. A light sanding is enough for a perfect wrap base.
Apply Primer Or Adhesion Promoter
Applying primer or adhesion promoter is a key step before installing a vinyl wrap. It helps the vinyl stick better and last longer. Skipping this step can cause peeling or bubbles.
Primers create a smooth surface and improve the bond between paint and vinyl. Adhesion promoters work by increasing the grip on surfaces that are hard to stick to. Both make the wrap job easier and more durable.
Types Of Primers Suitable For Vinyl Wrap
Use primers made for automotive or vinyl wrapping purposes. Silicone-free primers are best because silicone can stop vinyl from sticking. Some primers work well on plastics and paints. Choose water-based or solvent-based types depending on your surface.
Proper Application Methods
Clean the surface before applying primer. Use a lint-free cloth and rubbing alcohol. Apply a thin, even coat with a spray or brush. Avoid thick layers to prevent uneven texture. Let the primer dry lightly before placing the vinyl.
Drying Times And Curing
Drying times vary by primer type and weather. Usually, primers dry in 10 to 30 minutes. Some need longer curing for full strength. Follow product instructions for best results. Do not rush the process to avoid poor adhesion.

Credit: www.rvinyl.com
Final Cleaning Before Wrapping
Final cleaning before applying a vinyl wrap is a key step. This step removes all dirt and oils from the paint. It helps the wrap stick better and last longer. A clean surface prevents bubbles and wrinkles. It also makes the wrap look smooth and professional. Take your time with this step for the best results.
Remove Dust And Residue
Start by wiping the surface with a gentle cleaner. Use a cleaner made for automotive paint. This removes dust, grease, and leftover wax. Avoid harsh chemicals that can damage the paint. Work in small sections to catch all residue. Dirt left on the surface stops the wrap from sticking well.
Use Lint-free Cloths
Choose lint-free cloths to wipe the surface. Regular cloths leave tiny fibers behind. These fibers create bumps under the vinyl wrap. Lint-free cloths keep the surface smooth and clean. Microfiber cloths are a good choice. Use a fresh cloth for each section to avoid spreading dirt.
Ensure Surface Is Completely Dry
Dry the surface fully before wrapping. Water or moisture can trap under the vinyl. This causes bubbles and peeling later. Use a soft, dry cloth to remove all dampness. Let the surface air dry for a few minutes. Only start wrapping once the paint is dry to touch.
Tips For Long-lasting Wrap Adhesion
Ensuring your vinyl wrap sticks well and lasts long starts with proper preparation. Good adhesion keeps the wrap smooth and prevents peeling. Follow these tips to create a strong bond between the paint and the vinyl.
Optimal Temperature Conditions
Temperature affects how well the wrap sticks. Apply the vinyl when the surface is between 60°F and 80°F. Too cold, and the adhesive won’t stick properly. Too hot, and the vinyl may stretch or bubble. Work in a shaded area to keep temperatures steady.
Avoiding Contaminants During Installation
Dust, oil, and dirt block the adhesive from gripping the paint. Clean the surface thoroughly with soap and water first. Use a cleaner like isopropyl alcohol to remove any leftover grease. Wear gloves to avoid adding oils from your hands. Keep the area free of dust while working.
Post-installation Care
After wrapping, avoid washing the vehicle for at least 48 hours. This lets the adhesive set properly. Park in a shaded or covered place to avoid sun damage. Avoid pressure washing the wrap; use gentle hand washing instead. Check the edges regularly and press them down if lifting occurs.

Credit: www.youtube.com
Frequently Asked Questions
How Do I Clean Paint Before Applying Vinyl Wrap?
Clean the paint thoroughly using soap and water first. Then, use isopropyl alcohol to remove grease and residue. This ensures better vinyl adhesion and a smooth finish.
Why Is Surface Preparation Important For Vinyl Wrapping?
Proper surface prep removes dirt, wax, and oils. It prevents bubbles and peeling, ensuring the vinyl wrap lasts longer and looks professional.
Can I Wrap Over Old Or Damaged Paint?
Avoid wrapping over chipped or peeling paint. Repair and smoothen damaged areas first for even adhesion and to prevent vinyl damage later.
What Tools Are Needed To Prep Paint For Vinyl Wrap?
You need soap, water, microfiber cloths, isopropyl alcohol, and a clay bar. These clean, degrease, and smoothen the surface for optimal vinyl application.
Conclusion
Preparing paint correctly ensures your vinyl wrap sticks well and looks great. Clean the surface thoroughly to remove dirt and oils. Sand any rough spots gently to create a smooth base. Use a good primer to help the wrap adhere better.
Take your time with each step for best results. Proper prep saves you from bubbles and peeling later. This careful work helps your wrap last longer and stay attractive. A well-prepared paint surface makes wrapping easier and more successful.


