Thinking about wrapping your motorcycle with vinyl but not sure how much you’ll need? You’re not alone.
Getting the right amount of vinyl is key to a smooth, flawless finish—and avoiding extra costs or frustrating trips to the store. In this guide, you’ll discover simple tips to measure your bike, estimate the perfect amount of vinyl, and make your motorcycle stand out on the road.
Keep reading, and you’ll have all the info you need to wrap your ride like a pro.

Credit: www.carlawrap.com
Measuring Your Motorcycle
Measuring your motorcycle is the first step before wrapping it with vinyl. Accurate measurements help you buy the right amount of vinyl. This avoids waste and extra costs. Take your time and be precise. The better you measure, the smoother the wrap will look.
Key Areas To Measure
Start with the main body panels. Measure the tank, side covers, and fenders. Don’t forget the front and rear fairings. Also, measure smaller parts like the mudguard and frame sections. Include curves and edges for a full wrap. Note all measurements in inches or centimeters.
Tools Needed For Measurement
Use a flexible measuring tape for curves and edges. A ruler or straight edge helps with flat surfaces. A notebook or digital device is handy to record numbers. Use masking tape to mark key points if needed. A helper can make measuring faster and easier.
Tips For Accurate Measuring
Measure twice to avoid mistakes. Write down every measurement clearly. Add a few extra inches for overlaps and errors. Measure in good light to see edges clearly. Keep your tape snug but not tight to avoid wrong numbers.
Calculating Vinyl Requirements
Calculating how much vinyl you need to wrap a motorcycle is important. It helps avoid buying too little or wasting material. Careful measurement and planning make the process smooth and cost-effective.
Estimating the right amount of vinyl saves time and money. It also ensures a clean, professional look for your motorcycle wrap.
Estimating Surface Area
Start by measuring each part of the motorcycle to wrap. Include the tank, fenders, fairings, and other visible panels. Use a tape measure or flexible ruler for accuracy.
Write down the length and width of each piece. Multiply length by width to get the area in square inches or centimeters. Add all areas together for the total surface area.
Remember to measure curves and rounded edges carefully. These parts need extra vinyl for a smooth finish.
Adding Extra For Overlaps And Errors
Always add extra vinyl to your total surface area. Add about 10-20% more to cover overlaps, mistakes, and trimming.
This extra material helps fix errors without stopping your project. It also allows for stretching and folding over edges cleanly.
Without extra vinyl, you risk running out during wrapping. This can cause uneven coverage and a poor look.
Considering Different Wrap Thicknesses
Vinyl wraps come in different thicknesses. Thicker vinyl is more durable but less flexible. Thinner vinyl is easier to handle but may wear faster.
Choose the thickness based on your motorcycle’s shape and use. Thicker vinyl may need more care in tight spots.
Keep in mind that thicker vinyl can affect how much material you use. It may require more stretching or overlapping.
Types Of Vinyl Wraps
Choosing the right type of vinyl wrap is key to a great motorcycle look. Different wraps offer various finishes, textures, and durability levels. This section explains the main types of vinyl wraps for motorcycles. Understanding these can help you decide how much vinyl to buy and what style suits your bike best.
Glossy Vs Matte Finishes
Glossy wraps shine bright and reflect light well. They give a fresh, clean look that stands out. Matte wraps have no shine and offer a smooth, flat finish. They create a modern, subtle style that hides fingerprints and dirt better. Both finishes need different amounts of vinyl depending on the bike’s shape.
Specialty Wraps And Textures
Textured wraps add unique feels to your motorcycle. Carbon fiber, brushed metal, and leather-look wraps add style and grip. These specialty wraps usually require extra vinyl for curves and edges. They give a custom look that standard wraps cannot match. Choose one that fits your bike’s design and your personality.
Durability And Weather Resistance
Vinyl wraps vary in how long they last and resist weather. Some are made for rough conditions, resisting rain, sun, and wind. Others work best indoors or in mild weather. Durable wraps protect your bike’s paint and keep it looking new longer. Pick a wrap that suits your riding environment and how long you want it to last.
Preparing Your Motorcycle
Preparing your motorcycle before wrapping is key to a smooth, lasting finish. It helps the vinyl stick properly and avoids bubbles or peeling later. Take time to get your bike ready. This step saves time and effort during the wrap process.
Cleaning And Surface Prep
Start by washing your motorcycle with soap and water. Remove all dirt, grease, and dust. Use a cloth to dry the bike completely. Next, wipe the surface with rubbing alcohol. This removes any leftover oils or residues. A clean surface helps the vinyl stick better and last longer.
Removing Or Masking Parts
Take off parts like mirrors, antennas, and badges. It makes wrapping easier and neater. If you cannot remove some parts, cover them with masking tape. This protects them from adhesive and keeps the wrap clean. Removing parts also prevents damage during the wrapping process.
Dealing With Curves And Complex Shapes
Motorcycles have many curves and tight spots. Heat the vinyl gently with a heat gun. This makes it flexible and easier to stretch around shapes. Use a squeegee to press the vinyl smoothly on curves. Take your time to avoid wrinkles and bubbles. Good technique ensures a clean, professional look.
Applying Vinyl Wrap
Applying vinyl wrap on a motorcycle can change its look completely. The process needs care and the right tools. This section guides you through everything needed to wrap your bike smoothly. Follow the steps carefully to get the best results.
Tools And Equipment Needed
You need some basic tools before starting. A heat gun helps stretch the vinyl around curves. A squeegee removes air bubbles and smooths the wrap. Use a sharp utility knife to trim excess vinyl. A cleaning solution clears dirt and oils from the bike. Gloves protect your hands and keep the wrap clean. A measuring tape helps cut the vinyl to the right size.
Step-by-step Application Process
Start by cleaning the motorcycle thoroughly. Dirt or oil can stop the vinyl from sticking well. Measure the bike parts and cut the vinyl with extra margin. Peel off the backing paper carefully. Place the vinyl on the surface without stretching it yet. Use the squeegee to press the wrap from the center outwards. Heat the vinyl gently with the heat gun to make it flexible. Stretch and smooth the wrap over curves and edges. Trim the extra vinyl using the utility knife. Let the wrap cool to set firmly.
Common Mistakes To Avoid
Do not rush the cleaning step; dirt causes bubbles. Avoid stretching the vinyl too much; it can tear. Cutting too close to edges may cause peeling. Skipping the heating step makes the wrap hard to shape. Pressing too hard with the squeegee can damage the vinyl. Wrapping in direct sunlight may cause the vinyl to dry too fast. Take time and work patiently for a smooth finish.
Post-application Tips
After wrapping your motorcycle with vinyl, proper care matters a lot. Following the right steps ensures your wrap stays fresh and lasts longer. Here are key tips for after the application.
Curing And Setting Time
Let the vinyl sit without touching it for at least 24 hours. This time lets the adhesive bond well to the bike’s surface. Avoid washing or riding in rain during this period. Warmer temperatures help the vinyl cure faster. Patience here prevents peeling and bubbles later.
Maintaining Your Wrap
Clean the vinyl regularly with a soft cloth and mild soap. Avoid harsh chemicals or abrasive materials. Use cool water to rinse off dirt and grime. Park your motorcycle in shade to reduce sun damage. Small care habits keep the wrap looking new and vibrant.
Repairing Minor Damages
Small scratches or tears can happen. Use a vinyl repair kit to fix minor spots quickly. Gently clean the area before applying the patch or adhesive. Smooth out bubbles with a soft tool. Timely repairs stop problems from worsening and save money.
Cost Factors And Budgeting
Understanding the cost factors helps plan your motorcycle vinyl wrap budget. Many elements affect the total price. Knowing these can prevent surprises. It also guides smart spending and better project results.
Vinyl Material Costs
Vinyl prices vary based on quality and brand. Premium vinyl lasts longer and resists weather better. Cheaper vinyl may save money but can peel or fade fast. The amount of vinyl needed depends on your motorcycle’s size and design. Usually, one to two rolls cover most bikes.
Professional Vs Diy Wrapping
Hiring a professional costs more but ensures a clean finish. Experts have skills and tools for smooth application. DIY wrapping saves labor costs but needs patience and practice. Mistakes can lead to extra expenses or wasted materials. Decide based on your skills and budget.
Additional Supplies And Accessories
Besides vinyl, you need tools like squeegees, heat guns, and knives. These tools help apply vinyl without bubbles or wrinkles. Some wraps require primer or surface cleaner for better adhesion. These extras add to the total cost but improve the final look and durability.

Credit: thegirlonabike.com
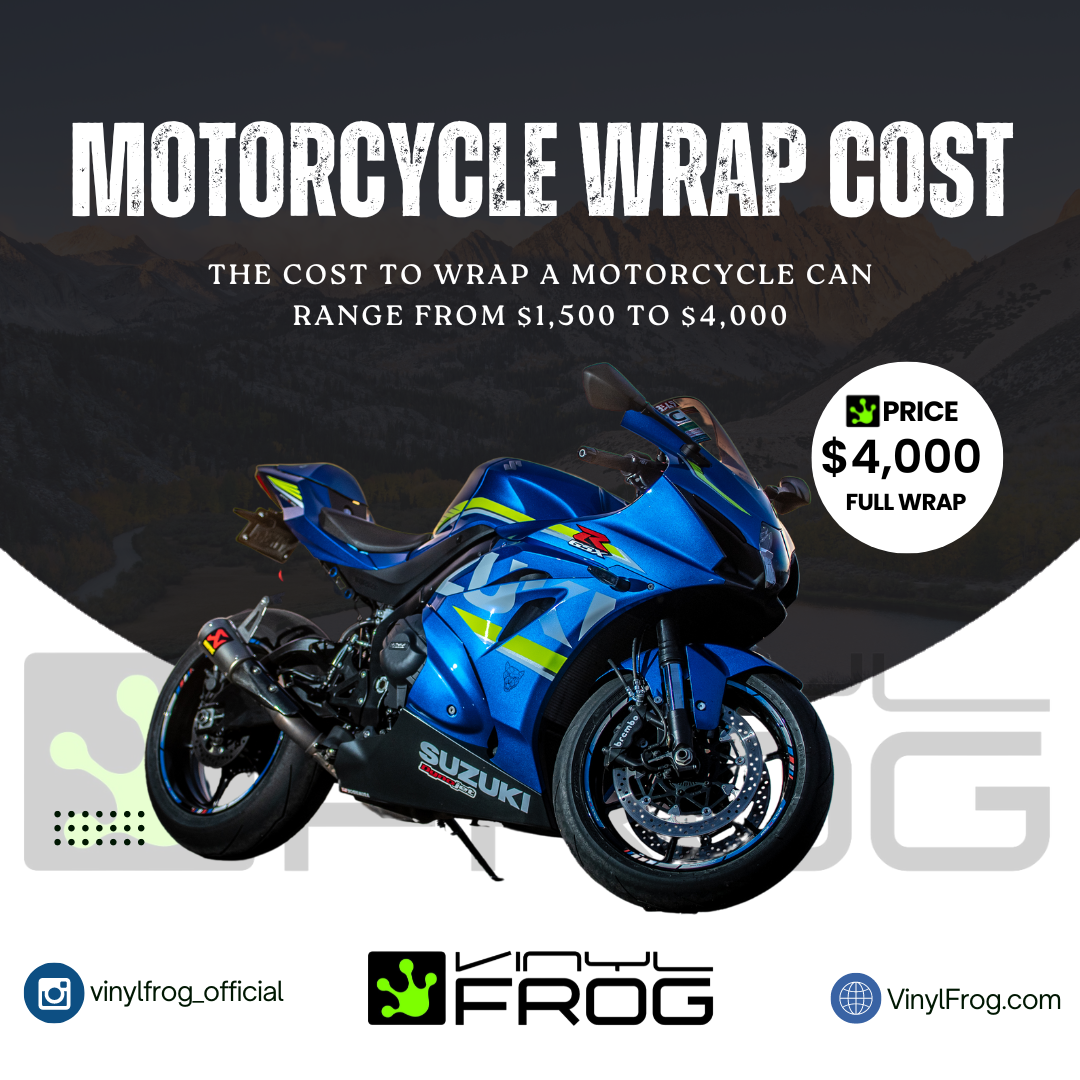
Credit: www.vinylfrog.com
Frequently Asked Questions
How Much Vinyl Wrap Is Needed For A Motorcycle?
Typically, 5 to 7 yards of vinyl wrap cover a motorcycle fully. The exact amount depends on the bike’s size and complexity. Smaller bikes require less material, while larger or custom designs might need more vinyl to wrap all parts efficiently.
Can I Use Less Vinyl For Partial Motorcycle Wraps?
Yes, partial wraps need less vinyl, usually 2 to 4 yards. This covers select areas like the tank or fairings. Measuring the specific parts before buying vinyl ensures you purchase the right amount and avoid excess material waste.
What Factors Affect Vinyl Wrap Quantity For Motorcycles?
Bike size, shape, and wrap design complexity affect vinyl amount. Detailed designs or multiple colors may require extra material. Also, professional installers often add 10-15% extra vinyl for errors or adjustments.
Is It Better To Buy Extra Vinyl For Motorcycle Wrapping?
Buying extra vinyl is advisable to cover mistakes and adjustments. Having 10-15% more than the estimated amount prevents running out mid-wrap. It also allows for practice or future repairs without buying more material later.
Conclusion
Wrapping a motorcycle with vinyl needs careful measurement. Start by measuring each part of the bike. Add extra vinyl to cover mistakes or curves. Usually, 10 to 15 feet of vinyl works well. Choose good quality vinyl for best results.
Take your time to avoid wrinkles or bubbles. A clean surface helps the vinyl stick better. With the right amount, your bike will look fresh and new. Planning ahead saves money and effort. Enjoy your customized ride with confidence.


