

Are you ready to transform your car’s interior without spending a fortune? Applying a vinyl wrap to your car’s interior is a smart way to give it a fresh, stylish look that stands out.
But you might be wondering where to start or if you can do it yourself. This guide will walk you through every step, making the process simple and stress-free. By the end, you’ll have the confidence to tackle the project and enjoy a sleek, customized interior that feels truly yours.
Keep reading, and let’s get your car’s interior looking amazing!
Preparing The Car Interior
Preparing the car interior is the first step to a smooth vinyl wrap application. It ensures the vinyl sticks well and lasts long. Taking time to prepare your car interior helps avoid bubbles and peeling later.
Cleaning The Surfaces
Clean all surfaces thoroughly before applying vinyl. Use a mild cleaner to remove dirt, dust, and oils. Avoid harsh chemicals that can damage the interior material. Dry the surfaces completely with a soft cloth. Clean surfaces help the vinyl adhere properly.
Removing Obstacles
Remove items that block your work area. Take out floor mats, seat covers, and any loose objects. Detach parts like knobs or panels if possible. This gives you clear access to the surfaces. Removing obstacles makes wrapping easier and more precise.
Gathering Necessary Tools
Collect all tools needed for the job before starting. Common tools include a squeegee, heat gun, knife, and measuring tape. Have a clean cloth and gloves ready too. Having tools at hand saves time and improves work quality.
Credit: www.tintingchicago.com
Choosing The Right Vinyl Wrap
Choosing the right vinyl wrap for your car interior is a crucial step. It affects the look, feel, and durability of the finish. Picking the best vinyl ensures the wrap fits well and lasts longer. Understanding the types, colors, and sizes helps make a smart choice.
Types Of Vinyl Wraps
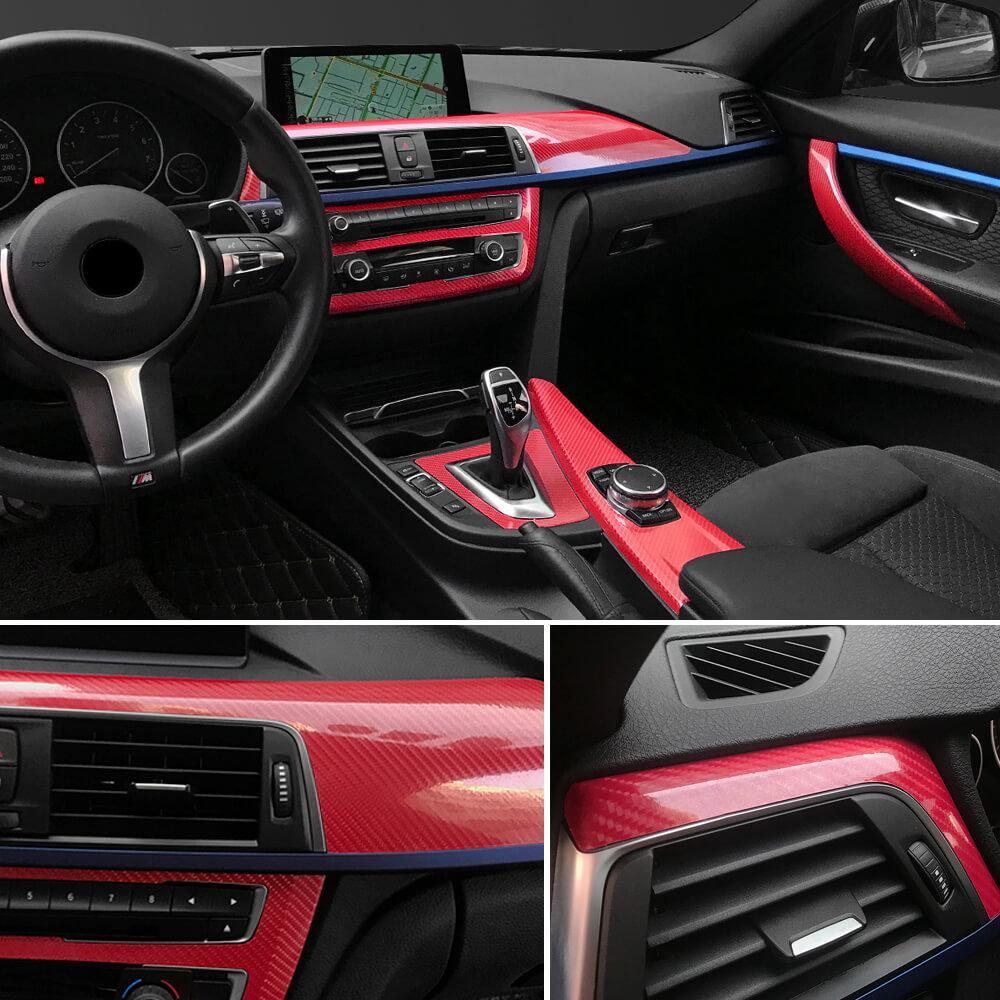
Vinyl wraps come in many types. Glossy vinyl gives a shiny and smooth surface. Matte vinyl offers a flat, non-reflective look. Satin vinyl sits between glossy and matte. Textured vinyl can mimic materials like carbon fiber or leather. Pick a type that matches your style and the interior’s material.
Color And Finish Options
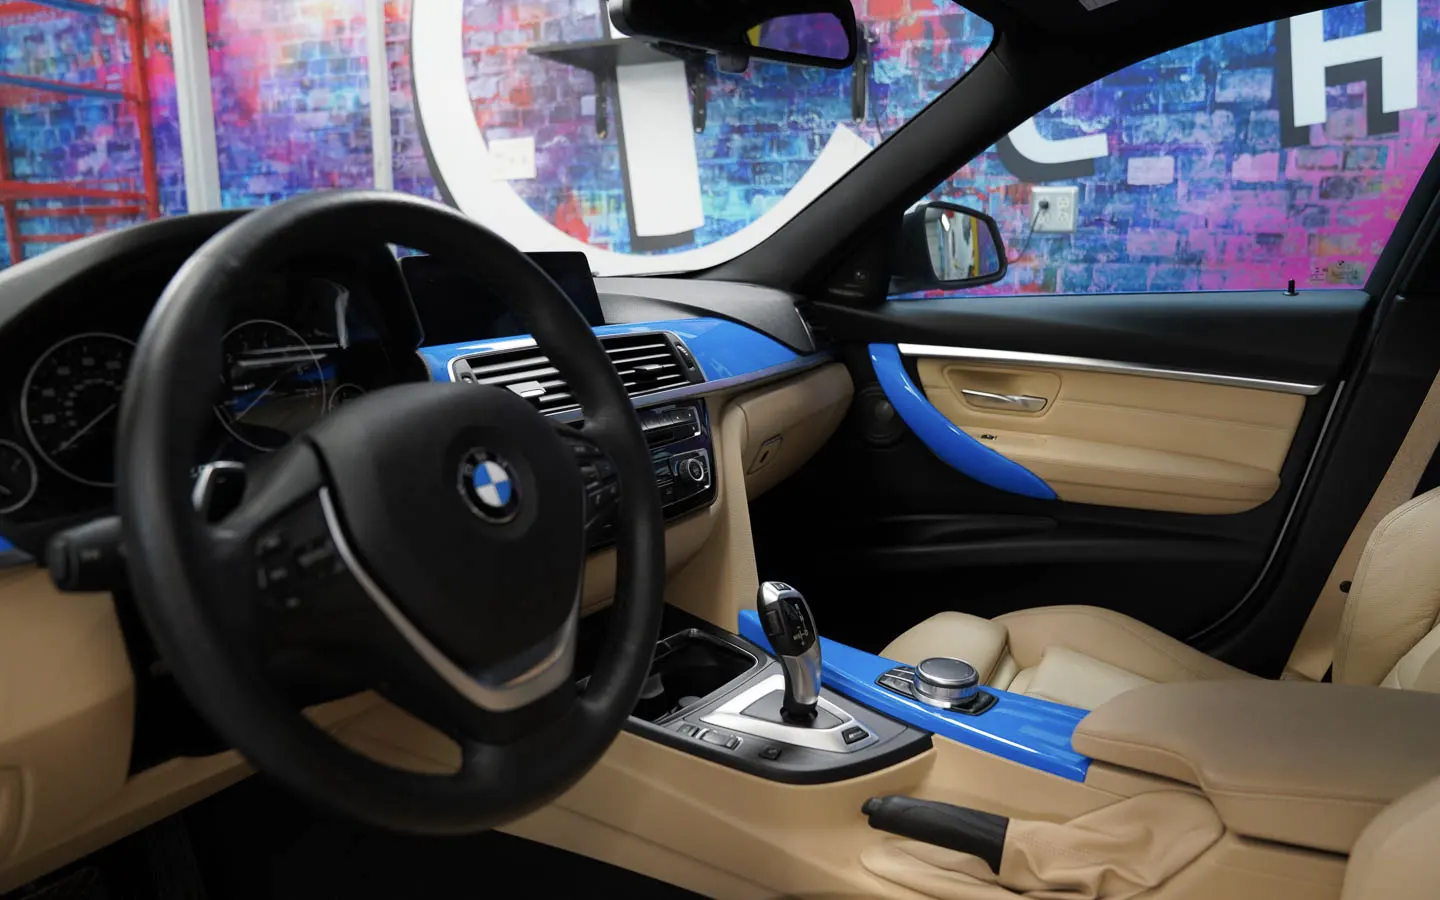
Colors vary from bright to subtle shades. Classic black, white, and gray suit most interiors. Bold colors like red or blue add personality. Finishes change the appearance too. Metallic finishes catch light and shine. Pearl finishes add a soft glow. Choose colors and finishes that blend with your car’s theme.
Measuring For Accuracy
Accurate measurements prevent waste and mistakes. Use a tape measure to get exact sizes of panels. Measure length and width carefully. Note curves and edges that need wrapping. Cut vinyl slightly larger for easier fitting. Accurate measuring makes the wrapping process smooth and neat.
Cutting And Positioning The Vinyl
Cutting and positioning vinyl is a key step in wrapping your car interior. It shapes the final look and fit of the wrap. Careful work here saves time and prevents mistakes later.
Each piece of vinyl needs precise cutting and correct placement. This ensures a smooth, clean finish without wrinkles or bubbles. Following clear steps helps you handle this task with confidence.
Making Precise Cuts
Start by measuring the area to cover carefully. Use a ruler or tape measure for accuracy. Mark the vinyl lightly with a pencil or chalk. A sharp utility knife or vinyl cutter gives clean edges. Cut slowly and steadily, keeping your hand steady. Avoid jagged or uneven cuts that show after wrapping.
Aligning The Vinyl Properly
Place the vinyl gently on the surface. Check the alignment with edges and curves. Adjust the position before pressing it down firmly. Use a squeegee or soft cloth to smooth the vinyl. Push air bubbles and wrinkles out towards the edges. Take your time to get a perfect fit.
Using Templates For Complex Shapes
Complex shapes like curves or buttons need extra care. Create a paper or cardboard template first. Trace the shape onto the vinyl using the template. Cut around the outline with precision. Templates help avoid mistakes and wasted material. They guide you to wrap tricky spots neatly and easily.
Credit: www.youtube.com
Applying The Vinyl Wrap
Applying vinyl wrap to your car interior requires patience and care. The process starts with placing the vinyl correctly. Then, you smooth out air bubbles to create a clean look. Using heat helps the vinyl stretch and fit curves perfectly. Each step affects the final result.
Starting From The Center
Begin by placing the vinyl wrap in the middle of the surface. This helps avoid wrinkles and folds. Use your fingers or a squeegee to press the vinyl gently outward. Work slowly to keep the vinyl flat and even. Centering ensures better control during the application.
Smoothing Out Bubbles
Small air bubbles can spoil the finish. Use a squeegee or a soft cloth to push bubbles toward the edges. Apply gentle pressure to avoid tearing the vinyl. If bubbles remain, lift the vinyl slightly and reapply. Smooth vinyl means a professional-looking wrap.
Heating And Stretching Techniques
Use a heat gun or hair dryer to warm the vinyl slightly. Warm vinyl becomes more flexible and easier to stretch over curves. Stretch the vinyl carefully to fit edges and corners. Avoid overheating to prevent damage. Proper heating helps the vinyl stick and stay smooth.
Finishing Touches
Finishing touches are key to a perfect vinyl wrap on your car interior. They ensure the wrap looks clean and lasts long. Take your time with these last steps. They help avoid peeling and bubbles.
Trimming Excess Material
Use a sharp blade or craft knife for trimming. Cut slowly along edges and corners. Avoid cutting too deep to protect the surface below. Leave a tiny margin to tuck the wrap under edges. This gives a neat, professional look.
Sealing Edges
Heat helps vinyl wrap stick better. Use a heat gun or hair dryer on low heat. Warm the edges gently to make the vinyl flexible. Press edges down firmly with a squeegee or cloth. Sealing stops dirt and air from getting under the wrap.
Reassembling Interior Parts
Put all removed parts back carefully. Check screws and clips to avoid damage. Handle wrapped surfaces with care to prevent scratches. Take your time for proper fitting. Your car interior will look fresh and smooth.
Maintaining Your Vinyl Wrap
Maintaining your vinyl wrap keeps it looking fresh and new. Proper care extends its life and preserves color. Small habits can make a big difference. Follow simple steps to protect your car’s interior wrap.
Cleaning Tips
Use a soft cloth or microfiber towel. Avoid rough materials that can scratch the surface. Clean with mild soap and water. Do not use harsh chemicals or solvents. Gently wipe the wrap to remove dust and dirt. Dry it with a clean, dry cloth. Clean regularly to prevent buildup and stains.
Avoiding Damage
Keep sharp objects away from the wrap. Be careful with keys, pens, and tools inside the car. Avoid excessive heat or direct sunlight for long hours. Do not use abrasive brushes or scrubbers. Avoid sticky tapes or stickers on the wrap. Handle the wrap gently to prevent peeling or tearing.
Long-term Care
Park your car in shaded or covered areas. Use sunshades to reduce UV exposure inside. Inspect the wrap regularly for any signs of damage. Fix small tears or bubbles early to stop them from growing. Consider professional help for major repairs. Proper care keeps your vinyl wrap vibrant and strong over time.
Credit: www.carlawrap.com
Frequently Asked Questions
How Do I Prepare Car Interior For Vinyl Wrapping?
Clean the surface thoroughly using a mild cleaner. Remove dust, grease, and oils. Dry completely before applying vinyl for best adhesion.
What Tools Are Needed For Vinyl Car Interior Wrap?
You need a squeegee, heat gun, utility knife, and microfiber cloth. These tools help smooth and trim the vinyl precisely.
Can Vinyl Wrap Damage My Car Interior Surfaces?
No, vinyl wrap is safe if applied correctly. It protects surfaces and can be removed without leaving residue or damage.
How Long Does Vinyl Wrap Last On Car Interiors?
Vinyl wrap typically lasts 5 to 7 years indoors. Proper care and avoiding direct sunlight prolong its lifespan.
Conclusion
Applying vinyl wrap to your car interior can change its look quickly. Take your time and follow each step carefully. Clean surfaces well for the best result. Use heat to shape the vinyl around curves. Avoid air bubbles by smoothing as you go.
Practice makes perfect, so be patient and keep trying. A fresh interior can make driving more enjoyable. You can protect original surfaces and save money by wrapping. Try different colors or textures to match your style. Enjoy your car’s new look with pride.


