
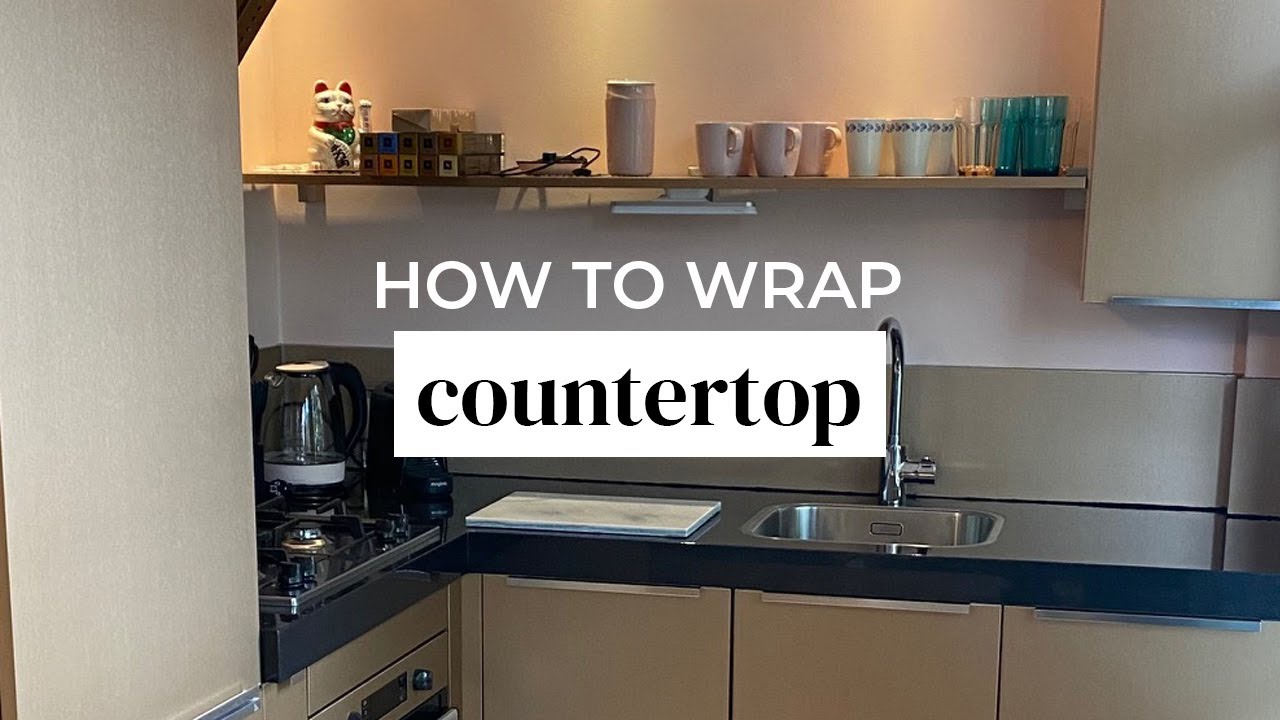
Are you looking to give your countertop a fresh, stylish look without spending a fortune? Applying a vinyl wrap is a simple and affordable way to transform your space quickly.
Imagine turning your old, worn-out countertop into a sleek, modern surface in just a few easy steps. This guide will walk you through everything you need to know, so you can confidently apply vinyl wrap and achieve professional results. Ready to see how easy it can be?
Keep reading and discover the secrets to a flawless countertop makeover.

Credit: www.youtube.com
Choosing The Right Vinyl Wrap
Choosing the right vinyl wrap is key to a successful countertop makeover. The right wrap makes installation easier and ensures a smooth, lasting finish. Picking the right material and design affects how your countertop looks and feels. Take time to understand your options before buying.
Types Of Vinyl Wraps
There are several types of vinyl wraps available. Glossy wraps offer a shiny, reflective surface. Matte wraps provide a smooth, non-reflective finish. Textured wraps mimic materials like wood or stone. Each type suits different styles and needs. Choose one that fits your countertop use and style.
Measuring Your Countertop
Measure your countertop carefully. Use a tape measure to get the length and width. Write down the exact numbers. Add a few extra inches for errors and trimming. Accurate measurements prevent running out of vinyl or wasting material.
Color And Pattern Selection
Colors and patterns set the mood of your kitchen or bathroom. Light colors make small spaces look bigger. Dark colors add warmth and depth. Patterns like marble or wood give a natural, elegant look. Pick a design that matches your room’s style and lighting.
Credit: www.youtube.com
Preparing The Countertop
Preparing the countertop is the first step to a successful vinyl wrap project. The surface must be clean, smooth, and free from old finishes. This helps the vinyl stick well and look neat. Skipping this step can cause bubbles or peeling later. Taking time here saves effort in the end.
Cleaning And Degreasing
Start by cleaning the countertop with warm soapy water. Use a soft cloth to remove dirt and dust. After that, apply a degreaser to remove oils and grease. These substances stop the vinyl from sticking properly. Wipe the surface with a clean, dry cloth to remove any residue.
Sanding And Smoothing Surface
Use fine-grit sandpaper to roughen the countertop gently. This creates a better grip for the vinyl wrap. Sand evenly, avoiding deep scratches or damage. After sanding, wipe away all dust with a damp cloth. The surface should feel smooth but slightly textured to touch.
Removing Old Coatings
Check the countertop for old paint, varnish, or sealant. These coatings can cause the vinyl to peel off. Use a scraper or chemical remover to take off old layers carefully. Follow safety instructions when using chemicals. After removal, clean and sand the surface again to prepare for wrapping.
Gathering Tools And Materials
Gathering the right tools and materials is the first step to a smooth vinyl wrap project. Preparing everything before starting saves time and avoids frustration. It also helps achieve a clean, professional look on your countertop.
Below is a list of must-have tools and some optional items. These will help you apply vinyl wrap with ease and precision.
Essential Tools List
- Vinyl wrap sheet sized for your countertop
- Measuring tape for accurate dimensions
- Utility knife or sharp blade for trimming edges
- Squeegee or plastic card to smooth out air bubbles
- Cleaning supplies like soap, water, and cloths
- Heat gun or hair dryer to soften vinyl and improve adhesion
- Spray bottle with water and a few drops of soap to reposition vinyl
Optional Accessories
- Gloves to avoid fingerprints on vinyl
- Masking tape to hold vinyl in place before sticking
- Edge roller for pressing vinyl into corners
- Rubbing alcohol for extra cleaning power
- Cutting mat to protect surfaces during trimming
Cutting And Positioning The Vinyl
Cutting and positioning the vinyl wrap on your countertop is a key step. It ensures a clean, smooth finish. Taking time here helps avoid bubbles and wrinkles. Precise cutting and careful placement make a big difference.
Measuring And Cutting To Size
Start by measuring the countertop carefully. Use a tape measure to get exact width and length. Add a small extra margin for errors and trimming. Mark the vinyl sheet with a pencil or marker. Cut slowly with a sharp utility knife or scissors. Straight, clean cuts help the vinyl fit perfectly.
Aligning The Vinyl On Countertop
Place the vinyl on the countertop without removing the backing. Check the position and adjust edges to align with corners. Smooth out any air pockets by pressing from the center outwards. Use a plastic scraper or a soft cloth to avoid scratches. Take your time to ensure even placement before sticking down.
Applying The Vinyl Wrap
Applying vinyl wrap to your countertop is a careful process. It needs patience and a steady hand for the best results. This step will transform your countertop with a fresh, new look. Follow each stage closely to avoid mistakes and ensure a smooth finish.
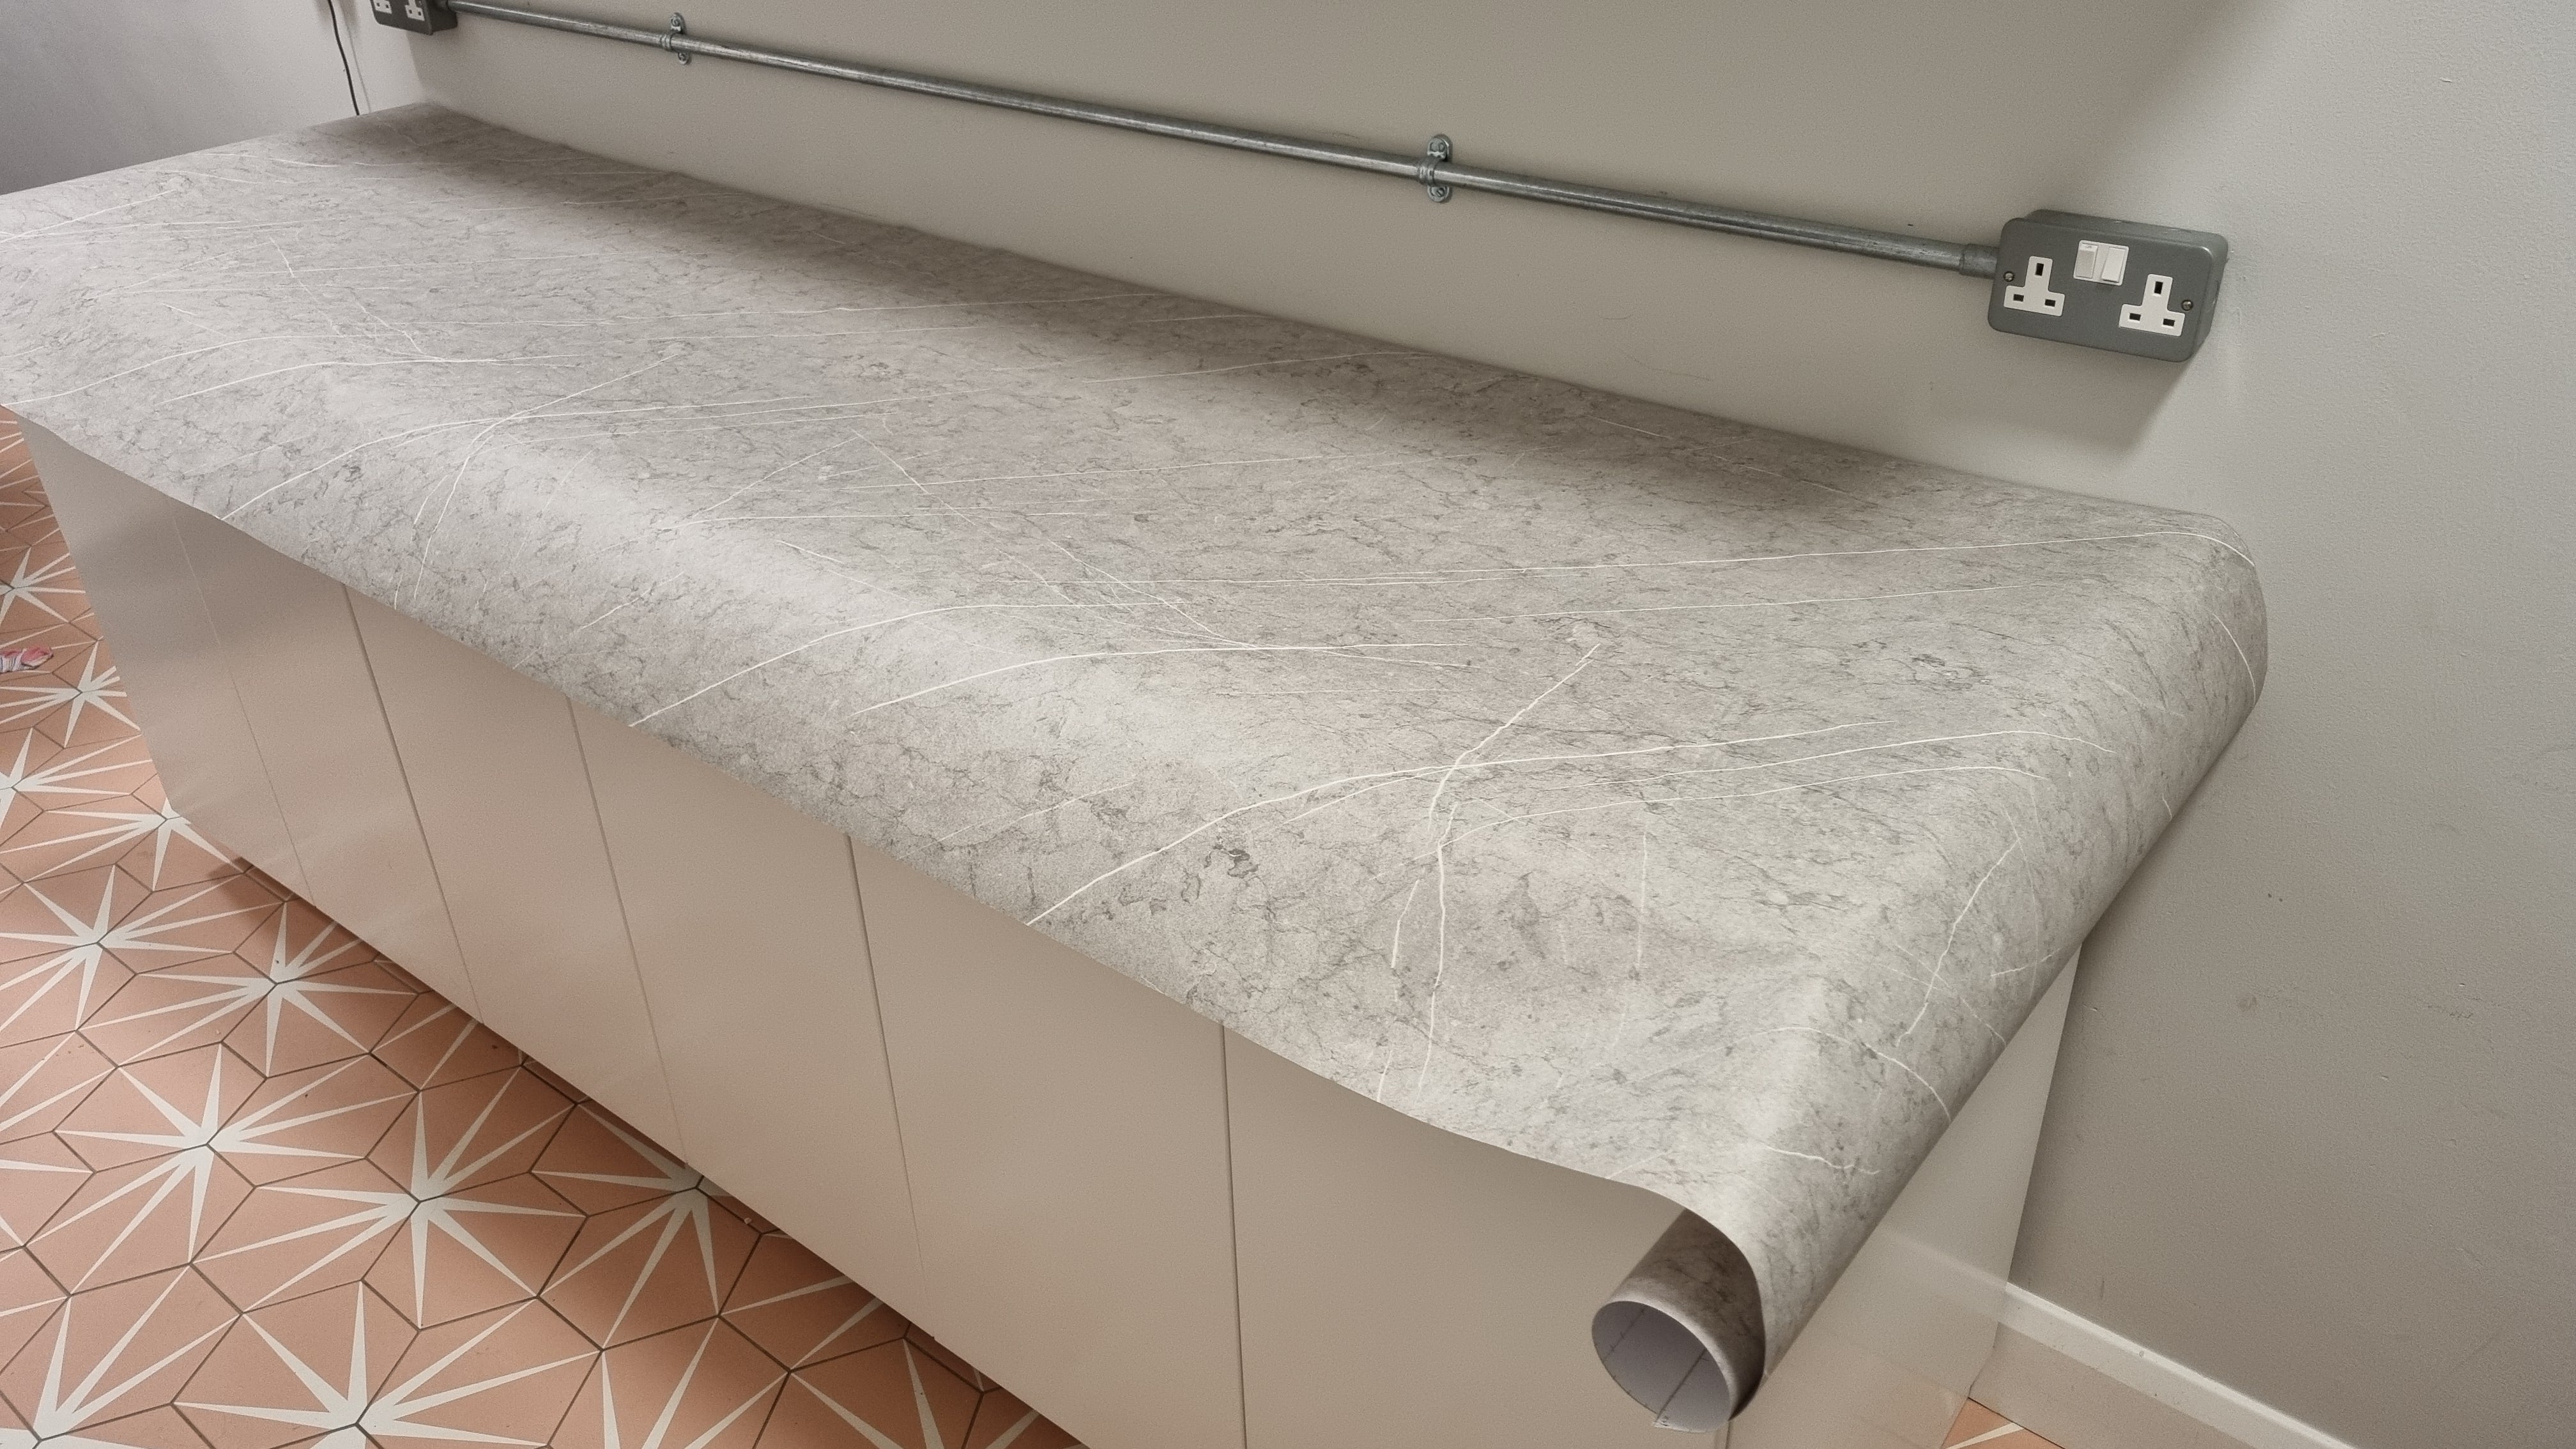
Peeling And Laying The Vinyl
Start by peeling a small part of the vinyl backing. Do not remove it all at once. Align the vinyl with the edge of your countertop. Slowly lay the vinyl down while peeling the backing bit by bit. This helps prevent wrinkles and misalignment.
Smoothing Out Air Bubbles
Use a soft cloth or a squeegee to press the vinyl firmly. Move from the center outward to push air bubbles out. Work carefully to avoid stretching the vinyl. Check for small bubbles and smooth them out gently. A clean, flat surface is key to a good finish.
Wrapping Edges And Corners
Trim the vinyl close to the edges, leaving a little extra for folding. Fold the vinyl over the edges and press it down firmly. Use a heat gun or hairdryer to soften the vinyl if needed. This makes wrapping around corners easier. Take care to avoid wrinkles or folds in these areas.
Credit: layed.com
Finishing Touches
Finishing touches make your vinyl-wrapped countertop look neat and last longer. These final steps improve the appearance and protect the vinyl. Take your time to do them carefully. They help your countertop look like new for a long time.
Trimming Excess Vinyl
Use a sharp utility knife to trim extra vinyl around edges. Cut slowly and close to the surface for a clean line. Avoid cutting too deep to protect the countertop. Trim small sections at a time for better control. Smooth edges prevent peeling and give a professional look.
Sealing Edges For Durability
Apply a clear sealant or edge tape along the vinyl edges. This stops water and dirt from getting under the wrap. Press the edges firmly to stick the sealant well. Sealing also stops the vinyl from lifting over time. It adds strength to your countertop wrap.
Cleaning And Maintenance Tips
Clean the vinyl surface with a soft cloth and mild soap. Avoid harsh chemicals or abrasive tools that can damage the wrap. Wipe spills quickly to prevent stains. Regular cleaning keeps the vinyl shiny and fresh. Check edges often and reseal if needed to keep durability.
Troubleshooting Common Issues
Applying vinyl wrap to a countertop can be tricky. Small issues may appear during or after installation. These problems can affect the look and durability of the wrap. Fixing these issues early helps keep the wrap smooth and neat. Here are some common problems and easy solutions.
Fixing Wrinkles And Bubbles
Wrinkles and bubbles form when air gets trapped under the vinyl. Use a plastic squeegee to push air towards the edges. Work slowly and apply firm pressure. For small bubbles, prick the surface gently with a pin. Press out the air carefully. Warm the vinyl slightly with a hairdryer to make it more flexible. Avoid stretching the wrap too much as it can cause more wrinkles.
Handling Tears And Rips
Tears happen if the vinyl is pulled too hard or cut incorrectly. For small tears, use clear vinyl repair tape underneath the rip. Press the edges of the tear back down firmly. If the tear is large, remove the damaged section. Cut a new piece of vinyl and apply it carefully over the area. Match patterns or colors to keep the repair invisible.
When To Reapply Or Replace
Vinyl wrap does not last forever. It may peel or fade over time. Reapply the wrap if edges start lifting but the surface is still good. Clean and dry the countertop before applying new vinyl. Replace the entire wrap if there are many tears or deep scratches. A fresh wrap keeps your countertop looking clean and new.
Frequently Asked Questions
How Do I Prepare A Countertop For Vinyl Wrap?
Clean the countertop thoroughly, removing dust, grease, and dirt. Sand lightly to create a smooth surface. Ensure the area is dry before applying the vinyl wrap for better adhesion and a smooth finish.
What Tools Are Needed To Apply Vinyl Wrap To Countertops?
You will need a squeegee, utility knife, heat gun or hairdryer, measuring tape, and cleaning supplies. These tools help ensure precise application, smooth out air bubbles, and trim excess vinyl for a professional look.
How Long Does Vinyl Wrap Last On Countertops?
Vinyl wraps on countertops typically last 5 to 7 years with proper care. Avoid harsh chemicals and sharp objects to maintain durability and appearance over time.
Can Vinyl Wrap Withstand Kitchen Heat And Moisture?
Yes, quality vinyl wraps are heat and moisture resistant. However, avoid placing hot pots directly on the surface to prevent damage and prolong the wrap’s lifespan.
Conclusion
Applying vinyl wrap to your countertop can change its look quickly and affordably. Take your time to measure and clean the surface well before starting. Smooth the vinyl carefully to avoid bubbles or wrinkles. Use a heat gun or hairdryer to help the wrap stick better around edges.
With patience and care, you can create a fresh, new style for your kitchen. Enjoy your updated countertop without the need for costly renovations. Simple steps can make a big difference in your home’s appearance.


