Are you looking to give your car a fresh, sleek look while protecting it from dings and scratches? Attaching body side molding is a simple and effective way to do just that.
But if you’ve never done it before, the process might seem a bit tricky. Don’t worry—this guide will walk you through every step, making it easy for you to get professional-looking results at home. By the end, you’ll know exactly how to attach body side molding to your car so it fits perfectly and stays secure.
Keep reading, and you’ll be ready to upgrade your ride in no time!
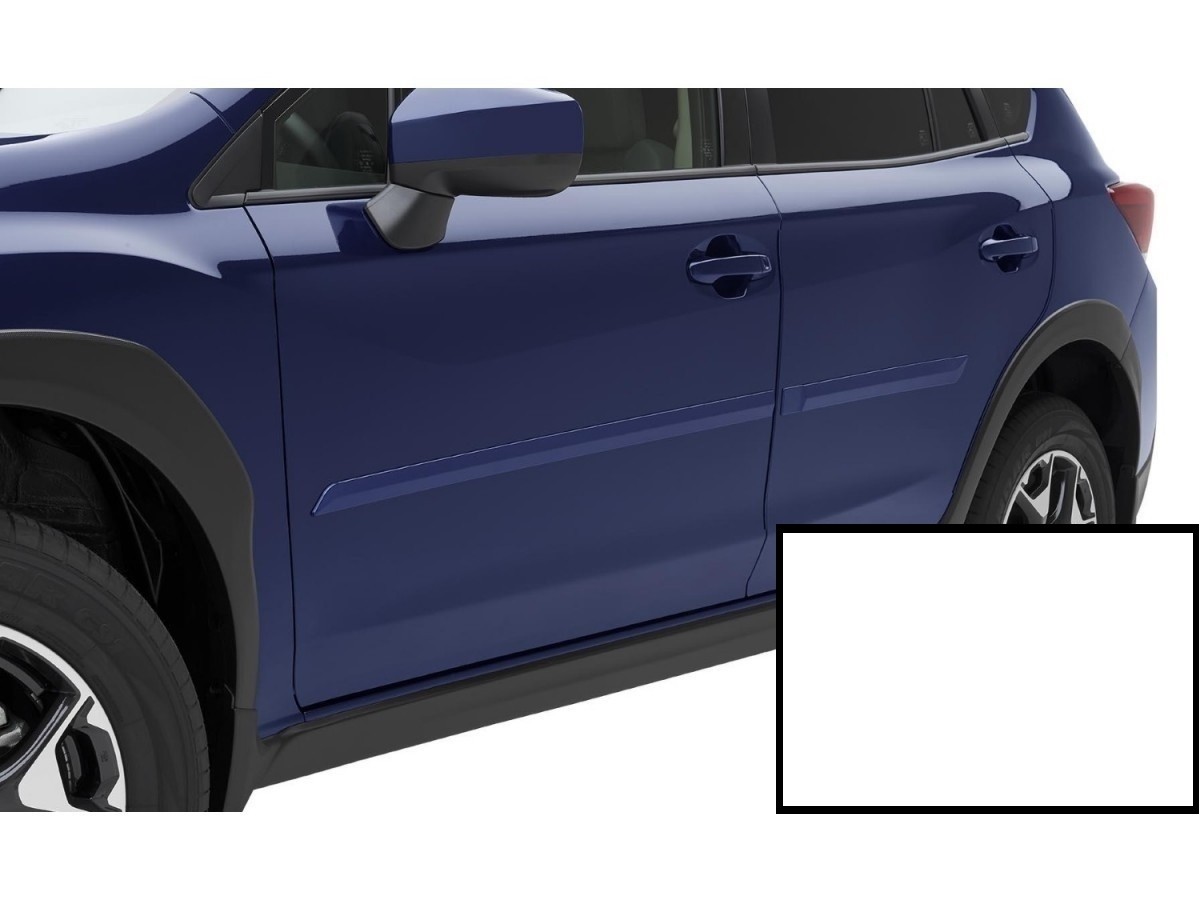
Credit: www.subarupartspros.com
Tools And Materials Needed
Attaching body side molding to a car requires the right tools and materials. These ensure a clean, secure fit and a professional look. Gathering everything before you start saves time and avoids frustration. Preparation is key to a smooth installation process.
Essential Tools
You will need a few basic tools for this job. A plastic trim removal tool helps avoid scratches. A measuring tape ensures the molding fits perfectly. Use a heat gun or hair dryer to soften adhesive. A clean rag is useful for wiping surfaces. Lastly, a pair of gloves protects your hands.
Choosing The Right Molding
Select molding that matches your car’s make and model. Check the color and texture to blend with your vehicle. Some moldings come with adhesive backing. Others require separate glue or clips. Make sure the size fits your car’s side panels exactly.
Cleaning Supplies
Clean surfaces help the molding stick well. Use isopropyl alcohol to remove dirt and grease. Avoid oily or waxy cleaners. A microfiber cloth works best to wipe the area. Clean the surface twice to ensure no residue remains. Dry the area completely before applying molding.
Preparing The Car Surface
Preparing the car surface is the first step to attach body side molding properly. The surface must be clean and smooth. Dirt, grease, or old adhesive can stop the molding from sticking well. Taking time to prepare the area helps the molding stay longer and look better.
Cleaning The Area
Start by washing the area with soap and water. Use a soft cloth or sponge to remove all dirt. Clean the surface gently to avoid scratches. Rinse the soap off with clean water. Dry the area with a clean towel or let it air dry completely.
Removing Old Adhesive
Old adhesive can cause bumps under the new molding. Use a plastic scraper or adhesive remover to clear it. Apply the remover carefully and let it sit for a few minutes. Then, wipe the area with a clean cloth. Make sure no sticky residue remains.
Drying And Inspection
After cleaning, let the surface dry fully. Moisture can weaken the glue on the molding. Check the area for any leftover dirt or damage. Fix any scratches or dents before attaching the molding. A smooth, dry surface ensures strong adhesion.
Measuring And Aligning The Molding
Measuring and aligning the body side molding is a key step. It ensures the molding fits perfectly and looks neat. Careful measurement avoids mistakes and saves time. Precise alignment helps the molding stick properly and last longer. Follow these simple steps for accurate placement.
Marking Placement
Start by cleaning the car surface. Use a soft cloth and mild cleaner. Measure the length of the molding. Use a tape measure for accuracy. Mark the start and end points on the car. Use a pencil or washable marker. Make small marks to avoid damage. Double-check the marks before moving on.
Using Tape For Positioning
Apply painter’s tape along the marked line. This acts as a guide for the molding. Place the molding on the tape without removing the backing. Check if it aligns with your marks. Adjust the tape if needed. Tape helps hold the molding steady. It makes the final placement easier and cleaner.
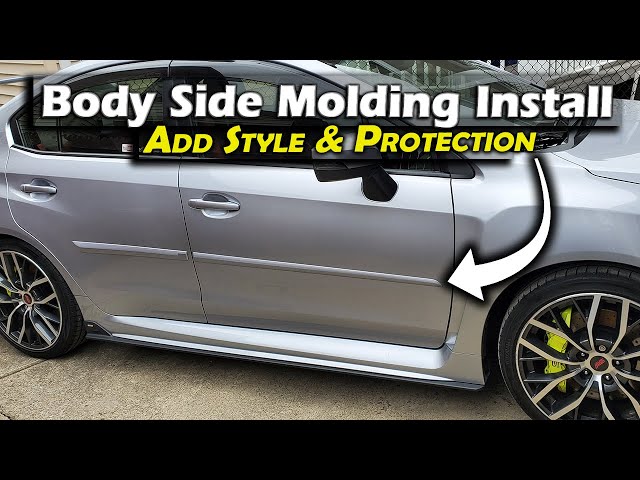
Credit: www.youtube.com
Applying Adhesive Or Tape
Attaching body side molding to a car needs a strong bond. Applying adhesive or tape holds the molding firmly in place. This step prevents the molding from falling off or shifting. Use the right adhesive or tape to ensure a clean, lasting fit.
Choosing Adhesive Type
Select an adhesive designed for automotive use. Double-sided automotive tape is popular for easy application. It sticks well and resists weather and heat. Some prefer liquid adhesives for a stronger hold. Choose one that suits your car’s surface and molding material. Check product labels to confirm compatibility and durability.
Applying Adhesive Evenly
Apply adhesive in a straight, continuous line. Avoid gaps or thick blobs that cause bumps. Press the tape or adhesive firmly to the molding surface. This ensures full contact and better adhesion. Smooth out any air bubbles to prevent peeling. Take your time for an even, neat finish.
Attaching The Body Side Molding
Attaching the body side molding to your car is a straightforward task. It improves your car’s look and protects the doors from dings and scratches. Proper attachment ensures the molding stays secure over time.
Follow clear steps to fit the molding tightly. Use the right pressure and fastening methods for a lasting bond.
Pressing The Molding Firmly
Start by aligning the molding with the car’s body. Press it firmly against the surface. Use even pressure along the entire length. This helps the adhesive stick well. Avoid gaps or loose spots that can cause peeling. Take your time and press hard enough for a strong hold.
Securing With Clips Or Fasteners
Many moldings use clips or fasteners for extra security. Attach the clips in the correct slots on the molding. Push each clip into the car’s side firmly. Check that all clips lock in place. Fasteners add strength and prevent the molding from moving. This step ensures the molding stays fixed during driving and weather changes.

Credit: www.subarupartspros.com
Finishing Touches
After attaching the body side molding, the finishing touches make a big difference. This step ensures the molding looks clean and stays in place for a long time. Proper care right after installation helps keep the car’s appearance fresh and neat.
Removing Protective Film
Most moldings come with a thin protective film. Peel it off carefully to avoid scratching the surface. Start from one edge and pull slowly. Removing this film reveals the shiny finish underneath.
Cleaning Excess Adhesive
Check for any glue left around the molding edges. Use a soft cloth and a little rubbing alcohol to wipe it away. Clean gently to avoid damaging the paint or molding. This step keeps the car looking neat and tidy.
Curing Time And Care Tips
Let the adhesive cure fully before washing or driving in heavy rain. Curing usually takes 24 to 48 hours. Avoid strong pressure on the molding during this time. After curing, wash the car with mild soap and water only.
Frequently Asked Questions
How Do I Prepare My Car For Body Side Molding Installation?
Clean the car surface thoroughly with soap and water. Remove any dirt, grease, or wax. Dry the area completely before applying molding for better adhesion.
What Tools Do I Need To Attach Body Side Molding?
You need adhesive tape or glue, a cleaning cloth, a measuring tape, and a plastic trim tool. These help ensure precise and secure molding attachment.
Can I Install Body Side Molding Without Professional Help?
Yes, you can install it yourself with careful preparation. Follow instructions and use proper tools for a neat, durable fit on your car.
How Long Does Body Side Molding Adhesive Take To Set?
Adhesive usually sets within 24 hours. Avoid washing or driving in rain during this time for the best bond strength.
Conclusion
Attaching body side molding to your car is simple with the right steps. Clean the surface well before starting. Use strong adhesive or clips to hold the molding tight. Take your time to align it properly. Avoid rushing to prevent mistakes or damage.
A well-attached molding protects your car and looks good. Small efforts bring big improvements. Try these tips for a neat, lasting finish. Your car will look better and stay safe from scratches. Easy to do, and worth the care.