

Your car deserves the best care to keep it looking shiny and new. One of the easiest and most effective ways to protect your vehicle is by building up a layer of protective wax.
But how do you do this right, so the wax lasts longer and shields your car from damage? You’ll discover simple, step-by-step tips that anyone can follow. By the end, you’ll know exactly how to create a strong wax barrier that keeps your car’s paint smooth, glossy, and safe from the elements.
Ready to give your car the protection it needs? Let’s get started!
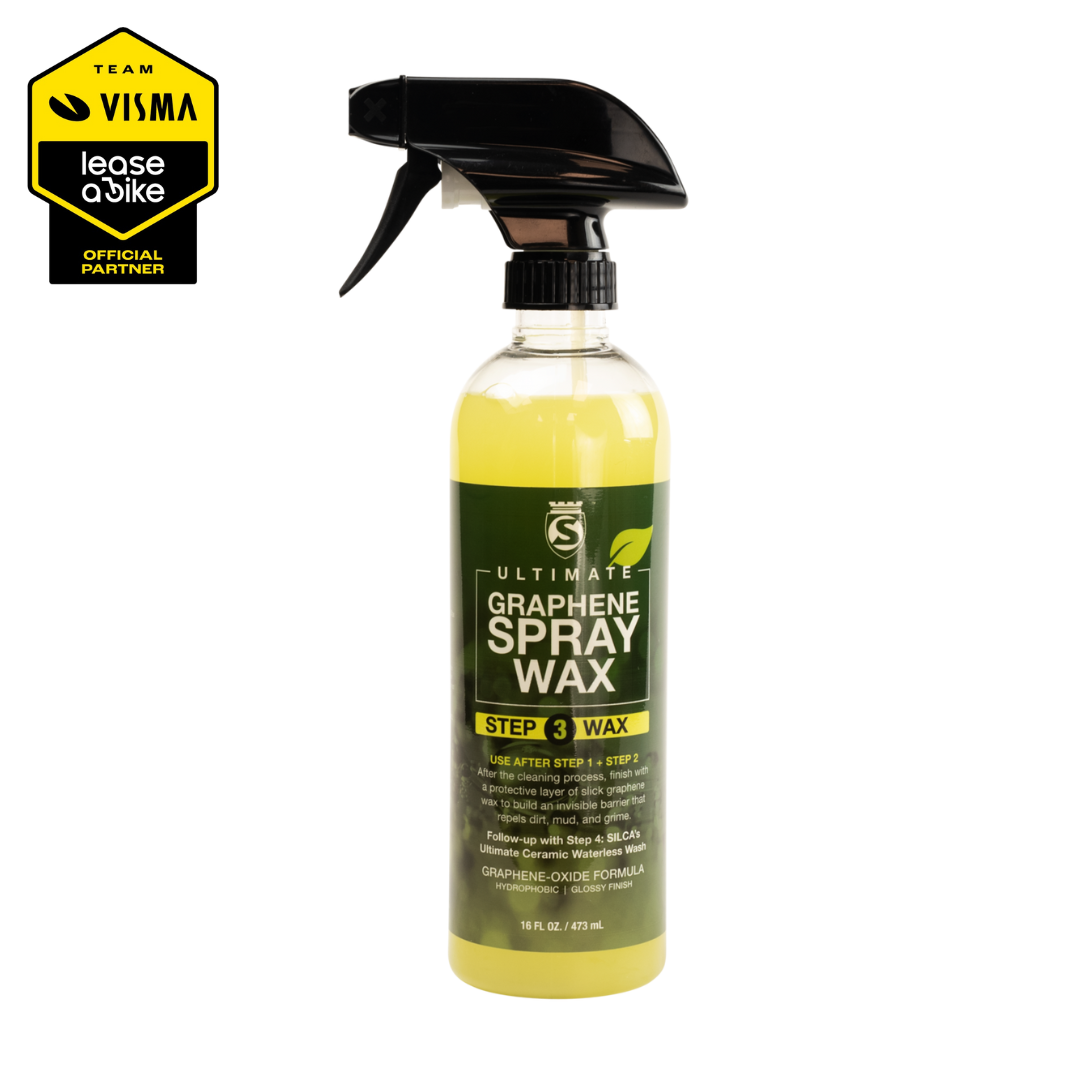
Credit: silca.cc
Choosing The Right Wax
Choosing the right wax is a key step in protecting your car’s paint. The right wax not only makes your car shine but also guards it against dirt, water, and sun damage. Picking the best wax depends on your car’s finish, the climate, and how much time you want to spend on maintenance.
Types Of Car Wax
Car wax comes in several types. Paste wax offers long-lasting protection but takes more effort to apply. Liquid wax is easier to spread and quick to use but may wear off faster. Spray wax is the fastest option for a quick shine but usually needs frequent reapplication. Each type serves different needs and preferences.
Wax Ingredients And Benefits
Natural waxes like carnauba come from plants. They give a deep, warm shine and good protection. Synthetic waxes are made from polymers. They last longer and resist water better. Some waxes mix both natural and synthetic ingredients for balanced benefits. Choose based on what your car needs most: shine or durability.
Selecting Wax For Your Car’s Finish
Different car paints need different waxes. Clear coats work well with synthetic waxes for strong protection. Older cars with single-stage paint often benefit from carnauba wax for a rich look. Dark colors show swirl marks easier, so pick wax with scratch-hiding properties. Match wax to your car’s finish for the best results.
Preparing Your Car
Preparing your car is the first step to building a strong layer of protective wax. A clean, smooth surface helps the wax stick better and last longer. Dirt, old wax, and rough spots can stop wax from doing its job well. Take time to get your car ready. It makes a big difference in the final shine and protection.
Washing And Drying
Start by washing your car with a gentle car shampoo. Use a soft sponge or mitt to avoid scratches. Rinse thoroughly to remove all soap and dirt. Dry the car with a clean microfiber towel. Make sure the surface is completely dry before moving on.
Removing Old Wax
Old wax can block new wax from bonding properly. Use a wax remover or a clay bar with lubricant to clear old wax. Apply the remover following product instructions. Wipe off residue with a clean cloth. This step ensures a fresh surface for the new wax layer.
Claying The Surface
Claying removes tiny particles stuck on your car’s paint. These particles do not wash off easily but can dull the finish. Use a clay bar with a spray lubricant to glide over the paint gently. Work in small sections and check the clay often. After claying, wipe the surface clean and dry.
Applying The Wax
Applying wax is an important step to protect your car’s paint. It adds a shiny layer that guards against dirt and water. A smooth, even coat gives the best results and lasts longer. Follow the right steps for a clean and strong wax layer.
Tools You Need
Use a soft foam applicator pad to apply wax. A microfiber cloth helps to buff the surface. Have a clean bucket of water to rinse the cloth. Use gloves to keep your hands clean. Make sure the car is dry before starting.
Step-by-step Application
Work on one small area at a time, about two square feet. Dab a small amount of wax on the applicator pad. Apply wax in a circular motion gently. Cover the area evenly without thick layers. Let the wax dry until it looks cloudy or hazy. Use a clean microfiber cloth to buff the wax off. Move to the next section and repeat.
Tips For Even Coverage
Apply thin layers to avoid streaks or uneven spots. Use soft pressure to spread the wax smoothly. Keep your motions consistent and cover all curves. Avoid waxing in direct sunlight or hot conditions. Check your work by shining light on the surface. Reapply wax if any spots look dull or missed.
Building Multiple Layers
Building multiple layers of protective wax enhances your car’s defense against dirt and weather. Each layer adds strength and depth to the shine. It takes patience but results in a long-lasting, glossy finish that stands out. Follow these tips to apply wax layers correctly.
Waiting Time Between Layers
Allow each wax layer to dry before applying the next. Drying time varies by product but usually takes 20 to 30 minutes. If the wax feels sticky or wet, wait longer. This step ensures proper bonding between layers. Rushing can cause uneven coating and reduce protection.
Number Of Layers Recommended
Two to three layers of wax are enough for strong protection. More than three layers do not add much benefit. Applying too many layers can cause buildup and dullness. Quality over quantity matters. Stick to the right amount for a smooth, shiny surface.
Enhancing Protection And Shine
Multiple wax layers build a thicker shield against UV rays and water. They also deepen the color and gloss of your paint. Each layer fills small scratches and smooths the surface. The result is a car that looks clean and polished for longer.
Maintaining The Wax Layer
Keeping the wax layer on your car strong helps protect its paint. Proper care makes the wax last longer. It also keeps the car shiny and fresh. Simple steps help maintain the wax layer well. This part explains how to care for the wax after applying it.
Regular Cleaning
Wash your car often to remove dirt and dust. Use a mild soap made for cars. Avoid harsh chemicals that can strip wax. Rinse thoroughly with clean water. Dry the car with a soft cloth. Clean surfaces help wax stay effective.
Spot Touch-ups
Check the car for spots where wax wears off. Apply a small amount of wax to those areas. Use a soft applicator or cloth. Buff gently until the wax blends in well. Spot touch-ups keep the layer smooth and even.
Avoiding Damage To Wax
Park in shaded places to protect wax from sun damage. Avoid parking near trees that drop sap or bird droppings. Clean off any contaminants quickly. Do not use abrasive brushes or strong cleaners. Handle the car’s surface gently to keep wax intact.
Common Mistakes To Avoid
Building a strong layer of protective wax on your car can keep its paint safe and shiny. Many people make simple mistakes that reduce wax’s effectiveness. Avoiding these errors helps your car look better and last longer.
Applying Wax On Dirty Surfaces
Never put wax on a dirty car. Dirt and dust trap under the wax and cause scratches. Always wash and dry the car completely before waxing. Clean surfaces help wax stick well and protect paint.
Using Too Much Wax
More wax does not mean better protection. Using too much wax creates a thick, uneven layer. It takes longer to dry and is hard to remove. Apply a thin, even coat for the best results.
Ignoring Weather Conditions
Waxing under the sun or in rain can ruin the process. Heat makes wax dry too fast, leaving streaks. Rain washes away fresh wax before it sets. Choose a cool, dry place to apply wax.
Advanced Tips For Experts
Experts need techniques beyond basic waxing to protect car paint well. Advanced tips help create a stronger, longer-lasting wax layer. These methods improve shine, shield against weather, and keep surfaces smooth. Try these expert steps for a pro-level finish.
Combining Wax With Sealants
Wax and sealants each protect differently. Sealants form a hard, durable shield. Wax adds deep shine and smoothness. Apply a sealant first to lock paint. Let it cure fully. Then add wax for extra gloss. This combo boosts protection and improves look.
Using Heat To Cure Wax
Heat helps wax bond better to paint. Use a heat gun or warm sunlight. Apply wax in thin layers. Warm each layer slightly before adding the next. Heat speeds drying and enhances adhesion. Avoid too much heat to prevent damage.
Customizing Wax Layers For Different Conditions
Weather affects wax performance. In rainy areas, add extra wax layers for water resistance. Dry climates need thinner coats for breathability. Cold climates benefit from thicker wax to shield from frost. Adjust layers based on local weather for best results.
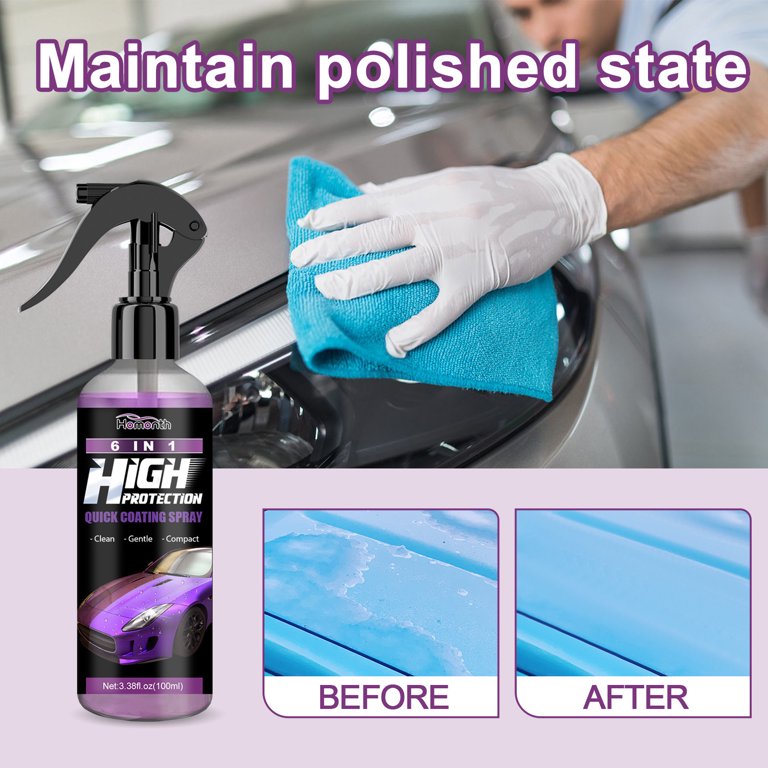
Credit: www.walmart.com
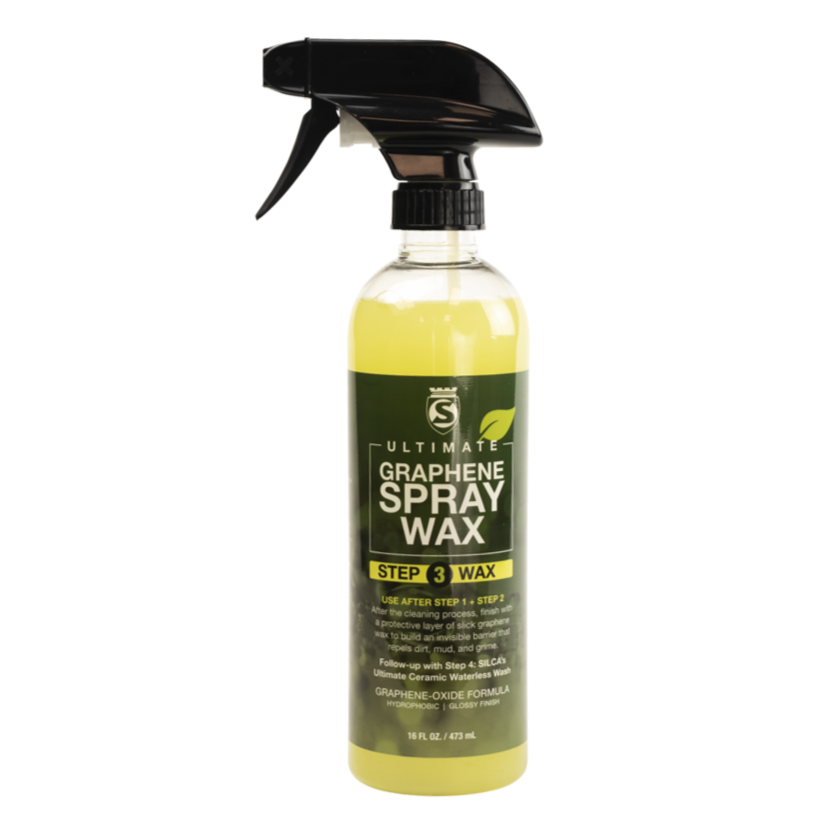
Credit: dismountbikeshop.com
Frequently Asked Questions
What Is The Best Wax Type For Car Protection?
Carnauba wax offers a deep shine and good protection. Synthetic waxes last longer and repel water effectively. Choose based on your climate and desired finish for optimal results.
How Many Wax Layers Should I Apply To My Car?
Two to three layers are ideal for durable protection. Applying multiple thin coats ensures even coverage and enhances shine. Avoid excessive layers to prevent buildup and streaking.
How Often Should I Wax My Car For Protection?
Wax your car every three months for optimal protection. This frequency maintains the protective layer and preserves the paint’s gloss. Environmental factors may require more frequent waxing.
Can I Wax My Car In Direct Sunlight?
Avoid waxing in direct sunlight to prevent streaks. Heat can cause wax to dry too fast, making application difficult. Work in a shaded, cool area for best results.
Conclusion
Building a strong wax layer protects your car from dirt and scratches. Apply wax evenly and let it dry before buffing. Regular waxing keeps your car’s paint shiny and safe. Simple steps make a big difference in car care. Take time to wax your car well.
Your car will look better and last longer. Waxing is a small effort with great results. Keep your car’s surface smooth and protected. A good wax job adds value and beauty. Try these easy steps for a lasting shine.
