Are you ready to give your vehicle a bold, fresh look without spending a fortune? Learning how to do a camo vinyl wrap can transform your ride into something truly unique and eye-catching.
Whether you want to stand out on the road or add a rugged touch to your gear, this guide will walk you through every step. You don’t need to be a pro or have special tools—just follow along, and you’ll see how easy and rewarding it can be.
Keep reading to discover the secrets to a flawless camo vinyl wrap that turns heads wherever you go.
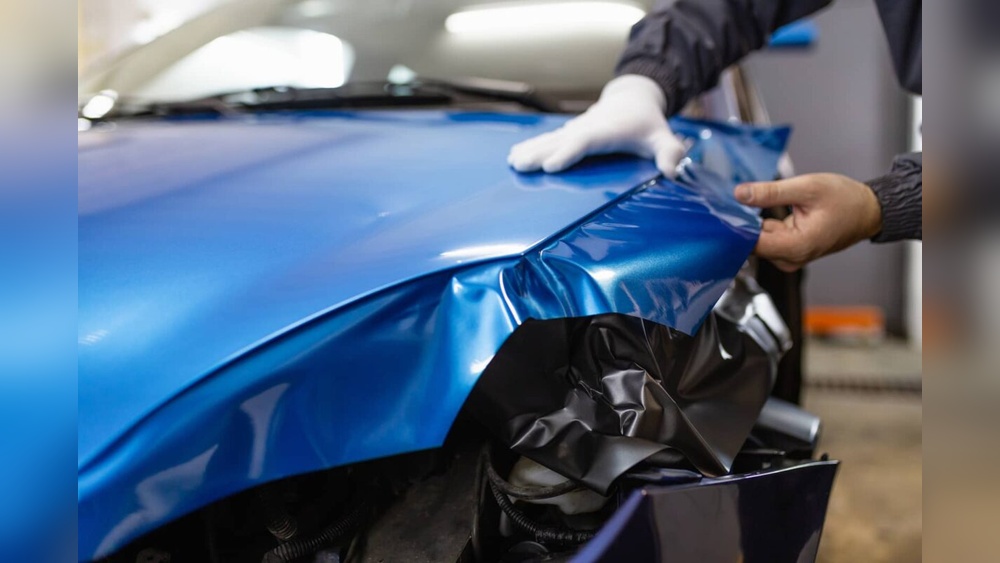
Credit: metrorestyling.com
Choosing The Right Camo Vinyl
Choosing the right camo vinyl is the first step to a successful wrap. The right choice impacts how your project looks and lasts. Picking the perfect pattern and material ensures your wrap fits and performs well.
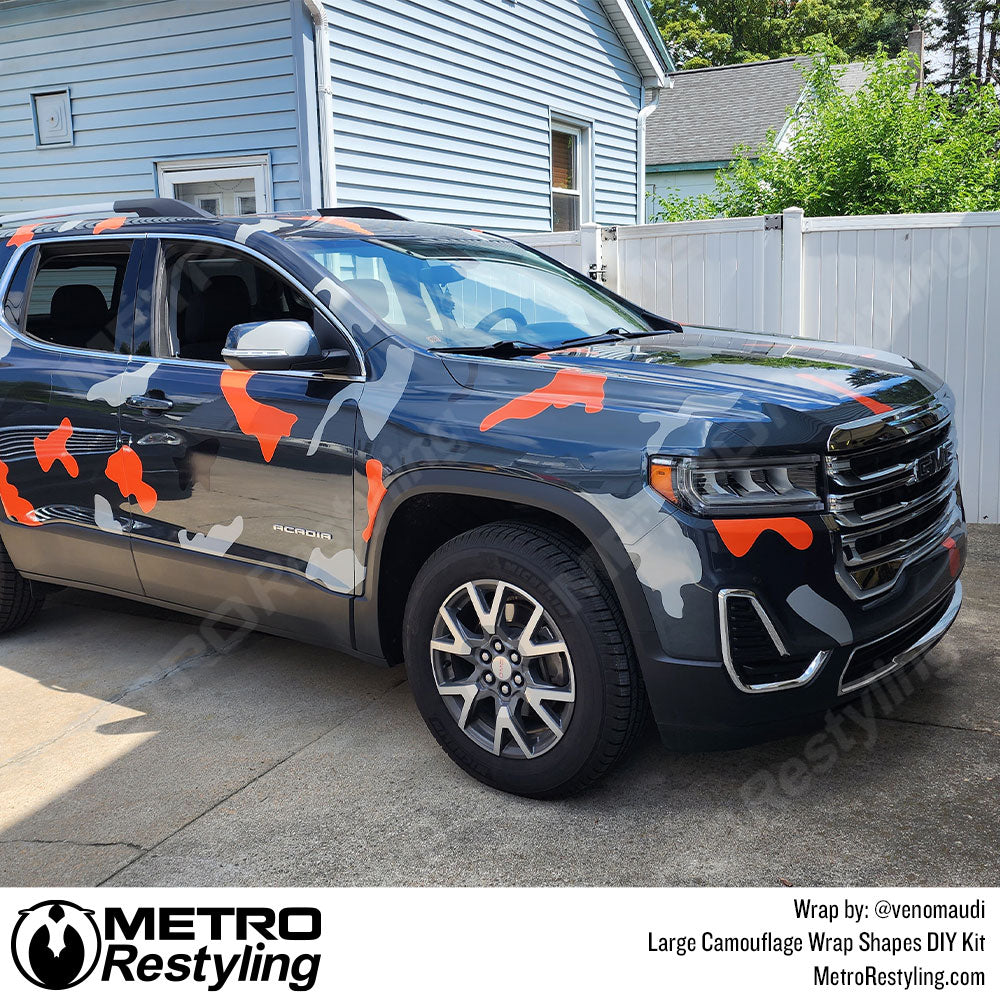
Types Of Camo Patterns
Camo vinyl comes in many patterns. Classic woodland, digital, and desert camo are popular choices. Each pattern suits different environments and styles. Choose a pattern that matches your taste and purpose.
Material Quality And Durability
High-quality vinyl lasts longer and resists damage. Look for vinyl that is thick and flexible. Durable materials handle weather, sun, and washing better. Good quality vinyl keeps its color and texture over time.
Measuring For Accurate Coverage
Measure the surface carefully before buying vinyl. Measure height and width, including curves and edges. Add extra inches to avoid shortages. Accurate measurements save money and prevent mistakes during wrapping.

Credit: www.camowraps.com
Preparing The Surface
Preparing the surface is a key step before applying camo vinyl wrap. It helps the wrap stick well and last longer. A clean and smooth surface prevents bubbles and wrinkles. Taking time here saves effort later.
Cleaning And Drying
Start by washing the surface with soap and water. Remove dirt, dust, and grease. Use a soft cloth or sponge to avoid scratches. Rinse well to get rid of soap residue. Dry the surface completely with a clean towel. Moisture can stop the vinyl from sticking properly.
Removing Old Wraps And Adhesives
Peel off any old vinyl wrap carefully. Use a plastic scraper to avoid damage. Remove leftover adhesive with a gentle adhesive remover. Avoid harsh chemicals that can harm the paint. Clean the area again after removing adhesive. Make sure no sticky residue remains.
Smoothing Out Imperfections
Inspect the surface for dents, bumps, or rough spots. Sand down any rough areas gently with fine sandpaper. Fill dents with body filler if needed. Let the filler dry and sand smooth. A flat surface helps the vinyl lay evenly. Wipe away dust before applying the wrap.
Tools Needed For Wrapping
Wrapping a vehicle with camo vinyl requires specific tools. These tools help you apply the vinyl smoothly. Using the right tools reduces bubbles and wrinkles. It also makes the process faster and cleaner. Below are the essential tools and some optional accessories to improve your results.
Essential Tools List
- Vinyl wrap film in camo pattern
- Heat gun to soften the vinyl
- Squeegee with felt edge to smooth the surface
- Utility knife for precise cutting
- Measuring tape to size the vinyl accurately
- Surface cleaner to remove dirt and oils
- Gloves to avoid fingerprints and dust
Optional Accessories For Better Results
- Magnetic tape to hold vinyl in place
- Plastic applicator cards for curved areas
- Infrared thermometer for checking vinyl temperature
- Lint-free cloths to keep surfaces clean
- Masking tape to mark cutting lines
- Air release tool to remove bubbles easily

Credit: www.camowraps.com
Applying The Vinyl Wrap
Applying the camo vinyl wrap requires patience and care. The process determines the final look and durability. Proper handling ensures the wrap fits perfectly and stays longer. Follow these steps closely for the best results.
Positioning The Vinyl
Place the vinyl on the surface without removing the backing. Align it carefully with the edges and curves. Use magnets or tape to hold it in place. Check the alignment from different angles. Small adjustments now save problems later.
Peeling And Sticking Techniques
Start peeling the backing slowly from one corner. Press the vinyl onto the surface as you go. Use a squeegee to smooth out bubbles and wrinkles. Work from the center outward to push air out. Take your time to avoid creases and folds.
Handling Curves And Edges
Heat the vinyl gently with a heat gun or hairdryer. This makes the wrap flexible and easier to mold. Stretch the vinyl carefully over curves and edges. Use the squeegee to press it down firmly. Cut excess vinyl neatly along edges for a clean finish.
Finishing Touches
Finishing touches are key to a perfect camo vinyl wrap. They make the wrap look neat and last longer. Careful attention now saves problems later. Follow these steps for a clean and smooth finish.
Trimming Excess Material
Use a sharp knife or blade to trim extra vinyl. Cut close to edges but avoid cutting the surface below. Take your time to prevent mistakes. Clean cuts help the wrap fit tightly around corners and edges.
Heating And Setting The Vinyl
Use a heat gun or hairdryer to warm the vinyl. Heat softens the material, making it easier to shape. Gently press the vinyl onto the surface while heating. This helps the wrap stick firmly and hold its shape.
Checking For Bubbles And Wrinkles
Look closely for air bubbles or wrinkles on the vinyl. Use a squeegee to push bubbles out toward the edges. Small wrinkles can be smoothed by reheating and pressing. Fixing these issues now ensures a smooth, clean appearance.
Maintenance Tips
Proper care keeps your camo vinyl wrap looking fresh and lasting longer. Maintenance protects the colors and texture. It stops dirt and damage from building up. Follow these simple tips to keep your wrap in great shape.
Cleaning The Vinyl Wrap
Use a soft cloth and mild soap to clean the wrap. Avoid harsh chemicals that can damage the vinyl. Rinse with clean water and dry with a soft towel. Clean your wrap regularly to remove dirt and grime. Gentle washing preserves the wrap’s finish and appearance.
Avoiding Damage And Fading
Park your vehicle in shaded areas to reduce sun exposure. UV rays cause colors to fade over time. Avoid parking under trees that drop sap or bird droppings. These substances can stain or damage the wrap. Use a cover if you cannot park indoors or in shade.
Repairing Minor Issues
Small scratches or bubbles can appear over time. Use a heat gun or hair dryer on low heat to smooth bubbles. For scratches, use vinyl wrap repair kits available online. Act quickly to fix minor issues before they worsen. Regular checks help catch problems early and keep your wrap flawless.
Frequently Asked Questions
What Materials Are Needed For Camo Vinyl Wrap?
You need camo vinyl wrap film, a squeegee, utility knife, heat gun, and cleaning supplies. Proper tools ensure smooth application and durability.
How Long Does Camo Vinyl Wrap Installation Take?
Installation usually takes 2 to 4 hours, depending on surface size and complexity. Proper prep and careful application speed up the process.
Can I Remove Camo Vinyl Wrap Without Damage?
Yes, vinyl wraps can be removed safely using heat and slow peeling. Avoid harsh tools to protect the paint underneath.
Is Camo Vinyl Wrap Suitable For All Vehicle Types?
Camo vinyl wraps work on most vehicles, including cars, trucks, and ATVs. Surface must be clean, smooth, and free of damage for best results.
Conclusion
Camo vinyl wrap can change your vehicle’s look quickly. Take your time to clean and prepare the surface well. Measure and cut the vinyl carefully for the best fit. Use a squeegee to avoid bubbles and wrinkles. Heat the wrap gently for better adhesion and shape.
Practice makes the process easier and more fun. Enjoy your new camo style and protect your paint. Try different patterns to find what suits you best. This simple project can give your ride a fresh, unique look.