Have you noticed scratches on your vinyl wrap and wondered how to fix them quickly? Scratches can ruin the smooth, stylish look you worked hard to achieve.
But don’t worry—repairing those marks is easier than you think. In this guide, you’ll discover simple, effective ways to restore your vinyl wrap’s flawless finish. Keep reading, and you’ll learn how to bring back that fresh, polished look without spending a fortune or calling a pro.
Your vinyl wrap deserves to look its best, and you’re just a few steps away from making that happen.
Identify Scratch Types
Knowing the type of scratch on your vinyl wrap helps decide how to fix it. Not all scratches are the same. Some are light and easy to handle. Others go deeper and need more care. Identifying the scratch type saves time and effort. It also protects your vinyl wrap from further damage.
Surface Scratches
Surface scratches affect only the top layer of the vinyl. They look like small, light marks. These scratches do not cut through the material. They often happen from brushing against rough objects. You can usually fix them with simple cleaning or polishing. Surface scratches do not weaken the vinyl wrap.
Deep Scratches
Deep scratches go through the vinyl and may reach the base layer. These marks look like cuts or grooves. They can cause the vinyl to peel or crack over time. Fixing deep scratches needs special care and tools. Sometimes, patching or replacing the vinyl section is necessary. Deep scratches require attention to prevent bigger problems.
Gather Necessary Tools
Fixing scratches on vinyl wrap needs the right tools. Having everything ready helps the job go smoothly. It saves time and gives better results. Below are the key tools to prepare before starting the repair.
Cleaning Supplies
Clean the vinyl surface before any repair. Use gentle soap and water to remove dirt and oils. A microfiber cloth works best to avoid new scratches. Dry the area fully to prepare for the next steps.
Repair Kits
Vinyl repair kits include materials to fill and hide scratches. These kits often have adhesive, fillers, and color-matching compounds. Choose one that fits your vinyl wrap color and type. Follow the instructions for the best finish.
Heat Gun Or Hair Dryer
Heat helps vinyl wrap become flexible. Use a heat gun or a hair dryer for this. Warm the scratched area gently to avoid damage. This step helps the vinyl wrap settle and smooth out after repair.
Clean The Vinyl Wrap
Cleaning the vinyl wrap is the first step to fix scratches. Dirt and dust can hide scratches or make them worse. A clean surface helps you see the damage clearly. It also prepares the wrap for any repair products. Use gentle cleaning methods to avoid more harm.
Remove Dirt And Debris
Start by removing all loose dirt and debris. Use a soft cloth or a sponge to wipe the surface. Avoid using rough materials that can cause more scratches. Rinse the area with water to wash away dust. Make sure no particles remain on the wrap before moving on.
Use Mild Detergents
Choose a mild detergent mixed with water for cleaning. Harsh chemicals can damage the vinyl wrap’s finish. Dip a soft cloth into the solution and gently clean the scratched area. Rinse thoroughly with clean water to remove any soap. Dry the wrap with a soft towel to prevent water spots.
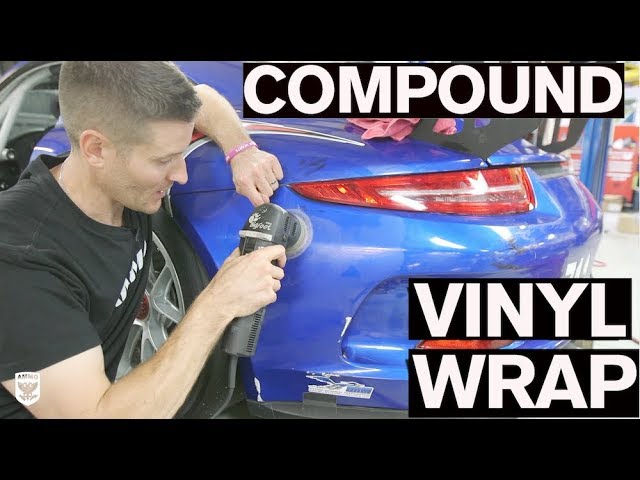
Credit: www.youtube.com
Fix Minor Scratches
Minor scratches on vinyl wrap can be fixed quickly at home. These scratches often appear as light marks or scuffs. Fixing them can improve the look of your wrap without costly replacements. Two simple methods work well for small scratches.
Apply Heat And Smooth Out
Use a heat gun or hair dryer on low heat. Warm the scratched area gently. The heat softens the vinyl, making it easier to fix. After heating, use a soft cloth or your fingers to smooth the scratch. Press down lightly and work from the edges toward the center. This process helps the vinyl return to its original shape. Avoid overheating, as it can damage the wrap.
Use Vinyl Wrap Repair Pens
Vinyl wrap repair pens help cover scratches with matching color. Choose a pen close to your wrap’s shade. Clean the scratched area first with mild soap and water. Let it dry completely. Apply the repair pen carefully over the scratch. Use thin layers for a natural look. Let each layer dry before adding more. These pens fill in scratches and reduce their visibility. They are easy to use and affordable.
Repair Deep Scratches
Deep scratches on vinyl wraps need careful repair to restore their look. These scratches go beyond the surface and can damage the vinyl’s base layer. Fixing them requires precise steps to avoid further damage and to make the wrap look smooth again.
Trim Damaged Area
Start by cleaning the scratched area gently. Use a sharp blade to cut away loose or torn vinyl carefully. Trim only the damaged parts without cutting the good vinyl around it. This step prepares the surface for a clean repair.
Apply Adhesive And Patch
Choose a vinyl adhesive suitable for your wrap. Apply it evenly under the trimmed area. Cut a patch from matching vinyl that covers the trimmed spot fully. Press the patch firmly onto the adhesive. Smooth out air bubbles or wrinkles carefully.
Blend The Repair
Use a heat gun on low to soften the vinyl around the patch. Gently press the edges to blend the patch with the original wrap. Avoid overheating to prevent damage. Finish by wiping the area with a soft cloth for a clean look.
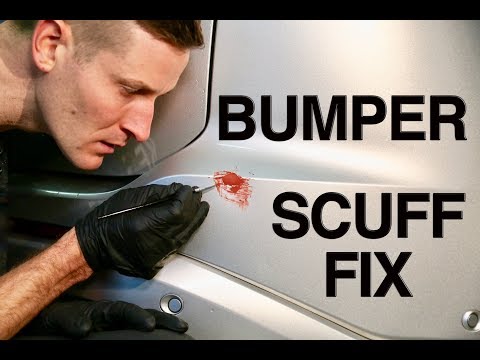
Credit: www.colorxlabs.com
Prevent Future Scratches
Preventing scratches on your vinyl wrap keeps it looking new longer. Small actions help protect the surface from damage. A good routine avoids the need for repairs later. Follow these tips for lasting protection.
Regular Cleaning Tips
Clean your vinyl wrap often to stop dirt buildup. Use a soft cloth or sponge with mild soap. Avoid harsh chemicals that can weaken the wrap. Rinse with clean water and dry with a microfiber towel. Dirt and grit can cause tiny scratches if left on the surface.
Wash in gentle, straight lines instead of circles. This method reduces swirl marks and keeps the wrap smooth. Cleaning regularly removes harmful particles that scratch during contact.
Protective Coatings
Apply a protective coating to add a shield on your vinyl wrap. Products like sealants or wax help resist scratches and UV damage. Choose coatings made for vinyl surfaces only. Follow instructions carefully to avoid damage.
Protective coatings make dirt easier to clean. They also keep colors bright and shiny. Reapply coatings every few months for the best results. This simple step extends the life of your vinyl wrap.

Credit: www.acmegraphic.com
Frequently Asked Questions
How Can I Repair Minor Vinyl Wrap Scratches?
To fix minor scratches, clean the area first. Use a heat gun to warm the vinyl slightly. Gently rub the scratch with a microfiber cloth or a vinyl wrap repair kit. This helps blend the scratch and restore the surface smoothly.
What Tools Are Needed For Vinyl Wrap Scratch Repair?
You need a heat gun or hairdryer, a microfiber cloth, and a vinyl wrap repair kit. Cleaning supplies like isopropyl alcohol help prepare the surface. These tools allow precise repair and help maintain the vinyl wrap’s appearance.
Can Deep Scratches On Vinyl Wrap Be Fully Fixed?
Deep scratches may not fully disappear, but they can be minimized. Use a vinyl wrap filler or patch to cover damage. For severe scratches, professional repair or wrap replacement might be necessary to restore the finish.
Is It Safe To Use Heat On Vinyl Wrap Scratches?
Yes, using moderate heat softens the vinyl, making scratches easier to fix. Avoid overheating, which can damage the wrap. Always keep the heat source moving and test on a small area first for safety.
Conclusion
Fixing vinyl wrap scratches can save your wrap’s look and life. Small scratches often need only simple cleaning and gentle rubbing. Deeper scratches might require special products or touch-up methods. Act quickly to prevent damage from worsening. Regular care keeps your wrap smooth and bright.
Follow the right steps to keep your vehicle looking great. Vinyl wrap repair is easier than you think. Keep patience and work carefully for the best results. Your wrap will stay fresh and protect your vehicle longer.


