Getting your brake rotor off might seem tricky, but it doesn’t have to be. If you want to save money and handle your car repairs yourself, knowing the right steps is key.
You might feel stuck when the rotor won’t budge, or worry about damaging parts. This guide will show you simple, clear methods to remove your brake rotor safely and quickly. Keep reading, and you’ll gain the confidence to tackle this task like a pro.

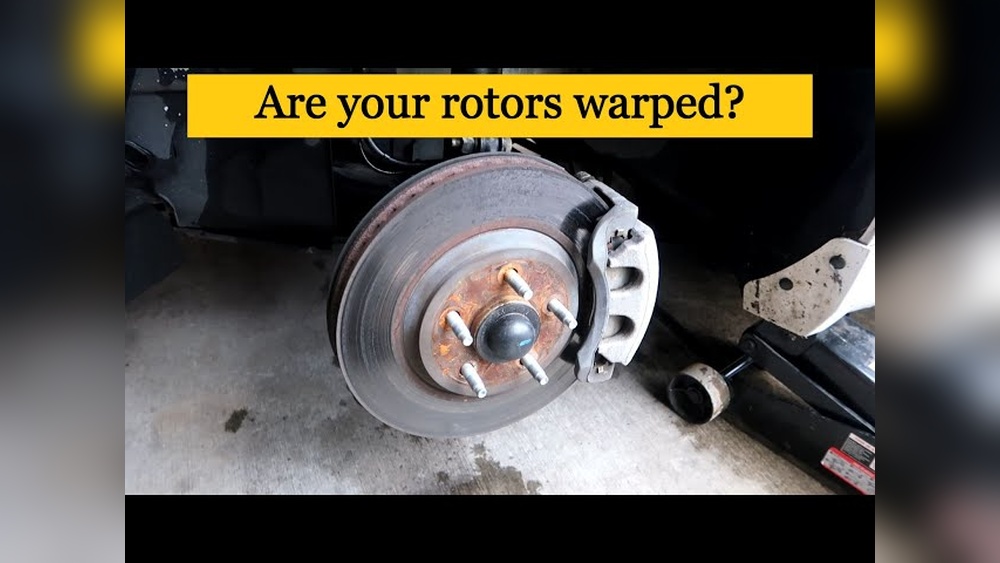
Credit: www.reddit.com
Tools You Need
Removing a brake rotor requires the right tools. Having the proper tools makes the job easier and safer. You will need both basic and specialized tools. Each has a specific role in the removal process.
Basic Tools
Start with these simple tools. A lug wrench helps remove the wheel nuts. A jack and jack stands lift and support the vehicle safely. A socket set with ratchet removes bolts holding the rotor. A hammer can tap the rotor gently to loosen it. A screwdriver or pry bar helps to remove clips or dust shields. These tools are common and easy to find.
Specialized Tools
Some tasks need special tools. A brake caliper tool or C-clamp compresses the brake caliper piston. A rotor puller assists in removing stuck rotors without damage. An impact wrench speeds up bolt removal, especially if bolts are tight. Anti-seize lubricant prevents bolts from sticking in the future. These tools help handle tough parts and make work smoother.
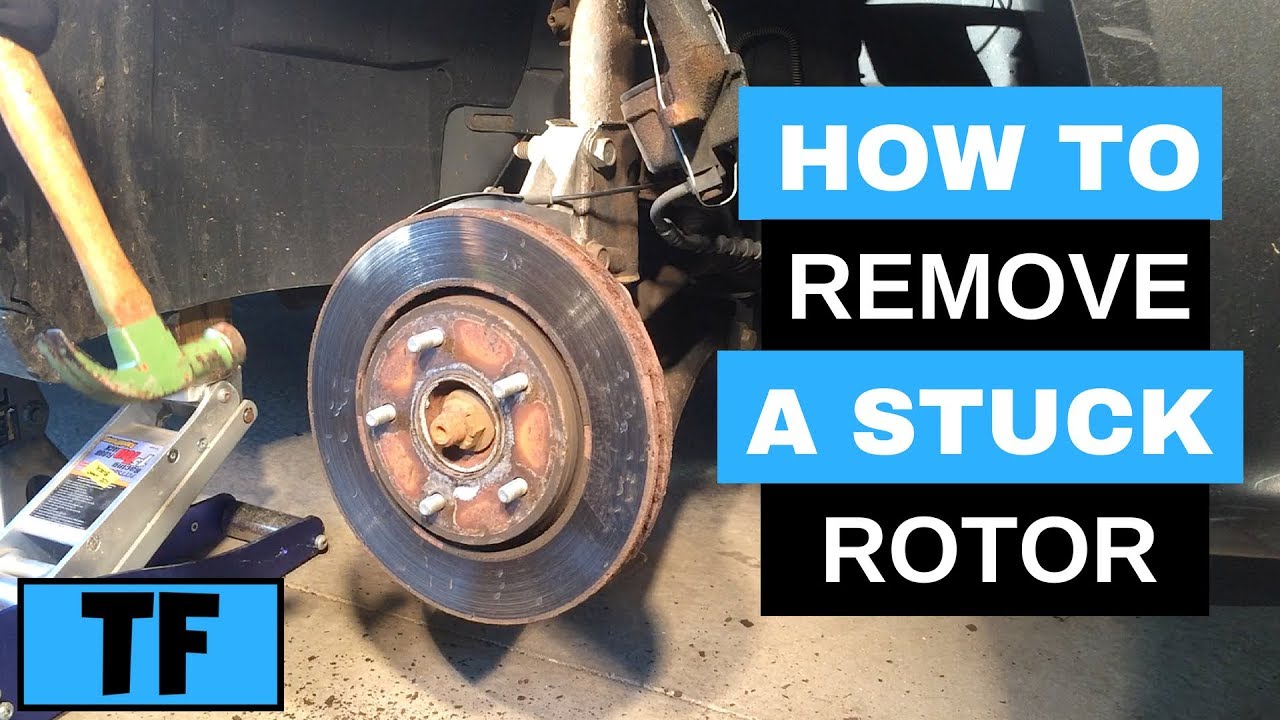
Credit: www.youtube.com
Prepare The Vehicle
Preparing the vehicle is the first step to removing a brake rotor safely and effectively. This stage ensures the car is stable and ready for work. Taking time here helps prevent accidents and damage.
Follow each step carefully to secure the vehicle before moving on to the rotor removal process.
Safety Precautions
Wear gloves and safety glasses to protect your hands and eyes. Avoid loose clothing that can get caught. Work on a flat surface to keep the car steady. Always use wheel chocks on the opposite wheels to stop movement.
Lifting The Car
Locate the jack points under the vehicle. Use a proper jack to lift the car slowly. Raise it high enough to remove the wheel easily. Place jack stands under the car for extra support. Never rely on the jack alone to hold the car up.
Removing The Wheel
Loosen the lug nuts before lifting the car if possible. After lifting, remove the lug nuts completely. Pull the wheel off by holding it firmly. Set the wheel aside safely to avoid damage or dirt. This step reveals the brake components for further work.
Remove The Brake Caliper
Removing the brake caliper is the key step before taking off the brake rotor. The caliper holds the brake pads and grips the rotor to stop the car. Taking it off carefully helps avoid damage and makes the rotor easier to remove.
Follow these simple steps to remove the caliper safely and correctly.
Locating Caliper Bolts
First, find the caliper bolts. These bolts hold the caliper to the wheel hub. Look behind the caliper for one or two bolts. They are usually large and easy to spot. Use a flashlight if needed to see clearly.
Detaching The Caliper
Use a wrench or socket to loosen and remove the bolts. Turn them counterclockwise until they come off. Gently pull the caliper away from the rotor. Avoid forcing it to prevent breaking parts. If the caliper is stuck, tap lightly with a rubber mallet.
Securing The Caliper
Do not let the caliper hang by the brake hose. This can damage the hose and cause leaks. Use a hook or a strong wire to hang the caliper on the suspension. Keep it secure and out of the way while you remove the rotor.
Free The Rotor
Freeing the rotor is a key step in brake maintenance. The rotor may stick to the hub due to dirt, rust, or screws. You need to loosen it carefully to avoid damage. Start by checking for any parts holding the rotor in place.
Checking For Retaining Screws
Retaining screws hold the rotor firmly to the wheel hub. They are small but important. Look closely around the rotor center. These screws keep the rotor from spinning freely. Identifying them early saves time and effort.
Removing Retaining Screws
Use the right screwdriver for the screws. Turn them counterclockwise to loosen. They may be tight, so apply steady pressure. Avoid stripping the screw heads. Once removed, the rotor will be easier to move.
Handling Rust And Corrosion
Rust often causes the rotor to stick to the hub. Spray a rust remover or penetrating oil on the stuck areas. Let it sit for a few minutes. Tap gently around the rotor with a rubber mallet. This helps break the rust bond. Be patient and repeat if needed.
Remove The Rotor
Removing the brake rotor is a key step in brake repair. Rotors can stick to the hub from rust or dirt. This section covers how to remove the rotor safely and easily. Follow these tips to avoid damage and make the job smoother.
Techniques To Loosen Stuck Rotors
Start by spraying rust remover or penetrating oil on the rotor hub. Let it sit for a few minutes to break rust bonds. Tap the rotor edges gently with a rubber mallet to loosen it. If the rotor still won’t budge, try turning it back and forth. Use a pry bar carefully to lift the rotor slightly. Avoid forcing it too hard to prevent damage.
Using A Hammer Safely
Choose a rubber or dead blow hammer to avoid damaging the rotor. Hit the rotor edges, not the flat surface. Strike with short, controlled taps to break rust. Do not use a metal hammer directly on the rotor surface. Wear safety goggles to protect your eyes from flying debris. Stop if the rotor moves freely.
Avoiding Damage
Never pry the rotor with sharp tools that can scratch it. Avoid hitting the rotor center or braking surface. Check for screws or clips holding the rotor in place. Clean the hub surface before installing a new rotor. Use anti-seize compound on the hub to prevent future sticking. Handle the rotor carefully to keep it straight and balanced.
Clean And Inspect
Cleaning and inspecting the brake rotor and hub is an essential step before removing the rotor. Dirt, rust, or damage can make the rotor hard to remove. A clean and smooth surface helps the rotor come off easily and ensures safe brake function.
Cleaning The Hub
Start by removing dirt and rust from the hub. Use a wire brush or sandpaper to clean the surface. Wipe away dust and loose debris with a cloth. A clean hub allows the rotor to slide off smoothly. It also helps avoid uneven wear on new rotors.
Inspecting For Damage
Check the hub and rotor for cracks or deep rust. Look for any bends or warping on the rotor surface. Damage can cause brake noise or poor performance. Small rust spots can be cleaned, but large damage needs part replacement. Inspect the hub for worn or broken studs too. Fix any issues before installing a new rotor.
Tips For Faster Removal
Removing a brake rotor can be tough and slow without the right tricks. These tips help you speed up the process safely. Use tools and methods that save time and effort. Learn how to loosen stuck parts and keep your brakes in good shape.
Applying Penetrating Oil
Spray penetrating oil on the rotor bolts and hub area. Let it sit for 10 to 15 minutes. The oil seeps into tight spaces and breaks rust bonds. This makes bolts and rotors easier to remove. Use a brush or cloth to apply the oil evenly.
Using Heat
Heat helps expand metal parts and loosen rust. Use a heat gun or propane torch carefully on the rotor hub. Heat the area evenly for a few minutes. Avoid overheating to prevent damage. After heating, try removing the rotor while it is still warm.
Regular Maintenance
Keep rotors and bolts clean and free of rust. Check brakes often and clean off dirt and corrosion. Regularly apply anti-seize lubricant to bolts. This prevents rust buildup and makes removal faster. Maintaining your brakes saves time during repairs.

Credit: www.reddit.com
Frequently Asked Questions
How Do You Remove A Stuck Brake Rotor?
To remove a stuck brake rotor, first remove the caliper and bracket. Then, tap the rotor gently with a hammer to loosen rust and debris. If still stuck, use penetrating oil and let it sit before trying again.
What Tools Are Needed To Take Off A Brake Rotor?
You need a socket set, a rubber mallet or hammer, penetrating oil, and possibly a screwdriver or impact driver. Safety gloves and eye protection are also recommended during the process.
Can Brake Rotors Be Removed Without Removing The Wheel?
No, removing the wheel is necessary to access the brake caliper and rotor. It ensures safe and proper removal of the rotor without damaging other components.
How To Prevent Brake Rotors From Sticking In Future?
Apply anti-seize lubricant on the rotor hub before installation. Regularly clean and inspect brake components to prevent rust buildup and sticking of the rotor.
Conclusion
Removing a brake rotor can seem tricky at first. Take your time and follow each step carefully. Use the right tools to avoid damage. Keep safety in mind throughout the process. Practice makes the task easier over time. Soon, you will feel more confident working on your brakes.
Remember, patience and care lead to good results. This simple guide helps you handle brake rotors safely and correctly.