Are your brakes feeling less responsive or making strange noises? It might be time to replace your front brake rotors.
Installing new rotors can seem tricky, but with the right steps, you can do it yourself and save money. In this guide, you’ll learn exactly how to install front brake rotors safely and efficiently. By the end, you’ll have the confidence to tackle this important car maintenance task on your own.
Ready to get started? Let’s dive in!
Tools And Materials Needed
Installing front brake rotors needs the right tools and materials. Having everything ready makes the job easier and safer.
Using proper tools helps avoid damage to your vehicle parts. It also speeds up the installation process. Below are the key items you need for this task.
Basic Hand Tools
Start with a good set of wrenches and sockets. These help remove the wheel and brake caliper bolts. A ratchet wrench and breaker bar are useful for tight bolts. A flathead screwdriver can help pry off clips or dust shields.
Brake Cleaner And Lubricants
Brake cleaner removes dirt and grease from rotors and calipers. Use it to clean new rotors before installation. Anti-seize lubricant prevents bolts from sticking or rusting. Apply it lightly to bolt threads.
Safety Equipment
Wear safety glasses to protect your eyes from dust and debris. Use gloves to keep your hands clean and safe. A sturdy jack and jack stands keep your vehicle secure while working.
Replacement Parts
Have the new brake rotors ready before starting. Check that they fit your car model. Consider replacing brake pads at the same time for best results.

Credit: www.youtube.com
Preparing Your Vehicle
Preparing your vehicle is the first step to install front brake rotors safely. This stage ensures you have a stable and secure working environment. Taking time here prevents accidents and makes the job easier.
Park And Secure The Car
Park your car on a flat, hard surface. Avoid slopes or soft ground to keep the car stable. Engage the parking brake fully. Place wheel chocks behind the rear wheels to stop any movement. Turn off the engine and remove the key. This stops the car from starting accidentally.
Remove The Wheel
Loosen the lug nuts slightly before lifting the car. Use a jack to raise the front side of the car. Support it with jack stands for safety. Never work under a car held only by a jack. Remove the lug nuts completely. Take off the wheel and set it aside. This exposes the brake components for easy access.
Removing The Old Brake Rotors
Removing the old brake rotors is the first step in installing new ones. This process needs care and the right tools. Each part must be removed carefully to avoid damage. Follow these steps to take off the worn rotors safely.
Detach The Brake Caliper
Start by loosening the bolts holding the brake caliper. Use a wrench or socket to remove these bolts. Gently lift the caliper away from the rotor. Support the caliper with a hook or wire. Do not let it hang by the brake hose. This prevents damage to the hose and brake system.
Remove The Caliper Bracket
Next, remove the bolts that hold the caliper bracket. These bolts are usually larger than the caliper bolts. Use the right size socket for this step. Once loose, carefully take off the bracket. Keep the bolts safe for reinstallation later.
Take Out The Old Rotor
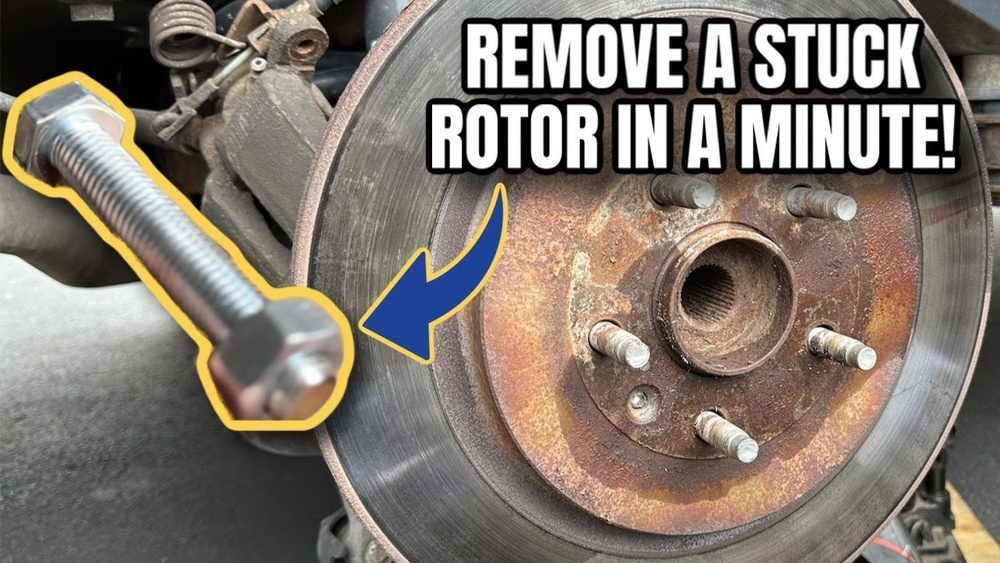
The old rotor may stick to the wheel hub due to rust. Tap the rotor gently with a rubber mallet to loosen it. Pull the rotor straight off the hub. Clean the hub surface to remove rust and dirt. This helps the new rotor fit correctly and work well.
Installing The New Brake Rotors
Installing new brake rotors is a key step in brake maintenance. It ensures smooth braking and vehicle safety. Follow these steps carefully to fit the new rotors correctly. Proper installation helps the brakes work efficiently and last longer.
Clean The Rotor Surface
Start by cleaning the rotor surface. Use brake cleaner spray to remove oil and dirt. Wipe the rotor with a clean cloth. This step prevents brake noise and uneven wear. Make sure the rotor is dry before moving on.
Position The New Rotor
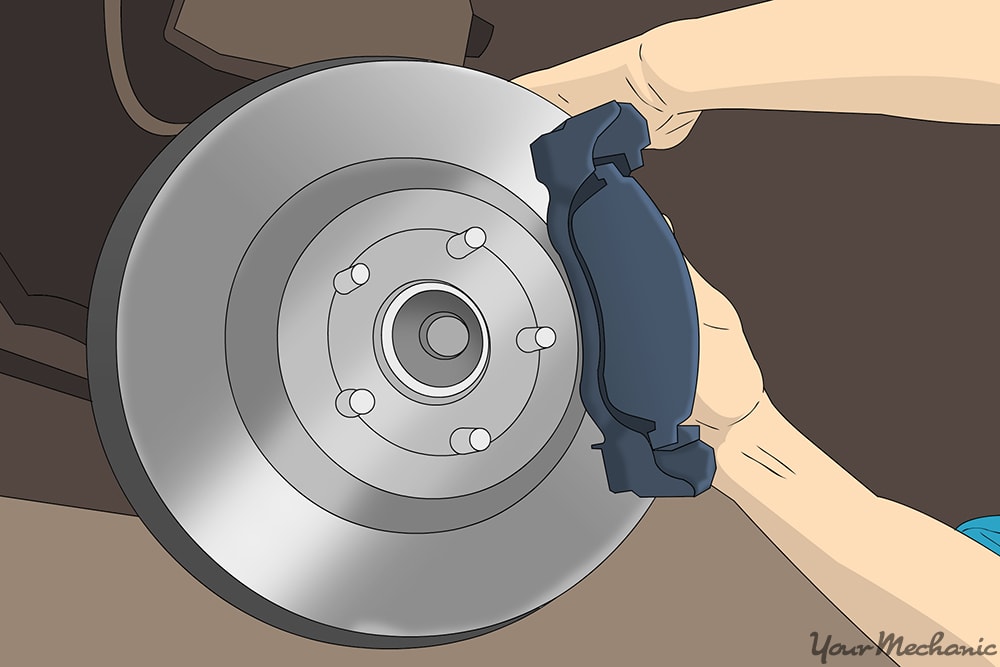
Place the new rotor onto the wheel hub. Align it with the wheel studs. Press the rotor firmly against the hub. Check that it sits flat and does not wobble. This positioning is important for safe braking.
Reattach The Caliper Bracket
Next, reattach the caliper bracket over the new rotor. Use the bolts you removed earlier. Tighten the bolts to the correct torque setting. This keeps the bracket secure and stable. Loose bolts can cause brake problems.
Reinstall The Brake Caliper
Finally, reinstall the brake caliper onto the bracket. Slide it carefully over the rotor and pads. Secure it with the caliper bolts. Tighten these bolts firmly but do not overtighten. Check that the caliper moves smoothly.
Final Checks And Testing
After installing the front brake rotors, final checks and testing are crucial. These steps ensure your brakes work safely and properly. Skipping these checks can cause brake failure or damage.
Replace The Wheel
Put the wheel back on the hub carefully. Align the holes with the wheel studs. Screw the lug nuts by hand to avoid cross-threading. Tighten the nuts in a star pattern to keep the wheel balanced.
Lower The Vehicle
Use a jack to slowly lower the vehicle until the wheel touches the ground. Remove the jack once the car is stable. This step lets the wheel rest on the ground, making final tightening easier and safer.
Test Brake Functionality
Press the brake pedal several times to build pressure. The pedal should feel firm, not soft or spongy. Start the car and drive slowly in a safe area. Check for proper stopping power and listen for unusual sounds.
Credit: www.yourmechanic.com
Tips For Maintaining Brake Rotors
Maintaining brake rotors is key for safe driving and long-lasting brakes. Proper care helps prevent damage and keeps your vehicle stopping smoothly. Simple steps can protect your rotors from wear and tear.
Clean Rotors Regularly
Dirt and grime build up on rotors over time. Use a brake cleaner spray to remove dust and debris. Clean rotors improve brake performance and reduce noise.
Check For Rotor Wear
Inspect rotors for grooves, cracks, or uneven surfaces. Use a micrometer to measure rotor thickness. Replace rotors if they are too thin or damaged.
Avoid Hard Braking
Sudden stops create heat that can warp rotors. Brake gently and give your brakes time to cool. Smooth braking extends rotor life and keeps driving safe.
Use Quality Brake Pads
Cheap brake pads can damage rotors quickly. Choose high-quality pads that match your vehicle. Good pads reduce rotor wear and improve braking power.
Keep Wheel Bearings Lubricated
Proper lubrication helps rotors spin freely. Check wheel bearings and add grease if needed. Well-lubricated bearings prevent extra pressure on rotors.
Credit: www.towerelectricbikes.com
Frequently Asked Questions
How Do I Know When To Replace Front Brake Rotors?
You should replace rotors if they are warped, cracked, or below the minimum thickness. Also, check for uneven wear or deep grooves.
What Tools Are Needed To Install Front Brake Rotors?
You need a jack, lug wrench, socket set, C-clamp, brake cleaner, and torque wrench to safely install front brake rotors.
Can I Install Front Brake Rotors Without Professional Help?
Yes, with proper tools and instructions, you can install rotors safely at home. Follow safety guidelines carefully.
How Long Does It Take To Install Front Brake Rotors?
Installing front brake rotors typically takes 1 to 2 hours depending on your experience and vehicle model.
Conclusion
Installing front brake rotors improves your vehicle’s safety and performance. Follow each step carefully to avoid mistakes. Take your time and use the right tools for the job. Check your work before driving to ensure everything fits well. Regular maintenance keeps brakes working smoothly and lasts longer.
Stay safe on the road by keeping your brakes in good shape. Simple actions can prevent costly repairs later. Trust your skills, and don’t rush the process. Your brakes will thank you with better stopping power and control.