If you want your motorcycle to run smoothly and avoid costly repairs, installing a clean fuel filter is key. But how do you do it right?
This guide will show you exactly how to install a fuel filter on your motorcycle, step by step. You’ll learn simple tips that save time and prevent common mistakes. By the end, you’ll feel confident keeping your bike’s engine healthy and powerful.
Keep reading to discover the easy way to protect your ride and boost its performance.
Tools And Materials Needed
Before starting to install a fuel filter on your motorcycle, gather all necessary tools and materials. Having the right items makes the job easier and safer. This section lists everything needed for a smooth installation process.
Basic Hand Tools
Prepare screwdrivers, both flathead and Phillips. A set of wrenches or spanners is essential. Pliers help to remove and hold small parts. These tools handle screws, bolts, and clamps.
New Fuel Filter
Choose a fuel filter that fits your motorcycle model. Check the size and type carefully. A new filter ensures clean fuel flow and engine protection.
Replacement Fuel Hose
A new fuel hose may be needed if the old one is worn out. It prevents leaks and keeps fuel flowing properly. Measure the hose length before buying.
Fuel Container
Use a container to catch fuel drained from the old filter. This prevents spills and keeps your workspace clean. A small plastic container works well.
Safety Gear
Wear gloves to protect your hands from fuel and dirt. Safety glasses shield your eyes from splashes. These items keep you safe during the job.
Rags And Cleaning Supplies
Keep rags handy to wipe spills and clean parts. A mild cleaner removes dirt around the fuel filter area. Clean surroundings help avoid contamination.
Locate The Fuel Filter
Finding the fuel filter on your motorcycle is the first step to replacing it. The fuel filter cleans dirt and debris from the fuel. This helps the engine run smoothly and last longer.
The fuel filter is usually small and easy to miss. Knowing where to look saves time and effort. This section guides you through locating the fuel filter on most motorcycles.
Check Near The Fuel Tank
The fuel filter often sits close to the fuel tank. Look around the tank’s bottom or sides. It may be inside a small metal or plastic housing.
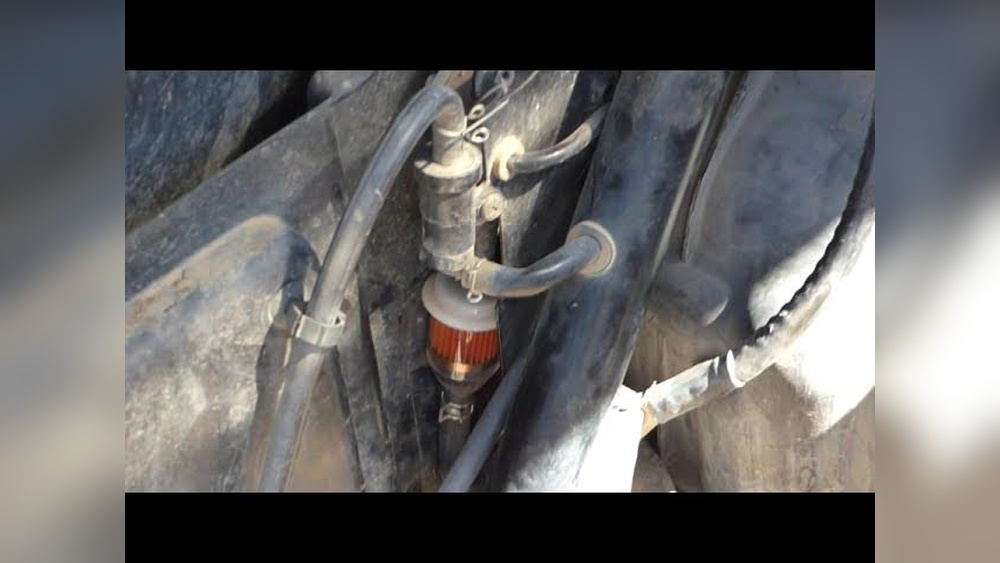
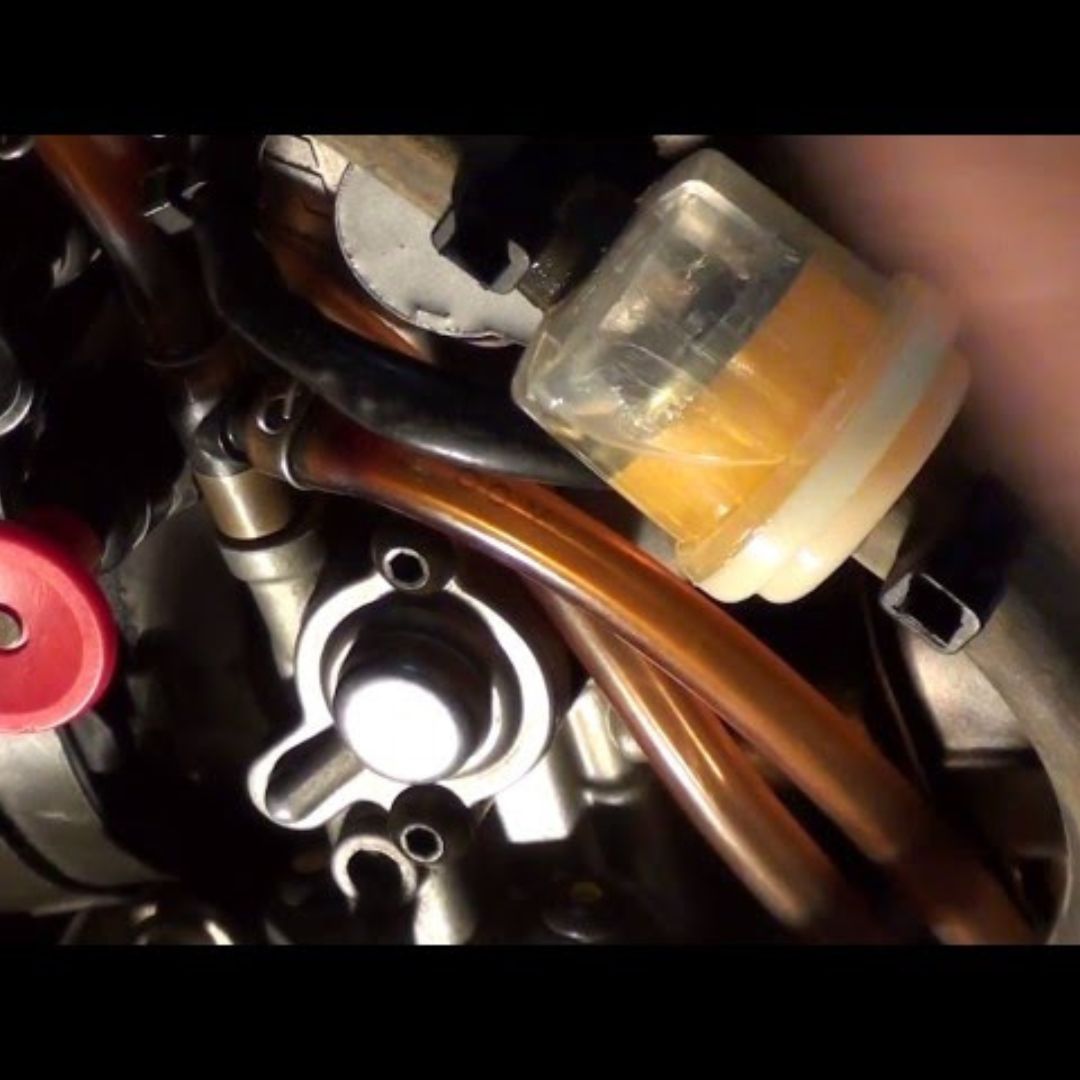
Follow The Fuel Line
Trace the fuel line from the tank to the engine. The filter is usually along this line. It looks like a small cylinder or clear plastic piece.
Consult The Owner’s Manual
The manual shows the exact location of the fuel filter. It has diagrams and part names. Use it to avoid confusion and save time.
Inspect Under The Seat
Some motorcycles hide the fuel filter under the seat. Remove the seat carefully and check for a small filter. It may be attached to the frame or fuel line.
Prepare The Motorcycle
Preparing your motorcycle is the first step to install a new fuel filter safely. This process helps avoid spills and accidents. It also makes the replacement easier and cleaner.
Follow these simple steps to get your bike ready before starting the installation.
Turn Off Engine And Fuel Supply
Make sure the engine is completely off. Never work on the fuel system with the engine running. Locate the fuel valve or petcock on your bike. Turn it to the “off” position. This stops fuel from flowing to the engine. It prevents leaks and keeps you safe during the filter change.
Drain Fuel If Necessary
Check if there is fuel in the line or filter area. If yes, drain it carefully into a container. Use a clean, approved fuel container to avoid contamination. This step avoids spills and makes removing the old filter easier. Always work in a well-ventilated place to avoid fumes. Wear gloves to protect your hands from fuel.

Credit: www.reddit.com
Remove The Old Fuel Filter
Removing the old fuel filter is a key step in maintaining your motorcycle. It helps keep the fuel system clean and your engine running smoothly. Take your time and follow each step carefully to avoid fuel spills or damage.
Loosen Fuel Lines
Start by locating the fuel lines connected to the filter. Use pliers or a screwdriver to loosen the clamps holding the lines. Gently twist and pull the lines off the filter. Be ready with a cloth to catch any fuel that might leak out.
Take Out The Filter
Once the fuel lines are loose, remove the filter from its holder. Check the filter for dirt or damage to confirm it needs replacement. Dispose of the old filter properly to avoid environmental harm. Clean the filter area before installing the new one.
Install The New Fuel Filter
Testing the installation of your motorcycle’s fuel filter is important. It ensures the filter works correctly and there are no problems. This step helps keep your engine running smoothly and safely.
Turn On Fuel Supply
Start by turning on the fuel supply valve. This lets gas flow through the new filter. Watch closely for any signs of fuel blocking or slow flow. A smooth flow means the filter is installed well.
Start The Engine
Next, start the motorcycle engine. Listen for any odd sounds or rough running. The engine should start easily and run steady. This shows the fuel filter is working as it should.
Check For Leaks
Look carefully around the fuel filter for leaks. Fuel leaks can be dangerous and waste gas. Tighten connections if you see any drops of fuel. No leaks mean your installation is secure and safe.
Credit: riiroo.com
Test The Installation
Maintaining your motorcycle’s fuel filter is key to smooth riding. A clean fuel filter helps the engine run well. It stops dirt and debris from entering the fuel system. Regular checks and timely replacements keep your bike in good shape. Here are some important tips to help you maintain the fuel filter properly.
When To Replace The Fuel Filter
Change the fuel filter every 12,000 to 15,000 miles. Check your motorcycle’s manual for exact intervals. Replace it sooner if you ride in dusty or dirty areas. Old filters reduce fuel flow and hurt engine performance. Do not wait for problems to appear. Regular replacement saves money and prevents breakdowns.
Signs Of A Clogged Fuel Filter
Notice your bike is slow to start or stalls often? These may be signs of a clogged fuel filter. Rough idling and poor acceleration also signal a blocked filter. Fuel smells stronger than usual near the engine. Watch for engine misfires or uneven power delivery. Catching these signs early prevents bigger engine issues.

Credit: www.youtube.com
Frequently Asked Questions
What Tools Are Needed To Install A Motorcycle Fuel Filter?
You need basic tools like screwdrivers, pliers, and a wrench. A new fuel filter and safety gloves are also essential. These tools help remove the old filter and secure the new one safely and effectively.
How Often Should I Replace My Motorcycle Fuel Filter?
Replace the fuel filter every 12,000 to 15,000 miles or once a year. Frequent replacement ensures clean fuel flow and prevents engine issues. Check your owner’s manual for specific intervals.
Can I Install A Fuel Filter Myself On My Motorcycle?
Yes, installing a fuel filter is a simple DIY task. Follow safety precautions, disconnect the fuel line, remove the old filter, and install the new one. Always ensure proper fitment to avoid leaks.
What Are Signs My Motorcycle Fuel Filter Needs Replacement?
Signs include engine misfires, poor acceleration, and difficulty starting. A clogged filter restricts fuel flow and reduces performance. Regular inspection helps catch these issues early.
Conclusion
Installing a fuel filter on your motorcycle keeps the engine clean and running well. Regular checks help avoid fuel problems and save money. Follow steps carefully to fit the filter right. Keep tools and parts ready before starting. Clean fuel means better bike performance and longer engine life.
Take your time and stay safe during the process. Your motorcycle will thank you with smoother rides and fewer breakdowns. Simple care makes a big difference.