
Are you ready to give your car a fresh, eye-catching look without spending a fortune? Installing a vinyl wrap on your car hood is a smart and affordable way to transform your vehicle’s appearance.
But if you’ve never done it before, the process might seem tricky. Don’t worry—you’re about to discover simple, step-by-step instructions that make wrapping your hood easier than you think. Keep reading, and by the end, you’ll have the confidence to tackle this project yourself and turn heads wherever you go.
Preparing The Car Hood
Preparing the car hood is the first step in installing a vinyl wrap. A clean, smooth surface helps the vinyl stick well. It also prevents bubbles and wrinkles. Proper preparation saves time and ensures a better finish.
Cleaning The Surface
Start by washing the hood with soap and water. Remove dirt, dust, and grease. Use a microfiber cloth for best results. Avoid harsh chemicals that can damage the paint. Clean surfaces help the vinyl wrap stick stronger.
Removing Old Wrap Or Paint Debris
Check for any old vinyl or paint chips on the hood. Peel off any loose wrap carefully. Use a plastic scraper to remove stuck pieces. Sand small rough spots lightly to smooth them out. A smooth surface is key to a neat wrap.
Drying And Inspection
Dry the hood completely with a clean towel. Water or moisture can cause bubbles under the wrap. Inspect the surface for scratches or dents. Fix any damage before wrapping. A perfect surface means a perfect wrap.
Gathering Required Tools
Preparing to install a vinyl wrap on your car hood starts with gathering the right tools. Having the correct materials ensures a smooth and clean application. Each tool plays a role in making the wrap stick well and look professional.
Organizing your tools before starting saves time and avoids mistakes. You can work with confidence and get better results.
Vinyl Wrap Material
Choose a high-quality vinyl wrap designed for cars. It should be flexible and durable. Pick a size that covers your hood with extra margin. This extra helps during trimming and aligning. Matte, gloss, or satin finishes offer different looks. Match the wrap to your style and car color.
Squeegee And Heat Gun
A soft squeegee removes bubbles and smooths the wrap. It prevents scratches on the vinyl surface. Use a heat gun to warm the vinyl gently. Heat makes the wrap more flexible and easier to stretch. Controlled heating helps the vinyl fit curves and edges perfectly.
Cutting Tools And Gloves
Sharp cutting tools like a utility knife or precision blade trim excess vinyl. Clean, precise cuts improve the final look. Wear gloves to protect your hands and avoid fingerprints on the vinyl. Gloves also help grip the wrap better during installation. Handle tools carefully to avoid damage to your car’s paint.
Measuring And Cutting The Vinyl
Measuring and cutting vinyl for a car hood requires care and precision. This step sets the foundation for a smooth and flawless wrap. Accurate measurements prevent waste and ensure the vinyl fits perfectly. Cutting the vinyl with precision helps avoid wrinkles and bubbles later. Adding extra material around edges allows for easier handling and better adhesion.
Taking Accurate Measurements
Start by cleaning the car hood surface thoroughly. Use a measuring tape to find the width and length of the hood. Measure from edge to edge, following the shape of the hood. Write down the numbers clearly. Double-check the measurements to avoid mistakes. Consider any curves or contours that need extra vinyl.
Cutting The Vinyl With Precision
Lay the vinyl flat on a clean surface. Use a sharp utility knife or scissors for cutting. Cut slowly and steadily along the marked lines. Avoid rushing to keep edges straight and smooth. Use a ruler or straight edge as a guide. Keep your hands steady for clean cuts.
Allowing Extra Material For Edges
Leave about 2 to 3 inches of extra vinyl around all sides. This extra material helps wrap around the hood edges easily. It also gives room for adjustments during installation. Avoid cutting too close to the edge. Extra vinyl prevents gaps and peeling later on.
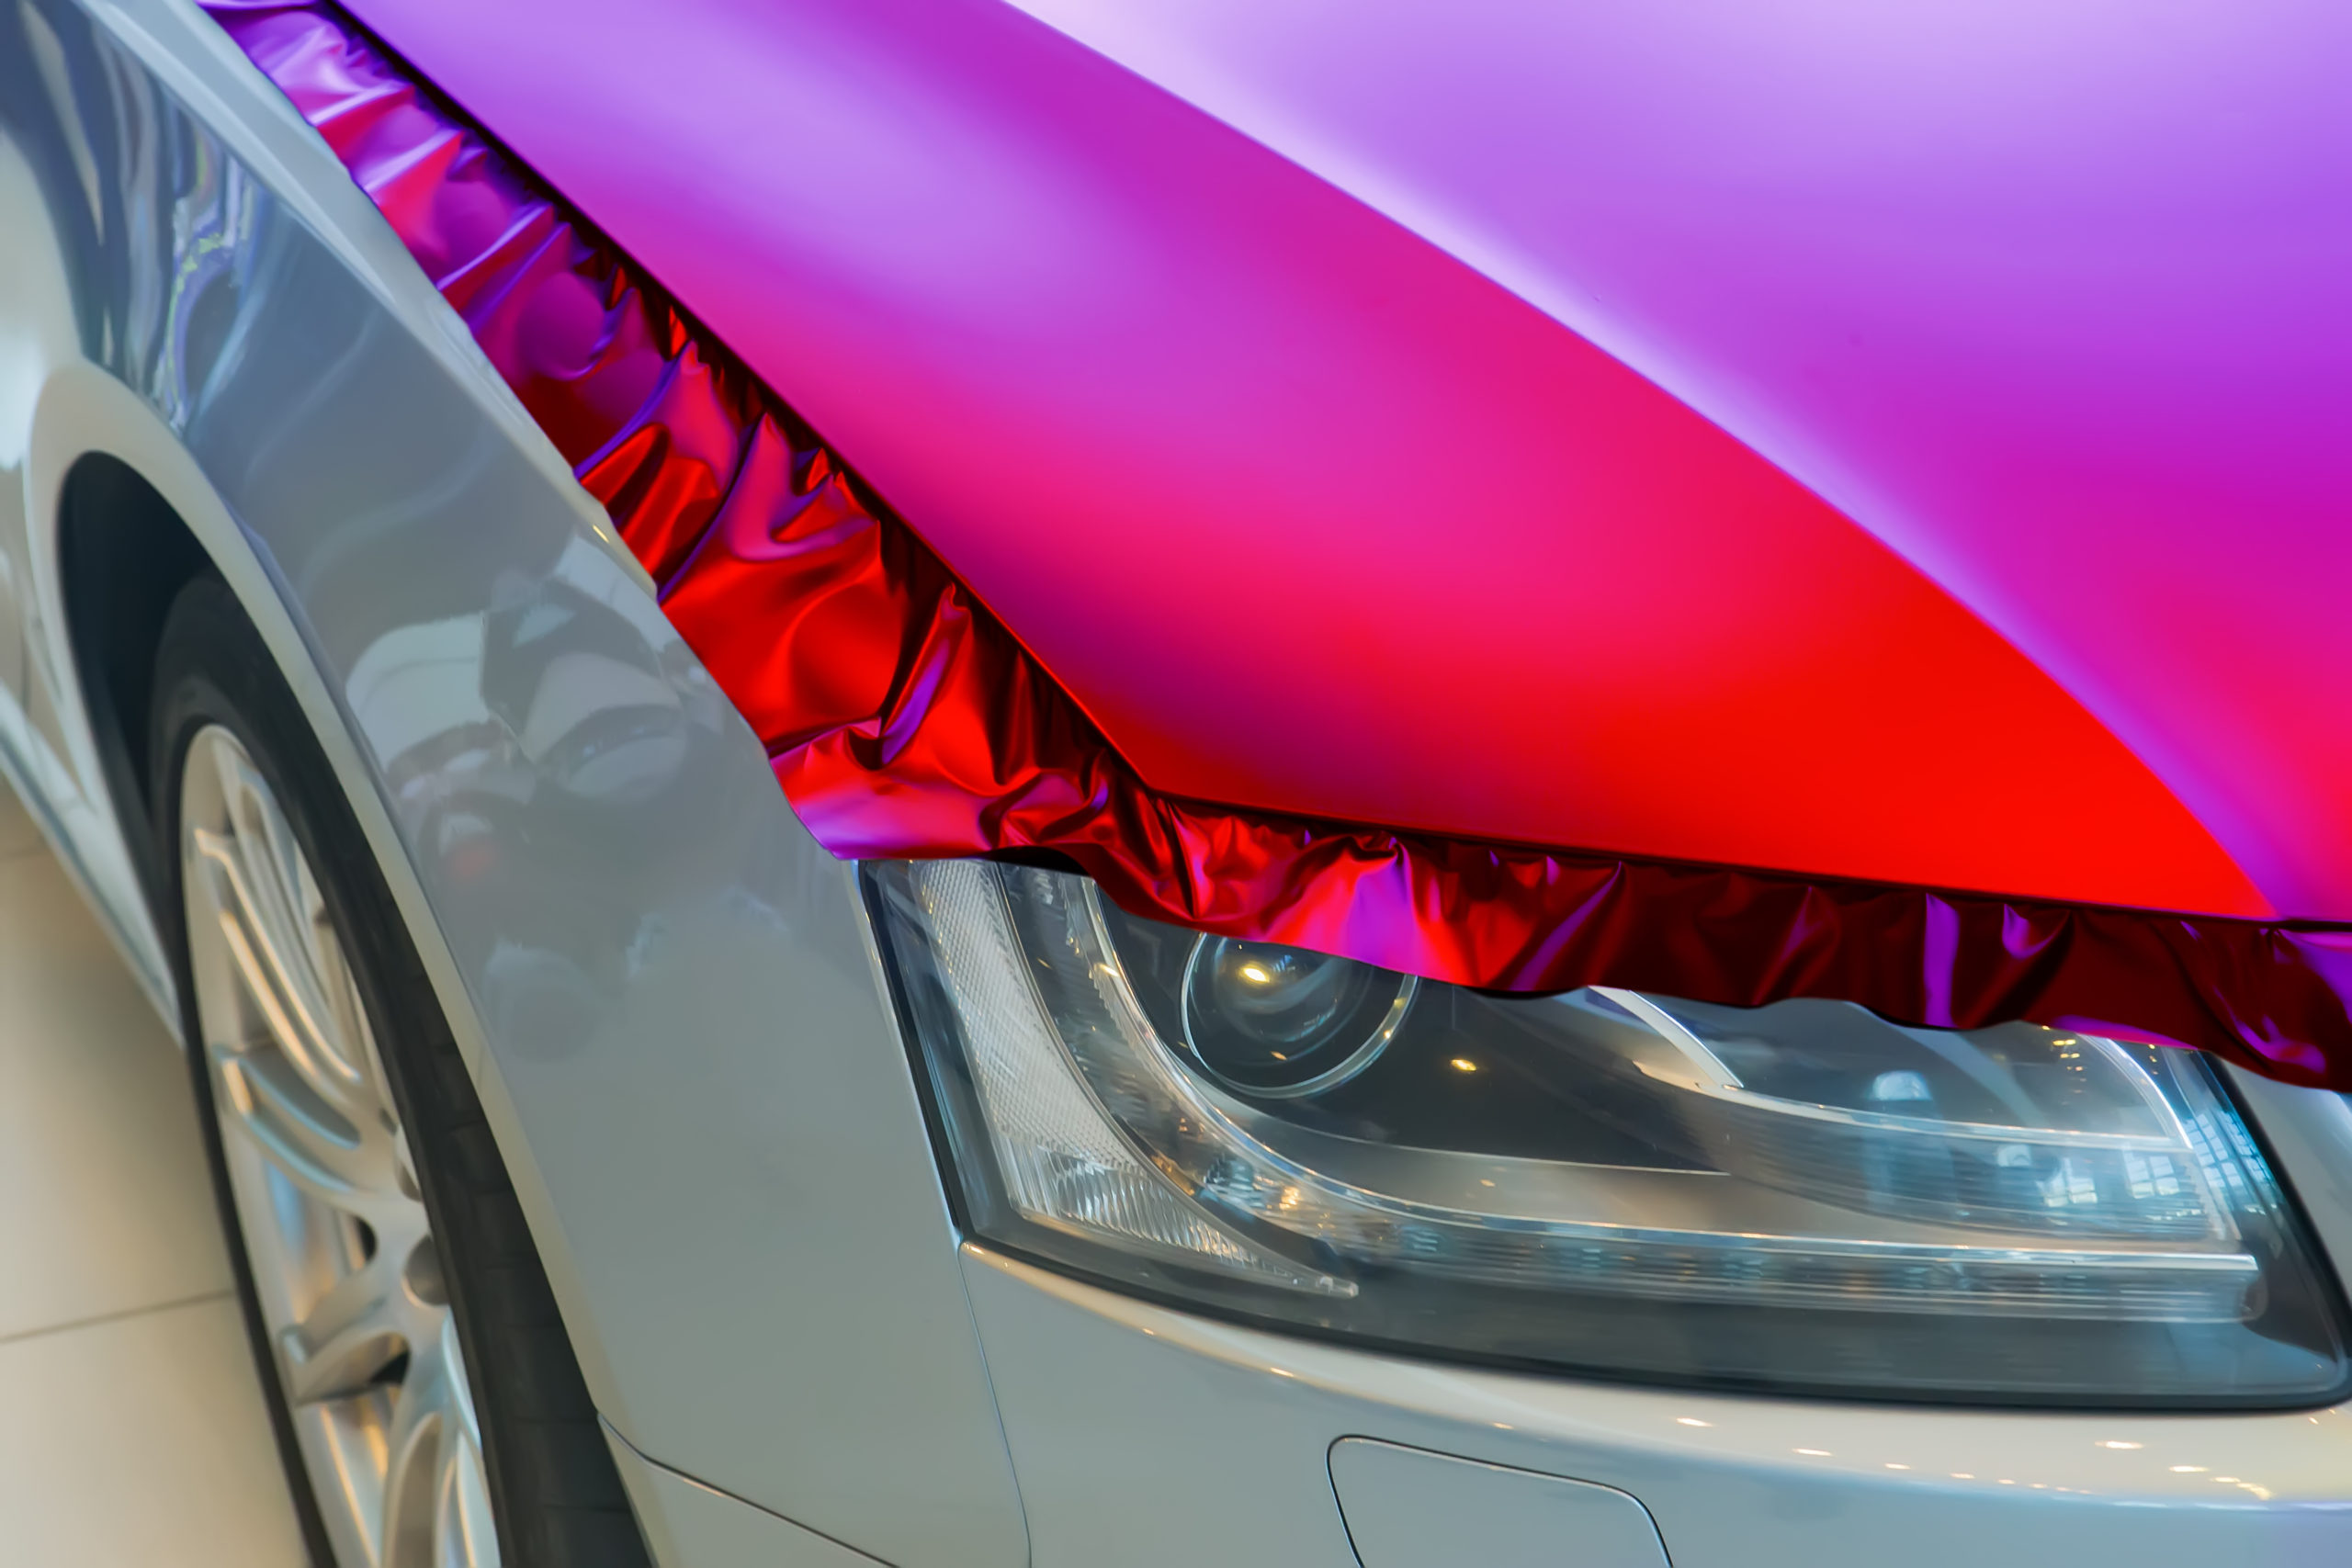
Applying The Vinyl Wrap
Applying the vinyl wrap on your car hood is a careful process. It requires patience and steady hands. The wrap must fit perfectly to avoid wrinkles and bubbles. Follow each step closely for the best results.
Positioning The Vinyl On The Hood
Place the vinyl wrap over the hood gently. Align it so it covers all edges evenly. Check that the design or color faces up. Smooth the wrap out without pressing hard. Adjust the position until it looks right.
Removing The Backing Slowly
Start peeling the backing paper from one corner. Pull it away slowly to avoid stretching the vinyl. Keep the vinyl in place with your other hand. Remove the backing a little at a time. This method helps keep the wrap smooth.
Using Squeegee To Remove Air Bubbles
Use a soft squeegee to press the vinyl down. Start from the center and push towards the edges. This action removes trapped air under the wrap. Work slowly to avoid tearing or stretching. Check for any small bubbles and press them out.
Heating And Stretching The Vinyl
Heating and stretching the vinyl is a key step to get a smooth finish on your car hood. The vinyl becomes soft and flexible when warmed. This lets you shape it perfectly over curves and edges. Using the right heat and stretching methods prevents wrinkles and bubbles. Proper care during this step helps the vinyl stick well and look great.
Using Heat Gun For Flexibility
Use a heat gun to warm the vinyl gently. Keep the gun moving to avoid hot spots. Heat softens the vinyl, making it easier to bend. Hold the gun about 6 to 8 inches away. Warm the area until the vinyl feels soft but not too hot. This helps the vinyl stretch without tearing.
Stretching Vinyl Around Curves
Start stretching the heated vinyl slowly over the hood’s curves. Use your hands or a squeegee to press it down. Pull the vinyl gently to fit the shape. Take your time to avoid wrinkles. Work from the center outwards to push air bubbles away.
Avoiding Overheating
Do not hold the heat gun too close or too long. Overheating can damage the vinyl’s color and texture. Watch for signs like bubbling or shrinking. Let the vinyl cool if it feels too hot. Use short bursts of heat instead of constant heating.

Credit: www.youtube.com
Trimming And Securing Edges
Trimming and securing the edges of the vinyl wrap is a key step for a clean finish. This step helps avoid lifting and peeling over time. Careful trimming shapes the wrap to fit perfectly on the hood. Securing edges ensures the vinyl stays in place through weather and washing.
Cutting Excess Vinyl Cleanly
Use a sharp blade to cut the extra vinyl around the hood. Cut slowly and steadily to avoid jagged edges. Leave a small margin to tuck under later. A clean cut prevents wrinkles and rough edges that show dirt.
Tucking Edges For A Seamless Look
Lift the vinyl edges slightly and tuck them under the hood’s lip. Use a plastic tool or your fingers to push the vinyl into creases. This hides raw edges and creates a smooth transition. Tucked edges help the wrap blend with the car’s surface.
Final Squeegee Pass To Secure
Run a squeegee firmly along all edges after tucking. This presses the vinyl down and removes air bubbles. Use firm, even pressure to lock the vinyl in place. The final pass adds durability and a polished look to your work.
Curing And Maintenance Tips
Proper curing and maintenance keep your vinyl wrap looking fresh and last longer. After applying the wrap on your car hood, it needs time to settle. Daily care protects the wrap from damage and wear.
Allowing Vinyl To Settle
Let the vinyl rest for at least 24 hours after installation. This time helps the adhesive bond firmly to the hood surface. Avoid touching or washing the wrapped area during this period. Warm weather speeds up curing, but keep the car out of direct sunlight.
Cleaning Wrapped Surface
Use a soft cloth and mild soap to clean the vinyl. Rinse with clean water and dry gently. Avoid scrubbing hard to prevent scratches. Cleaning regularly removes dirt and keeps the wrap shiny. Do not use abrasive sponges or brushes.
Avoiding Harsh Chemicals
Stay away from strong cleaners like alcohol, ammonia, or acetone. These chemicals can weaken the vinyl and cause discoloration. Choose products labeled safe for vinyl or automotive paint. Always test a small spot first to see any reaction.
Credit: gforce-films.com
Credit: www.tintingchicago.com
Frequently Asked Questions
How Long Does It Take To Install Vinyl Wrap On A Car Hood?
Installing vinyl wrap on a car hood usually takes 2 to 4 hours. Time depends on experience and preparation. Proper cleaning and heating improve adhesion and reduce wrinkles. Taking time ensures a smooth, professional finish that lasts longer and looks great.
What Tools Are Needed For Vinyl Wrap Installation On Car Hood?
You need a squeegee, heat gun, utility knife, cleaning solution, and microfiber cloth. These tools help smooth the vinyl and remove air bubbles. Proper tools ensure a clean, wrinkle-free application and protect your car’s paint underneath the wrap.
Can I Install Vinyl Wrap On A Car Hood Myself?
Yes, you can install vinyl wrap yourself with patience and practice. Follow step-by-step instructions carefully. Make sure to clean the surface well and use the right tools. DIY installation saves money but requires attention to detail for best results.
How To Prepare A Car Hood Before Vinyl Wrapping?
Clean the hood thoroughly with soap and water, then use isopropyl alcohol. Remove dirt, wax, and grease for better vinyl adhesion. Dry the surface completely to avoid bubbles. Proper preparation ensures the vinyl wrap sticks well and lasts longer.
Conclusion
Installing a vinyl wrap on your car hood is simple with the right steps. Take your time and work carefully for the best results. Clean the surface well before starting. Use a heat gun to help the vinyl fit curves smoothly.
Avoid bubbles by smoothing out the wrap slowly. Practice makes perfect. Enjoy the fresh look and protect your hood from scratches. Vinyl wraps offer a great way to change your car’s style without painting. Keep your tools ready and follow these tips for a neat finish every time.


