
If your Stihl trimmer isn’t running as smoothly as it used to, the fuel filter might be the culprit. Replacing it is easier than you think—and doing it yourself can save you time and money.
In this guide, you’ll learn step-by-step how to replace the fuel filter quickly and safely. Keep reading, and you’ll have your trimmer working like new in no time.

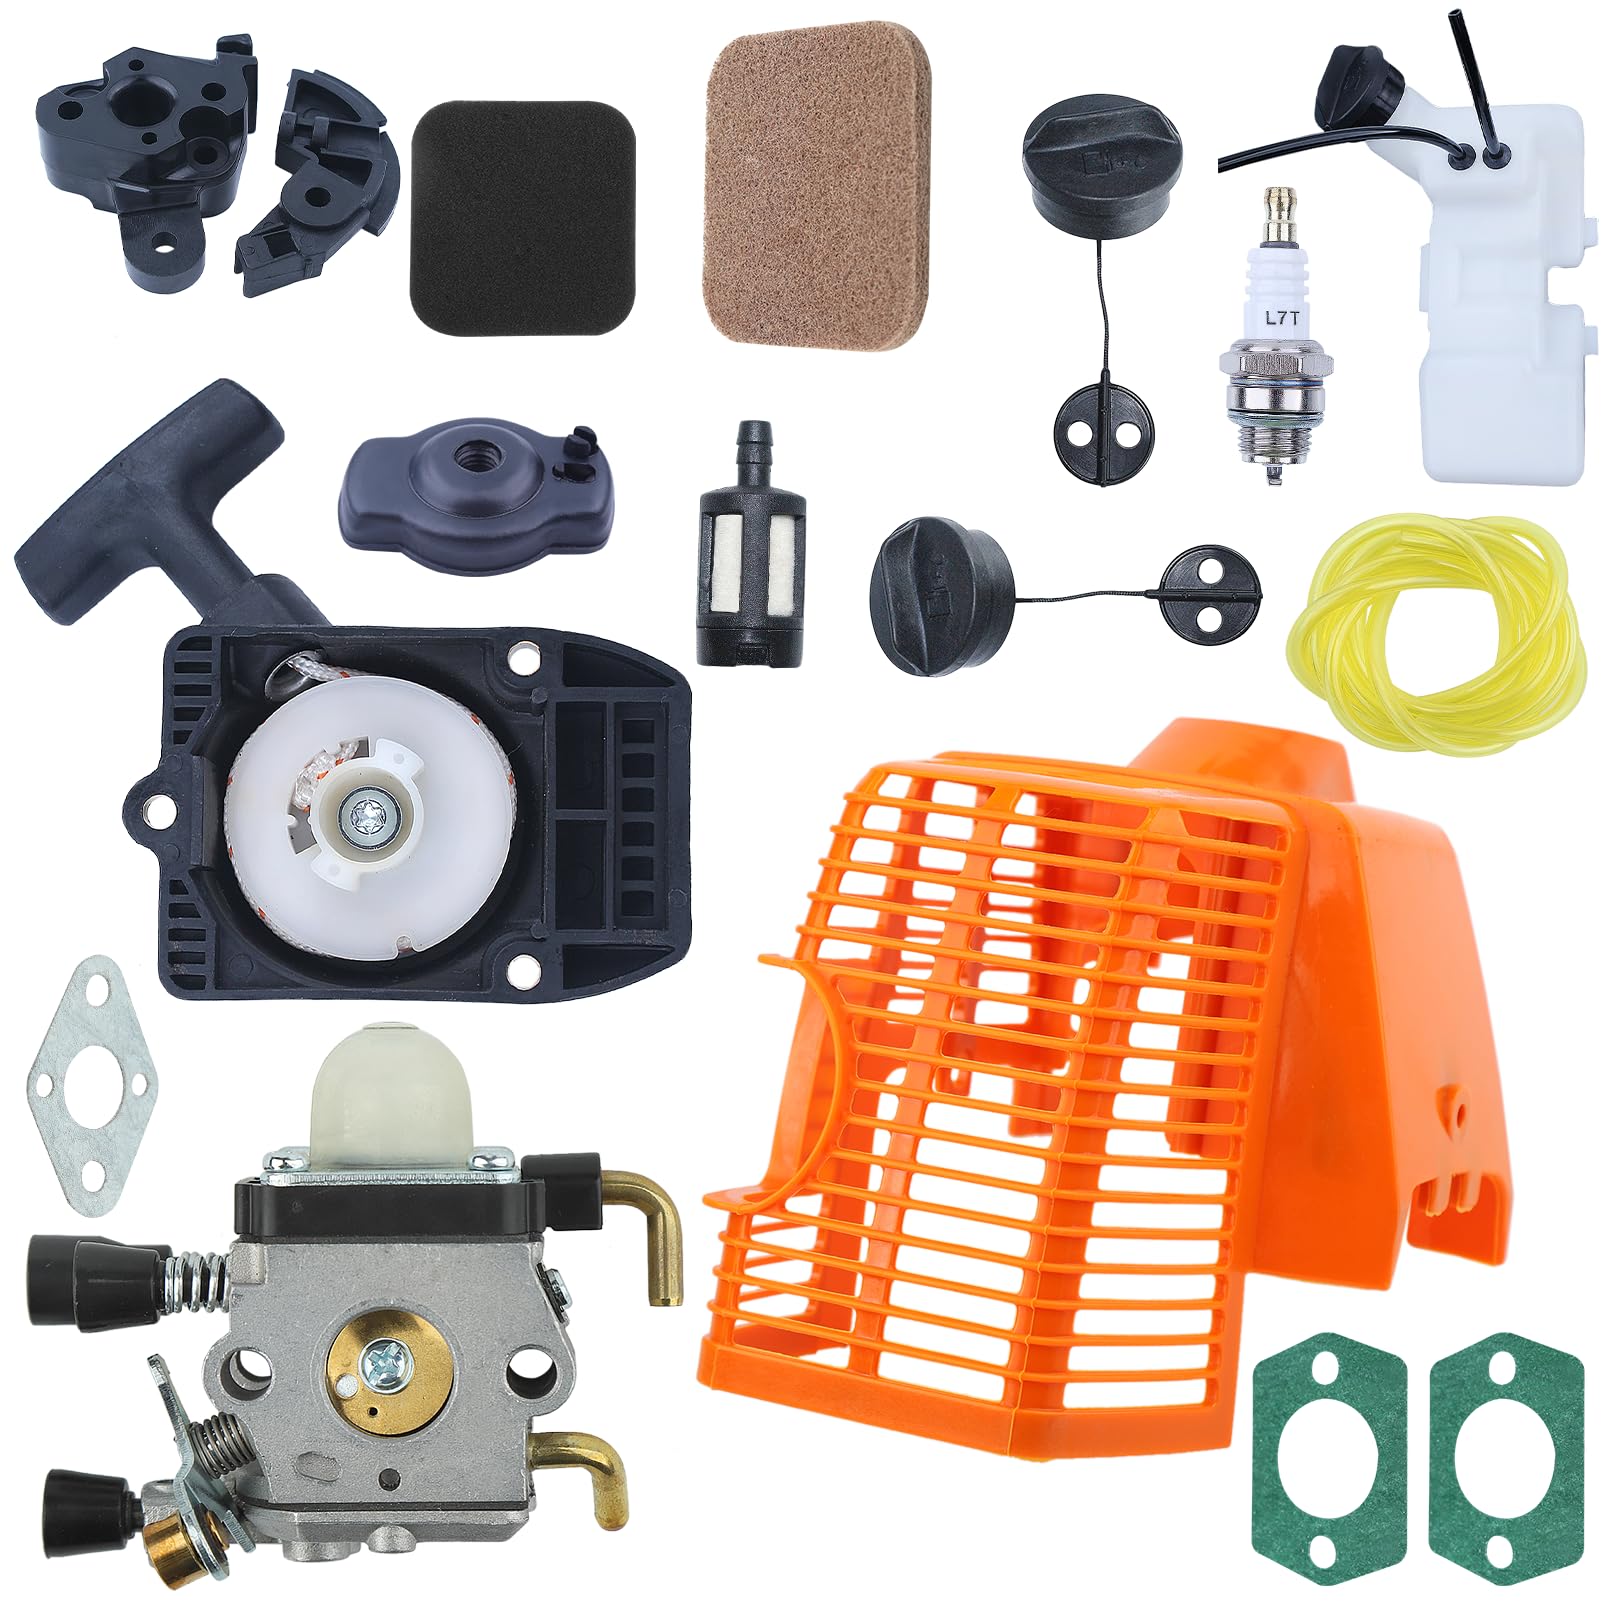
Credit: www.youtube.com
Tools And Materials Needed
Replacing the fuel filter on a Stihl trimmer requires a few simple tools and materials. Having these ready makes the job faster and easier. Proper tools help avoid damage and ensure safety.
Gather everything before starting. This prevents interruptions and keeps you focused on the task.
Basic Hand Tools
You need a small flathead screwdriver to open the fuel tank cap. A pair of needle-nose pliers helps remove the old fuel filter from the fuel line. Clean rags or paper towels are useful to wipe away any spilled fuel.
Replacement Fuel Filter
Use a fuel filter designed for your Stihl trimmer model. Check the manual or packaging to confirm compatibility. A new filter ensures proper fuel flow and engine performance.
Fuel Container
Have a clean container ready to drain old fuel if necessary. Avoid spilling fuel on the ground or your clothes. Use a funnel to pour fuel back into the tank after the filter change.
Protective Gloves
Wear gloves to protect your hands from fuel and dirt. Fuel can irritate skin and cause stains. Gloves also improve grip on small parts during the replacement process.

Credit: www.amazon.com
Locate The Fuel Filter
Locating the fuel filter on your Stihl trimmer is the first step to replacing it. The fuel filter keeps dirt and debris from reaching the engine. Finding it is easy with a few simple tips.
The fuel filter is inside the fuel tank. You must open the tank to see it. Knowing where to look helps you avoid damage to your trimmer.
Remove The Fuel Tank Cap
Start by unscrewing the fuel tank cap. Turn it counterclockwise to open. Keep the cap safe to avoid losing it.
Look Inside The Fuel Tank
After removing the cap, look inside the tank. The fuel filter is a small, white or off-white piece attached to a thin fuel line. It floats or hangs inside the tank.
Identify The Fuel Line
Trace the fuel line from the filter to the engine. This helps confirm you found the correct part. The fuel filter is always at the line’s end inside the tank.
Prepare The Trimmer For Maintenance
Preparing your Stihl trimmer for maintenance is a key step before replacing the fuel filter. This step helps keep you safe and makes the job easier. It also protects the trimmer from damage. Take your time to follow these simple instructions carefully. You will be ready to change the fuel filter quickly and safely.
Turn Off The Trimmer And Let It Cool
Switch off the trimmer completely. Do not try to work on it while running. Let the engine cool down for at least 15 minutes. Hot parts can cause burns. Cooling also stops fuel from leaking or igniting.
Remove The Spark Plug Wire
Locate the spark plug on your trimmer. Gently pull the spark plug wire off the plug. This step prevents the trimmer from starting by accident. Keep the wire away from the spark plug while you work.
Clean The Exterior Of The Trimmer
Wipe dirt and grass from the trimmer’s body. Use a dry cloth or a soft brush. Clean areas around the fuel tank and filter. This stops dirt from falling inside during the repair.
Prepare Your Workspace
Choose a flat, stable surface to work on. Make sure the area has good light. Keep tools and replacement parts close by. This helps you avoid unnecessary movements or mistakes.
Remove The Old Fuel Filter
Removing the old fuel filter from your Stihl trimmer is a key step. It keeps your tool running smoothly. A clogged filter can stop fuel flow. This leads to poor performance or no start at all.
Take your time. Work carefully to avoid damage. The old filter must be fully removed before adding a new one. This process is simple with the right approach.
Prepare Your Workspace
Find a clean, flat surface to work on. Keep a small container handy. It will catch any spilled fuel. Wear gloves to protect your hands from fuel.
Disconnect The Fuel Line
Locate the fuel line connected to the filter. Use pliers to gently loosen the clamp. Slide the clamp away from the filter. Pull the fuel line off carefully.
Remove The Old Filter
Hold the filter firmly. Pull it out from the fuel line. Some fuel may leak, so be ready. Dispose of the old filter properly. Avoid leaving fuel spills on surfaces.
Install The New Fuel Filter
Installing the new fuel filter on your Stihl trimmer is a key step. It helps keep the engine clean and running well. A fresh filter stops dirt and debris from entering the fuel system. This keeps your trimmer working longer and better.
Follow these simple steps to install the new fuel filter correctly. Take your time and check each part carefully. Proper installation ensures your trimmer starts easily and runs smoothly.
Prepare The New Fuel Filter
Take the new filter out of its package. Check for any damage or dirt. The filter must be clean and dry before installation. This keeps the fuel system safe and clear.
Attach The Filter To The Fuel Line
Find the fuel line where the old filter was removed. Push the new filter firmly into the fuel line. Make sure it fits snugly and does not move. A tight fit stops fuel leaks and air from entering.
Secure The Fuel Line Clamps
Use the clamps to hold the fuel filter in place. Tighten them enough to avoid slipping. Do not over-tighten, as this can damage the fuel line. Proper clamping keeps the filter steady during use.
Double-check The Installation
Look over the installed filter and fuel line. Make sure there are no gaps or loose parts. Check that the filter is in the right direction. Correct placement helps fuel flow smoothly to the engine.
Credit: www.amazon.com
Reassemble And Test The Trimmer
After replacing the fuel filter on your Stihl trimmer, the next step is to reassemble and test it. This ensures the trimmer works properly and safely. Following each step carefully helps avoid damage and keeps the tool running smoothly.
Reattach The Fuel Tank And Cover
Place the fuel tank back onto the trimmer frame. Make sure the fuel lines connect correctly. Secure the tank with screws or clips. Then, put the cover in place and tighten all fasteners firmly. This keeps dirt and debris out.
Check For Fuel Leaks
Look closely around the fuel filter and tank. See if any fuel is leaking from the connections. If you spot leaks, tighten the fittings or reposition the filter. Fuel leaks can cause safety hazards and poor trimmer performance.
Start The Trimmer
Move the choke to the start position. Pull the starter cord gently until the engine fires. Let the trimmer warm up for a few minutes. This helps the fuel flow smoothly through the new filter.
Test The Trimmer’s Performance
Run the trimmer at different speeds. Listen for smooth engine sounds without sputtering. Check the cutting head to ensure it spins well. If the trimmer runs unevenly, review the fuel filter installation again.
Common Troubleshooting Tips
Common troubleshooting tips help solve issues with your Stihl trimmer’s fuel filter. Problems with fuel flow can cause the trimmer to run poorly or not start at all. Knowing these tips saves time and effort during maintenance.
These simple checks and fixes address frequent problems. They keep your trimmer running smoothly and extend its life.
Check For Clogged Fuel Filter
A clogged fuel filter blocks fuel from reaching the engine. Remove the filter and inspect it carefully. If it looks dirty or blocked, replace it with a new one. A clean filter ensures steady fuel flow.
Inspect Fuel Lines For Damage
Fuel lines can crack or break over time. Examine both ends and the entire length of the lines. Replace any damaged or brittle fuel lines. Good fuel lines prevent leaks and maintain pressure.
Use Fresh, Clean Fuel
Old or dirty fuel causes engine problems. Always use fresh fuel mixed correctly with oil. Store fuel in a clean container to avoid dirt and water contamination. This helps the engine run smoothly.
Check Fuel Filter Installation
Improper installation leads to poor fuel flow or leaks. Ensure the filter fits snugly in the fuel line. Secure clamps or connectors tightly but avoid overtightening. Proper installation improves performance.
Test The Trimmer After Replacement
After replacing the fuel filter, start the trimmer. Listen for smooth running and check for leaks. If issues persist, recheck the filter and fuel lines. Testing confirms the fix worked.
Frequently Asked Questions
How Often Should I Replace The Fuel Filter On Stihl Trimmer?
Replace the fuel filter every 25 hours of use or at least once per season. This prevents clogging and maintains efficient engine performance.
What Tools Do I Need To Replace The Stihl Trimmer Fuel Filter?
You need a screwdriver, pliers, and a new fuel filter. These tools help you safely remove and install the fuel filter.
Can I Use Any Fuel Filter For My Stihl Trimmer?
No, use only Stihl-approved fuel filters. Using the wrong filter can damage the engine and reduce trimmer efficiency.
How Do I Know If The Fuel Filter Needs Replacement?
Signs include engine stalling, poor performance, or difficulty starting. These indicate a clogged or dirty fuel filter.
Conclusion
Replacing the fuel filter on your Stihl trimmer keeps it running smoothly. Clean fuel means better performance and longer engine life. Follow the steps carefully for safe and easy replacement. Regular checks help avoid problems and save money. Take your time, and don’t rush the process.
A well-maintained trimmer makes yard work easier. Keep your tool ready for any job ahead. Simple care leads to great results.


