
Have you ever wanted to build something fun and impressive with just foam blocks? Imagine creating your very own cannon that looks cool and is safe to play with.
In this guide, you’ll learn simple steps to make a foam block cannon that anyone can build. Whether you’re crafting for a school project, a fun weekend activity, or just to impress your friends, this easy-to-follow process will keep you hooked until the very end.
Ready to turn ordinary foam blocks into an exciting creation? Let’s get started!
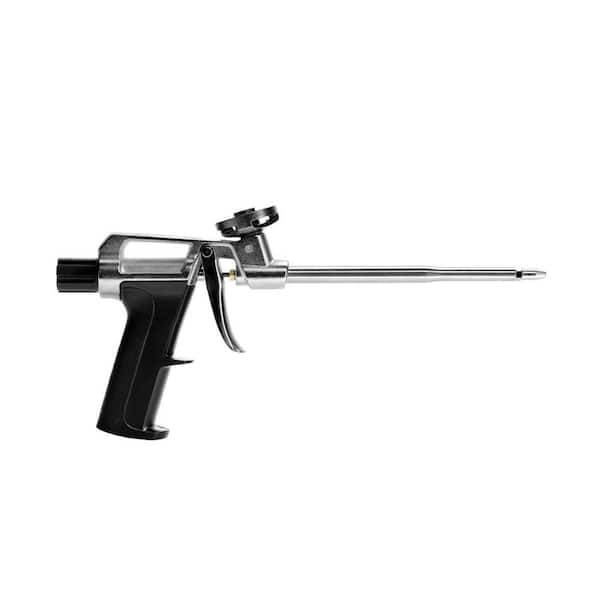
Materials Needed
To build a foam block cannon, gather the right materials first. Proper supplies make the process easier and safer. This section lists everything needed to start your project.
Types Of Foam Blocks
Choose foam blocks that are lightweight and easy to cut. Polystyrene foam blocks work well for crafting. They come in various sizes and densities. Pick blocks that fit your cannon’s design. Avoid foam that crumbles or breaks easily.
Additional Supplies
Glue is essential to hold the foam pieces together. Use a foam-safe adhesive like white glue or hot glue. Paint can decorate your cannon for a realistic look. Masking tape helps keep parts in place while drying. Paper or cardboard can add extra details.
Tools Required
A sharp craft knife or utility knife is needed to cut foam blocks. A ruler or measuring tape ensures accurate cuts. Sandpaper smooths rough edges for a clean finish. A pencil helps mark cutting lines. Use scissors for trimming smaller parts.
Designing Your Foam Cannon
Designing your foam cannon is an important step to build a fun and safe toy. A good design makes the cannon look great and work well. It also keeps the user safe during play. Start by thinking about the shape, size, and safety before building.
Careful planning helps avoid problems and makes the project easier. Use simple shapes and clear measurements to create a strong foam cannon. Keep safety rules in mind to prevent accidents or damage.
Basic Cannon Shape
Begin with a simple shape like a cylinder for the barrel. Use rectangular blocks for the base and support. Round edges slightly for a smooth look. The barrel should be straight and hollow to hold foam balls. Attach the base firmly to keep the cannon steady during use.
Size And Dimensions
Choose a size that fits your space and purpose. A barrel length of 12 to 18 inches works well for most foam balls. The diameter should be wide enough for easy loading and firing. Keep the base wide to prevent tipping over. Adjust the height so it is comfortable to use for kids or adults.
Safety Considerations
Use soft foam blocks without sharp edges or hard parts. Check for loose pieces before each use. Avoid making the cannon too powerful to prevent injuries. Never aim at faces or fragile objects. Test the cannon in an open area to ensure safe play. Always supervise children during use.
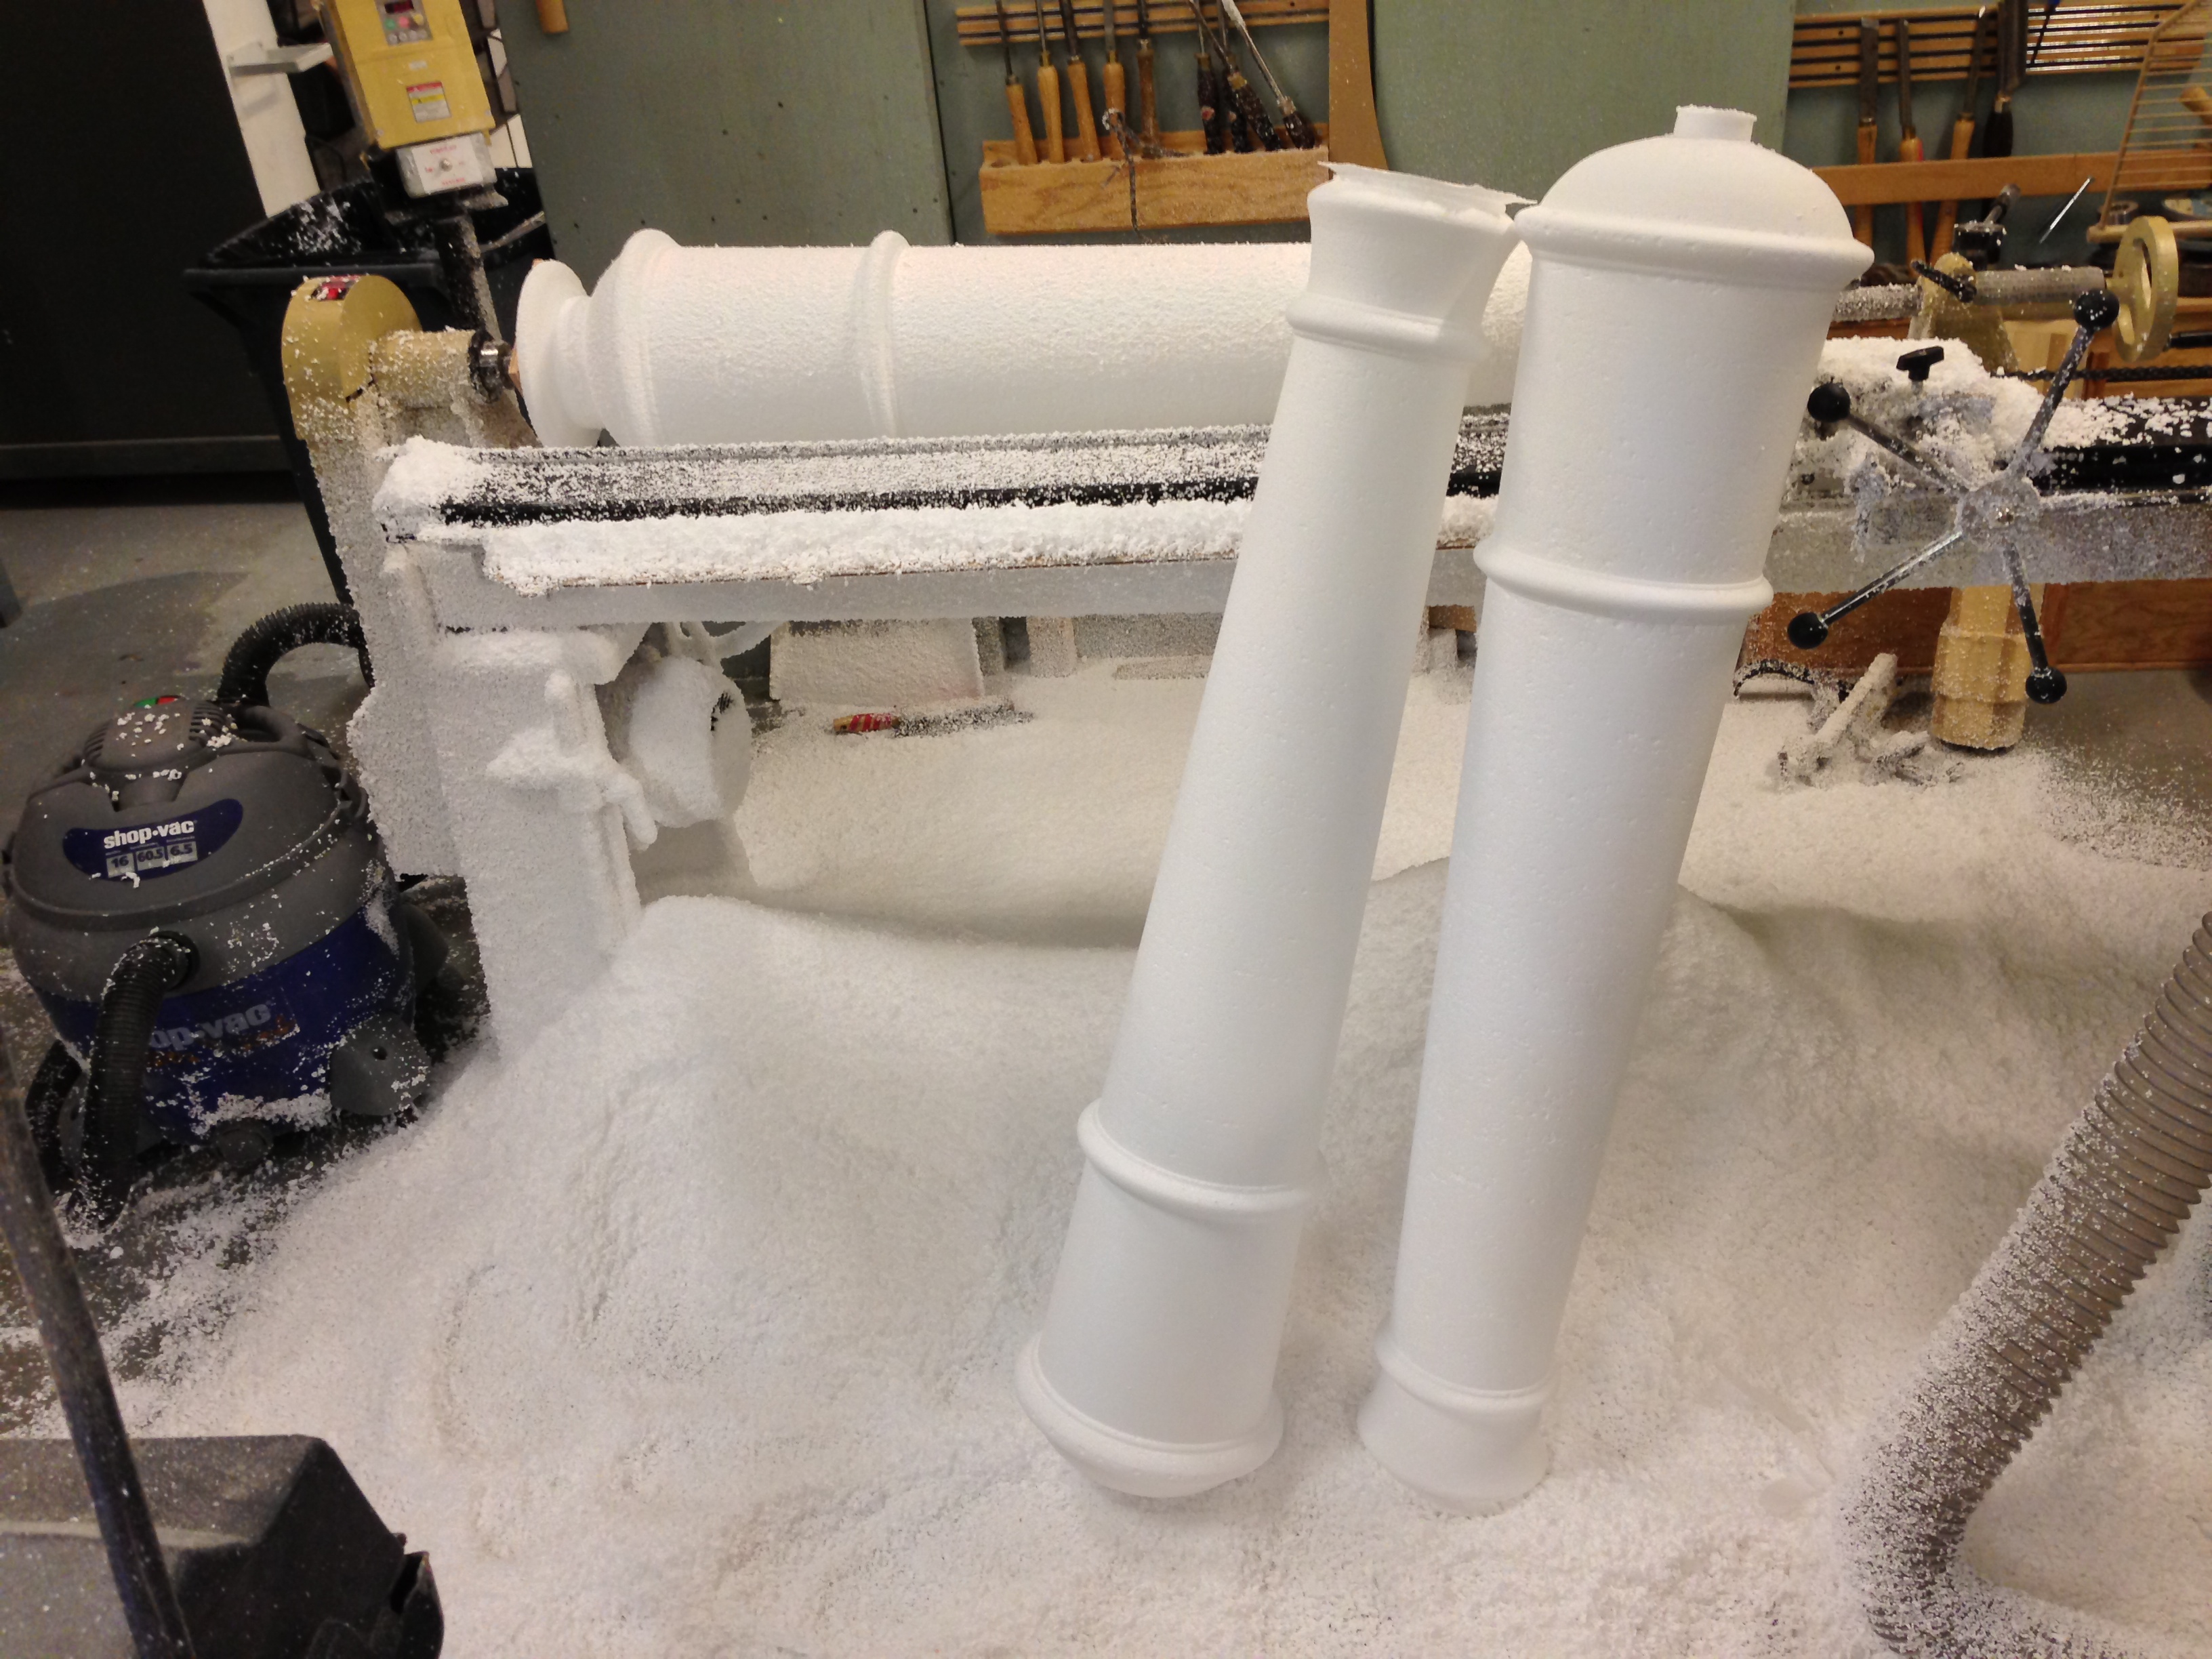
Cutting And Shaping Foam
Cutting and shaping foam blocks is a key step to build your foam cannon. You need to create smooth and precise parts. This ensures the cannon looks good and fits together well.
Work slowly and carefully. Use simple tools to cut and shape the foam. This will help you avoid mistakes and get clean pieces ready for assembly.
Marking The Foam Blocks
Start by marking the foam blocks with a pencil. Draw clear lines where you want to cut. Use a ruler or straight edge for accuracy.
Mark all sides that need cutting. Double-check measurements before cutting. This prevents wasting foam and keeps the shape correct.
Cutting Techniques
Use a sharp craft knife or foam cutter to cut the blocks. Cut slowly along the marked lines. Apply gentle pressure for a smooth cut.
For thick foam, make several light passes instead of one deep cut. This reduces tearing and uneven edges.
Cut on a safe surface to protect your work area. Keep fingers clear of the blade at all times.
Smoothing Edges
After cutting, smooth rough edges with sandpaper or a sanding block. Use fine-grit sandpaper for best results.
Sand gently to avoid removing too much foam. Check edges often to keep the shape consistent.
Smooth edges help the foam pieces fit better and give your cannon a clean finish.

Credit: www.homedepot.com
Assembling The Cannon
Assembling the cannon is an exciting step. It brings your foam blocks together into a strong shape. Careful assembly ensures the cannon looks great and stays sturdy. Follow these easy steps to join and secure the pieces well.
Joining Foam Pieces
Start by aligning the foam blocks carefully. Make sure edges match perfectly for a smooth fit. Press blocks firmly together to avoid gaps. Use clamps or gentle pressure to hold pieces in place. Check the shape often to keep it even and balanced.
Securing With Adhesive
Choose a glue made for foam materials. Apply a thin layer on the joining surfaces. Avoid using too much glue to prevent mess and weak bonds. Press the blocks together and hold them for a few minutes. Let the adhesive dry fully before moving to the next step.
Adding Structural Support
Use wooden sticks or lightweight rods inside the cannon. Insert them through the foam to add strength. Attach support pieces with glue or tape for extra hold. This prevents the cannon from bending or breaking easily. Make sure supports do not show outside the foam.
Adding Details And Finishing Touches
Adding details and finishing touches brings your foam block cannon to life. This step makes the cannon look real and exciting. Small details and smart finishes improve the overall look. They also make your project stronger and longer-lasting.
Painting And Decorating
Choose paint colors that match a real cannon. Black, gray, and brown work well. Use spray paint for smooth coverage. Let each coat dry before adding another. Add stripes or dots for extra style. Stickers or stencils can create neat designs. Avoid heavy paint that makes foam soggy.
Adding Functional Features
Attach small wheels to move the cannon easily. Use glue or small screws for a firm hold. Add a pretend trigger or lever for fun. These parts do not need to work perfectly. Attach a small tube or barrel for a realistic look. Make sure all parts are safe and well fixed.
Protective Coating
Apply a clear sealant to protect paint and foam. Choose a water-based sealant to avoid damage. This coating helps prevent scratches and wear. Spray or brush the sealant evenly on the surface. Let it dry completely before handling the cannon. This step keeps your project looking good longer.
Credit: www.homedepot.com
Testing Your Foam Cannon
Testing your foam cannon is an exciting step. It shows how well your creation works and if it needs fixing. This stage ensures your cannon fires safely and effectively. Careful testing helps avoid accidents and improves performance.
Safety Checks
Start with safety checks. Make sure the foam blocks are secure and tight. Check for any sharp edges or loose parts. Clear the area around the cannon from people and breakable items. Wear safety glasses to protect your eyes. Confirm the firing path is clear and safe.
Firing Mechanism
Test the firing mechanism gently. Press or pull the trigger slowly to see if it works. Listen for any strange sounds or delays. The foam should shoot out smoothly and with enough force. If it feels weak, check the pressure source or trigger setup. Repeat the test a few times to ensure consistency.
Troubleshooting Common Issues
If the foam does not fire properly, look for blockages in the barrel. Check if the foam blocks fit well and are not stuck. Tighten any loose parts that might affect the trigger. If the foam shoots too weak, increase the air pressure slightly. Watch for leaks that reduce power. Fix any problems before trying again.
Tips For Maintenance And Storage
Taking care of your foam block cannon helps it last longer and stay safe to use. Proper maintenance and storage keep it in good shape. Simple steps can prevent damage and make cleaning easy. Here are some tips to keep your foam cannon ready for fun.
Cleaning The Foam Cannon
Use a soft cloth to wipe dirt and dust off the foam blocks. Avoid soaking the foam in water. Light stains can be cleaned with a damp cloth and mild soap. Let the foam dry completely before storing. Do not use harsh chemicals or strong detergents.
Storing Safely
Store the foam cannon in a cool, dry place away from direct sunlight. Keep it in a box or container to protect it from dust. Avoid placing heavy objects on top of the foam blocks. This prevents the foam from getting squished or losing shape.
Repairing Damages
Small tears or holes can be fixed with foam-safe glue. Press the damaged parts together and hold until dry. Replace any foam blocks that are too damaged to repair. Regularly check for cracks or breaks to keep the cannon safe to use.
Credit: www.props.eric-hart.com
Frequently Asked Questions
What Materials Do I Need For A Foam Block Cannon?
You need foam blocks, strong adhesive, a tube for the barrel, and lightweight projectiles. Safety gear is also important.
How Do I Safely Assemble A Foam Block Cannon?
Use non-toxic glue and avoid sharp edges. Assemble in a well-ventilated area and supervise children closely.
Can Foam Block Cannons Shoot Projectiles Effectively?
Yes, they can shoot lightweight foam or paper projectiles safely over short distances. They are best for fun, not power.
How Long Does It Take To Make A Foam Block Cannon?
It usually takes 30 to 60 minutes, depending on design complexity and drying time of glue.
Conclusion
Making a foam block cannon is fun and simple. You only need a few materials and clear steps. This project sparks creativity and helps improve building skills. It’s safe and perfect for kids or beginners. Try different designs to see what works best.
Enjoy the process and learn as you go. Soon, you will have a cool foam cannon to show off. Keep practicing and have fun with your new creation!


