Are your vinyl wrapped cabinets looking dull or outdated? You might think painting them is impossible or too complicated.
But what if you could give your cabinets a fresh, new look without the hassle of replacing them? In this guide, you’ll discover simple, step-by-step tips to transform your vinyl wrapped cabinets into a stylish focal point in your home.
By the end, you’ll feel confident to tackle this project yourself and enjoy a beautiful, lasting finish. Keep reading to learn how to make your cabinets look brand new with paint!
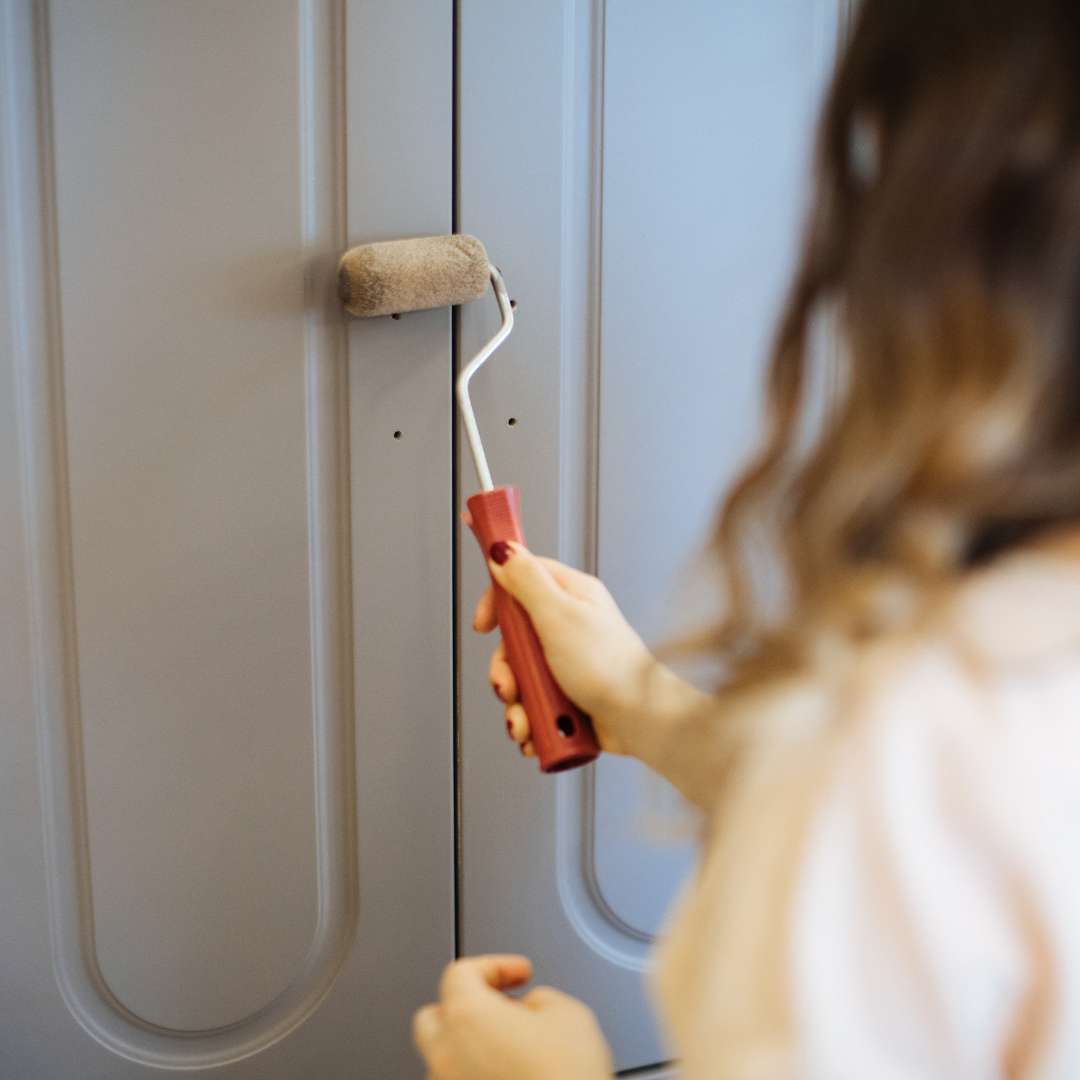
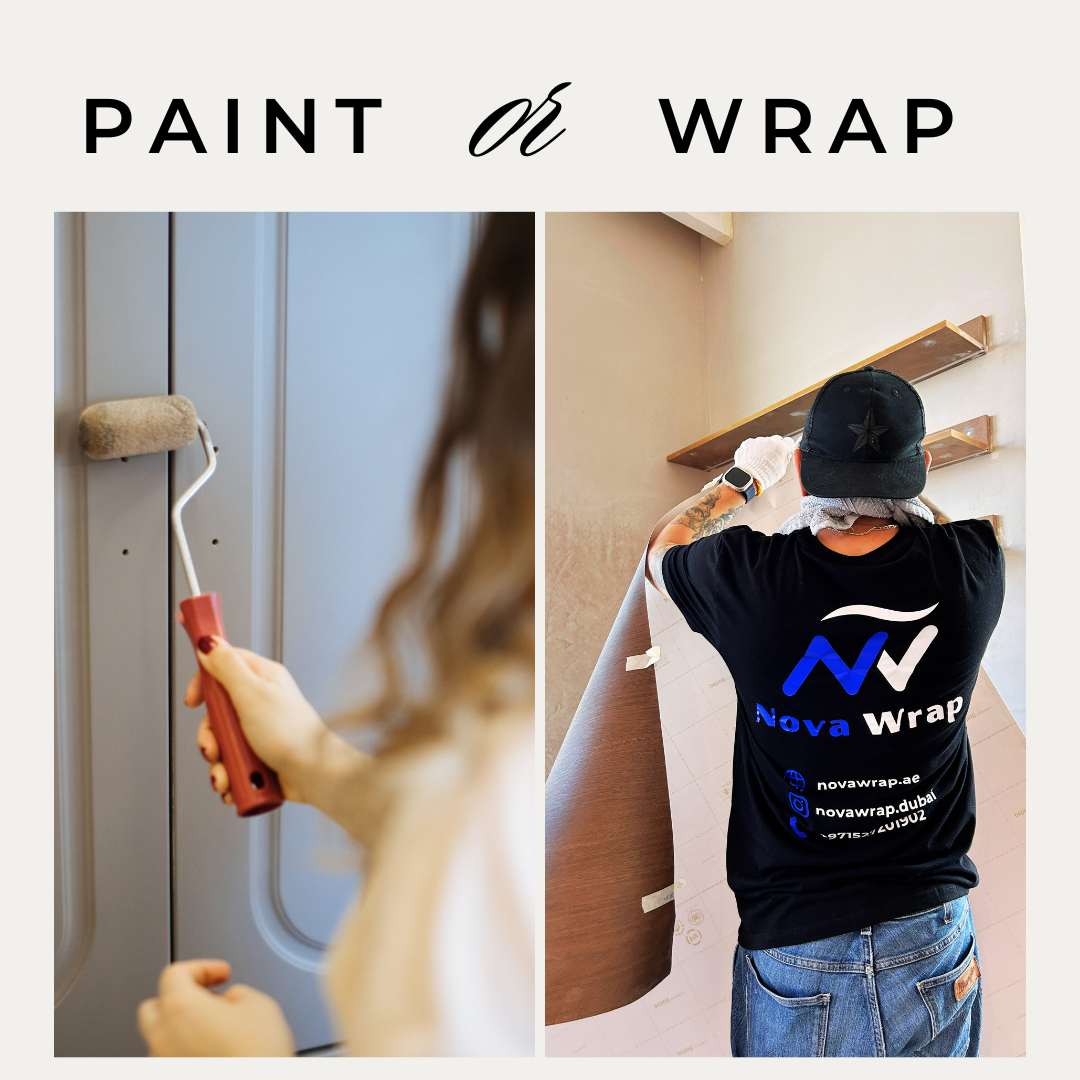
Credit: novawrap.ae
Preparing Vinyl Cabinets
Preparing vinyl cabinets is the first step before painting. Proper preparation helps paint stick better and last longer. Skipping this step can cause peeling and uneven finish. Follow these simple tasks carefully to get smooth, durable results.
Start by cleaning, sanding, and removing hardware. Each step is important to prepare the surface well.
Cleaning The Surface
Clean the vinyl cabinets with mild soap and warm water. Use a soft cloth or sponge to remove dirt and grease. Rinse with clean water and dry completely. Avoid harsh cleaners that can damage the vinyl wrap.
Sanding Tips For Vinyl
Lightly sand the vinyl surface with fine-grit sandpaper. Use 220- to 320-grit for best results. Sanding creates tiny scratches for the paint to stick. Do not press too hard to avoid damaging the vinyl. Wipe off dust with a damp cloth after sanding.
Removing Hardware
Remove all cabinet doors, handles, and knobs. This makes painting easier and prevents damage to hardware. Use a screwdriver to carefully take off the pieces. Keep screws and parts in a safe place for reassembly later.

Credit: www.dovecottageblog.com
Choosing Paint And Tools
Choosing the right paint and tools is key to painting vinyl wrapped cabinets. The right materials help the paint stick well and last longer. It also makes the job easier and the finish smooth. This section covers the best paint types, brushes and rollers, and primer choices for vinyl surfaces.
Best Paint Types For Vinyl
Use paint made for plastic or vinyl surfaces. Acrylic latex paint works well. It sticks better and resists peeling. Avoid oil-based paint. It can damage the vinyl wrap. Satin or semi-gloss finishes hide brush marks and clean easily.
Brushes Vs. Rollers
Small foam rollers spread paint smoothly on flat cabinet doors. They reduce streaks and bubbles. Use a high-quality synthetic brush for edges and corners. Natural bristle brushes can leave marks. Foam brushes also work but may wear out fast.
Primer Selection
Primer helps paint stick to the slick vinyl surface. Use a bonding primer made for plastic. It creates a rougher surface for paint to hold. Skip standard primers; they may peel off later. Let the primer dry completely before painting.
Painting Techniques
Painting vinyl wrapped cabinets requires special techniques to ensure a smooth and lasting finish. Using the right methods helps paint stick well and look even. This section explains key steps for painting vinyl cabinets effectively.
Applying Primer
Start by cleaning the cabinet surface thoroughly. Remove any grease or dirt. Use a high-quality bonding primer made for vinyl. Apply the primer evenly with a brush or roller. Let it dry completely before painting. Primer helps paint stick better and prevents peeling.
Painting In Thin Coats
Apply paint in thin, light layers. Thick coats can cause runs and uneven texture. Use a small roller or brush to spread paint smoothly. Allow each coat to dry fully before adding the next. Thin coats build up color slowly for a cleaner look.
Avoiding Drips And Streaks
Use steady, even strokes while painting. Avoid overloading the brush or roller with paint. Check the surface often to catch any drips early. Lightly sand between coats if needed to smooth streaks. Take your time to keep the finish neat and professional.
Credit: novawrap.ae
Drying And Curing
Drying and curing are key steps after painting vinyl wrapped cabinets. They help the paint harden and stick well. Proper drying prevents damage and keeps the finish smooth. Skipping these steps can cause peeling or bubbling. Understanding drying and curing lets you plan better and get a lasting result.
Optimal Drying Times
Paint drying times vary by type and brand. Usually, allow at least one hour for touch dry. Wait 24 hours before light use. Full curing takes longer, about 7 days. Avoid heavy use until paint fully cures. Check the paint can for exact drying times.
Patience is important. Rushing can ruin your hard work. Give the paint enough time to set. This ensures a tough, even coat on your cabinets.
Temperature And Humidity Effects
Temperature affects paint drying speed. Ideal range is 65-75°F (18-24°C). Cooler temperatures slow drying. Warmer temps speed it up but may cause cracks.
Humidity also plays a role. High humidity slows drying and curing. Low humidity helps paint dry faster. Avoid painting on very humid or very cold days. Find a dry, warm spot to work for best results.
Finishing Touches
Finishing touches make your painted vinyl cabinets look complete and polished. This stage protects your work and adds function. Handle each step carefully to keep the paint smooth and lasting. Small details can make a big difference in the final look.
Reattaching Hardware
Put back all the cabinet knobs and handles you removed earlier. Tighten screws firmly but avoid overtightening. Loose hardware can damage the paint or vinyl. Clean the hardware before reattaching for a fresh look. Check alignment to keep doors and drawers working well.
Adding Protective Topcoat
Apply a clear topcoat to shield your paint from scratches and stains. Choose a product safe for vinyl surfaces. Use a clean brush or spray for smooth coverage. Let the topcoat dry completely before touching the cabinets. This layer extends the paint’s life and keeps it shiny.
Cleaning Up
Remove painter’s tape and clean any paint spots on nearby surfaces. Dispose of used brushes and drop cloths properly. Wash your hands and tools with soap and water. Keep the room ventilated to clear paint fumes. A tidy workspace reflects your care and effort.
Common Mistakes To Avoid
Painting vinyl wrapped cabinets can transform your space. Avoiding common mistakes makes the job easier and results better. Knowing what not to do saves time and frustration. Focus on these key errors to get a smooth, lasting finish.
Skipping Surface Prep
Surface preparation is the most important step. Vinyl surfaces are smooth and slick. Paint will peel without proper prep. Clean the cabinets thoroughly to remove grease and dirt. Lightly sand the surface to help paint stick. Skipping these steps leads to chipping and flaking later.
Using Wrong Paint Types
Choose paint designed for slick surfaces. Regular latex or oil-based paints do not bond well. Use bonding primers and paints made for vinyl or laminate. The wrong paint peels quickly and looks uneven. This mistake wastes paint and effort.
Rushing The Process
Painting takes time and patience. Rushing through steps causes poor results. Allow primer to dry fully before painting. Apply multiple thin coats instead of one thick coat. Skip rushing to avoid drips, bubbles, or streaks. Let each layer dry to get a smooth finish.
Maintaining Painted Vinyl Cabinets
Maintaining painted vinyl cabinets helps keep their fresh look longer. Painted surfaces need care to avoid peeling or damage. Simple steps protect your work and keep cabinets looking clean and new.
Proper cleaning and quick touch-ups prevent wear and tear. These actions save time and money on future repairs. Follow easy tips for daily care and minor fixes.
Cleaning Tips
Use a soft cloth or sponge for cleaning. Avoid rough scrubbing that can remove paint. Mild soap mixed with water works best.
Do not use harsh chemicals or abrasive cleaners. These can harm the paint or vinyl underneath. Wipe spills quickly to prevent stains.
Dry cabinets with a clean cloth after washing. Moisture can damage paint and cause peeling. Regular gentle cleaning keeps cabinets bright.
Touch-up Advice
Keep leftover paint for small repairs. Use a fine brush to fix chips or scratches. Apply paint in thin layers for smooth results.
Allow paint to dry completely between coats. Avoid heavy painting that causes drips or uneven surfaces. Touch-ups blend better when done carefully.
Check cabinets often for damage. Early touch-ups stop problems from growing. Simple fixes keep cabinets looking like new longer.
Frequently Asked Questions
Can You Paint Over Vinyl Wrapped Cabinets?
Yes, you can paint vinyl wrapped cabinets. Proper surface preparation, including cleaning and sanding, is crucial for paint adhesion and durability.
What Paint Type Works Best For Vinyl Cabinets?
Use a high-quality acrylic latex or oil-based paint. These paints adhere well and provide a durable, smooth finish on vinyl surfaces.
How Do You Prep Vinyl Cabinets Before Painting?
Clean cabinets thoroughly with mild soap and water. Lightly sand the surface to create texture for paint adhesion. Remove dust before painting.
How Long Should Painted Vinyl Cabinets Dry?
Allow painted cabinets to dry for at least 24 hours. Full curing may take up to a week for best durability and finish.
Conclusion
Painting vinyl wrapped cabinets can refresh your kitchen without a full remodel. Take time to clean and sand the surface well. Use the right primer and paint for best results. Let each coat dry completely before adding the next. Patience brings a smooth, lasting finish.
Small steps make a big difference in appearance. Enjoy your updated cabinets and the new look they bring. Try this simple project to give your space a fresh feel. It’s easier than you might think!