
If you want to give your 2010 Kia Soul a fresh, stylish look while protecting it from dings and scratches, installing body side molding is a smart move. But you might be wondering, how do you do it right?
Don’t worry—you’re in the right place. This guide will walk you through each simple step, so you can confidently upgrade your car’s appearance and keep it safe from everyday bumps. By the end, you’ll see how easy it is to transform your Kia Soul with body side molding, saving money and adding value.
Let’s get started!
Credit: www.gilgharda.com
Tools And Materials Needed
Before you start installing the body side molding on your 2010 Kia Soul, gather the right tools and materials. Having everything ready makes the process smoother and faster. Each tool plays a key role in ensuring a clean and secure fit.
Use tools that fit well and materials designed for automotive use. This helps avoid damage to your car’s paint and molding. Let’s look at what you need for this job.
Cleaning Supplies
Clean the surface before installation. Use soap and water to remove dirt and grease. A microfiber cloth helps dry the area without scratching. Rubbing alcohol wipes off any leftover oils. Clean surfaces help the molding stick better.
Measuring Tools
A tape measure ensures the molding lines up correctly. Use a ruler or straight edge for precise placement. Mark the spots lightly with a pencil or masking tape. This prevents mistakes during installation.
Adhesive Promoter
An adhesive promoter improves tape adhesion on your car’s surface. It helps the molding stay put for a long time. Apply it carefully to the cleaned area before sticking the molding.
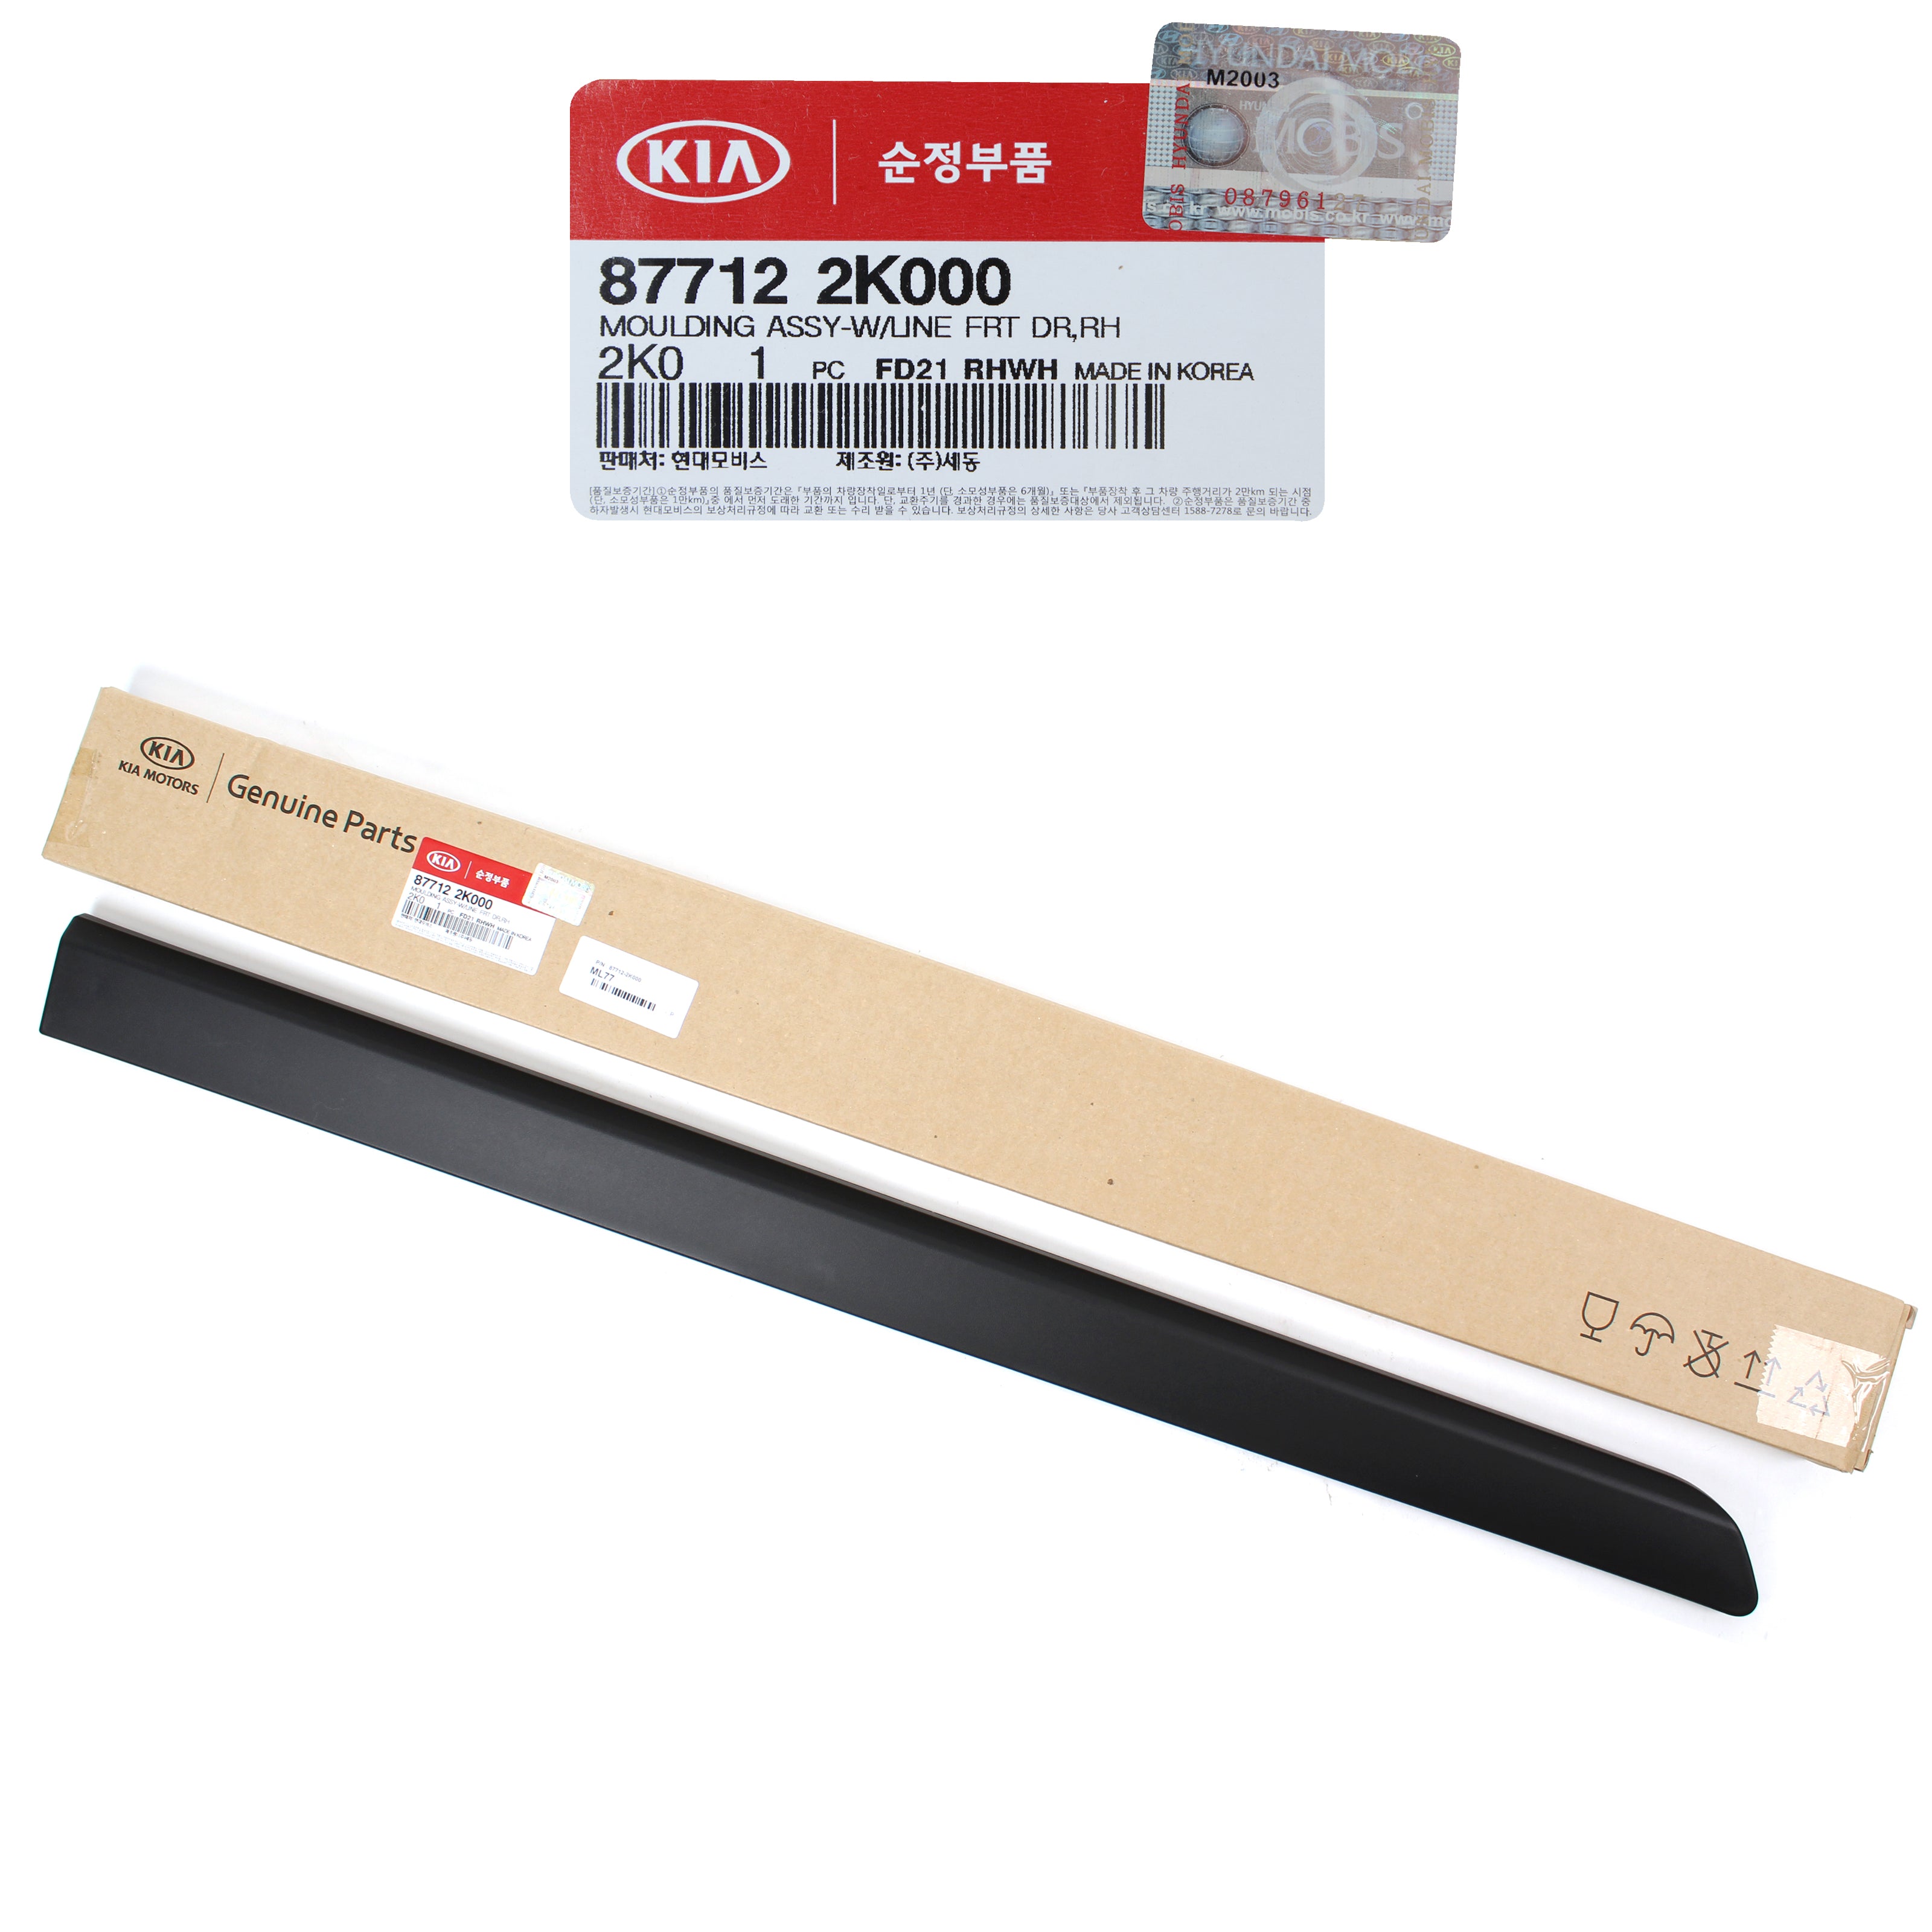
Body Side Molding
Use OEM or high-quality aftermarket molding made for the 2010 Kia Soul. Check that the molding matches your car’s color and size. This ensures a perfect fit and good looks.
Heat Gun Or Hair Dryer
A heat gun or hair dryer softens the molding and adhesive tape. Warm tape sticks better to curved surfaces. Use low heat to avoid damaging the paint or molding.
Plastic Pry Tool
A plastic pry tool helps remove old molding or trim without scratching. It is gentle on your car’s paint. Use it carefully to avoid dents or marks.
Masking Tape
Masking tape marks placement lines and protects paint edges. It also helps hold the molding in place temporarily. Use painter’s tape to avoid sticky residue.
Credit: www.kiapartsonline.com
Preparing The Vehicle
Preparing your 2010 Kia Soul for new body side molding is an important step. A clean and smooth surface helps the molding stick well. Take time to get the vehicle ready before starting the installation.
Cleaning The Surface
Start by washing the area where the molding will go. Use soap and water to remove dirt and dust. Dry the surface completely with a clean cloth. Use rubbing alcohol on a cloth to wipe the area. This removes oils and helps the tape stick better.
Removing Old Molding
Carefully peel off any old molding from the body side. Use a plastic scraper to lift the edges without scratching the paint. If the old molding is stuck, apply heat with a hairdryer to soften the adhesive. Remove all leftover glue with an adhesive remover. Clean the area again after removing the old adhesive.
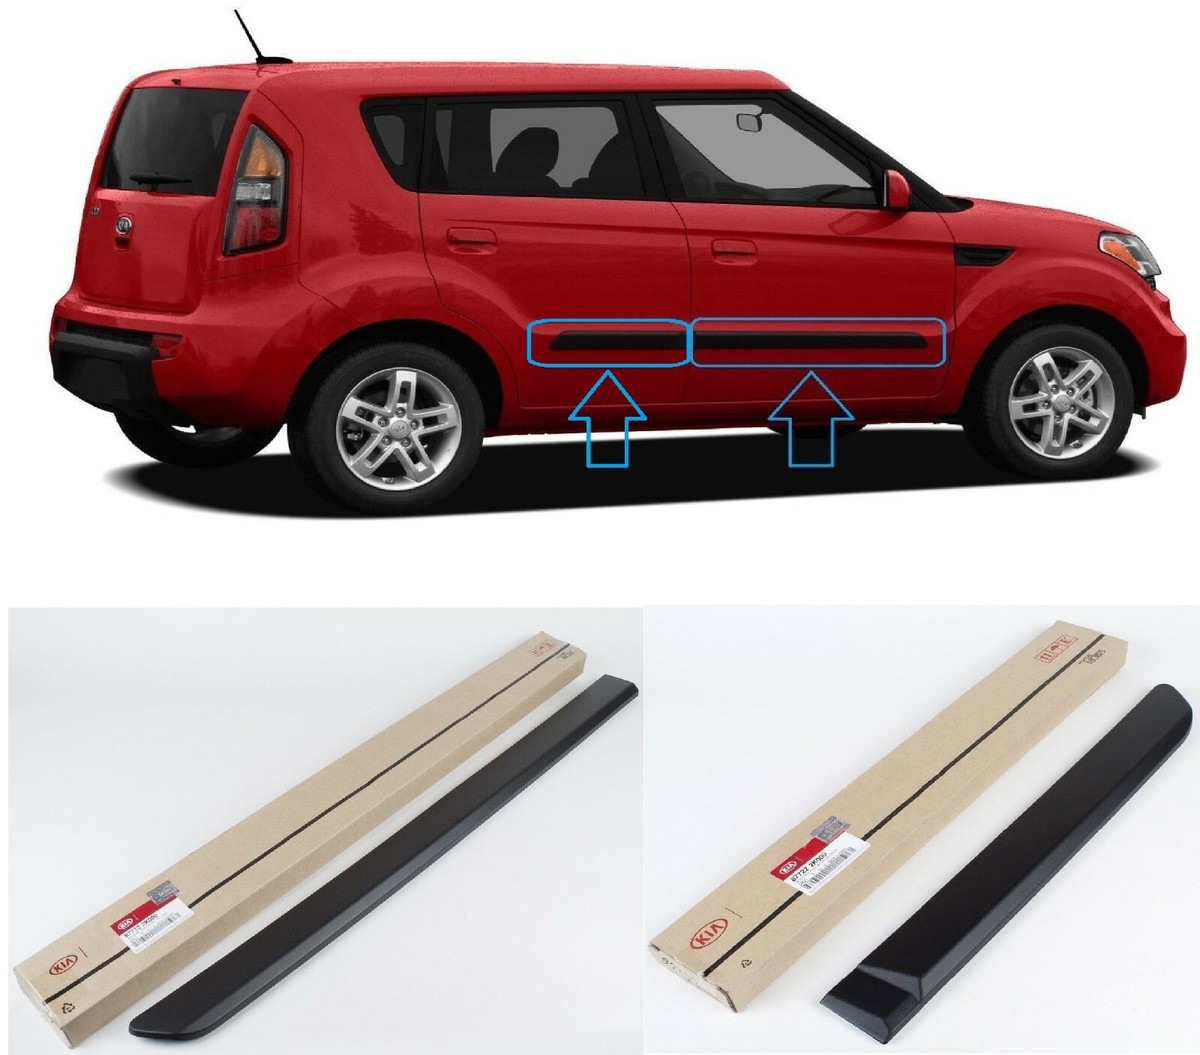
Aligning The New Body Side Molding
Aligning the new body side molding on your 2010 Kia Soul is a key step. Proper alignment ensures the molding fits snugly and looks smooth. It helps prevent gaps and keeps the molding secure over time.
Take your time during this stage. Careful alignment makes the rest of the installation easier and more effective.
Prepare The Surface For Alignment
Clean the car side where the molding will go. Use rubbing alcohol to remove dirt and oils. A clean surface helps the molding stick better. Dry the area completely before continuing.
Position The Molding Carefully
Hold the molding along the side of the car without removing the tape yet. Check how it lines up with doors and windows. The molding should follow the car’s shape evenly. Mark the edges lightly with a pencil if needed.
Check For Even Spacing
Look closely at the space between the molding and the car’s edges. It should be the same all along. Adjust the molding until the spacing looks balanced. Even gaps make the molding look factory-installed.
Test The Fit Before Sticking
Press the molding gently in a few spots to see how it fits. Make small shifts to improve the fit. Avoid pulling or stretching the molding. It should lie flat without bends or bubbles.
Credit: www.ebay.com
Attaching The Molding
Attaching the body side molding on a 2010 Kia Soul is a key step to enhance the car’s look and protect its doors. This process needs care and the right method. Choosing the proper attachment method ensures the molding stays firm and looks great for years. Below are two common ways to attach the molding: using adhesive tape and securing with clips or screws.
Using Adhesive Tape
Adhesive tape offers a clean and simple way to attach the molding. Start by cleaning the car’s surface thoroughly. Dirt or grease can stop the tape from sticking well.
Peel off the backing from the tape on the molding. Press the molding firmly against the car’s side. Hold it tightly for about 30 seconds to ensure a strong bond. Avoid touching the tape once it is on the car. Let the tape set for a few hours before driving.
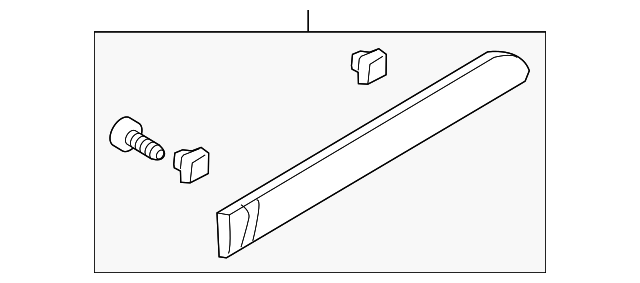
Securing With Clips Or Screws
Clips or screws provide a more secure hold for the molding. Check the molding and car side for pre-drilled holes. Align the molding with these holes carefully.
Insert clips or screws into the holes and tighten them gently. Do not over-tighten to avoid damage. Clips snap in place quickly and hold the molding firmly. Screws offer extra strength but may require drilling if holes are missing.
Final Touches
The final touches are important to complete the installation of your 2010 Kia Soul body side molding. This step ensures the molding stays strong and looks good. Take your time to press and seal the molding firmly. Then, check if the molding fits correctly and lines up well with your car’s body.
Pressing And Sealing
Press the molding firmly against the car’s side. Use even pressure along the entire length. This helps the adhesive stick better. Pay close attention to the edges and ends. Make sure no gaps or loose spots remain. This step prevents the molding from peeling off later.
Checking For Proper Fit
Look carefully at the molding’s position. It should be straight and match the car’s shape. Check both ends to see if they line up well with the doors and fenders. Make small adjustments if needed before the adhesive sets. Proper fit means a neat, professional look.
Maintenance Tips
Maintaining the body side molding on your 2010 Kia Soul keeps it looking fresh and protects your vehicle. Proper care extends the molding’s life and prevents damage. Simple steps help you keep the moldings clean and secure.
Cleaning The Body Side Molding
Use mild soap and water to clean the molding. Avoid harsh chemicals that can damage the surface. Gently wipe the molding with a soft cloth or sponge. Dry with a clean towel to prevent water spots.
Checking For Loose Or Damaged Moldings
Regularly inspect the molding for any looseness or cracks. Press gently to see if it feels secure. Replace or reattach moldings that are loose to avoid falling off while driving.
Protecting Moldings From Sun Damage
Park your car in shaded areas to reduce sun exposure. Use a UV protectant spray on the molding to prevent fading and cracking. Apply the spray every few months for best results.
Avoiding Damage From Car Washes
Choose touchless car washes or wash by hand. Brushes can scratch or loosen the moldings. Be gentle when cleaning near the moldings to keep them intact.
Frequently Asked Questions
How Do I Prepare My 2010 Kia Soul For Body Side Molding Installation?
Clean the car’s side thoroughly using soap and water. Remove any dirt, wax, or grease. Dry the surface completely before applying molding to ensure strong adhesion.
What Tools Are Needed To Install Body Side Molding On A Kia Soul?
You need cleaning supplies, a heat gun or hair dryer, adhesive promoter, masking tape, and the body side molding itself. These tools help ensure proper fit and secure attachment.
Can I Install Body Side Molding On My Kia Soul Myself?
Yes, you can install it yourself with patience. Follow the instructions carefully, prepare the surface well, and apply the molding evenly for best results.
How Long Does Body Side Molding Installation Take On A Kia Soul?
Installation usually takes 30 to 60 minutes. Time varies based on experience and preparation. Allow adhesive to cure fully before driving.
Conclusion
Installing the 2010 Kia Soul body side molding is simple and clear. Follow the steps carefully for the best fit. Take your time to clean the surface before applying the molding. This helps it stick better and last longer. A well-installed molding protects your car and improves its look.
Small efforts bring big benefits. Now, your Kia Soul has a fresh and neat appearance. Enjoy the improved style and protection every day.


