
If you want your vinyl wrap to look smooth and last longer, prepping the surface correctly is the key. Skipping this step can lead to bubbles, peeling, and a finish that just doesn’t shine.
But don’t worry—getting your surface ready isn’t as hard as it sounds. In this guide, you’ll discover simple, effective ways to prep any surface so your vinyl wrap sticks perfectly and looks flawless. Keep reading, and you’ll be one step closer to a professional-quality wrap that turns heads every time.
Clean The Surface Thoroughly
Cleaning the surface thoroughly is the first step in preparing for a vinyl wrap. Dirt, grease, and other residues stop the vinyl from sticking well. A clean surface helps the vinyl lay flat and last longer. Take time to clean carefully for the best results.
Remove Dirt And Grease
Start by removing dust and loose dirt with a soft cloth or brush. Use warm water to rinse the area. Next, wipe the surface with a cloth soaked in a mild detergent. This removes grease and oils that can block the vinyl from sticking. Make sure to clean every corner and edge.
Use Appropriate Cleaning Agents
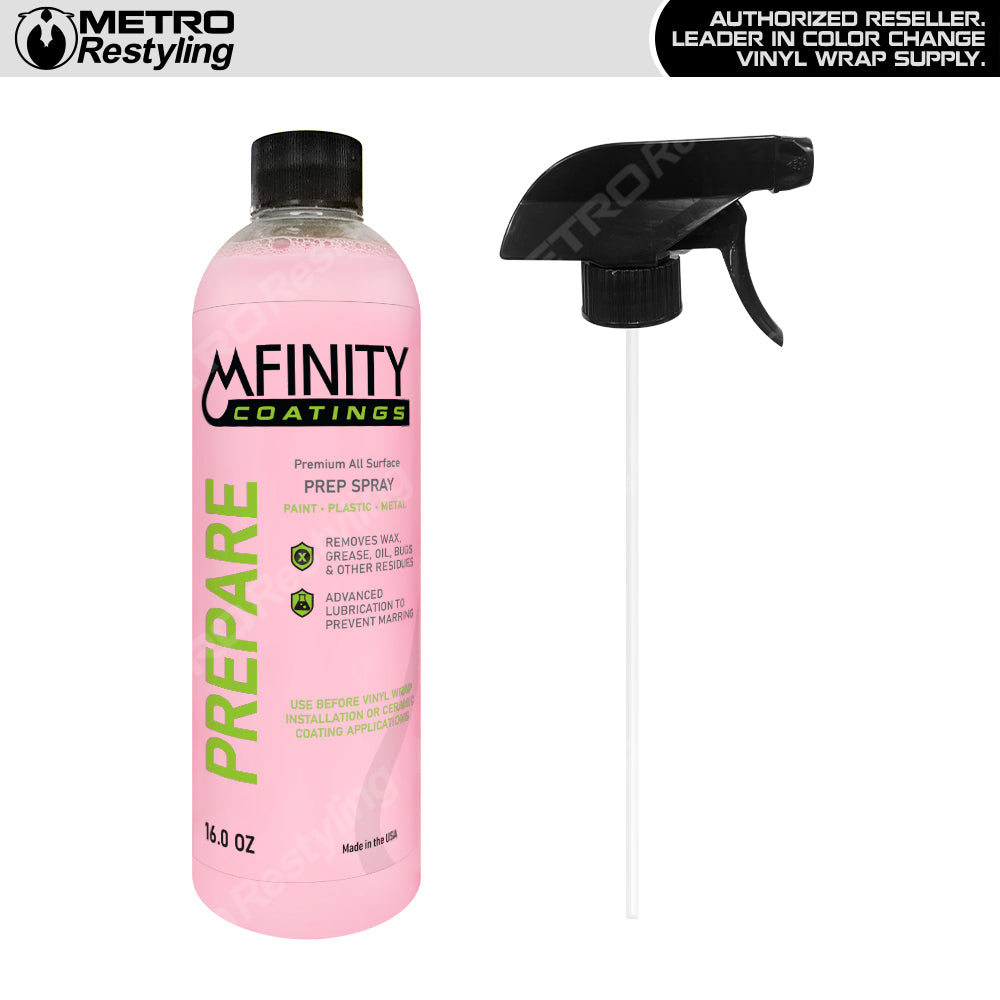
Choose cleaning agents safe for the surface material. Avoid harsh chemicals that can damage paint or plastic. Isopropyl alcohol is a good choice for removing oils and residues. Apply it with a clean cloth and wipe gently. Let the surface dry completely before applying the vinyl wrap.
Repair Imperfections
Repairing surface imperfections is key before applying a vinyl wrap. Small scratches and dents can affect how well the wrap sticks and looks. A smooth and even surface helps the vinyl lay flat and last longer. Take time to fix these issues carefully. This step ensures your wrap looks clean and professional.
Fill Scratches And Dents
Start by cleaning the area around scratches and dents. Use a good-quality filler to cover these spots. Apply the filler smoothly with a plastic spreader. Let it dry fully before moving on. This step hides flaws and creates a flat base for the wrap.
Sand Rough Areas Smooth
Once the filler is dry, use fine sandpaper to smooth the surface. Sand lightly in circular motions to blend the filler with the surrounding area. Remove dust with a damp cloth after sanding. A smooth surface helps the vinyl wrap stick better and look flawless.
Dry The Surface Completely
Drying the surface completely is a crucial step before applying a vinyl wrap. Any moisture left behind can cause bubbles and poor adhesion. It also helps the vinyl stick better and last longer. Take your time to ensure the surface is fully dry before moving on.
Avoid Moisture Traps
Check all edges and corners carefully. Water can hide in small gaps and crevices. These moisture traps can ruin the wrap over time. Use a soft cloth to press into these areas and absorb any hidden water. Make sure no moisture remains anywhere on the surface.
Use Microfiber Towels
Microfiber towels work best for drying. They absorb water quickly without scratching the surface. Use a clean microfiber towel to gently wipe the area. Change towels if they become too wet. This method ensures the surface stays clean and dry, ready for the vinyl wrap.

Credit: www.youtube.com
Remove Old Adhesive Residue
Removing old adhesive residue is a key step before applying a vinyl wrap. Leftover glue can cause bumps or peeling in the new wrap. Clean surfaces help vinyl stick better and last longer. Take your time to clear every spot with residue.
Use Adhesive Removers Safely
Choose an adhesive remover that suits your surface type. Read product labels to avoid damage. Wear gloves to protect your skin from chemicals. Work in a well-ventilated area to avoid fumes. Apply the remover gently with a cloth or sponge. Let it sit for a few minutes to soften residue. Wipe off the softened glue carefully. Avoid scrubbing hard to prevent surface scratches.
Test On Small Areas First
Try the adhesive remover on a small hidden area first. Watch for any discoloration or damage. Wait a few minutes after applying to check results. This step prevents surprises on the main surface. If the remover harms the test spot, try a different product. Testing ensures a safe and smooth cleaning process.
Degrease For Better Adhesion
Degreasing the surface is a key step before applying a vinyl wrap. Dirt, oils, and grease prevent the wrap from sticking well. Clean surfaces help the vinyl stick tightly and last longer. This step avoids bubbles and peeling later.
Choose The Right Degreaser
Select a degreaser that removes oils without harming the surface. Use products made for automotive or vinyl prep. Avoid harsh chemicals that can damage paint or plastic. Test the degreaser on a small area first. Make sure it cleans without leaving residue behind.
Wipe Down Even After Cleaning
After using the degreaser, wipe the surface with a clean cloth. This removes leftover dirt and cleaning product. Use a lint-free cloth to avoid fibers sticking to the surface. Repeat wiping until the surface feels smooth and clean. A well-prepped surface improves vinyl wrap adhesion.
Temperature And Environment Prep
Preparing the right temperature and environment is key before applying a vinyl wrap. The surface must be clean and dry. The environment affects how well the vinyl sticks and how smooth the wrap looks.
Ideal Temperature Range
Keep the temperature between 60°F and 80°F (15°C to 27°C). Too cold makes the vinyl stiff and hard to stretch. Too hot makes the adhesive too soft and sticky. This can cause bubbles and wrinkles. A steady temperature helps the vinyl stick evenly.
Work In Dust-free Areas
Dust and dirt cause bumps under the vinyl. These bumps show after wrapping. Use a clean, closed space to avoid dust. Turn off fans and close windows. Wipe the surface with a microfiber cloth before starting. A dust-free area gives a smooth, clean finish.
Final Surface Inspection
The final surface inspection is a crucial step before applying a vinyl wrap. This step ensures the surface is perfectly clean and smooth. Any dust or debris left behind can cause bumps or bubbles under the vinyl. A careful inspection helps avoid these problems and makes sure the wrap sticks well.
Check For Dust And Debris
Start by running your hand gently over the surface. Feel for any small particles or rough spots. Use a soft cloth or microfiber towel to wipe the area. Even tiny dust particles can affect the wrap’s finish. Check corners, edges, and hard-to-reach spots. These places often collect dirt and dust.
Use Proper Lighting
Good lighting reveals imperfections on the surface. Use bright, natural light or a strong LED lamp. Shine the light at an angle to see bumps or dust clearly. Shadows help highlight flaws that you might miss otherwise. Inspect the surface from different angles for a thorough check.

Credit: www.amazon.com
Credit: metrorestyling.com
Frequently Asked Questions
What Is The First Step To Prep Surface For Vinyl Wrap?
The first step is thoroughly cleaning the surface to remove dirt, grease, and debris. Use soap and water, followed by isopropyl alcohol for best results. A clean surface ensures better vinyl adhesion and prevents bubbles or peeling.
How To Remove Contaminants Before Vinyl Wrapping?
Use a clay bar or detailing spray to remove contaminants like tar and sap. Follow up with isopropyl alcohol to eliminate oils and residues. This ensures a smooth, clean surface for vinyl wrap application.
Why Is Surface Temperature Important For Vinyl Wrapping?
Surface temperature affects vinyl flexibility and adhesion. Ideally, work in temperatures between 60°F and 80°F. Too cold or hot surfaces can cause poor adhesion or vinyl damage during installation.
Can I Prep A Painted Surface For Vinyl Wrap?
Yes, prepping painted surfaces involves cleaning, degreasing, and lightly sanding if needed. Ensure paint is fully cured and free of wax or polish. Proper prep enhances vinyl wrap durability and appearance.
Conclusion
Preparing the surface well makes vinyl wrap last longer. Clean and dry the area carefully. Remove all dirt, grease, and old paint. Smooth out bumps and scratches for a neat look. Take your time; rushing can cause mistakes. Proper prep helps the vinyl stick tight.
Follow these steps to get the best results. Your wrap will look smooth and stay strong. A good start means a good finish. Keep these tips in mind before wrapping.
