Have you noticed your car’s body side molding starting to peel or fall off? It’s a common issue that can make your vehicle look worn out and less polished.
But don’t worry—reattaching your body side molding is easier than you might think. In this guide, you’ll learn simple, step-by-step methods to fix it yourself. By the end, your car will look neat and protected again. Ready to bring back that smooth, sleek finish?
Let’s get started!
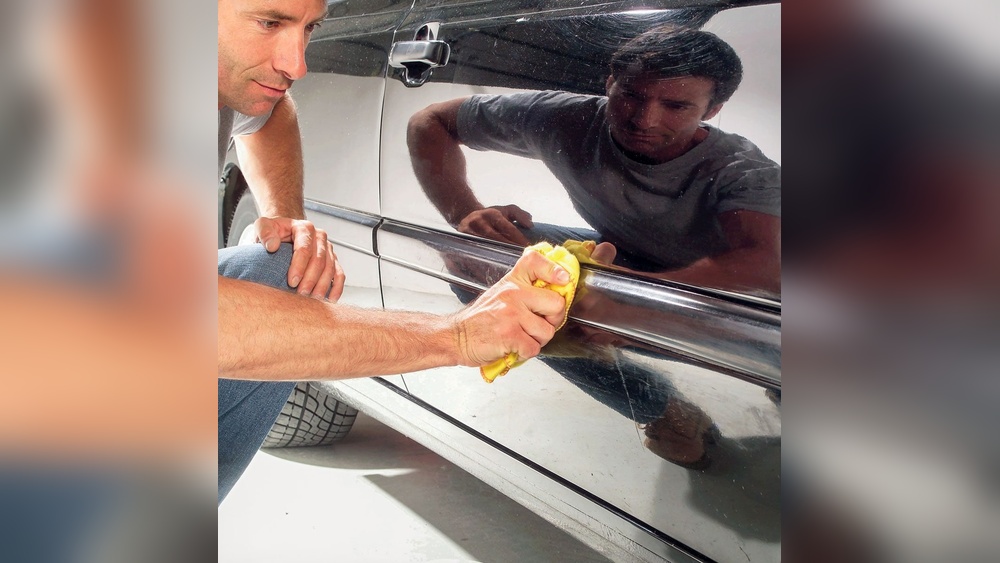
Credit: www.familyhandyman.com
Tools And Materials Needed
Reattaching body side molding requires the right tools and materials. Using proper items ensures the molding sticks well and stays in place. This section lists the essential tools and best adhesives or tapes for a smooth job.
Essential Tools
You need a few basic tools for this task. Start with a plastic trim removal tool to avoid scratches. A clean cloth helps remove dirt and old adhesive. Use a mild cleaner to prepare the surface. A flathead screwdriver can assist in prying off old molding. Lastly, a measuring tape ensures the molding aligns correctly.
Recommended Adhesives And Tapes
Choose adhesives designed for automotive use. Double-sided automotive tape is strong and easy to apply. Look for tape with foam backing for a tight seal. If using glue, pick a flexible adhesive that bonds metal and plastic. Avoid regular household glue, as it won’t hold well outdoors.
Preparing The Surface
Preparing the surface is the first step to reattaching body side molding properly. A clean and smooth surface helps the molding stick better. Dirt, grease, and old adhesive can stop the new adhesive from holding. Take time to prepare the area carefully. This will make the repair last longer and look better.
Cleaning The Area
Start by washing the area with soap and water. Use a soft cloth or sponge to remove dirt and dust. Dry the surface with a clean towel. Make sure no water remains on the surface before moving on. A clean surface lets the adhesive bond tightly with the car’s body.
Removing Old Adhesive Residue
Old glue can stop new adhesive from sticking. Use an adhesive remover or rubbing alcohol to soften the residue. Apply it with a cloth and rub gently. Avoid harsh scrubbing to protect the paint. Remove all sticky bits to create a smooth surface. This step is key to a strong, long-lasting hold.
Removing The Side Molding
Removing the side molding is the first step to reattach it properly. This process requires care to avoid damage. The molding is often held by clips or adhesive. Proper removal helps keep these parts intact. It also makes reinstallation easier and cleaner.
Safe Detachment Techniques
Start by cleaning the area around the molding. Use a plastic trim tool to gently pry the molding away. Avoid metal tools to prevent scratching the paint. Work slowly along the edge of the molding. Apply steady pressure until the molding begins to loosen. Do not pull hard or fast. This reduces the risk of breaking the molding or clips.
Handling Clips And Fasteners
Identify the clips or fasteners holding the molding. Some clips snap out, while others may need unscrewing. Keep these clips safe for reinstallation. If clips break, replace them with new ones. Use a small container to hold all clips and fasteners. This prevents losing any parts during the work.

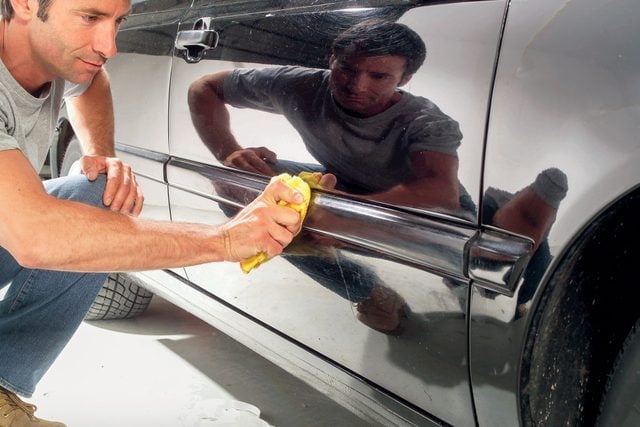
Credit: www.youtube.com
Applying Adhesive Or Tape
Applying adhesive or tape is a key step in reattaching body side molding. The right glue or tape keeps the molding secure and helps it last longer. A clean surface and careful application make a big difference.
Choosing the right adhesive or tape ensures the molding stays firmly attached. Using the wrong product can cause it to fall off quickly. The type of material on your car and molding affects the best choice.
Choosing The Right Adhesive
Select an adhesive designed for automotive use. Look for products labeled as weatherproof and strong. Double-sided automotive tape works well for many moldings. Avoid regular household glue; it may not hold up outdoors.
Check the temperature range the adhesive can handle. Cars face heat, cold, and rain. The adhesive must stay sticky in all conditions. Silicone-based adhesives offer good flexibility and durability.
Proper Application Method
Start by cleaning the surface thoroughly. Remove dirt, wax, and old adhesive with rubbing alcohol. Let the surface dry completely before applying tape or glue.
Apply the adhesive evenly along the back of the molding. Press the molding firmly against the car’s body. Hold it in place for several minutes to ensure strong contact.
Avoid touching the adhesive with your fingers. Oils from skin reduce its stickiness. Use gloves or a clean cloth if possible. Let the adhesive cure as instructed before driving or washing the car.
Reattaching The Molding
Reattaching body side molding can restore your car’s look quickly. It also helps protect the vehicle from scratches and dents. The key is to ensure the molding fits perfectly and sticks firmly. This section explains how to do it step by step.
Aligning The Molding Correctly
Start by cleaning the area where the molding goes. Remove dirt and old glue for better adhesion. Hold the molding near the car and check the fit. Match the edges and curves to the car’s shape. Make small adjustments until the molding sits evenly. Take your time. Proper alignment prevents gaps and uneven lines.
Securing And Pressing Firmly
Use double-sided automotive tape or molding adhesive for a strong bond. Apply the tape or glue evenly on the back of the molding. Press the molding against the car firmly. Apply pressure along the entire length to ensure good contact. Hold it for a few minutes or use clamps if needed. Avoid touching the adhesive surface. Let the glue dry as per instructions before driving.

Credit: www.youtube.com
Final Touches
After reattaching the body side molding, the final steps ensure a neat and lasting finish. Paying close attention here helps keep your car looking sharp. These touches protect the molding and enhance its hold.
Cleaning Excess Adhesive
Remove extra glue before it hardens. Use a soft cloth dampened with rubbing alcohol. Gently wipe around the molding edges. Avoid harsh scrubbing to prevent damage to the paint. Clean surfaces improve the appearance and stop dirt buildup.
Curing Time And Care Tips
Let the adhesive cure fully. Avoid washing your car for at least 24 hours. Keep your car in a dry, shaded place during this time. Do not press or pull on the molding. Proper curing strengthens the bond and extends molding life.
Frequently Asked Questions
How Do You Remove Old Body Side Molding Safely?
To remove old molding, gently heat the adhesive with a heat gun or hairdryer. Use a plastic scraper to avoid paint damage. Peel the molding slowly to prevent tearing or bending. Clean any residue with adhesive remover for a smooth surface.
What Tools Are Needed To Reattach Side Molding?
You need adhesive tape or automotive glue, a heat gun or hairdryer, a plastic scraper, cleaning solvent, and a cloth. These tools help ensure proper adhesion and a clean, smooth finish on the car body.
How Long Does It Take To Reattach Body Side Molding?
Reattaching molding usually takes 30 to 60 minutes. Time varies based on the car model and adhesive drying time. Proper preparation and careful application ensure a durable bond and professional look.
Can I Use Regular Glue To Reattach Molding?
No, regular glue is not recommended. Use automotive-grade adhesive or double-sided tape designed for car trim. These adhesives withstand weather and vibrations, ensuring molding stays securely attached.
Conclusion
Reattaching body side molding is a simple task anyone can do. Clean the surface well and use the right adhesive for a strong hold. Take your time to align the molding carefully for the best fit. This small fix can improve your car’s look instantly.
Regular care helps keep the molding in place longer. Try these steps to save money and avoid a trip to the shop. Small repairs like this make a big difference in your vehicle’s appearance. Give it a try and see how easy it really is.


