
If you want to give your 2018 Rav4 a sleek, customized look while protecting it from dings and scratches, installing body side molding is a smart move. You might think this is a job for professionals, but with the right tools and clear steps, you can do it yourself and save time and money.
In this guide, you’ll learn exactly how to install body side molding on your Rav4 easily and securely. Keep reading to discover simple tips that make the process smooth and ensure your car looks great for years to come.
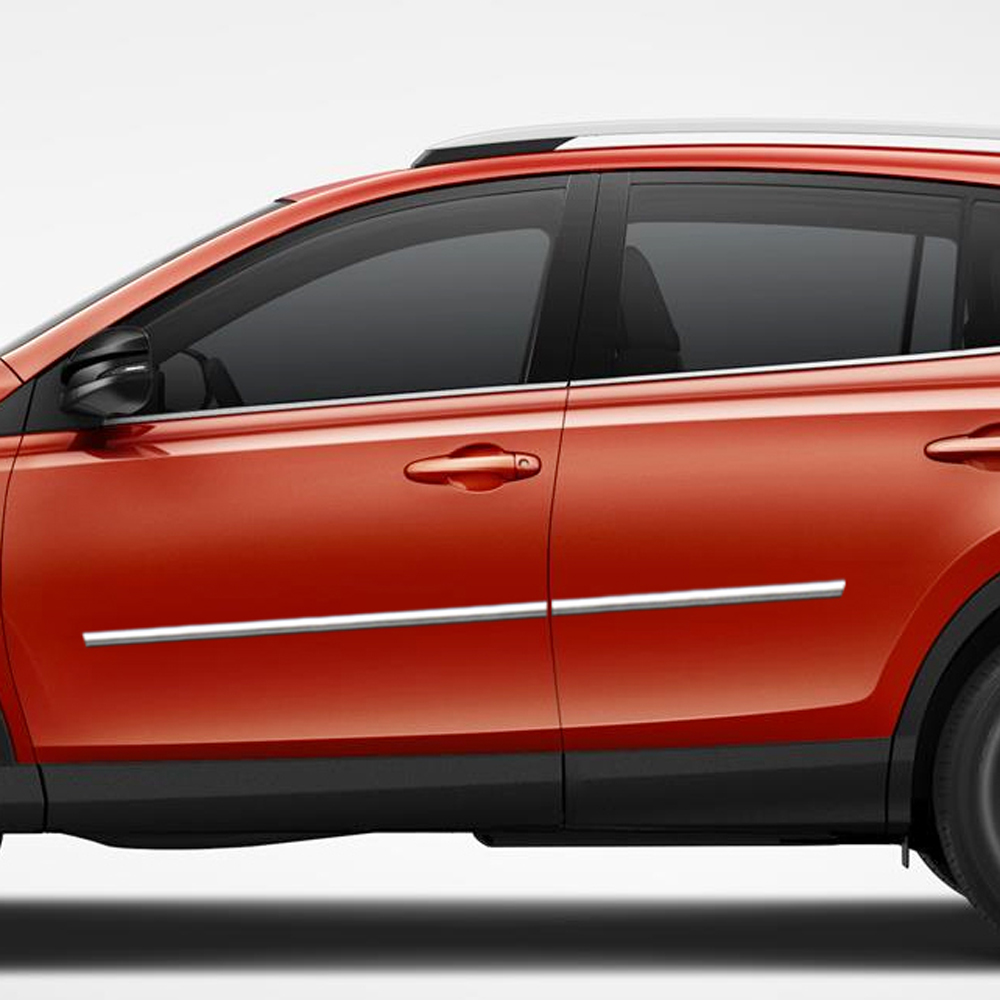
Credit: www.sportwing.com
Tools And Materials Needed
Installing body side molding on your 2018 Rav4 needs careful preparation. Gathering the right tools and materials saves time and avoids mistakes. Use only quality items to ensure a clean and lasting fit.
Essential Tools
Start with a clean workspace and collect these tools. A flathead screwdriver helps remove old clips or molding. Use a plastic trim removal tool to avoid scratching the paint. A tape measure ensures precise placement along the car’s side. Have a rubbing alcohol bottle or adhesive cleaner to prepare the surface. Use a clean cloth or microfiber towel for wiping. Heat gun or hair dryer helps soften old adhesive. Finally, keep masking tape handy to mark the position of new molding.
Choosing The Right Molding
Select molding designed for the 2018 Rav4 model. OEM (Original Equipment Manufacturer) parts often fit best. They match the shape and color of your car perfectly. Universal moldings may require trimming and might not fit as well. Choose a molding with strong adhesive backing for easy installation. Pick a style that complements your car’s look. Matte black or chrome finishes are popular choices. Confirm the length matches your vehicle’s side panels before buying.
Preparing The Vehicle
Preparing your 2018 Rav4 for body side molding installation is an important first step. Proper preparation ensures the molding sticks well and lasts longer. This process involves cleaning and removing any old molding carefully.
Cleaning The Surface
Start by washing the vehicle’s side panel with soap and water. Remove all dirt, dust, and grease. Use a clean cloth to dry the surface completely. For stubborn grime, use rubbing alcohol on a soft cloth. This helps the adhesive bond better. Avoid touching the cleaned area with your hands after cleaning.
Removing Old Molding
Check if old molding is still on the car. Gently peel it off using your fingers or a plastic scraper. Avoid metal tools to prevent scratching the paint. If the old molding is hard to remove, apply heat with a hairdryer. This softens the adhesive. Remove leftover glue using adhesive remover. Clean the area again after removing the residue.
Marking And Aligning
Marking and aligning the body side molding on your 2018 Rav4 is a key step. It ensures the molding fits perfectly and looks great. Taking time to mark the correct spots helps avoid mistakes. This process guides the installation for a smooth and neat finish.
Positioning The Molding
Start by holding the molding against the car’s side. Check the height and distance from the door edges. Make sure it follows the car’s natural lines. Adjust the molding until it looks straight and balanced. Use a soft cloth to protect the car’s paint while positioning. Stand back and view from different angles. This helps confirm the molding is placed evenly.
Using Tape For Guidelines
Apply painter’s tape along the edges where the molding will go. The tape acts as a guide for straight placement. Use a ruler or measuring tape for accuracy. Mark small points on the tape to note exact spots. This prevents shifting during installation. The tape also protects the paint from scratches. Remove the tape carefully after the molding is set.
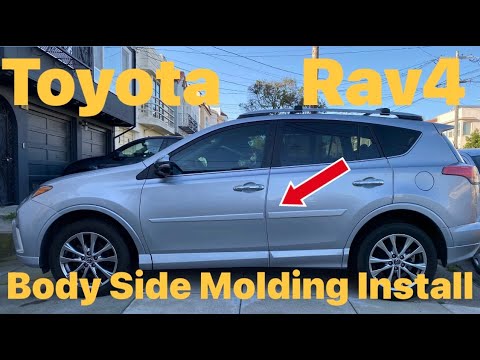
Credit: www.youtube.com
Applying The Body Side Molding
Applying the body side molding on your 2018 Rav4 is a simple but careful process. Proper application ensures the molding sticks well and looks great. It protects your vehicle and adds a sleek style. Follow these steps to apply the molding correctly.
Peeling The Adhesive Backing
Start by gently peeling the adhesive backing from the molding strip. Pull slowly to avoid touching the sticky side. Dirt or oils from your fingers can weaken the bond. Keep the adhesive clean and ready to stick firmly to the car’s surface.
Securing The Molding In Place
Align the molding carefully along the side of your Rav4. Press it firmly against the body, starting from one end. Use even pressure to avoid air bubbles or gaps. Hold the molding in place for a few minutes to improve adhesion. This step helps the molding stay secure for a long time.
Final Adjustments And Checks
After attaching the body side molding on your 2018 Rav4, the final step is to check and adjust everything. This step ensures the molding fits well and stays in place for a long time. Taking time here helps avoid future problems like peeling or misalignment.
Ensuring Proper Fit
Look closely at the edges of the molding. Make sure it lines up with the car’s body curves smoothly. Check for any gaps or raised areas. Press gently along the entire length to confirm it sits flush against the surface. Adjust the molding slightly if it seems uneven. Proper fit keeps the molding secure and looks neat.
Pressing For Strong Adhesion
Firm pressure helps the adhesive bond well to the car’s surface. Use your palms or a soft cloth to press the molding evenly. Hold the pressure for about 30 seconds on each section. This step activates the glue and prevents the molding from coming loose. Avoid pressing too hard to not damage the molding or paint.
Maintenance Tips
Maintaining the body side molding on your 2018 Rav4 keeps it looking sharp and protects your car. Regular care helps avoid damage and keeps the molding firmly attached. Simple steps can extend the life of your molding and maintain your vehicle’s style.
Cleaning The Molding
Use a soft cloth and mild soap to clean the molding. Avoid harsh chemicals that can damage the surface. Rinse thoroughly with water to remove all soap residue. Dry the molding with a clean towel to prevent water spots. Clean the molding regularly to keep dirt and grime from building up.
Preventing Damage
Park your Rav4 away from tight spaces to avoid scratches. Be careful when opening doors near other cars or walls. Avoid using high-pressure washers directly on the molding. Check the molding often for loose or damaged areas. Repair or replace damaged molding quickly to protect the car’s body.

Credit: autoparts.toyota.com
Frequently Asked Questions
How Do I Prepare My 2018 Rav4 For Molding Installation?
Start by cleaning the side panel thoroughly. Remove dirt and grease to ensure proper adhesion. Use rubbing alcohol and a clean cloth for best results.
What Tools Are Needed To Install Body Side Molding?
You will need adhesive promoter, a plastic pry tool, cleaning supplies, and the body side molding kit. These tools help ensure a smooth and secure installation.
How Long Does It Take To Install Side Molding On A Rav4?
The installation usually takes around 30 to 45 minutes. It depends on your experience and preparation. Taking your time improves accuracy and adhesion.
Can I Remove And Reuse Body Side Molding?
Reusing molding is not recommended. Adhesive backing loses its grip once removed. It’s best to use new molding for a secure fit.
Conclusion
Installing body side molding on your 2018 Rav4 is simple and quick. Follow each step carefully for the best fit. Use the right tools to avoid damage. Clean the surface well before applying the molding. Take your time and check the alignment twice.
This small upgrade can protect your car and improve its look. Enjoy your work and drive with confidence.


