
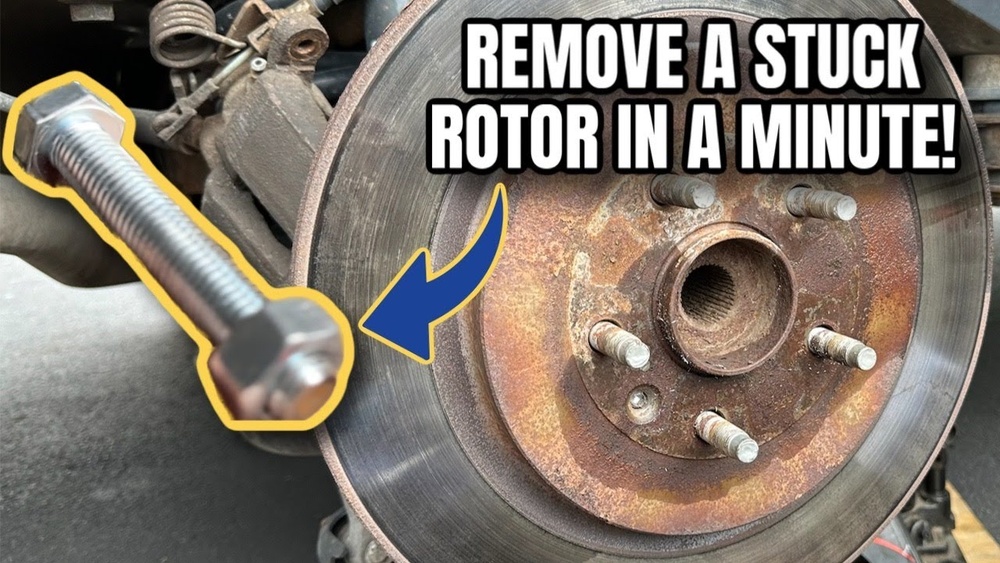
Have you ever struggled to remove a brake rotor that just won’t budge? It’s frustrating, time-consuming, and can make a simple repair feel impossible.
But don’t worry—removing a seized brake rotor is something you can handle with the right steps. In this guide, you’ll discover easy and effective techniques to free that stuck rotor without damaging your vehicle. Keep reading, and you’ll be back on the road faster than you think.
Signs Of A Seized Brake Rotor
Knowing the signs of a seized brake rotor helps keep your vehicle safe. A seized rotor stops the wheel from turning freely. This can cause serious driving problems. Early detection prevents costly repairs and dangerous situations.
Common Symptoms
A common sign is the brake dragging feeling. The car pulls to one side when driving. You may hear squealing or grinding noises from the wheel. The brake pedal might feel stiff or soft. The wheel can also get hotter than usual after driving. These symptoms show the rotor may be stuck.
Impact On Vehicle Performance
A seized rotor reduces fuel efficiency. The engine works harder to move the car. Braking distance increases, making it unsafe to stop quickly. The car may shake or vibrate during braking. This causes uneven tire wear and damages other parts. Overall, the vehicle’s control and safety suffer greatly.
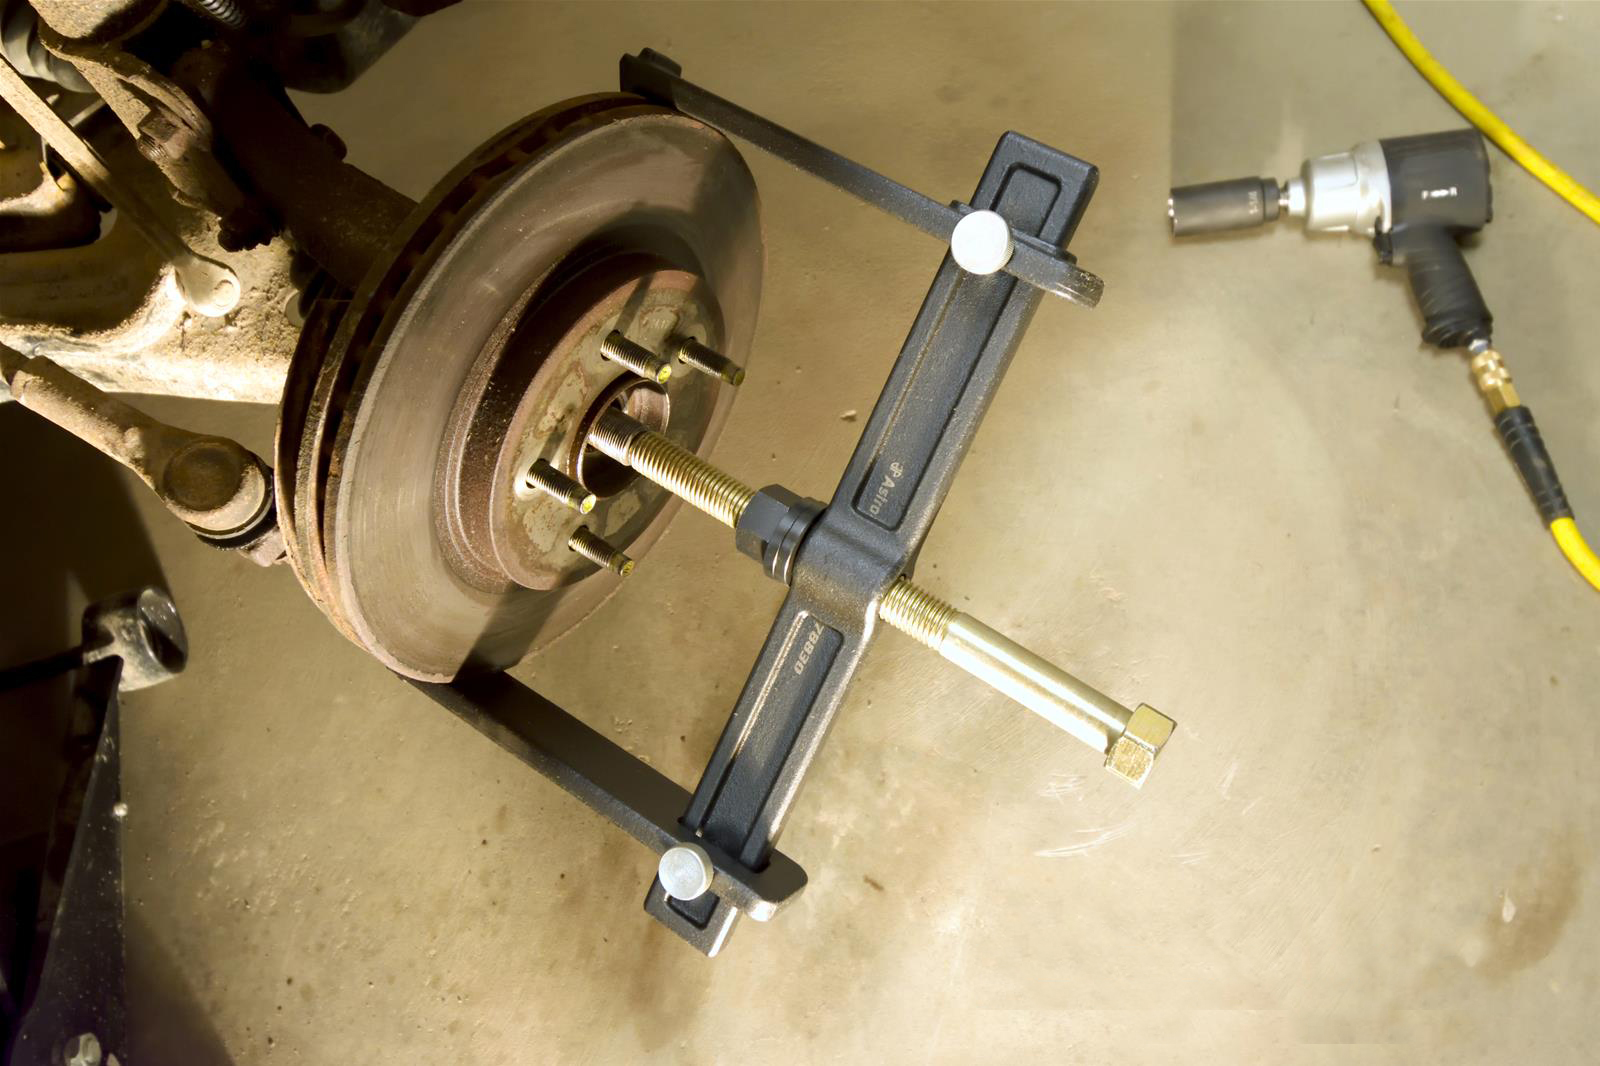
Credit: www.onallcylinders.com
Tools Needed For Removal
Removing a seized brake rotor requires the right tools to make the job easier and safer. Having these tools ready helps you work efficiently and avoid damage. The tools include basic hand tools and safety equipment. Both are important for a smooth removal process.
Essential Hand Tools
You need a socket set to remove the wheel and caliper bolts. A breaker bar helps loosen tight bolts without extra strain. A rubber mallet or hammer is useful to tap the rotor gently. A screwdriver or pry bar can help remove stuck parts. Penetrating oil loosens rust and corrosion around the rotor.
Safety Equipment
Wear safety glasses to protect your eyes from flying debris. Gloves protect your hands from sharp edges and dirt. Use a dust mask to avoid breathing brake dust. Proper clothing keeps your skin safe from cuts and scrapes. Always work in a well-ventilated area for better air quality.
Preparing Your Vehicle
Preparing your vehicle is the first step to remove a seized brake rotor safely. It makes the process easier and prevents accidents. Take your time to set up your workspace and tools properly. This preparation ensures you can work without interruptions and avoid damage to your car parts.
Securing The Car
Park your car on a flat, solid surface. Engage the parking brake to stop the car from moving. Use wheel chocks to block the wheels still on the ground. This keeps the car steady while you work. Never skip this step to ensure your safety.
Removing The Wheel
Loosen the lug nuts slightly before lifting the car. Use a jack to raise the vehicle at the correct lift point. Place jack stands under the car for extra support. Remove the lug nuts completely and take off the wheel. This gives you clear access to the brake rotor.
Loosening The Seized Rotor
Removing a seized brake rotor can be tough. The rotor often sticks due to rust or dirt. Loosening it carefully helps avoid damage. Use simple tools and patience. Follow these steps to free the rotor safely.
Using Penetrating Oil
Spray penetrating oil around the rotor hub. Let it soak for 15 to 20 minutes. The oil breaks rust and loosens stuck parts. Apply again if the rotor stays tight. Avoid rushing this step for better results.
Applying Heat Safely
Heat expands metal and helps break rust bonds. Use a heat gun or propane torch. Keep the flame moving to avoid damage. Do not overheat the brake parts. Heat for one to two minutes, then try to loosen the rotor.
Tapping Techniques
Tap the rotor edges with a rubber mallet. Use short, gentle hits to avoid harm. Focus on different spots around the rotor. Tapping shakes rust loose and frees the rotor. Avoid using a metal hammer directly on the rotor.
Removing The Rotor
Removing a seized brake rotor requires patience and careful steps. The rotor often sticks due to rust or dirt. Proper removal helps avoid damage to other brake parts. Follow each step closely for a smooth process.
Detaching Brake Components
Start by loosening the wheel lug nuts. Remove the wheel to access the brake assembly. Next, unbolt the caliper carefully. Use a wrench to avoid stripping bolts. Hang the caliper with a wire to prevent stress on the brake line. Remove the brake pads from the caliper bracket. This gives clear access to the rotor. Check for any retaining screws on the rotor. Unscrew them using a screwdriver if present.
Extracting The Rotor
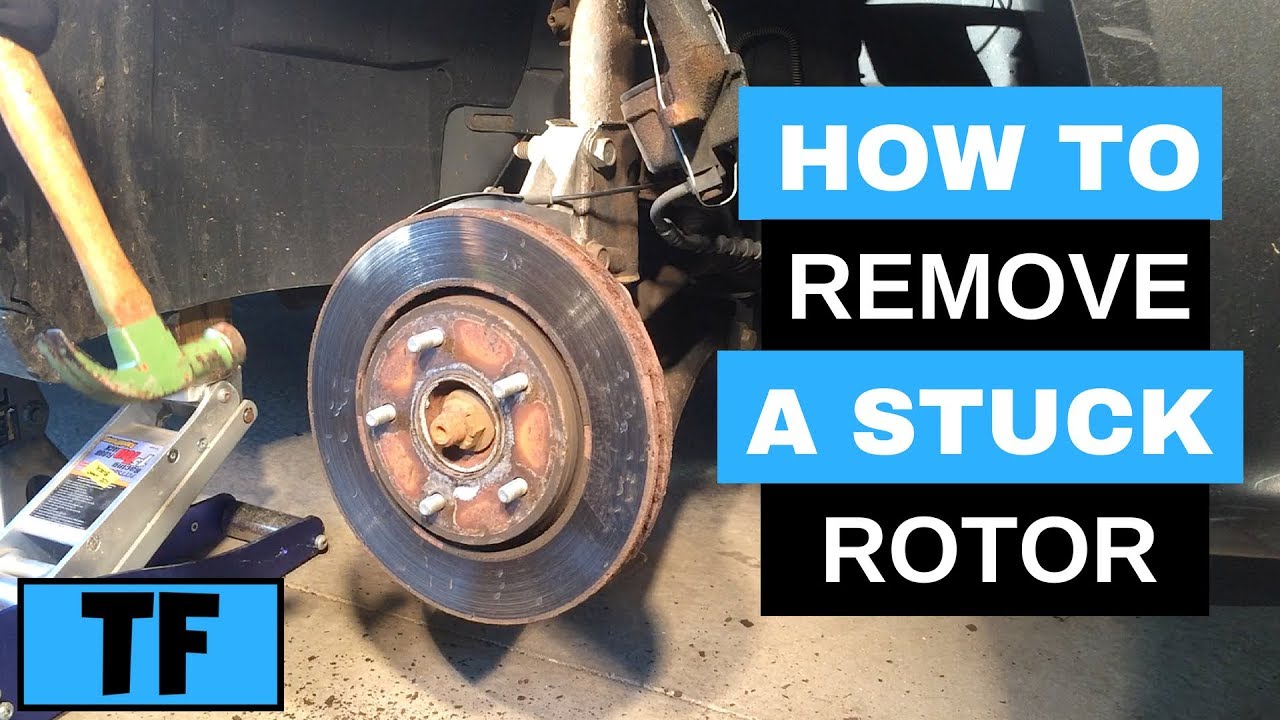
The rotor may be stuck tightly to the hub. Tap around its edge lightly with a rubber mallet. This helps break rust and loosen the rotor. Avoid hitting too hard to prevent damage. Use a pry bar gently if the rotor does not move. Pull the rotor straight off the hub once loose. Clean the hub surface before installing a new rotor. This ensures proper fit and prevents future seizure.
Credit: www.youtube.com
Preventing Future Seizures
Preventing future seizures of brake rotors saves time and money. It keeps your car safe and running smoothly. Small steps can stop the rotor from sticking again. Focus on care and correct methods.
Regular Maintenance Tips
Check your brakes often. Look for rust or dirt on rotors. Clean rotors with brake cleaner to remove debris. Replace brake pads when worn out. Worn pads cause uneven pressure and damage.
Keep the brake system dry. Water and moisture cause rust, leading to seizing. Avoid driving through deep water if possible. Store your vehicle in a dry place.
Lubricate contact points. Use high-temperature grease on caliper slides and bolts. This helps parts move freely and prevents sticking. Regular lubrication reduces wear and tear.
Proper Installation Practices
Always clean the rotor surface before installation. Remove rust, dirt, and oil. This ensures good contact between rotor and hub. Use a wire brush or sandpaper for cleaning.
Tighten lug nuts evenly in a star pattern. Uneven torque causes rotor warping and seizing. Use a torque wrench to apply correct pressure. Follow the manufacturer’s torque specifications.
Apply anti-seize compound on the hub surface. This prevents metal from sticking together. Do not apply anti-seize on the rotor braking surface. Correct application helps easy removal later.
When To Seek Professional Help
Removing a seized brake rotor can be tricky. Some problems are easy to fix at home. Others need expert help. Knowing when to call a professional can save time and money. It also keeps you safe on the road.
Signs Of Complex Damage
Look for deep rust or cracks on the rotor. Warped or bent rotors need special tools to fix. Damage to the brake caliper or pads may mean bigger issues. Strange noises or vibrations during braking can indicate serious problems. These signs show the rotor is not just stuck.
Safety Considerations
Working on brakes is risky without experience. A small mistake can cause brake failure. If the rotor is hard to remove, forcing it can damage parts. Proper tools and knowledge prevent accidents. Professionals follow safety steps to protect you and your car. Trust experts if you feel unsure or unsafe.

Credit: www.reddit.com
Frequently Asked Questions
How Do I Identify A Seized Brake Rotor?
A seized brake rotor usually causes grinding noises and uneven braking. The wheel may feel hot after driving. You might notice vibrations or difficulty in wheel rotation when lifted.
What Tools Are Needed To Remove A Seized Brake Rotor?
You need a breaker bar, penetrating oil, a rubber mallet, and possibly a heat gun. A lug wrench and jack are essential for wheel removal. Safety gloves and eye protection are recommended.
Can Penetrating Oil Help Free A Stuck Brake Rotor?
Yes, penetrating oil loosens rust and corrosion binding the rotor. Apply it generously and let it sit for 15-30 minutes. This softens rust, making rotor removal easier and preventing damage.
Is Heating The Rotor Safe To Remove It?
Yes, heating the rotor expands the metal and breaks rust bonds. Use a heat gun or propane torch carefully. Avoid overheating to prevent damage to surrounding components.
Conclusion
Removing a seized brake rotor takes patience and the right tools. Start with safety and follow each step carefully. Applying heat and using penetrating oil often helps loosen stuck parts. Gentle tapping can free the rotor without damage. Avoid rushing to prevent injury or further problems.
Regular brake maintenance can stop rotors from seizing again. Keep your car safe and reliable with simple care. Now, you can handle this common issue with confidence and ease.


