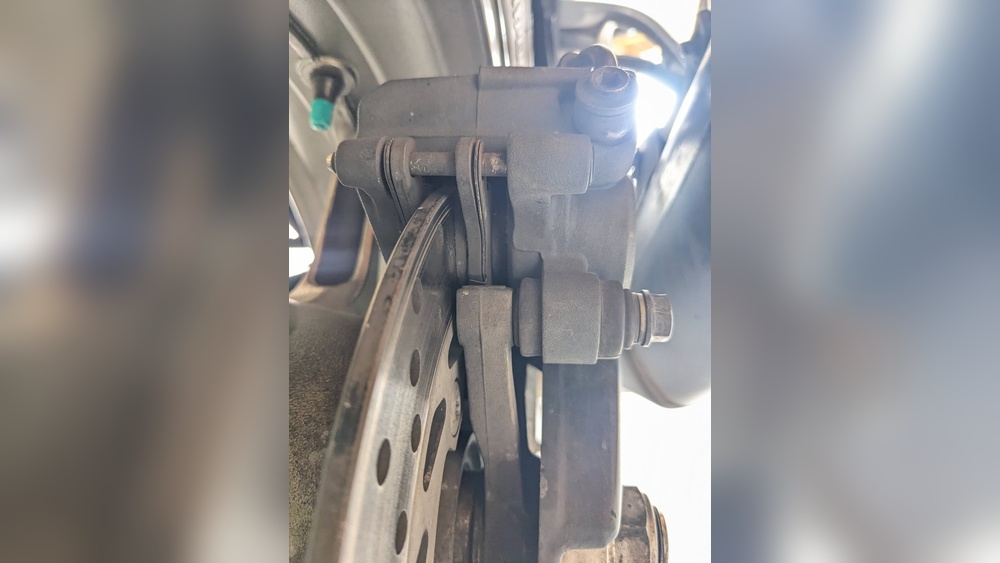
Brake dust on your rotors can be more than just an eyesore—it can affect your car’s performance and safety. If you’ve noticed that gritty, black residue building up every time you drive, you’re not alone.
But here’s the good news: removing brake dust is easier than you might think, and doing it right can keep your brakes working smoothly and extend the life of your rotors. You’ll discover simple, effective steps to clean your rotors safely at home.
Ready to make your wheels shine and drive safer? Let’s dive in.

Credit: www.youtube.com
Causes Of Brake Dust
Brake dust is a common problem for many drivers. It builds up on rotors and wheels, making them look dirty. Understanding what causes brake dust helps to manage and reduce it. Brake dust forms from tiny particles released during braking. These particles come from the brake pads, rotors, and the driving environment. Knowing the main causes can help keep your brakes cleaner and safer.
Brake Pad Composition
Brake pads contain different materials. Some have metal, others have organic or ceramic parts. Metal brake pads create more dust because they wear down faster. Organic and ceramic pads produce less dust but cost more. The type of brake pad affects how much dust appears on the rotors.
Driving Conditions
Hard braking creates more dust than gentle stops. Stop-and-go traffic also increases dust buildup. Driving in dusty or dirty areas adds extra particles. Long downhill drives cause brakes to work harder, making more dust. Smooth, steady driving helps reduce brake dust formation.
Rotor Materials
Rotors are made of different metals like cast iron or steel. Some metals wear down faster, creating more dust. High-performance rotors may resist dust better. The type and quality of rotor material influence dust levels. Regular maintenance keeps rotors clean and dust low.
Tools And Materials Needed
Removing brake dust from rotors requires the right tools and materials. Using proper items makes the cleaning easier and safer. Prepare everything before starting the job. This helps avoid interruptions and ensures a smooth process.
Cleaning Solutions
Choose a cleaning solution designed for brake parts. Brake cleaner sprays work well to dissolve dust quickly. Avoid harsh chemicals that can damage the rotor surface. Water and mild soap may help but are less effective.
Brushes And Cloths
Use a soft-bristle brush to scrub the dust gently. Avoid hard brushes that may scratch the rotor. Microfiber cloths are perfect for wiping off residue. These cloths do not leave fibers behind and clean efficiently.
Protective Gear
Wear gloves to protect your hands from chemicals and dirt. Safety glasses keep dust and cleaner out of your eyes. A dust mask can prevent inhaling brake dust particles. Safety comes first during any cleaning task.
Preparing Your Vehicle
Preparing your vehicle is the first step to safely remove brake dust from rotors. This stage sets the foundation for effective cleaning and protects both you and your car. Taking time to prepare ensures the job goes smoothly and without damage.
Safety Precautions
Wear gloves to protect your hands from dirt and chemicals. Use safety glasses to shield your eyes from dust and debris. Make sure the car is on a flat surface to avoid accidents. Keep a fire extinguisher nearby for emergencies.
Lifting The Car
Park your car on a hard, level surface. Use a reliable jack to lift the car slowly. Place jack stands under the car for extra support. Never rely on the jack alone to hold the car up. Check stability before starting work.
Removing The Wheels
Loosen the lug nuts with a wrench before lifting the car. After lifting, remove the lug nuts completely and take off the wheels. Store the wheels in a safe place to avoid damage. This gives full access to the brake rotors for cleaning.
Step-by-step Cleaning Process
Removing brake dust from rotors is essential to keep your brakes working well and your car looking clean. This step-by-step guide will help you clean rotors safely and effectively. Follow each step carefully to avoid damage and get the best results.
Initial Dust Removal
Start by spraying the rotors with water. Use a hose or a spray bottle for this. This will loosen the loose brake dust. Next, wipe the surface with a dry cloth or a soft brush. Remove as much dust as possible before using any cleaner.
Applying Cleaner
Choose a brake cleaner made for rotors. Spray it evenly on the rotor surface. Make sure to cover all areas with dust and grime. Let the cleaner sit for a few minutes. This breaks down the brake dust and dirt for easier removal.
Scrubbing The Rotors
Use a soft brush or sponge to scrub the rotor. Focus on areas with heavy dust buildup. Avoid hard brushes that can scratch the rotor. Clean in small circles to lift the dust gently. Repeat scrubbing if needed for stubborn dirt.
Rinsing And Drying
Rinse the rotor thoroughly with water to remove all cleaner and dirt. Use a clean cloth to dry the surface well. Ensure no moisture remains to prevent rust. Your rotors are now clean and ready for use.
Preventing Future Brake Dust Build-up
Preventing brake dust build-up keeps your rotors cleaner longer. It helps maintain your car’s look and performance. Simple steps can reduce dust and save time on cleaning.
Regular Maintenance
Check your brakes often to catch dust early. Clean rotors regularly with a soft brush or cloth. Avoid harsh chemicals that may damage parts. Timely maintenance stops dust from hardening on rotors.
Upgrading Brake Pads
Choose brake pads that produce less dust. Ceramic pads create less dust than metallic ones. They also cause less wear on rotors. Upgrading pads helps cut down dust build-up significantly.
Protective Coatings
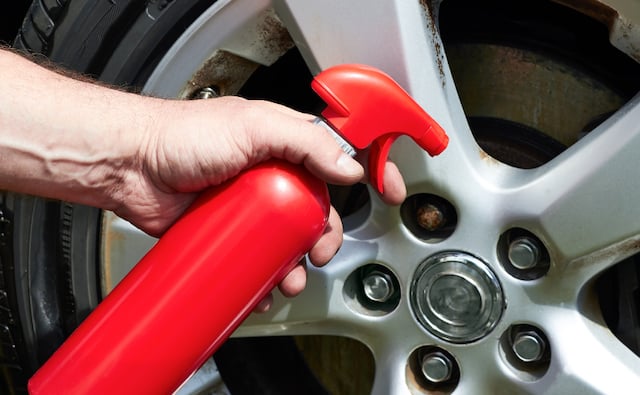
Apply a special brake dust protector on rotors. These coatings form a barrier against dust and dirt. They make cleaning easier and faster. Protective coatings extend the life of your brake parts.
Credit: www.buybrakes.com
Common Mistakes To Avoid
Removing brake dust from rotors requires care and the right approach. Many people make mistakes that can harm the rotors or reduce cleaning effectiveness. Avoiding these errors helps keep your brakes working well and looking clean.
Using Harsh Chemicals
Strong chemicals can damage the rotor surface. They might cause rust or wear out the protective coating. Use mild cleaners made for brake parts. Harsh chemicals also risk harming surrounding car parts.
Ignoring Safety
Brake dust contains tiny particles that can harm your lungs. Always wear a mask and gloves. Work in a well-ventilated area. Never blow dust away with compressed air. It spreads harmful dust into the air.
Skipping Drying
Water left on rotors can cause rust. Always dry the rotors completely after cleaning. Use a clean cloth or air dryer. Drying ensures the rotors stay clean and last longer.

Credit: www.reddit.com
Frequently Asked Questions
What Is The Best Way To Remove Brake Dust From Rotors?
Use a brake cleaner spray and a soft brush to clean rotors. Avoid harsh chemicals that can damage surfaces. Regular cleaning prevents dust buildup and maintains braking efficiency.
Can Household Products Remove Brake Dust Effectively?
Household products like vinegar or soap can clean light brake dust. However, specialized brake cleaners work faster and better for heavy buildup. Always rinse thoroughly after cleaning.
How Often Should Brake Dust Be Cleaned From Rotors?
Clean brake dust from rotors every 1-2 months or after heavy braking. Frequent cleaning prevents corrosion and extends rotor life. Inspect rotors during tire changes for dust buildup.
Is It Safe To Use High-pressure Water On Brake Rotors?
Avoid high-pressure water as it can push debris into brake components. Use gentle water spray or brake cleaner for safe, effective cleaning. Always dry rotors completely after washing.
Conclusion
Cleaning brake dust from rotors keeps your car safe and smooth. Regular cleaning stops dirt build-up and damage. Use gentle tools and safe cleaners for best results. Small steps like these save time and money later. Keep an eye on your brakes often.
Clean rotors help your car stop better and last longer. Simple care makes a big difference for your vehicle. Try these tips next time you check your brakes. Your car will thank you.