
If you own a Mercury boat or outboard engine, you know how important it is to keep your fuel system clean. A clogged or dirty fuel filter can cause your engine to run poorly or even stop working altogether.
But don’t worry—you can fix this yourself. Learning how to remove your Mercury fuel filter is easier than you think, and it can save you time and money. In this guide, you’ll find clear, step-by-step instructions that anyone can follow.
Keep reading to get your engine running smoothly again!
Tools Needed
Removing a Mercury fuel filter requires specific tools. Having the right tools makes the job faster and easier. Using proper tools also helps avoid damage to the filter or engine parts. Below is a list of the essential equipment and safety gear needed for this task.
Essential Equipment
- Fuel line pliers – to disconnect fuel lines safely.
- Wrench set – to loosen bolts holding the filter.
- Flathead screwdriver – to pry loose clamps or covers.
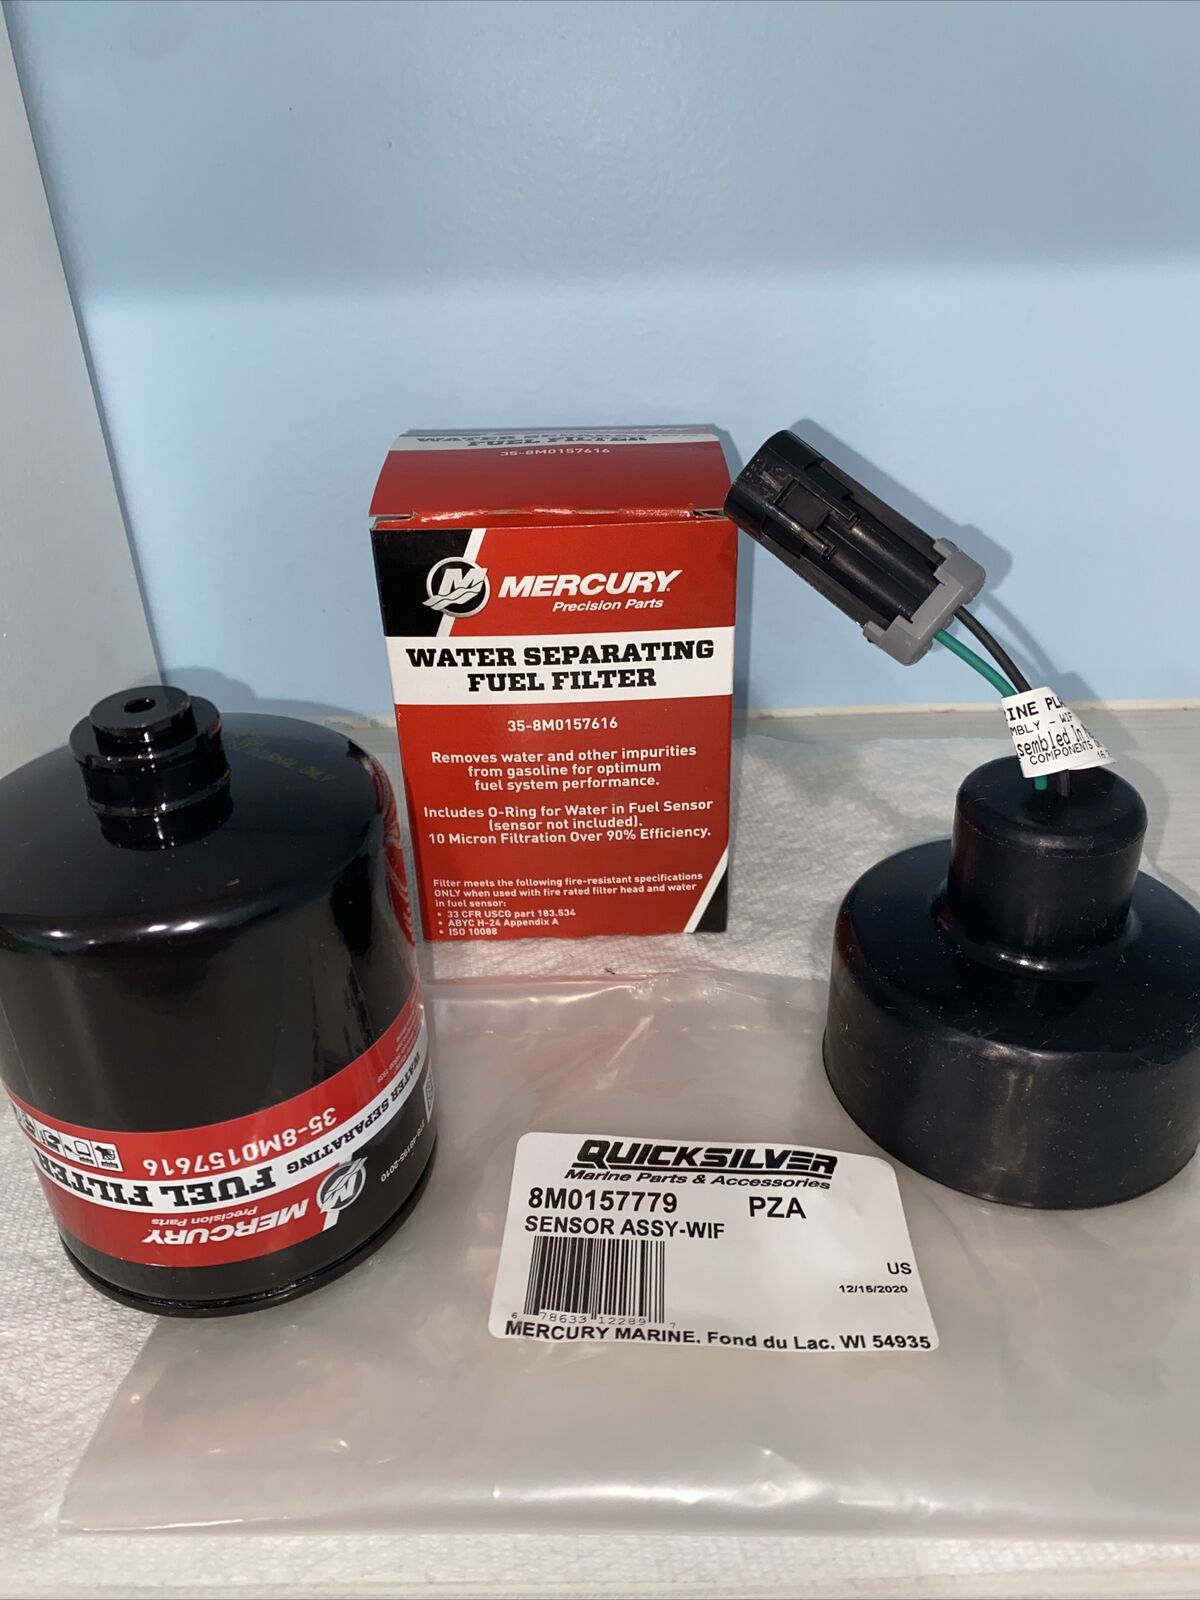
- Replacement fuel filter – in case you plan to install a new one.
- Container – to catch any leaking fuel during removal.
- Rags or paper towels – for cleaning spills or wiping parts.
Safety Gear
- Safety gloves – to protect hands from fuel and sharp edges.
- Eye protection – to guard against fuel splashes.
- Protective clothing – to avoid fuel stains on skin or clothes.
- Well-ventilated workspace – to prevent inhaling harmful fumes.

Credit: www.wholesalemarine.com
Preparing The Boat
Preparing the boat is an important first step before removing the Mercury fuel filter. Proper preparation ensures safety and makes the task easier. Take your time to get everything ready.
Start with a clean and dry workspace around the engine. This helps avoid dirt entering the fuel system. Also, check that the boat is stable and will not move during the process.
Securing The Engine
Turn off the boat’s engine completely. Remove the key from the ignition to prevent accidental starting. Engage the engine’s kill switch if available. This step keeps you safe and protects the engine parts while working.
Allow the engine to cool down. Hot engine parts can cause burns. Wait at least 30 minutes after use before starting any work. Safety first.
Locating The Fuel Filter
The Mercury fuel filter is usually near the engine’s fuel line. Look for a small, clear or metal canister with fuel lines attached. It often sits between the fuel tank and the engine.
Use your boat’s manual if you have trouble finding it. Knowing the exact location saves time and prevents mistakes. Clean the area around the filter before removal to avoid dirt entering the fuel system.
Draining The Fuel
Draining the fuel is the first step in removing the Mercury fuel filter. It clears the fuel system, making the filter removal easier and safer. Fuel must be handled carefully to avoid spills and hazards. Follow the steps below to drain the fuel properly and prepare for the next phase.
Emptying The Fuel Line
Locate the fuel line connected to the fuel filter. Place a small container under the line to catch the fuel. Loosen the fuel line fitting slowly to let the fuel drain out. Use a rag to wipe any spills immediately. Close the fitting tightly after draining the fuel. This step reduces pressure and prevents fuel leaks during filter removal.
Handling Fuel Safely
Always work in a well-ventilated area to avoid inhaling fumes. Wear gloves to protect your skin from fuel contact. Keep a fire extinguisher nearby for emergencies. Avoid open flames or sparks around the fuel. Dispose of drained fuel properly according to local rules. Safe handling protects you and the environment during fuel filter maintenance.
Removing The Old Filter
Removing the old Mercury fuel filter is an important step in maintaining your boat’s engine. This process ensures your engine runs smoothly by preventing dirt and debris from entering the fuel system. The task requires care and attention to avoid fuel spills and damage. Follow these simple steps to remove the old filter safely and easily.
Loosening The Clamps
First, locate the clamps holding the fuel filter in place. Use a screwdriver or pliers to loosen these clamps. Turn the screw slowly to avoid breaking it. Loosen both clamps on each side of the filter. This step helps free the fuel lines from the filter. Be careful not to pull too hard on the hoses.
Detaching The Filter
Once the clamps are loose, gently pull the fuel lines off the filter. Some fuel may leak, so have a cloth ready to catch it. Twist the filter slightly if it feels stuck. Remove the old filter completely from the mounting bracket. Check for any cracks or damage on the filter. Dispose of the old filter properly according to local rules.
Installing The New Filter
Installing the new Mercury fuel filter is a simple task with the right steps. This part helps keep your engine clean and running well. Take your time to place it correctly and secure it tightly. A proper fit stops leaks and keeps fuel flowing smoothly.
Positioning The Filter
Start by checking the direction of the flow arrow on the new filter. This arrow shows how fuel should move through the filter. Align the arrow with the fuel line’s flow direction. Place the filter in the same spot as the old one. Make sure it fits snugly without forcing it.
Securing The Clamps
Slide the clamps over the fuel lines before attaching the filter. Push the fuel lines onto the filter’s ends firmly. Move the clamps near the filter’s connection points. Tighten the clamps securely using a screwdriver or pliers. Avoid overtightening to prevent damage to the fuel lines.
Checking For Leaks
Checking for leaks is an important step after replacing the Mercury fuel filter. Leaks can cause engine problems and fuel loss. You need to make sure all connections are tight and no fuel is dripping. This helps keep your engine running safely and efficiently.
Starting The Engine
Start the engine carefully after installing the new filter. Let it run for a few minutes. Watch for any unusual smells or sounds. Fuel leaks often show up right after the engine starts. If the engine stalls or runs rough, stop it immediately. This might mean there is a leak or air in the fuel line.
Inspecting Connections
Look closely at all fuel lines and filter connections. Check where the fuel line meets the filter. See if there is any wetness or strong fuel smell. Tighten clamps or fittings if you find any leaks. Use a clean cloth to wipe around the connections. This helps you see fresh leaks more easily.
Maintenance Tips
Keeping your Mercury fuel filter in good shape is key to a smooth engine. Regular care helps avoid fuel problems and keeps your boat running well. Follow these simple maintenance tips to extend the life of your fuel filter and engine.
Regular Filter Replacement
Change the fuel filter according to the schedule in your owner’s manual. A clogged filter reduces fuel flow and harms engine performance. Always use the correct filter type for your Mercury engine. Keep a spare filter on hand for quick replacement during trips.
Fuel System Care
Check the fuel lines for cracks or leaks often. Clean the fuel tank regularly to stop dirt from reaching the filter. Use fresh fuel and avoid old or contaminated gasoline. Adding a fuel stabilizer can help keep the fuel clean longer.

Credit: www.youtube.com
Credit: myfuse.education
Frequently Asked Questions
How Do I Safely Remove A Mercury Fuel Filter?
First, disconnect the battery to prevent sparks. Then, relieve fuel pressure and wear gloves. Use a wrench to loosen the filter. Remove it carefully to avoid fuel spills. Dispose of the old filter properly.
What Tools Are Needed To Remove Mercury Fuel Filters?
You need a wrench or socket set, gloves, safety glasses, and a container for fuel spills. A rag helps clean any leaks. Having a replacement filter handy is also important for quick installation.
How Often Should I Replace My Mercury Fuel Filter?
Replace the fuel filter every 12,000 to 15,000 miles or annually. Check your Mercury owner’s manual for specific intervals. Frequent replacement ensures optimal engine performance and prevents clogging.
Can I Remove The Fuel Filter Without Draining The Tank?
Yes, but relieve the fuel system pressure first. Disconnect the battery and use rags to catch spills. Avoid open flames or sparks during the process to ensure safety.
Conclusion
Removing a Mercury fuel filter is simple with the right steps. Always work carefully to avoid spills and damage. Check your tools before starting to save time. Clean the area to keep dirt away from the engine. Replace the filter with a new one that fits well.
Test the engine after installation to ensure smooth running. Regular filter changes help your boat run better and last longer. Stay safe and take your time for best results. You can handle this task with confidence.


