If you own a 2006 Toyota Tundra, you know how important it is to keep it looking sharp. Over time, the body side molding can get scratched, cracked, or even fall off.
But don’t worry—you don’t have to spend a fortune at the shop to fix it. In this guide, you’ll learn exactly how to replace your truck’s body side molding quickly and easily. By following these simple steps, you’ll restore your Tundra’s look and protect it from further damage.
Ready to save time and money while giving your truck a fresh new appearance? Let’s get started.
Tools And Materials Needed
Replacing the body side molding on a 2006 Toyota Tundra requires a few basic tools and materials. Having everything ready before starting helps the job go smoothly. Each item plays a role in removing the old molding and installing the new one properly.
Using the right tools prevents damage to your truck’s paint and ensures a clean finish. Keep the workspace organized and all materials close at hand. This section lists what you need for this project.
Plastic Trim Removal Tool
This tool safely pries off the old molding without scratching the paint. It is better than using metal tools that can cause damage. Plastic trim tools are affordable and easy to find.
Adhesive Remover
Sticky residue from the old molding can stay on the truck’s side. An adhesive remover cleans this off quickly. Choose a product that is safe for automotive paint.
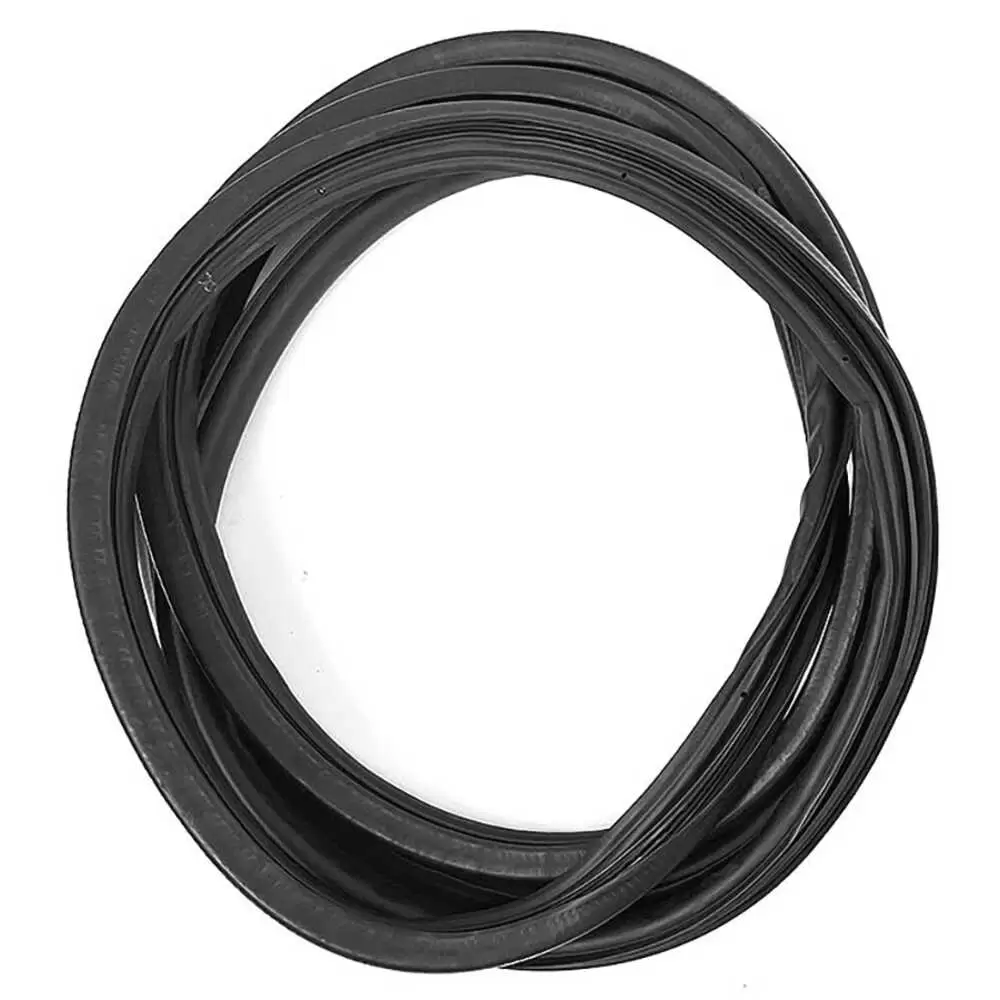
New Body Side Molding
Buy a molding that fits the 2006 Toyota Tundra exactly. Using the correct part ensures a perfect look and fit. Avoid generic moldings that may not match your truck.
Cleaning Supplies
Soap, water, and a microfiber cloth help clean the area before installation. Clean surfaces help the new molding stick well. Dirt or grease can cause the molding to peel off later.
Double-sided Automotive Tape
Most body side moldings attach with strong double-sided tape. Use tape designed for car exteriors to hold the molding firmly. Regular tape will not last long outdoors.
Heat Gun Or Hair Dryer
Heat softens old adhesive for easier removal of the molding. A heat gun works best but a hair dryer can also do the job. Be careful not to overheat and damage the paint.
Locate The Side Molding
Start by finding the side molding on your 2006 Toyota Tundra. It runs along the lower part of the truck’s doors and panels. Knowing its exact location helps in easy removal and replacement.
Finding the side molding on your 2006 Toyota Tundra is the first step. This part runs along the side of the truck, usually near the doors. It protects the vehicle from small dents and scratches.
The molding is often made of plastic or rubber material. It is attached firmly but can be removed with care. Knowing its exact position helps in removing and replacing it correctly.
Check The Driver And Passenger Sides
Side molding is on both sides of the truck. Look along the lower half of the doors. The molding may stretch from the front fender to the rear wheel area.
Some trucks have molding only on the front doors. Others have it on both front and rear doors. Make sure to inspect both sides carefully.
Identify The Attachment Points
Look closely at the molding edges. You might see clips or small screws holding it in place. These points secure the molding to the truck body.
Sometimes the molding is glued on. In that case, it will appear flush without visible fasteners. Spotting these details helps in planning removal steps.
Clean The Area Before Removal
Clear dirt and debris around the molding. Use a soft cloth and mild cleaner. A clean surface makes it easier to see attachment points and prevents damage.
Cleaning also helps the new molding stick well if adhesive is used. Take your time to prepare the area properly.
Remove Old Molding
Removing the old body side molding on your 2006 Toyota Tundra is the first step in replacing it. This process requires care to avoid damage to your truck’s paint and body. Taking time to prepare and gently detach the molding will make the job easier and cleaner.
Start by softening the adhesive that holds the molding in place. This helps loosen the grip and reduces the risk of peeling paint. Then, carefully lift the molding away from the body, working slowly to prevent cracks or breaks.
Soften Adhesive
Heat the molding area using a heat gun or hair dryer. Keep the heat moving to avoid overheating one spot. Warm adhesive becomes soft and easier to remove. Hold the heat source about 6 inches from the surface. Warm the entire length of the molding evenly.
Do not apply too much heat. Paint can get damaged by high temperatures. Test a small section first to see how the adhesive reacts. Once the adhesive is warm, the molding will feel looser.
Careful Molding Detachment
Use a plastic trim removal tool or a plastic putty knife. Avoid metal tools that can scratch the paint. Gently slide the tool under the edge of the molding. Work slowly, lifting a little at a time.
Move along the molding, heating and lifting as you go. Pulling too hard can break the molding or damage the paint. If you feel resistance, warm the area again. Keep the mold intact for easier replacement.

Credit: www.amazon.com
Clean Mounting Surface
Cleaning the mounting surface is a crucial step before installing body side molding on your 2006 Toyota Tundra. Dirt, grease, and old adhesive can stop the new molding from sticking properly. A clean surface helps the molding hold tight and last longer.
Take your time to prepare the area well. This step prevents peeling and keeps your truck looking great.
Remove Old Adhesive And Dirt
Use a plastic scraper to gently remove old adhesive. Avoid scratching the paint. After scraping, wipe the area with a cloth soaked in rubbing alcohol. This removes grease and small residues. Repeat until the surface looks clean and smooth.
Wash The Surface Thoroughly
Wash the mounting area with soap and water. Use a soft sponge to avoid damage. Rinse with clean water and dry with a lint-free cloth. This removes dust and loose dirt. A clean, dry surface helps the adhesive stick better.
Inspect For Rust Or Damage
Look closely for rust spots or paint chips. Rust can stop the new molding from sticking well. Use sandpaper to smooth any rough spots. If rust is severe, treat it with rust remover before continuing. A smooth surface ensures a solid bond.
Prepare New Molding
Preparing the new body side molding for your 2006 Toyota Tundra is a key step. It ensures a smooth fit and lasting hold. Taking time to ready the molding helps avoid mistakes during installation. Clean and inspect the molding first. This helps the adhesive work better and the molding look perfect.
Clean The New Molding Surface
Use a mild soap and water mix to clean the molding. Dirt and oils can stop the adhesive from sticking well. Wipe the surface gently with a soft cloth. Let the molding dry completely before moving on.
Check For Damage Or Defects
Look closely at the molding for cracks or bends. Any damage can cause poor fit or peeling later. Replace the molding if you find defects. Only use molding in perfect condition.
Test Fit The Molding
Hold the molding against your truck’s side. Make sure it lines up with mounting spots. This step saves time during final installation. Adjust the molding’s position to ensure a tight fit.
Remove Protective Tape From Adhesive
Peel off the backing tape from the adhesive strip carefully. Avoid touching the sticky side. This keeps the adhesive clean and strong. Get ready to place the molding on your truck.
Attach New Molding
Attaching the new body side molding on your 2006 Toyota Tundra is a key step. It helps protect the truck’s side and gives it a clean look. Take your time to place the molding correctly. This ensures it stays strong and looks good for a long time.
Prepare the area by cleaning it well. This helps the adhesive or clips hold better. Next, follow the steps below to attach the new molding carefully and securely.
Align Correctly
Place the new molding against the truck side. Check that it matches the old molding’s position. Make sure it fits the curves and edges perfectly. This prevents gaps or uneven spots. Take a moment to adjust the molding before fixing it. Proper alignment avoids damage and keeps the truck looking neat.
Apply Adhesive Or Clips
Choose the right method based on your molding type. Some use strong adhesive tape, others use clips. For adhesive, peel off the backing carefully. Press the molding firmly against the truck side. Hold it in place for a minute to secure the bond. If your molding uses clips, snap them into the mounting holes. Check that each clip locks tightly. This makes the molding stable and less likely to fall off.
Final Checks And Maintenance
After replacing the body side molding on your 2006 Toyota Tundra, final checks and regular maintenance keep it looking good. These steps ensure the molding stays firmly attached and prevents damage over time.
Taking a few moments to inspect your work and care for the molding helps avoid future issues. This section guides you through simple final checks and maintenance tips.
Inspect The Adhesion And Fit
Check if the molding sticks well to the truck’s body. Press gently along the entire length. Look for any loose or lifted edges. Proper adhesion prevents water and dirt from getting under the molding. Adjust or reapply adhesive if needed.
Clean The Molding And Surrounding Area
Remove dirt and dust with a soft cloth and mild soap. Avoid harsh chemicals that can damage the molding’s finish. Clean regularly to maintain the truck’s appearance and prevent grime buildup.
Protect The Molding From Harsh Conditions
Avoid parking in direct sunlight for long hours. Sunlight can fade and warp the molding. Use a car cover or park in shade when possible. This protects the molding and extends its life.
Check For Damage Regularly
Look for cracks, scratches, or chips on the molding. Small damage can worsen over time. Repair minor issues quickly to keep the molding strong and looking new.
Reapply Adhesive If Necessary
Over time, adhesive may weaken due to weather changes. If the molding starts to peel, clean the area and reapply automotive adhesive. This keeps the molding securely attached.

Credit: www.ebay.com
Credit: lepaystchad.com
Frequently Asked Questions
How Do I Remove Body Side Molding On A 2006 Toyota Tundra?
To remove body side molding, gently pry it off using a plastic trim tool. Heat the adhesive with a heat gun for easier removal. Clean off any remaining adhesive residue with a safe solvent.
What Tools Are Needed To Replace Tundra Side Molding?
You will need a plastic trim removal tool, adhesive remover, cleaning cloth, new side molding, and double-sided automotive tape for secure installation.
Can I Replace The Side Molding Myself On A Toyota Tundra?
Yes, replacing side molding is a simple DIY task. Follow the steps carefully and use proper tools to avoid damage.
How Long Does It Take To Replace Side Molding On A Tundra?
Replacing the side molding typically takes 30 to 45 minutes. This includes removal, cleaning, and installing the new molding securely.
Conclusion
Replacing the body side molding on your 2006 Toyota Tundra is simple. Follow each step carefully for the best results. Take your time to avoid mistakes or damage. A new molding can improve your truck’s look instantly. Keep tools handy and work patiently.
Enjoy the fresh, clean appearance of your Tundra. This small fix makes a big difference. Try it yourself and save time and money. You’ll feel proud of the work you did. Ready to give your truck a fresh look?