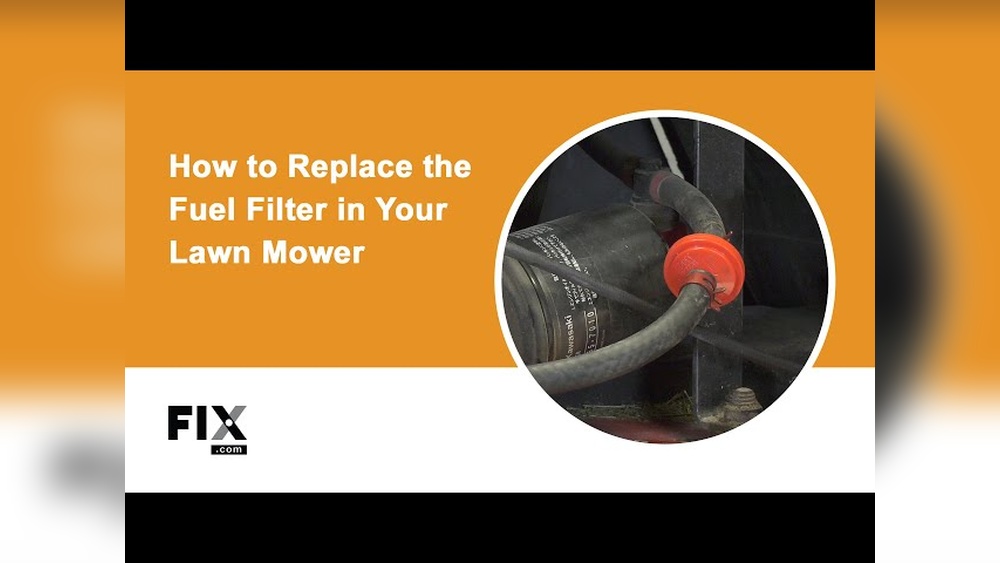
If your Stihl blower isn’t running as smoothly as before, the fuel filter might be the problem. Replacing the fuel filter is a simple fix that can boost your blower’s performance and extend its life.
In this guide, you’ll learn exactly how to replace the fuel filter on your Stihl blower step-by-step. By the time you finish reading, you’ll have the confidence to do it yourself—saving time, money, and frustration. Let’s get your blower back to its best!
Tools And Materials Needed
Replacing the fuel filter on a Stihl blower requires some basic tools and materials. Having the right items ready makes the job easier. It also helps avoid mistakes during the process. This section lists all the essentials needed to replace the fuel filter safely and quickly.
Safety Gear
Wear safety gloves to protect your hands from fuel and dirt. Safety glasses keep your eyes safe from splashes or debris. Use a clean workspace to avoid accidents.
New Fuel Filter
Use a fuel filter made for your Stihl blower model. Check the part number before buying. A proper fit ensures good performance and prevents leaks.
Screwdrivers
A flathead and a Phillips screwdriver help remove the blower’s cover. They also assist in loosening clamps or screws holding the filter. Choose the right size for your tool bolts.
Pliers
Needle-nose pliers are useful for pulling off fuel lines gently. They help avoid damage to hoses and connectors. Use clean pliers to keep dirt out of the fuel system.
Container For Fuel
Use a small container to catch fuel that may spill out. This keeps your workspace clean and avoids fire hazards. Dispose of old fuel safely according to local rules.
Clean Cloth Or Paper Towels
Keep cloths or paper towels nearby to wipe spills or dirt. Clean surfaces help prevent contamination of the new fuel filter. Use disposable towels for easy cleanup.

Credit: www.youtube.com
Locating The Fuel Filter
Locating the fuel filter on a Stihl blower is the first step to keep your tool running well. The fuel filter cleans the fuel before it reaches the engine. A clogged filter can cause poor performance or engine trouble.
The fuel filter is small but very important. Knowing where it sits helps you check and replace it easily. This section explains how to find the fuel filter quickly and safely.
Open The Fuel Tank
Start by opening the fuel tank cap. The fuel filter is inside the tank. Remove the cap slowly to avoid fuel spills. Use a clean cloth to wipe the area around the cap first.
Look Inside The Fuel Tank
Inside the tank, you will see the fuel filter attached to the fuel line. It looks like a small, white or yellow mesh piece. It filters dirt and particles from the fuel before it flows to the engine.
Trace The Fuel Line
If you cannot see the filter inside the tank, follow the fuel line. The line runs from the tank to the carburetor. The filter is usually near the tank end of this line. Check carefully along this path.
Check The User Manual
The Stihl blower user manual has exact details on the filter location. It may also show pictures to help you. Keep the manual handy for quick reference when locating parts.
Removing The Old Fuel Filter
Removing the old fuel filter from your Stihl blower is a key step. It helps keep the blower running well. A clean fuel filter stops dirt from blocking fuel flow. This part can get dirty or clogged over time. Changing it keeps your blower working strong.
Before starting, prepare your workspace. Keep a clean cloth and a small container ready. These will catch any spilled fuel. Work in a well-ventilated area to avoid fumes. Safety first.
Locate The Fuel Filter
Find the fuel tank on your Stihl blower. The fuel filter sits inside the tank. It connects to the fuel line. The filter looks like a small, white mesh piece. You may need to remove the fuel cap to see it.
Remove The Fuel Line From The Tank
Use pliers to gently pull the fuel line off the tank. Be careful not to break the line. Some fuel may spill out. Use the cloth to catch any drops. Keep the line steady to avoid damage.
Take Out The Old Fuel Filter
Once the line is off, pull the old filter out. It may be stuck. Wiggle it gently but firmly. Check the filter for dirt or damage. Dispose of the old filter properly. It should not be reused.
Installing The New Fuel Filter
Installing the new fuel filter in your Stihl blower is a simple but important step. A clean fuel filter keeps your blower running smoothly. It stops dirt and debris from entering the engine. Take your time to install it correctly. This helps avoid fuel flow problems and engine damage.
Prepare The New Fuel Filter
Start by checking the new filter. Make sure it matches the old one exactly. Compare size and shape. Some filters have a small tab or notch. This helps fit it the right way. Never force the filter in place.
Attach The Fuel Filter To The Fuel Line
Slide the new fuel filter into the fuel line. Push it gently but firmly. The filter must fit snugly to stop leaks. Check the hose clamps if your blower has them. Tighten the clamps to hold the filter in place.
Position The Fuel Filter Inside The Fuel Tank
Place the filter inside the fuel tank. It should hang freely and not touch the tank walls. This position helps the filter draw fuel evenly. Avoid bending or kinking the fuel line during this step.
Secure All Connections And Test
Double-check all connections. Make sure the filter and fuel lines are secure. Close the fuel tank cap tightly. Start the blower for a few seconds. Watch for leaks or odd noises. If all is good, the installation is complete.
Checking For Proper Fuel Flow
Checking for proper fuel flow is a key step after replacing the fuel filter on your Stihl blower. It ensures the engine gets enough fuel to run smoothly. Without good fuel flow, the blower may stall or run poorly. This step helps spot any problems early.
Testing fuel flow is simple and takes only a few minutes. Follow these steps carefully to avoid damage to your blower.
Preparing The Blower For Fuel Flow Check
Place the blower on a flat, stable surface. Make sure the fuel tank is filled with fresh fuel. Turn off the engine and remove the spark plug for safety. Keep a clean container ready to catch fuel during the test.
Removing The Fuel Line
Locate the fuel line connected to the carburetor. Use pliers to gently disconnect it from the carburetor inlet. Point the loose end of the fuel line into the container. This setup will catch the fuel flowing out during the test.
Priming The Fuel System
Press the primer bulb several times until it feels firm. This action pushes fuel through the line. Watch the fuel line end for a steady stream of fuel. If fuel flows well, your filter works correctly.
Identifying Fuel Flow Problems
If no fuel flows or the stream is weak, blockages may exist. Check the fuel filter for dirt or damage. Replace the filter if clogged. Also, inspect fuel lines for cracks or leaks that can block flow.
Reassembling After Testing
Reconnect the fuel line to the carburetor securely. Reinstall the spark plug and tighten it properly. Wipe off any spilled fuel to avoid hazards. Start the blower to confirm it runs smoothly with good fuel flow.

Credit: www.youtube.com
Tips For Maintaining Your Stihl Blower
Keeping your Stihl blower in good shape helps it work well longer. Simple care steps avoid bigger problems. Focus on key habits that keep your blower running smoothly. These tips protect the engine and save time and money.
Regular Fuel Filter Replacement
Change the fuel filter often. A clean filter stops dirt from entering the engine. Check it every 25 hours of use or once a season. Replace it if you see dirt or damage. This keeps your blower running strong and saves repairs.
Using Clean Fuel
Fill your blower with fresh, clean fuel. Old or dirty fuel can block the filter and engine. Use the right fuel mix for your Stihl model. Store fuel in a clean, sealed container. This prevents dirt and water from harming the engine.
Proper Storage Techniques
Store your blower in a dry, cool place. Drain the fuel if you won’t use it for a long time. Clean the blower before storing to remove dirt and debris. Cover it to protect from dust and moisture. Good storage keeps the blower ready for the next job.
Credit: yourpghlawyer.com
Frequently Asked Questions
How Often Should I Replace The Fuel Filter On Stihl Blower?
Replace the fuel filter every 25 hours of use or at least once per season. Regular replacement ensures optimal engine performance and prevents clogging. Check your Stihl blower manual for specific intervals.
What Tools Are Needed To Replace Stihl Blower Fuel Filter?
You need a flathead screwdriver, needle-nose pliers, and a new fuel filter. These tools help remove the old filter and install the new one safely and quickly.
How Do I Safely Remove The Old Fuel Filter On Stihl Blower?
Turn off the blower and disconnect the spark plug wire. Then, use pliers to carefully pull the old filter from the fuel line without spilling fuel.
Can I Use Any Fuel Filter For My Stihl Blower?
No, always use a fuel filter compatible with your Stihl blower model. Using the wrong filter can cause poor performance or damage to the engine.
Conclusion
Replacing the fuel filter on your Stihl blower keeps it running well. Clean fuel helps the engine work smoothly and lasts longer. Follow the steps carefully to avoid mistakes. Regular checks prevent bigger problems later. Taking time to maintain your blower saves money and effort.
This simple task improves performance and reliability. Stay safe and enjoy your blower working at its best.