

Have you ever noticed a small scratch or chip on your car and tried to fix it with touch-up paint, only to end up with a rough, uneven spot that stands out even more? You’re not alone.
Smoothing out touch-up paint can be tricky, but it doesn’t have to be frustrating. When done right, it can make your car look like new again and save you time and money on costly repairs. In this guide, you’ll learn simple, effective steps to smooth out touch-up paint on your car, giving you a flawless finish you’ll be proud of.
Keep reading, and discover how easy it is to restore your car’s shine with just a little patience and the right technique.

Credit: iottechnologies.io
Preparing The Surface
Preparing the surface is a crucial step before applying touch-up paint on your car. It ensures the paint sticks well and looks smooth. A clean, smooth surface helps the touch-up blend with the original paint. Follow these simple steps to get the best result.
Cleaning The Area
Start by washing the area with soap and water. Dirt and grease can stop the paint from sticking properly. Use a clean cloth to wipe the surface dry. Avoid strong chemicals that can damage the paint around the spot.
Sanding For Smoothness
Lightly sand the damaged spot with fine-grit sandpaper. This removes rough edges and old paint flakes. Sand until the surface feels even and smooth. Be gentle to avoid scratching the surrounding paint.
Removing Dust And Debris
After sanding, clean the area again to remove dust. Use a soft brush or a tack cloth for best results. Dust can cause bumps and rough patches in the new paint. Make sure the surface is completely clean before painting.
Credit: www.reddit.com
Applying Touch Up Paint
Applying touch up paint is a key step to fix small scratches or chips on your car. It helps protect the metal and improves your car’s look. Doing it right takes care and the right materials.
Choosing The Right Paint
Pick paint that matches your car’s color exactly. Use your car’s paint code found inside the driver’s door or manual. This ensures the repair blends well with the rest of the car. Using the wrong shade makes the spot stand out.
Using The Correct Tools
Use small brushes or applicators made for touch up paint. Fine tips help control the paint and avoid mess. Clean tools prevent dirt or dust from ruining the finish. Keep everything ready before you start painting.
Layering The Paint Properly
Apply paint in thin, light layers. Let each layer dry fully before adding the next. This prevents drips and uneven surfaces. Build up the layers slowly until the spot matches the surrounding area. Patience creates a smooth, natural look.
Smoothing Techniques
Smoothing out touch up paint is a key step after applying it on your car. This step helps blend the new paint with the old paint. It removes rough spots and makes the surface even. Using the right smoothing techniques gives your car a clean, polished look. These techniques require patience and the right tools. The following sections explain the best ways to smooth out touch up paint effectively.
Wet Sanding Basics
Wet sanding is a gentle way to smooth paint. Use fine-grit sandpaper, usually 1500 to 3000 grit. Soak the sandpaper in water before sanding. This keeps the surface cool and reduces scratches. Sand the painted area lightly and evenly. Keep the surface wet while sanding. Stop when the paint feels smooth and level with the car’s surface. Be careful not to sand too much. This can damage the paint underneath.
Using Polishing Compounds
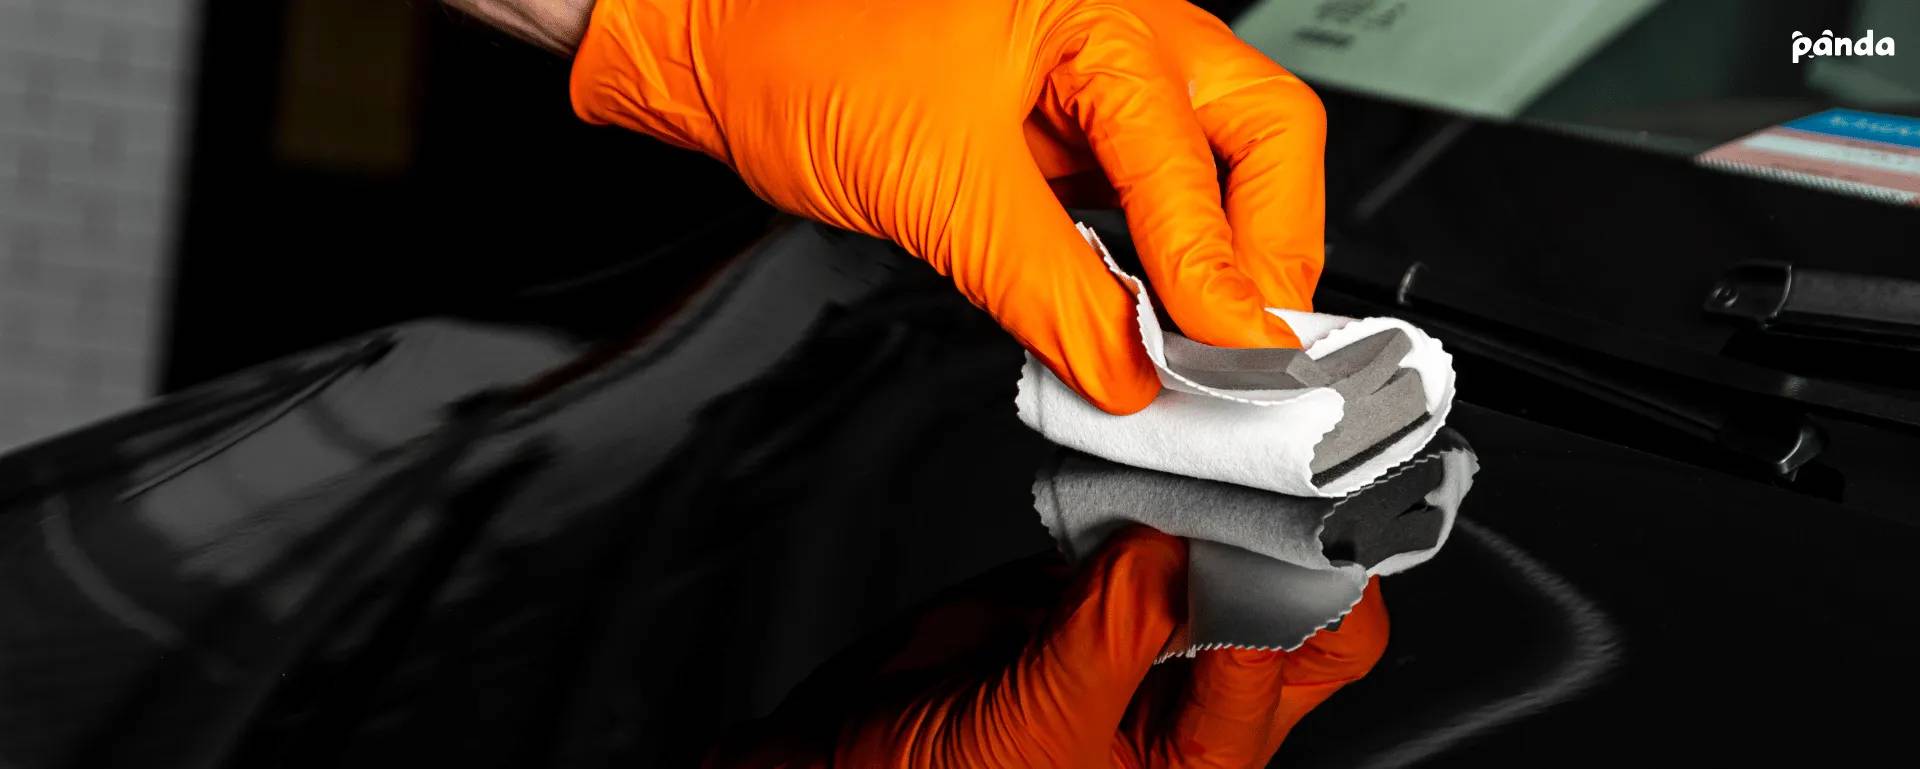
Polishing compounds help remove tiny scratches and dullness. Choose a compound made for automotive paint. Apply a small amount on a soft cloth or foam pad. Rub the compound in small circles on the painted area. Use light to medium pressure. Keep rubbing until the paint shines and feels smooth. Polishing helps blend the touch up paint into the original finish. Clean the area with a microfiber cloth afterward.
Buffing For A Flawless Finish
Buffing makes the paint surface shiny and smooth. Use a clean, soft buffing pad or a machine buffer. Apply a small amount of polishing compound or wax. Move the buffer in slow, circular motions. Do not press too hard to avoid damaging the paint. Buff until the surface has a glossy finish. This step hides small imperfections and blends colors well. Finish by wiping the surface with a clean cloth.
Protecting The Repair
Protecting the repair is a crucial step after applying touch up paint on your car. This step helps keep the new paint safe from damage and fading. It also makes the repair last longer and look smoother.
Taking care of the repair properly ensures your car stays neat and clean. It prevents dust, dirt, and moisture from harming the fresh paint. Follow these simple steps to protect the repair well.
Applying Clear Coat
Clear coat adds a shiny, protective layer over the touch up paint. It seals the paint and prevents it from chipping or fading. Use a small brush or spray to apply an even coat.
Let the clear coat dry for a few minutes before adding another layer. Apply two or three thin coats for the best protection. Avoid thick layers that can drip or peel.
Curing And Drying Tips
Let the paint and clear coat dry fully in a clean, dry place. Avoid touching the area for at least 24 hours. Keep the car out of direct sunlight and rain during this time.
Cold or humid weather can slow drying. If possible, dry the car indoors or in a garage. Patience helps the repair set properly and last longer.
Regular Maintenance
Wash the repaired area gently with soap and water. Avoid harsh chemicals or abrasive sponges that can damage the paint. Dry the area softly with a clean cloth.
Wax the car regularly to protect the paint from sun and rain. Check the repair often for any chips or scratches. Early touch ups keep the car looking fresh.
Common Mistakes To Avoid
Fixing a small paint chip on your car looks easy. Many make simple mistakes that ruin the job. Avoiding these errors saves time and money. It also helps your car look smooth and clean. Here are common mistakes to watch out for.
Overapplying Paint
Too much paint causes lumps and uneven surfaces. It takes longer to dry and can peel off later. Apply thin layers and wait for each to dry. Multiple light coats work better than one thick one. Use a steady hand to keep paint smooth.
Skipping Surface Prep
Cleaning and sanding the area is very important. Dirt or grease stops paint from sticking well. Sanding helps the paint bond better to the car. Always clean the spot with a cloth and mild cleaner. Prep work makes your touch-up last longer.
Ignoring Safety Precautions
Paint fumes can harm your health. Work in a well-ventilated area or outside. Wear gloves and a mask to protect your skin and lungs. Keep paint away from children and pets. Safety first keeps you safe and the job clean.
Credit: www.pandahub.com
Frequently Asked Questions
How Do I Prepare The Car Surface For Touch-up Paint?
Clean the area thoroughly with soap and water. Remove wax and grease using rubbing alcohol. Sand lightly to smooth imperfections before applying paint.
What Tools Help Smooth Out Touch-up Paint Effectively?
Use fine-grit sandpaper, a polishing compound, and microfiber cloths. These tools help blend the paint evenly and remove rough edges.
How Long Should I Wait Before Smoothing Touch-up Paint?
Wait at least 24 hours for the paint to dry fully. This ensures the paint hardens and prevents smudging during smoothing.
Can I Use Clear Coat To Improve Touch-up Paint Finish?
Yes, applying a clear coat protects the paint and adds shine. It also helps blend the touch-up area with the car’s original finish.
Conclusion
Smoothing out touch-up paint takes patience and care. Start with clean, dry surfaces and use fine sandpaper gently. Apply thin paint layers and let each dry fully. Buff the area lightly to blend colors well. Small steps make a big difference in results.
Keep tools and hands clean throughout the process. A smooth finish helps your car look neat and fresh. With practice, this task becomes easier and more satisfying. Try these tips to keep your car’s paint looking great. Simple effort brings a smoother, better touch-up every time.


